How to glue princesses of paper. Detailed master-class with photo and description for beginners
Probably, many will remember the old printedalbums with big-eyed dolls and simple outfits for them, which should be cut and glued on their own to get a full doll for games? This process was not only fascinating, but also perfectly developed fine motor skills, and especially original girls also independently painted dresses for such dolls. Remembered? Let's share this fun with our daughters today, using the example of popular princesses from Disney's studio.  To make princesses you will need:
- Patterns for cutting out printed on a color printer;
- Thin, but fairly dense cardboard;
- Glue pencil or PVA glue and a thin brush;
- Scissors with thin and sharp blades;
- Ruler;
- Simple pencil;
- A wooden or plastic stick with a pointed end.
Layout of the princess you like, print outon the color printer, selecting the desired size for printing. Print the pattern with a thin layer of glue from the side of the wrong side and gently stick it on a thin cardboard.  Wait until the glue is completely dry, andgently cut all the details along the contour. From the underside of each part, draw a simple pencil with the dotted lines of the folds, then, also from the wrong side, position the ruler and press with light pressure the fold line with a wooden or plastic stick.
  A detailed assembly of the details, let's look at an examplePrincess Rapunzel. First, alternately apply a thin layer of glue on the parts of the hands, then fold each part along the fold line and glue together. Cut through the side lines white flaps with letters on the chest detail, each flap bend along the line of the dotted contour. According to the layout, glue hands to the places marked "D" and "E", then apply a thin layer of glue to the remaining free valves and glue the detail of the breast on the body part.
  Detail the hair with glue and glue to the partbody. Sell on the dotted contour all the necessary "creases" on the skirt, cut the left edge on each notch with the mark "A", then glue the white undercut under the purple "fabric" of the skirt, thereby forming the skirt volume.
  Apply a thin layer of glue on the "waistband" of the skirt and glue the skirt to the body part, then glue the edges of the skirt together along the length and wait until the glue dries completely.
Comments
Related posts:
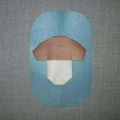 This detailed workshop of origami for children of 8 years will teach how to make an origami-mushroom from paper.
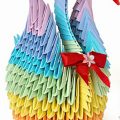 The scheme for creating a modular origami swan from paper for beginners. Detailed master-class with photo
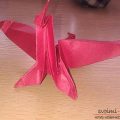 This detailed master class contains an origami-dragon scheme from paper, which you can make with your own hands.
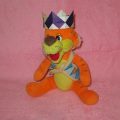 This detailed master class with a photo and description will teach you how to make origami for beginners - an origami-crown made of paper.
 This detailed master-class modular origami with step-by-step photos contains a scheme for assembling birch from paper.