
Making a swallow from paper in origami technique, which is easy to do according to the description, is not difficult to manufacture
Crafting a swallow from paper in origami techniquevery interesting occupation. This model of a beautiful bird is quite simple in execution. It can be easily and quickly put together not only by adults, but also by children who have never before engaged in such activities. It takes quite a bit of time to produce swallows from paper, and a detailed description of the work will make the process uncomplicated. The most ancient eastern art of making various crafts from ordinary sheets of origami paper came into the world not so long ago, only a few decades ago, or more precisely, after the Second World War. But even in such a short period of time, it won the hearts of many residents of all countries. There are many variants of manufacturing various figures, simple and rather complex, large in size. All of them are very interesting, and the occupation itself is useful, especially for children, as it develops such qualities as mindfulness, assiduity to motor skills. From paper, you can put absolutely any object or object. This applies to living nature, and to non-living, inanimate objects. Children most like to add figurines depicting something alive - fish, birds, animals, people, plants. Today we propose to make from paper in the technique of origami a well-known bird - a swallow. With this model, even a preschooler can easily cope. He will be interested in making a bird, or even a few, with which he can later decorate his room. If this lesson is new for the kid, it's okay, you just need to help him a little, suggesting based on our job description and step-by-step photos. So, let's start to implement our idea, assembling an artifact of swallows from paper in origami technique in a simple way. We need glossy colored paper. It is not necessary to take a sheet of black. You can take any color on your own. If it's a bright shade, it's even better. The craftsmanship turns out colorful and rich. Glossy paper is preferable to take because it is dense enough and has a beautiful texture, so the craft will look very nice. The paper must be in the form of a square. This is the main condition, therefore, if we have rectangular sheets, first we need to give them the necessary shape.  At the very beginning of the work, we need to fold a square sheet of paper in half. We will fold on a diagonal straight line.
 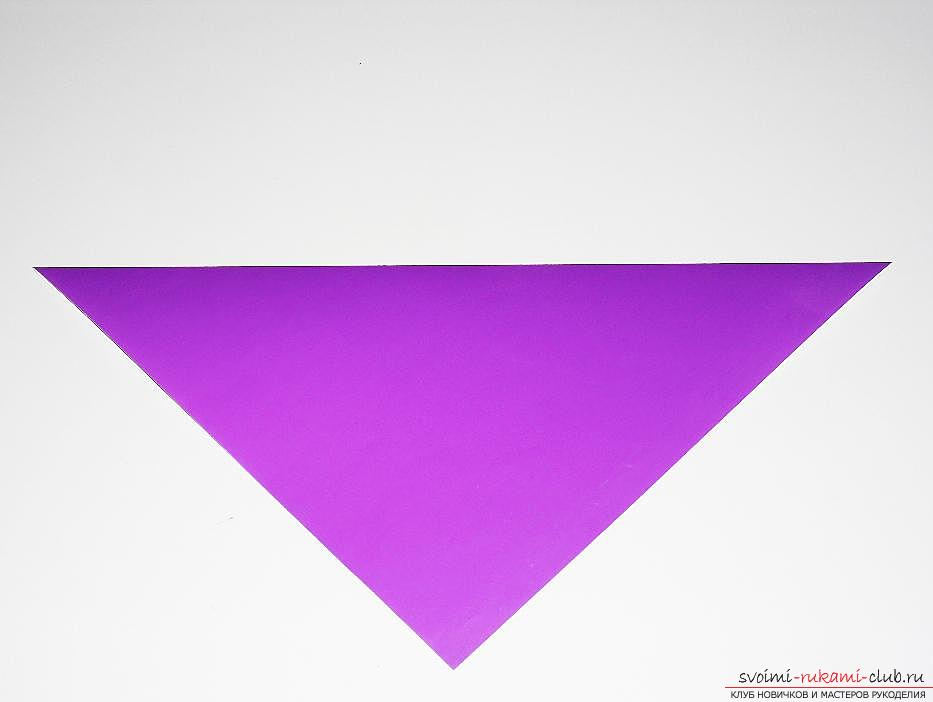 The resulting triangle is folded one more time. As a result, we will get a detail of a small size in the form of an equilateral triangle.
 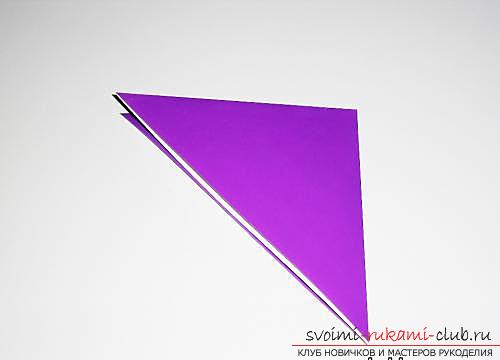 The part of the triangle that is on top, we need to bend in half, just like we can see in the photo.
 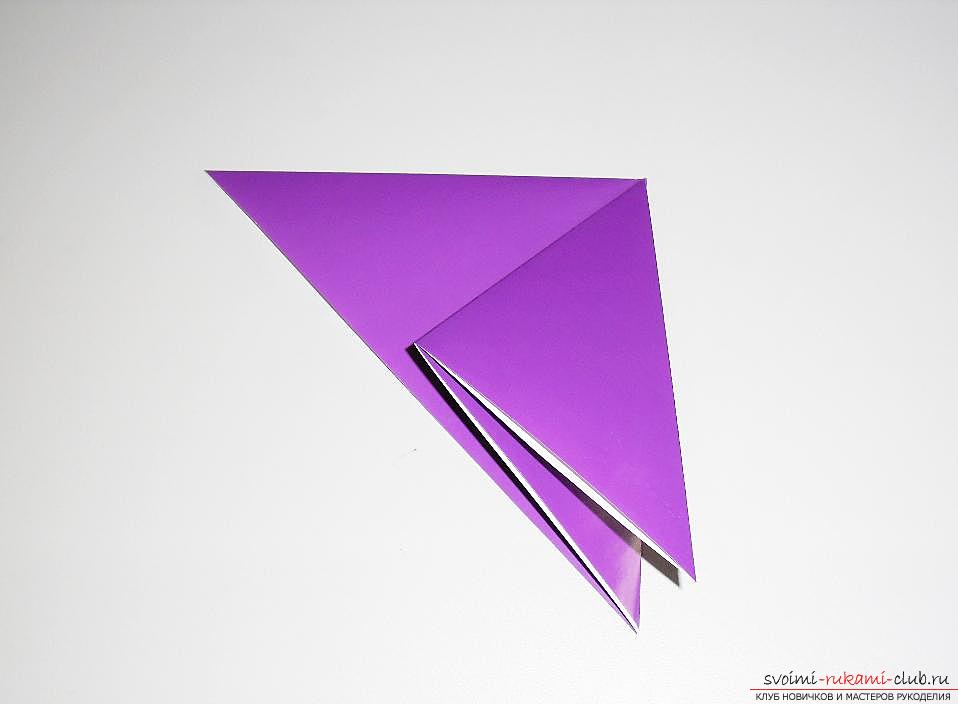 Now we need to unbend and fold this part. In this case, the folds must completely coincide with each other and be strictly in the center of the formed square, on top of our workpiece. What should turn out you can clearly see the next photo.
 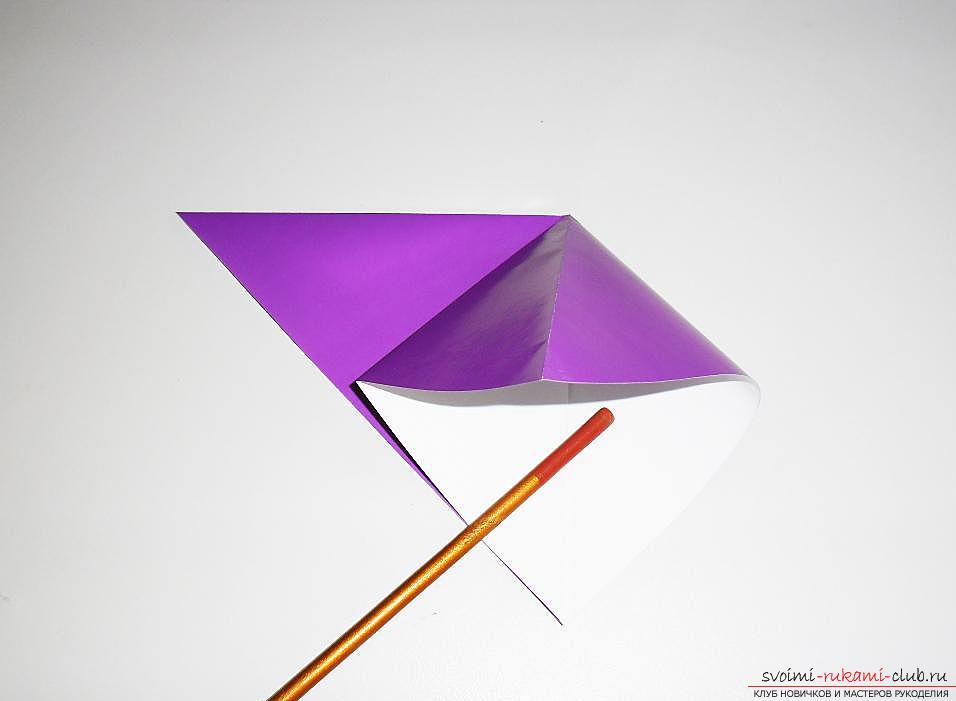 Next we turn the workpiece to the opposite side. The side that was above, we now will be on the working surface.
 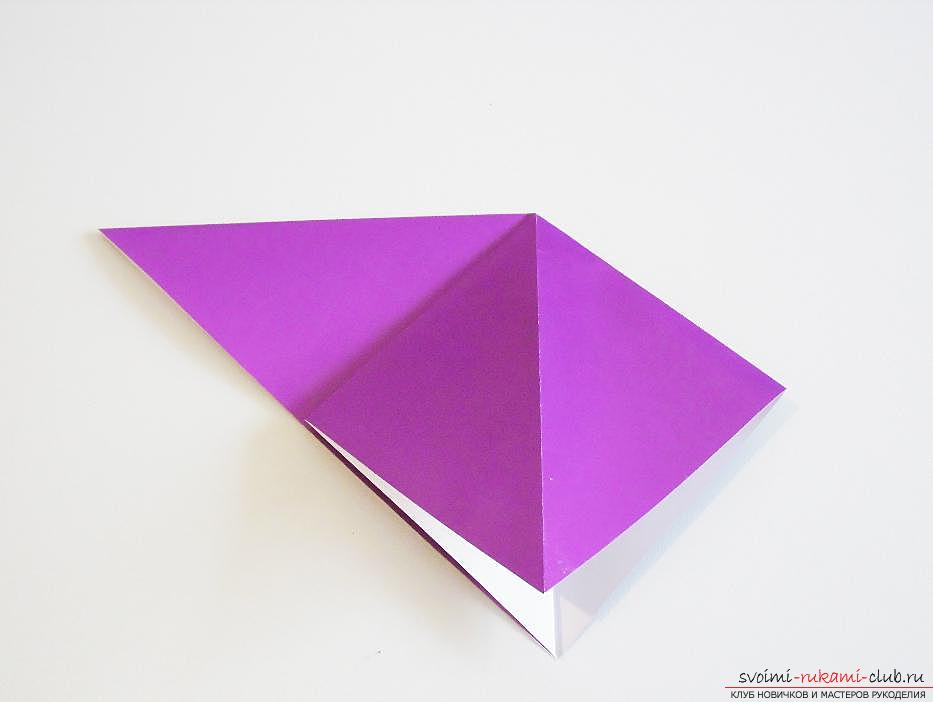 The angle on the right, we will bend to the bottom. We thus have a square.
 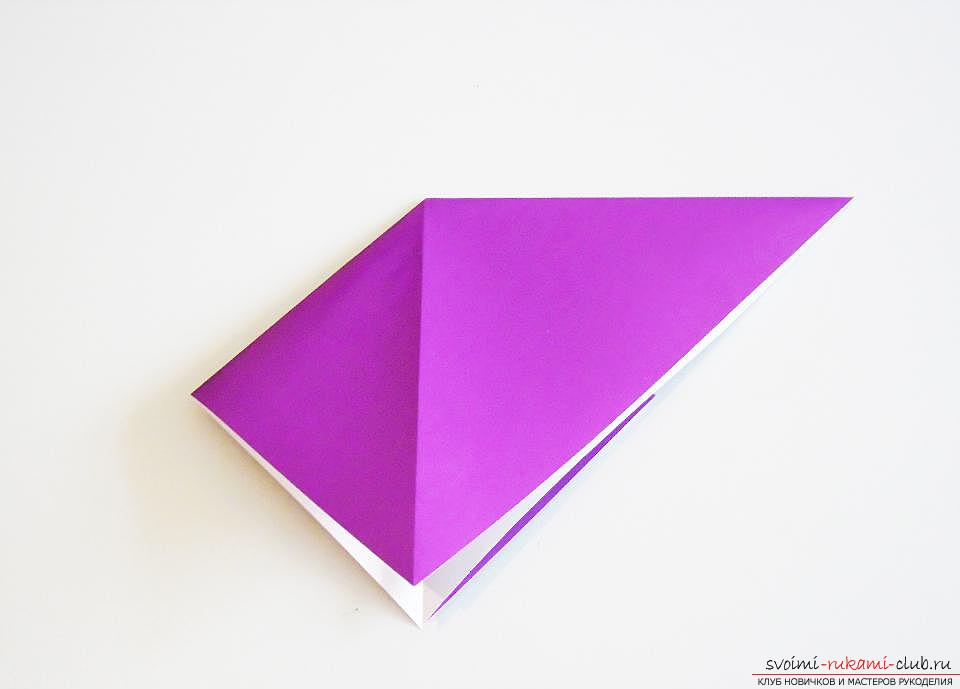 Again, unfold the workpiece, giving it its original position, and fold it in the form of a square, as shown in the photographs.
 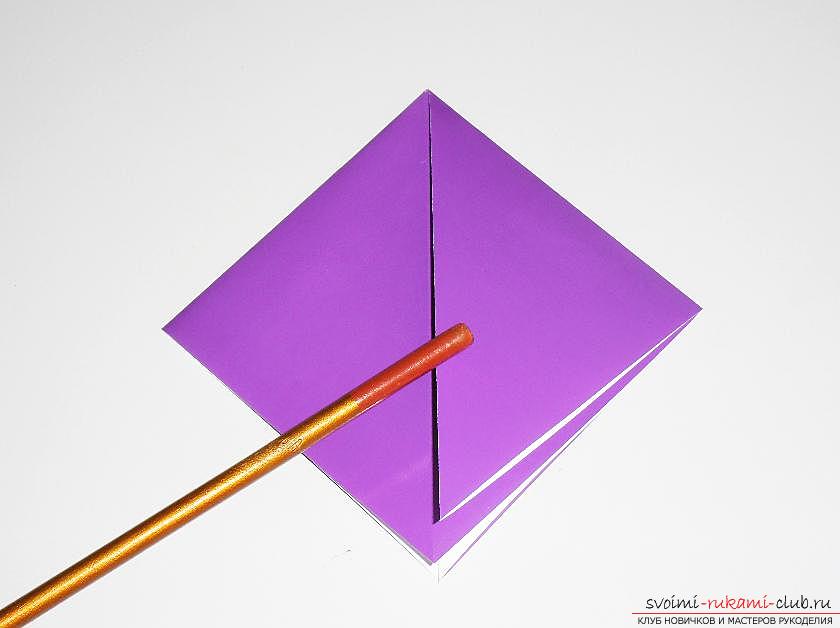 Now, both sides of the sides we gently bend towards the bottom, and the angle at the top will move down. Before us should be here is such a figure.
 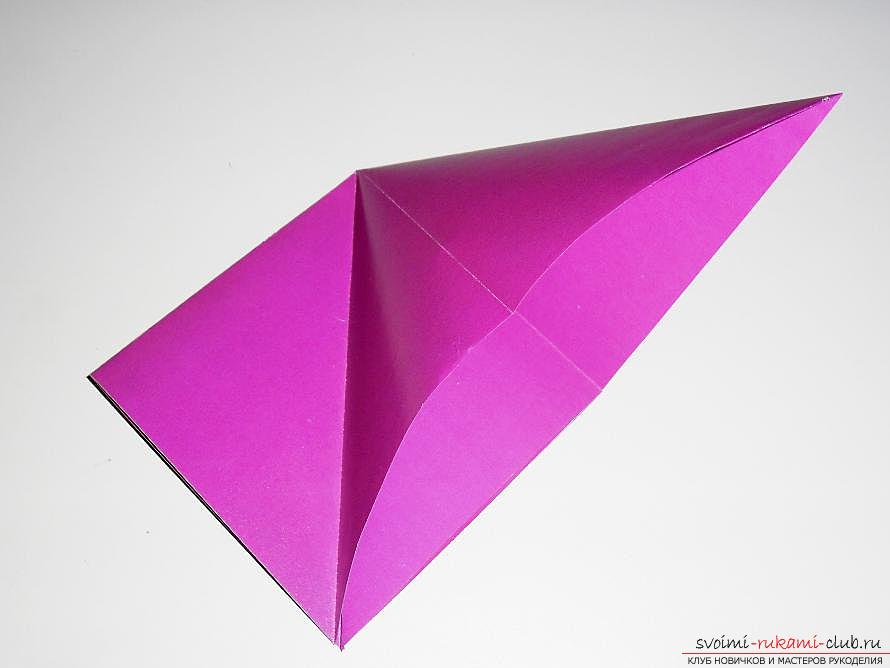 Again, unfold all the edges of the workpiece. That part of it, which is located below, we need to take the corner and slightly lift in the direction up.
 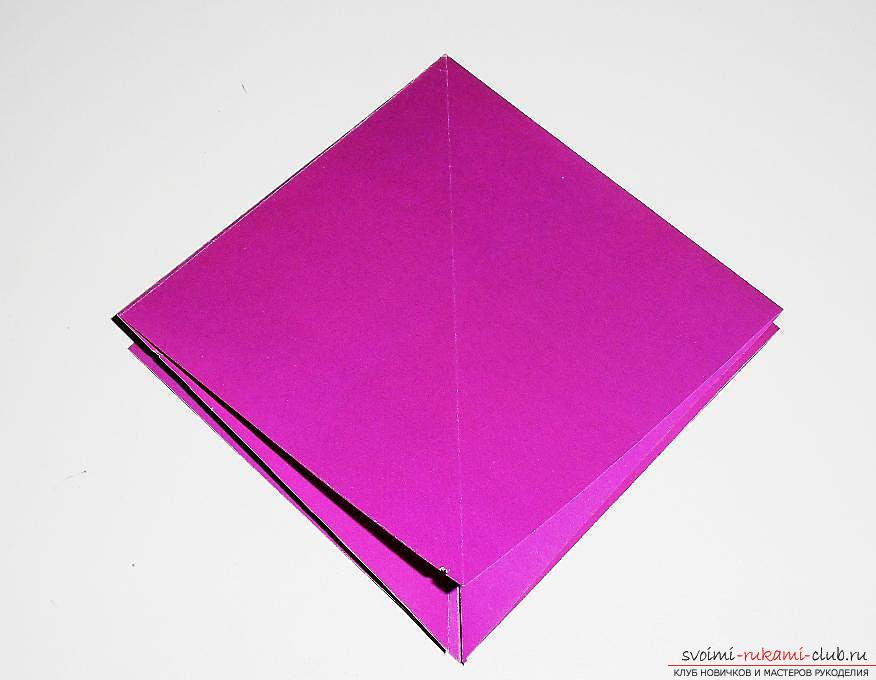 The edges that are on the sides of the figure, we gently bend along the existing folds inward.
 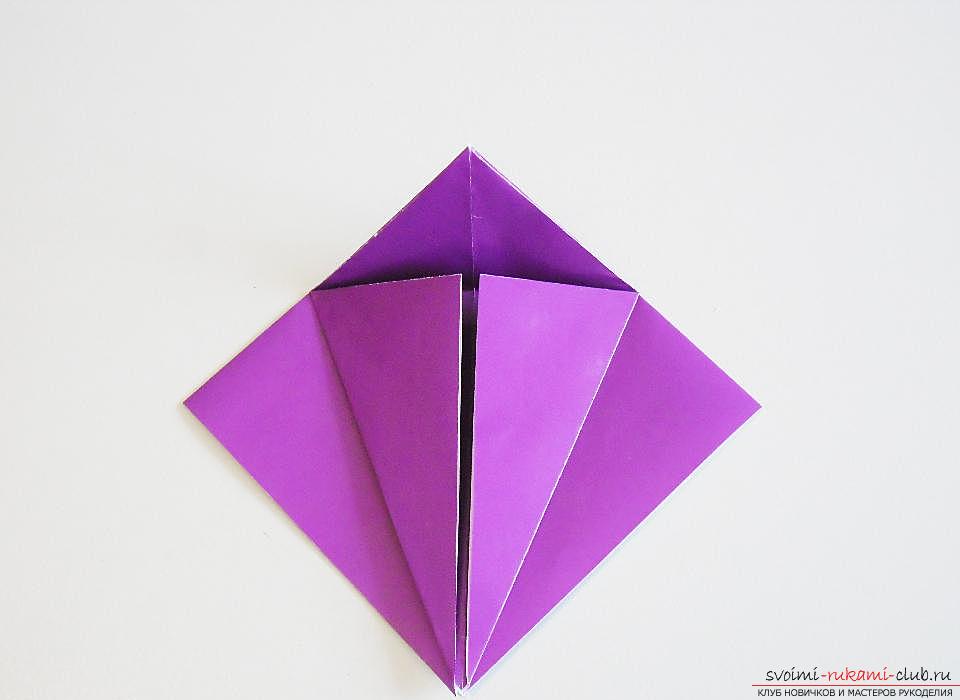 We turn the workpiece by the other side. There should be such a figure, which is shown in the photo.
 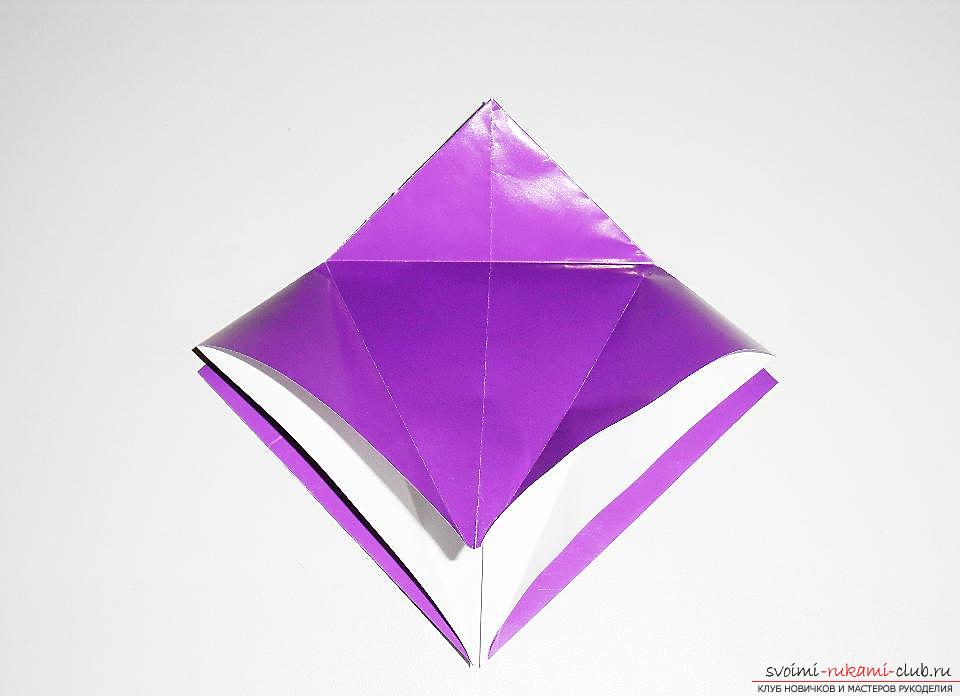 Now, in the direction of the line, centered on the side of both sides.
  We need to open the upper part of the blank. It's absolutely not difficult to do it, just look at the photo carefully.
 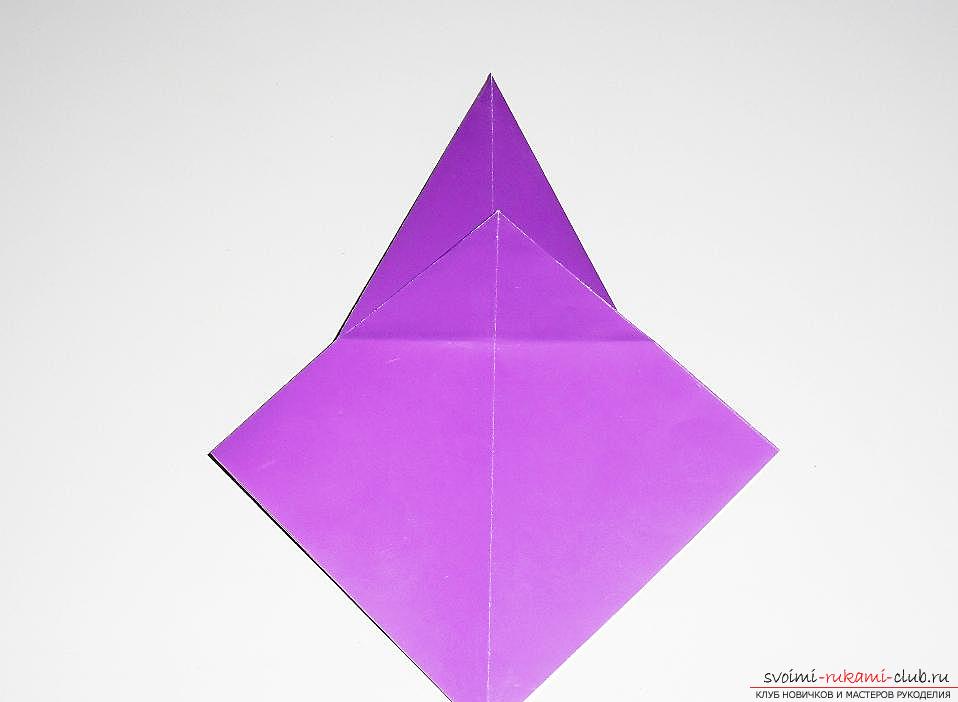 In exactly the same way as on the opposite side of the figure, we gently bend the edges inside the craft.
 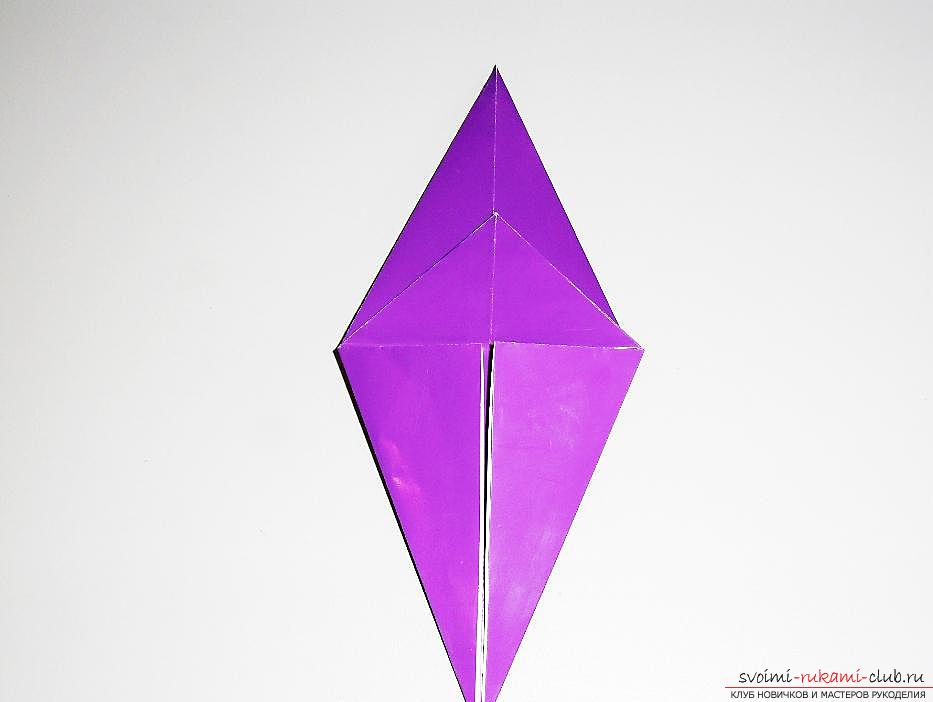 Then we'll fold the parts from the sides first, those that are below.
 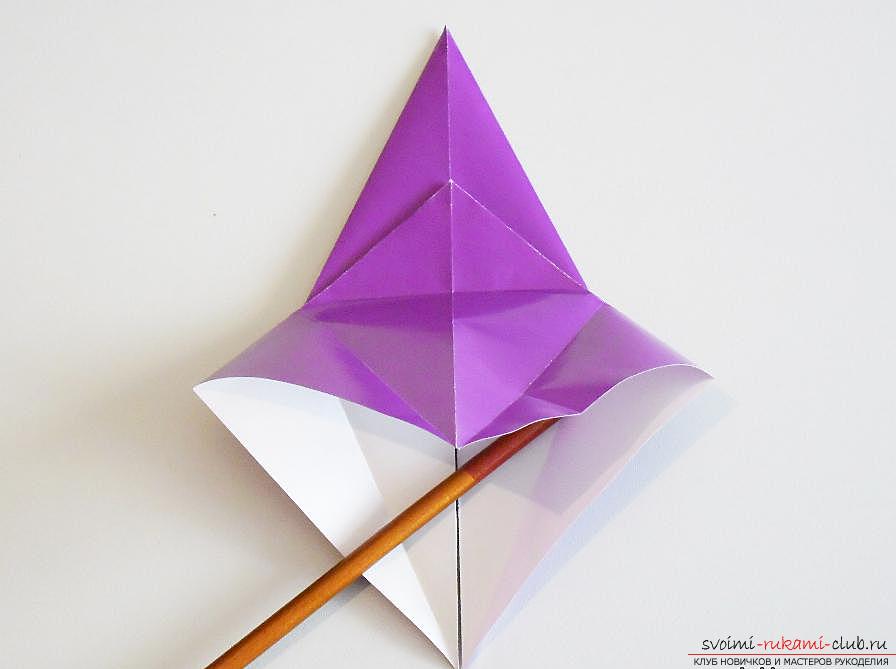 Then repeat the same action with the workpiece on its borate side.
  The side on the left will be bent to the right. The sides, folded earlier, should be in such a position that in the middle the part is completely integral.
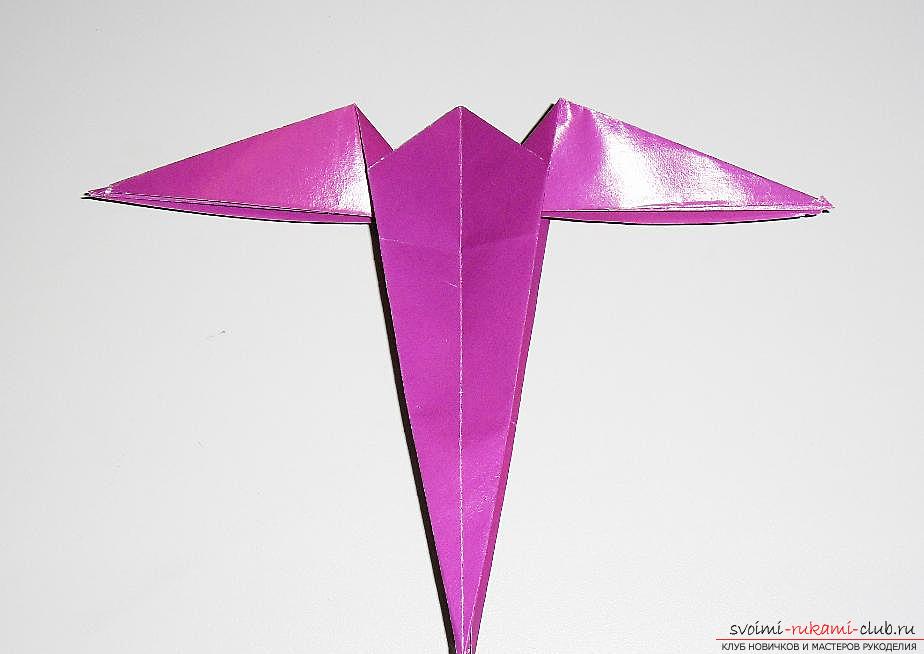
  We see in the photo that the upper part of our figure is bifurcated. It is these two components that will become the wings of the swallow.
  To give them the desired shape and position, we will push them a little to the sides and down.
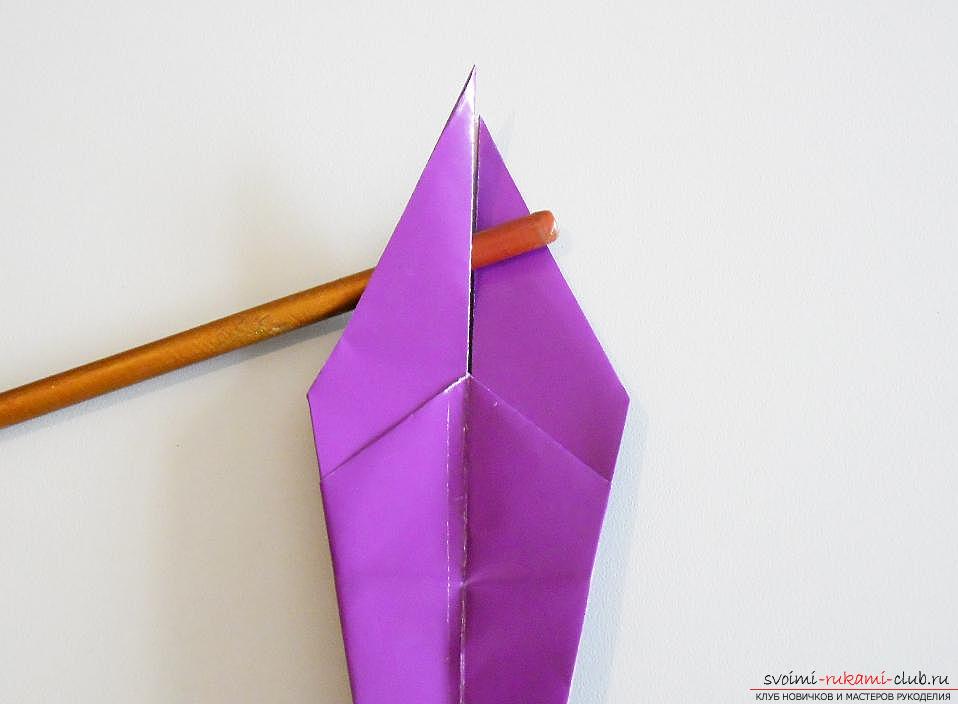
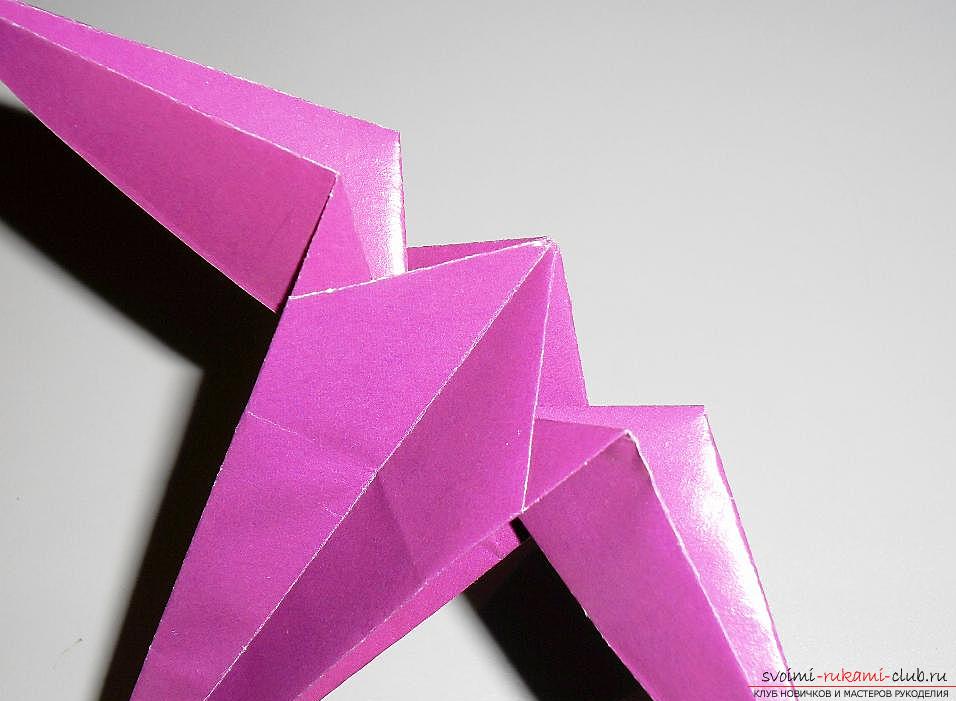
 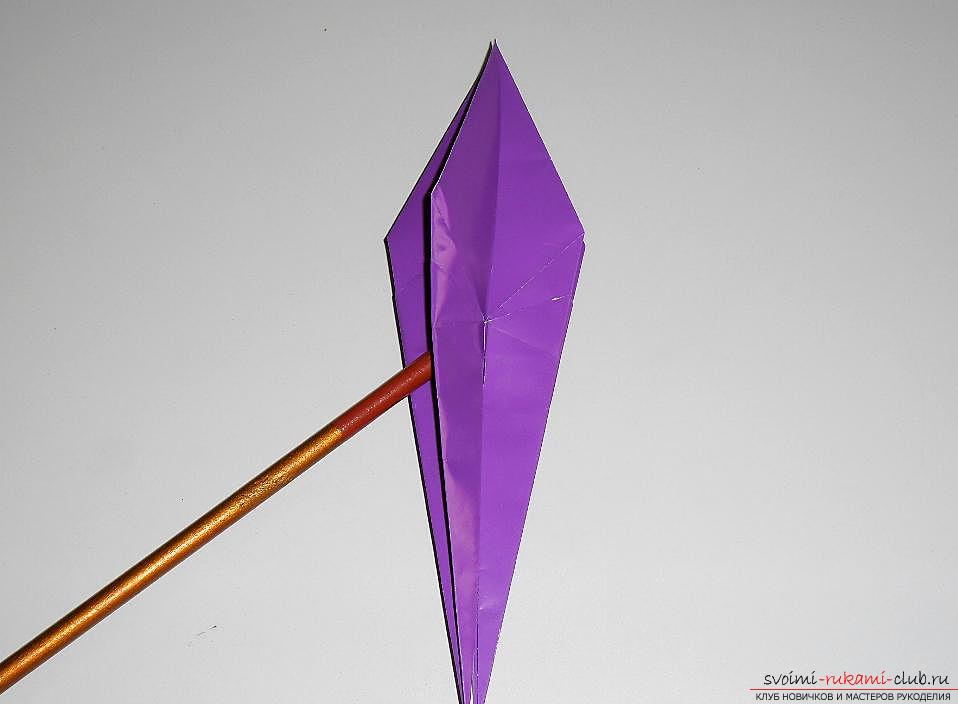 Now pay attention to the bottom of the workpiece. One of its details we need to bend along the middle line and point upwards.
 Then gently fold the same detail in the middle so that the angle is directed downward.
 Again, fold in half, only in this case the angle will look up.
 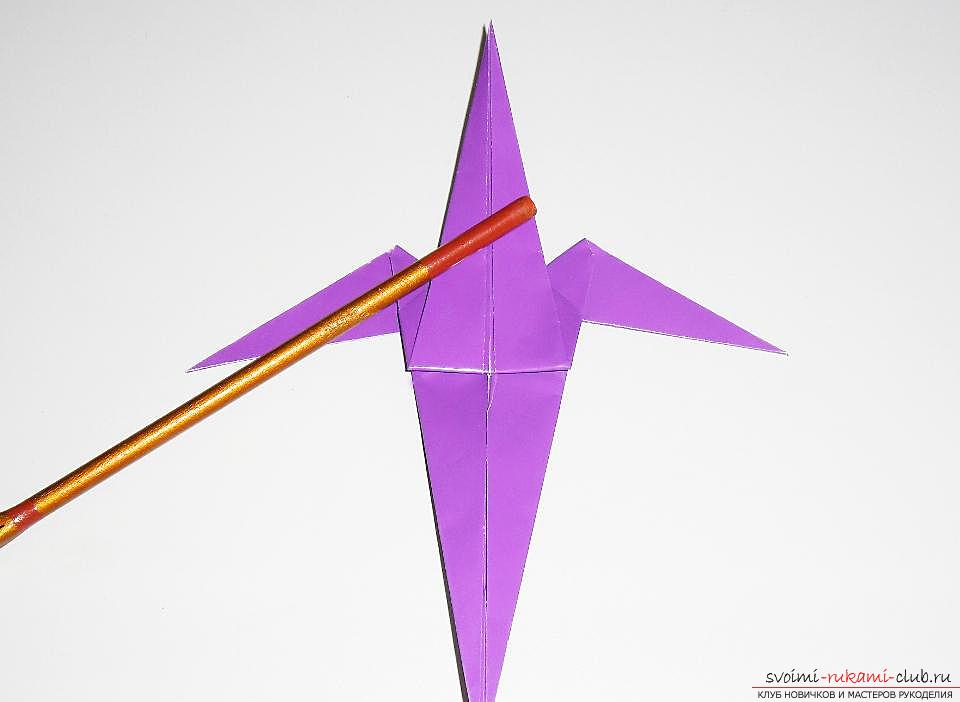 We turn the resulting figure to anotherside. As we can see, our beautiful swallow is almost ready to fly. It remains for us to make finishing touches, namely, to form a tail with a characteristic bifurcation at the end.
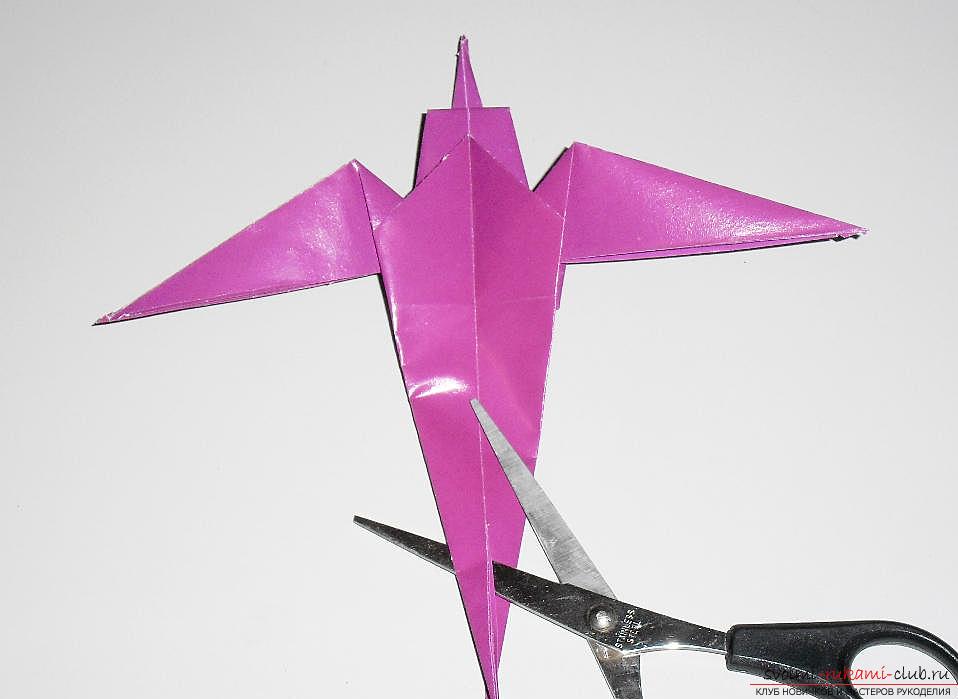
 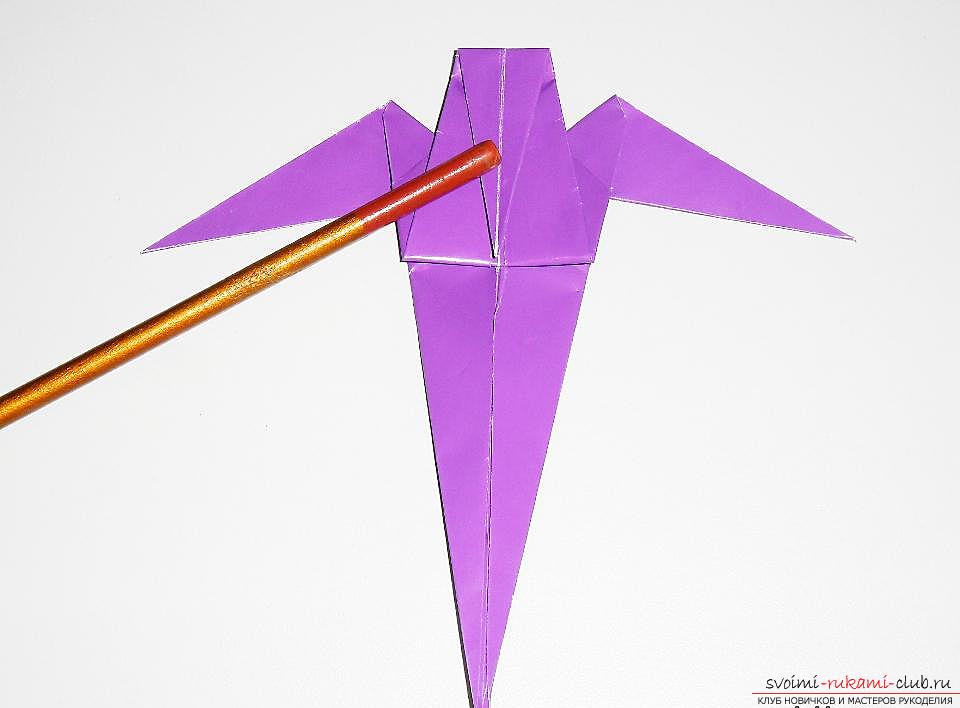 In order to give the tail the correct appearance, we will use the usual scissors. We will need to gently in the middle make a small incision.
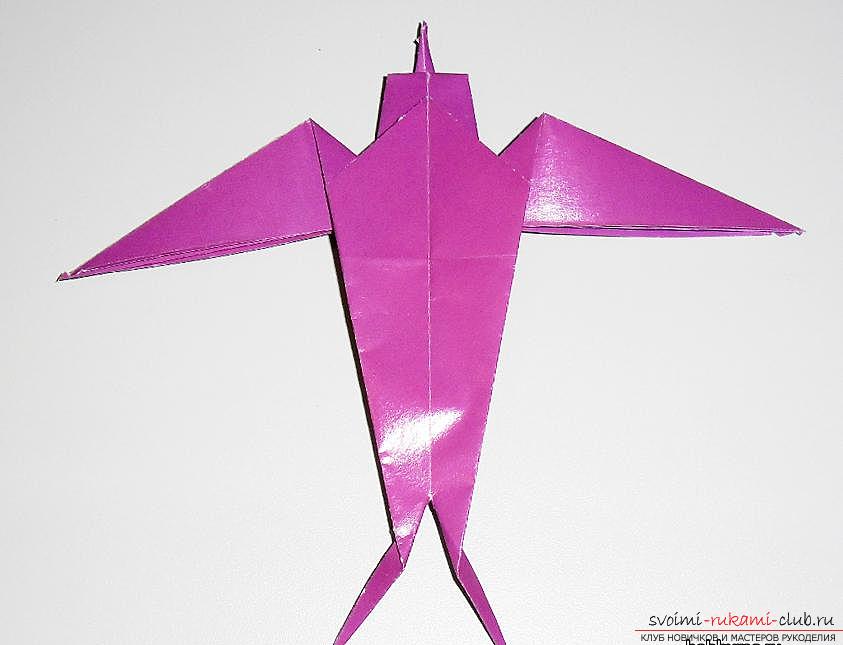
 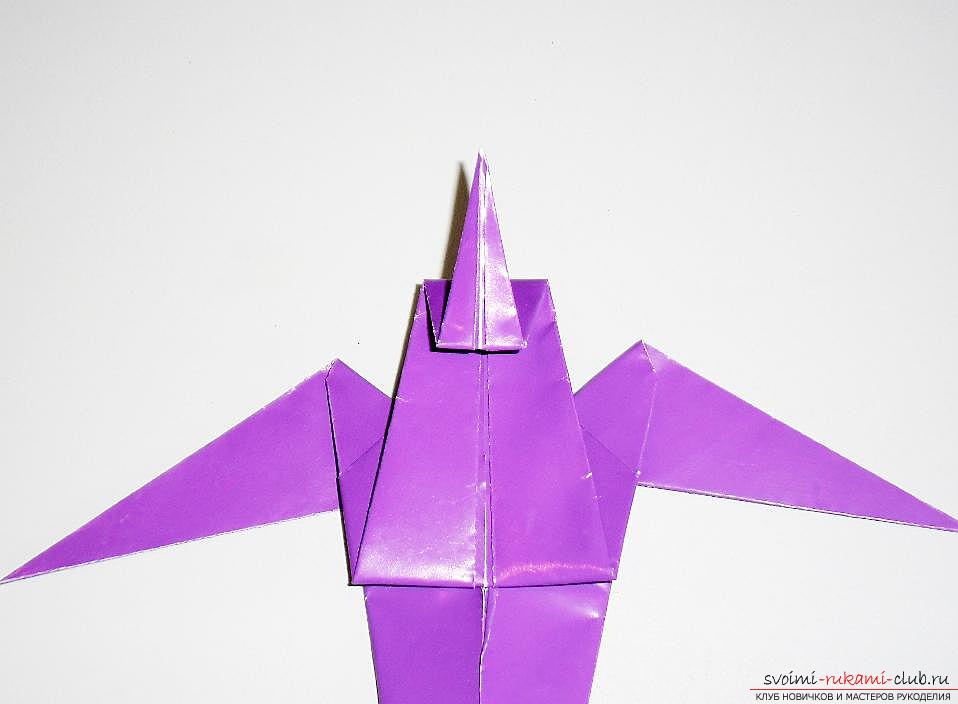 Now gently bend the incised edges in opposite directions and the swallow is completely ready.
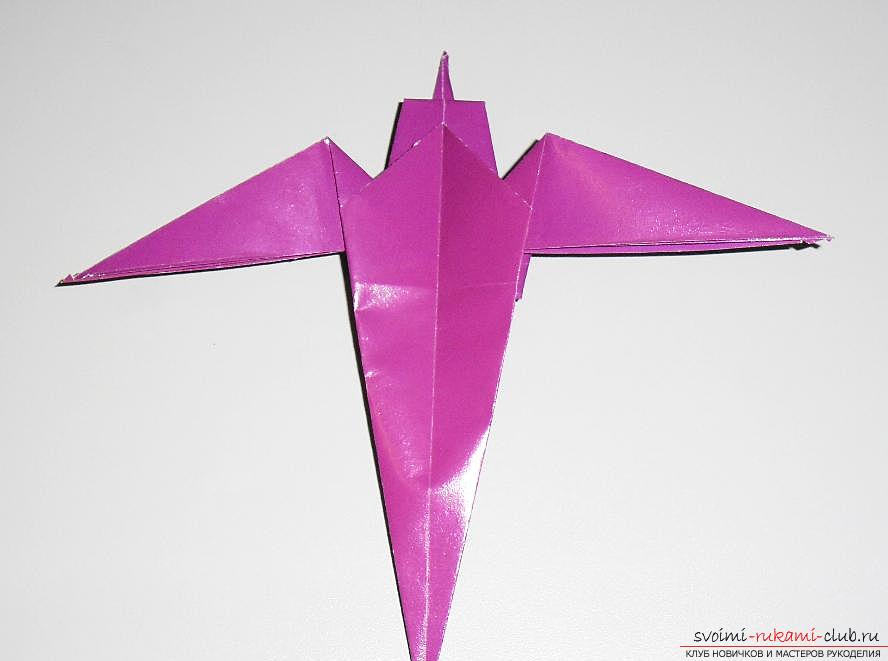
 You can make several such birds in differentcolor solutions. Then you and I will have a beautiful multicolored flock of swallows. You can decorate a children's room with such hand-made articles. It will be interesting for the kid to look at them and it is pleasant that he made such an unusual decoration on his own, with his own hands.
 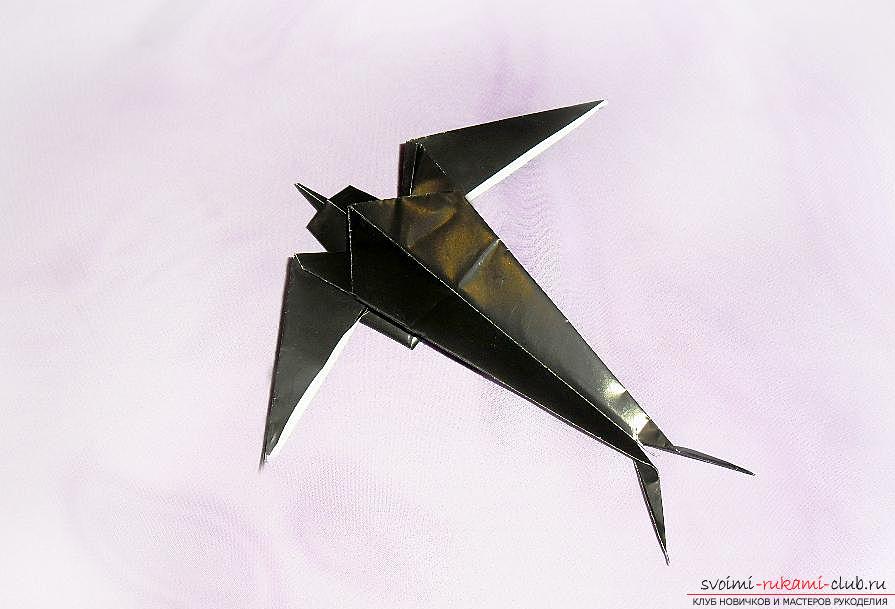 Making a swallow from paper in origami technique is sure to appeal to both children and adults, especially since it takes very little free time to produce it.
Comments
Related posts:
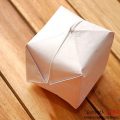 A volumetric cube in origami technique is easy to assemble from a regular sheet of paper a child can also
 How to make a paper tulip in origami technique
 How to make a cube of paper in the origami technique according to the finished scheme.
 How to make a three-dimensional star from paper in origami technique
 The three-dimensional figure of a dog in origami technique is not difficult to create and is accessible to everyone