
Handicrafts from chestnuts for kindergarten (giraffe, deer and horse): master class
 Autumn chestnut crafts for kindergartenshould be simple but interesting. We offer you just such - with a little help from caregivers, children will easily make original toys - giraffe, deer and / or horse. Or maybe, on the basis of a general idea, will it be possible to make a goat or calf? Who will the kids choose? And if in the kindergarten they asked homework to make a handicraft of chestnuts, parents first of all will like this master class so that work on it can be done quickly!
So, to make such crafts in the kindergarten of chestnuts, as in our photos, you will need:
4 small chestnuts and 2 - more; 5-6 toothpicks, depending on the "style" of the animal; some plasticine.
Handicrafts from chestnuts for kindergarten: job description
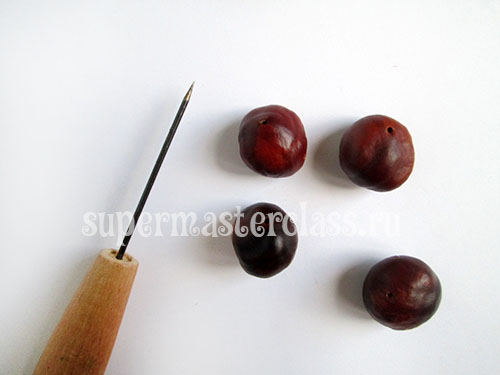
Best to work with fresh, justharvested chestnuts. They have a sufficiently elastic shell so that it can be easily pierced with a toothpick. If work with natural materials is planned, and chestnuts are poked badly, this is easy to fix: with the help of sewing, an adult can make holes in drying chestnuts, and children can join chestnuts with toothpicks. The basis of the animal For the body, we choose the largest chestnut. We stick 4 toothpicks into it - if they stick themselves, then without external help; and if not, then the holes are first made with an awl, and then toothpicks are inserted into them. 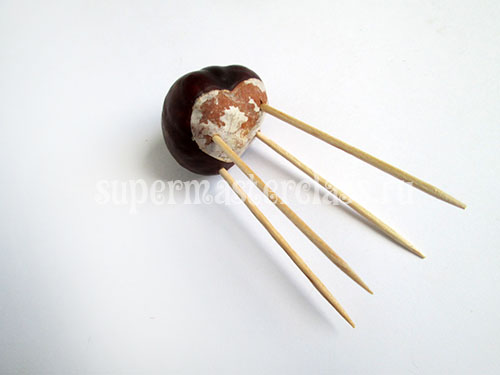
 Then a hole is made for the toothpick-neck. In order to make a chestnut workpiece stand steadily, it is important not to upset the balance. You do not need to have the “neck” as close to the edge as possible, otherwise the animal will constantly roll forward.
  Put the chestnut-head on the second part of the toothpick. Do not forget about the balance and stick not to the edge, but a little closer to the center.
 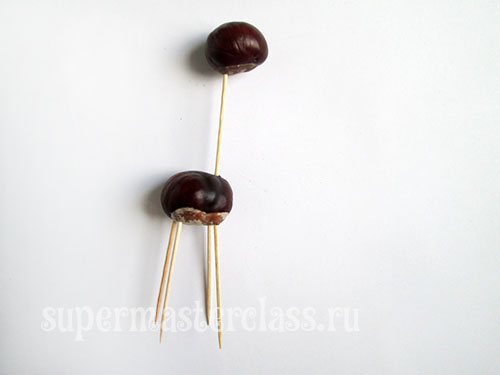 We check how stable our autumn crafts for kindergarten are.
 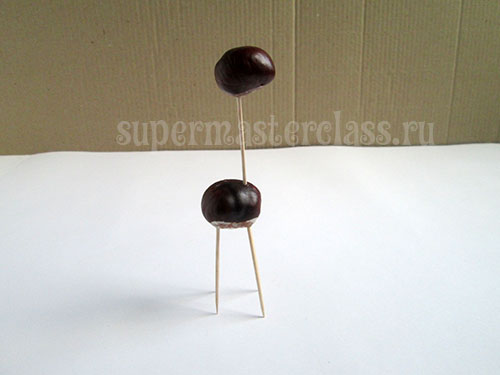 If everything is fine, then we continue to work. If not, then we help the children to move chestnuts and a toothpick so that the toy stands. Pay attention also to the toothpicks-legs: maybe you can find a better, more stable position for them? For the feet, or rather, the hooves, we select the smallest chestnuts. The most suitable option is “pair” chestnuts, in which one part is flat. But if there are none, it doesn't matter. Any small ones are fine. Here the main thing is to arrange them so that they all fit together on the toothpicks-legs, so that they are not crowded, and yes, that the toy retains its stability.
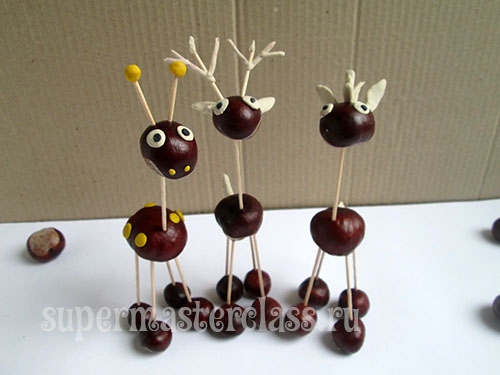
 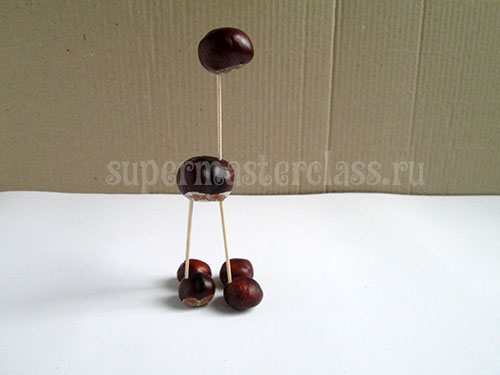 We made three figures at once. Let's see what they can be turned into?
 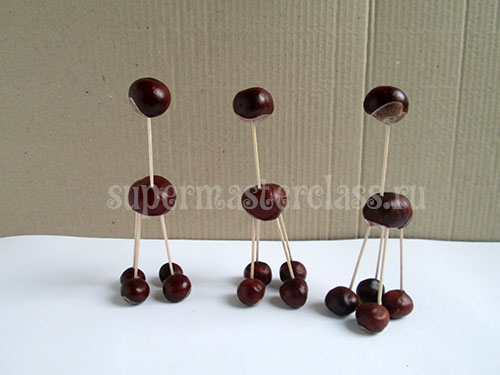 DIY giraffe from chestnuts for kindergartenA long neck-toothpick directly hints that we can turn one piece into a giraffe. We will not oppose. Take another toothpicks and break them in half: the half of one will turn into a tail, and the two halves of the other will turn into blanks for the horns.
 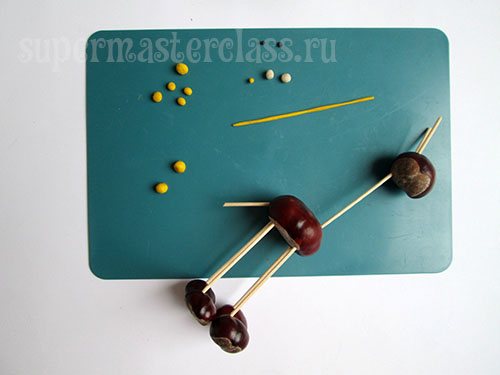 Still need parts from clay: thin yellow band, 6-8 small yellow balls, 2 tiny ones and 2 bigger balls; from white plasticine - 2 medium sized balls for eyes and 2 small black ones for pupils. Let's start with the eyes. White balls crush in the place of the head where the eyes should be.
 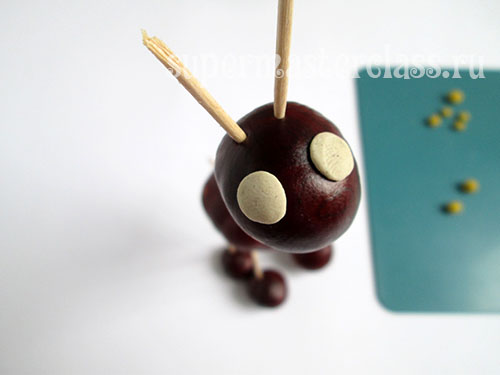 Add black pupils.
 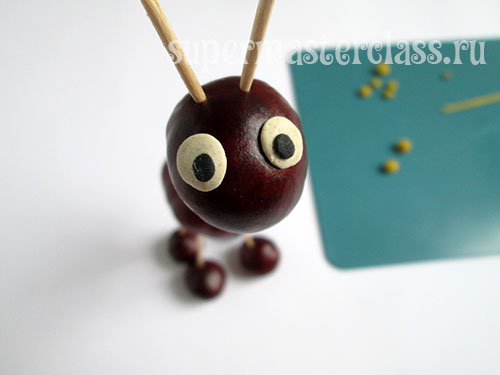 The smallest yellow balls are the nostrils. Stick them in place.
 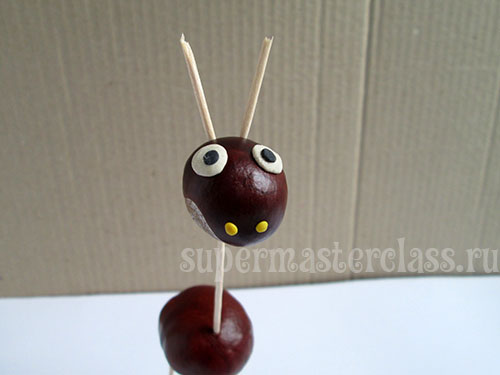 On the edge of the toothpicks horn we plant yellow large balls.
 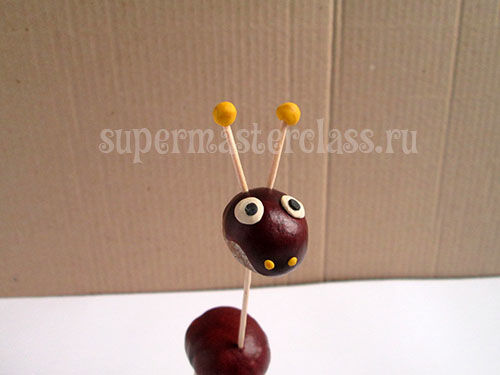 The remaining yellow balls spread across the body of a giraffe - it must be spotty!
 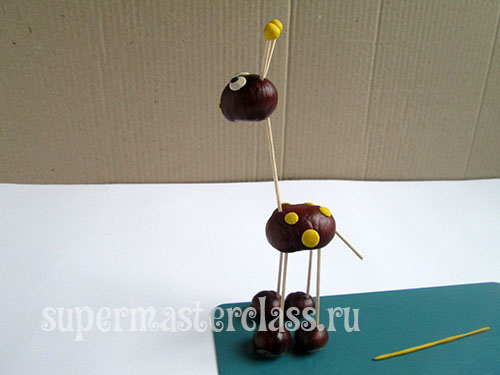 Harness cut or tear into small pieces and stick them with the tip of a toothpick-tail, forming a laid brush.
 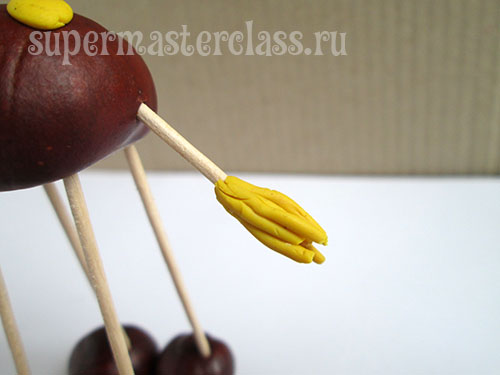 Giraffe is ready.
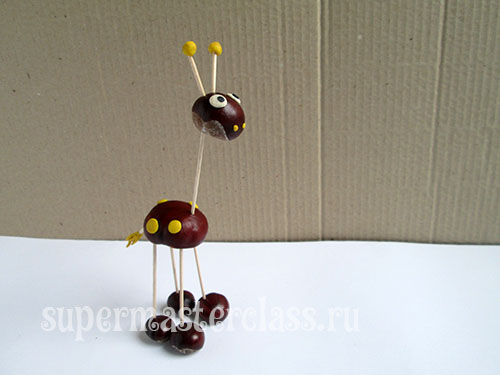
 Deer What is needed to make a deer?
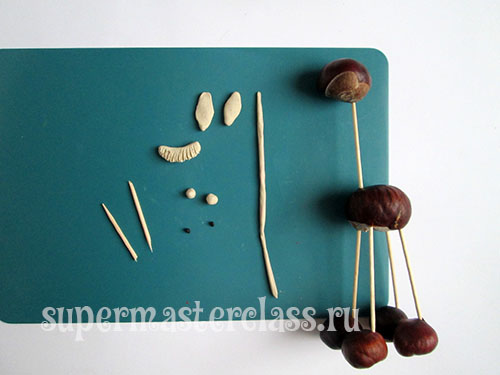
- broken toothpick;
- 2 white plasticine balls larger and 2 small black balls - for the eyes;
- long thin white plasticine harness;
- 2 fashioned and flattened sausages, pointed on both sides (ears);
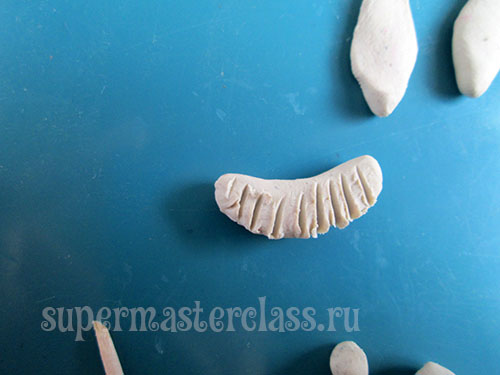
- tail: a piece of plasticine twisted into a sausage, then flattened, curved by a light arc and “drawn” by the stack to imitate wool.
 Just like the giraffe, we make eyes: first flatten the white balls, and on top - the black ones.
 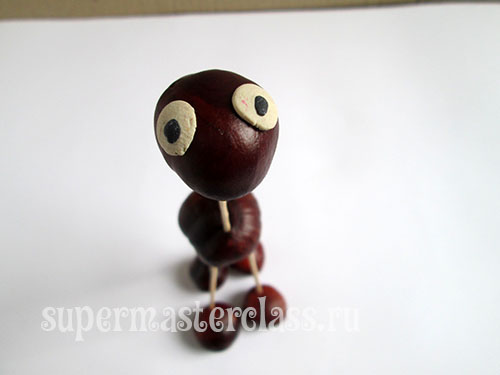 We insert toothpicks horns so that they look well in different directions.
 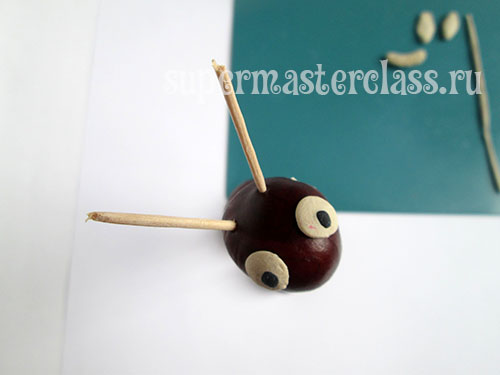 Glue the ears.
 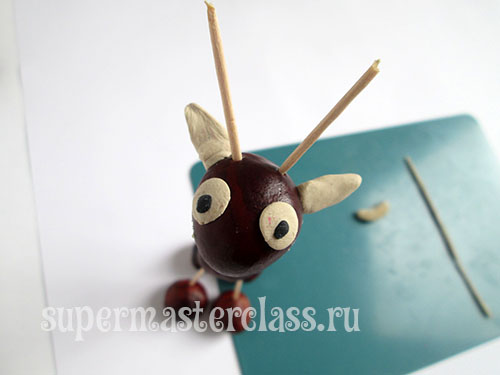 Tail queue.
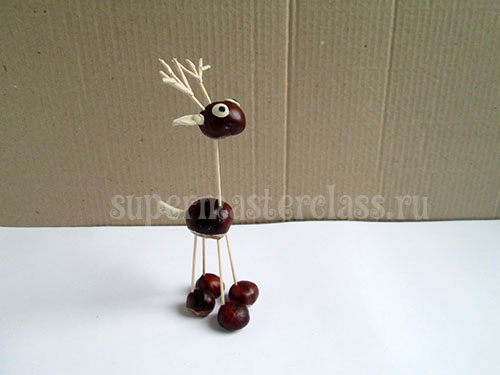
 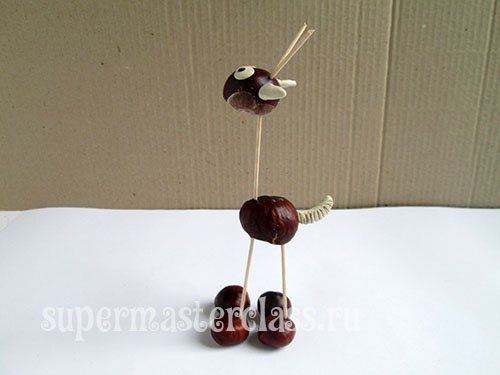 We tear or cut the plasticine bundle into small pieces and form horns from them (here you will need the help of educators or parents).
  Deer is ready.
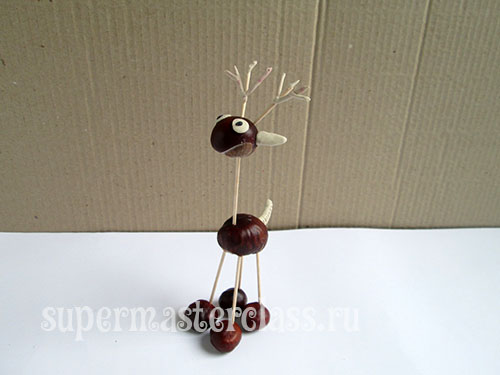
 Horse Horse is very easy to do.
  For its assembly we make such details from plasticine:
- 2 white eye balls;
- 2 black eye balls;
- 2 short sausages, pointed on both sides and then flattened (ears);
- several long thick sausages.
Already familiar to you, glue the eyes and ears. 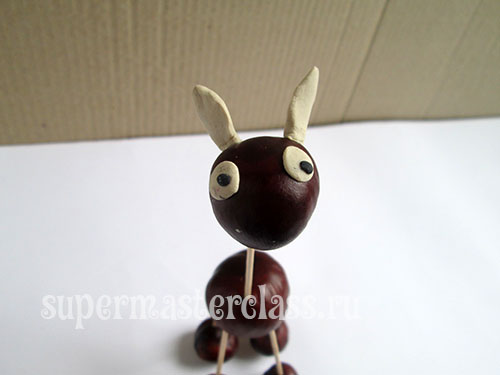 We slice or tear sausages into small pieces - this will be a mane. Place it between the ears on the chestnut-head.
 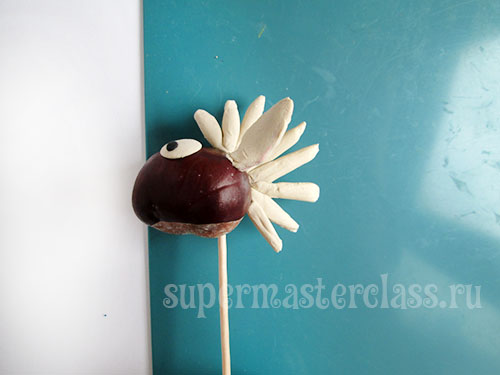 Then we cut several sausages longer and glue them into a bun, and only then glue it in place for the tail.
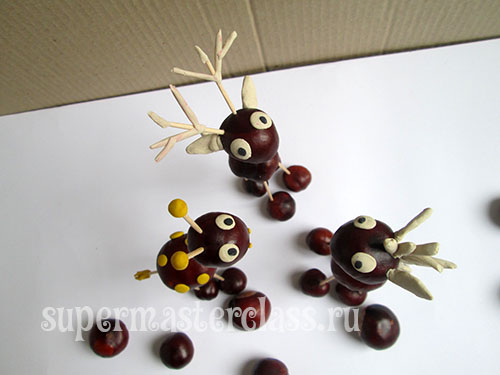
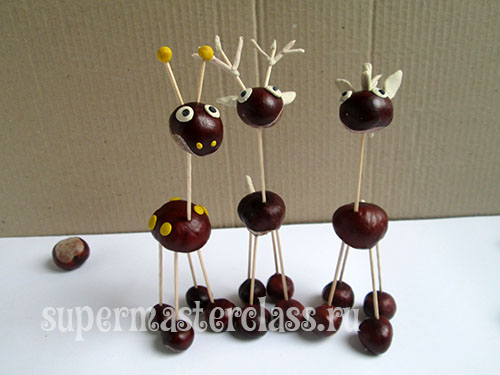
  And a few more photos of our fun company. I think such autumnal chestnut crafts for the kindergarten will definitely please the children!
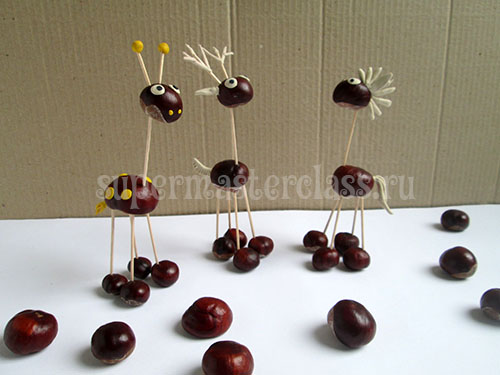


 See also workshops: and. Eva Casio specifically for the site Previous article: Next article:
Comments
Related posts:
 Autumn crafts made of chestnuts. A large number of samples, tips and ideas for crafts.
 Crafts from the dough: Santa Claus goes on a sleigh for the 2015 Competition, handmade crafts for the kindergarten
 Interesting autumn crafts for kids with their own hands, crafts for kindergarten from vegetables, cones, leaves and much more with photos and descriptions.
 How to sew flags from fabric for home and kindergarten. Master Class. Video / Toys with own hands, patterns, video, MK
 What crafts can be made for a kindergarten. Options and free solutions.