
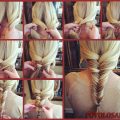
How to create a New Year's hair at home for long hair? Detailed description of the process of creating a hairstyle with step-by-step photos
New Year is a holiday requiring specialtraining. After all, this puts on beautiful outfits, which combine holiday hairstyles. In this description you will get to know how to make an interesting, voluminous hairdo with your own hands, which is combined with an evening dress and is suitable for any celebration. 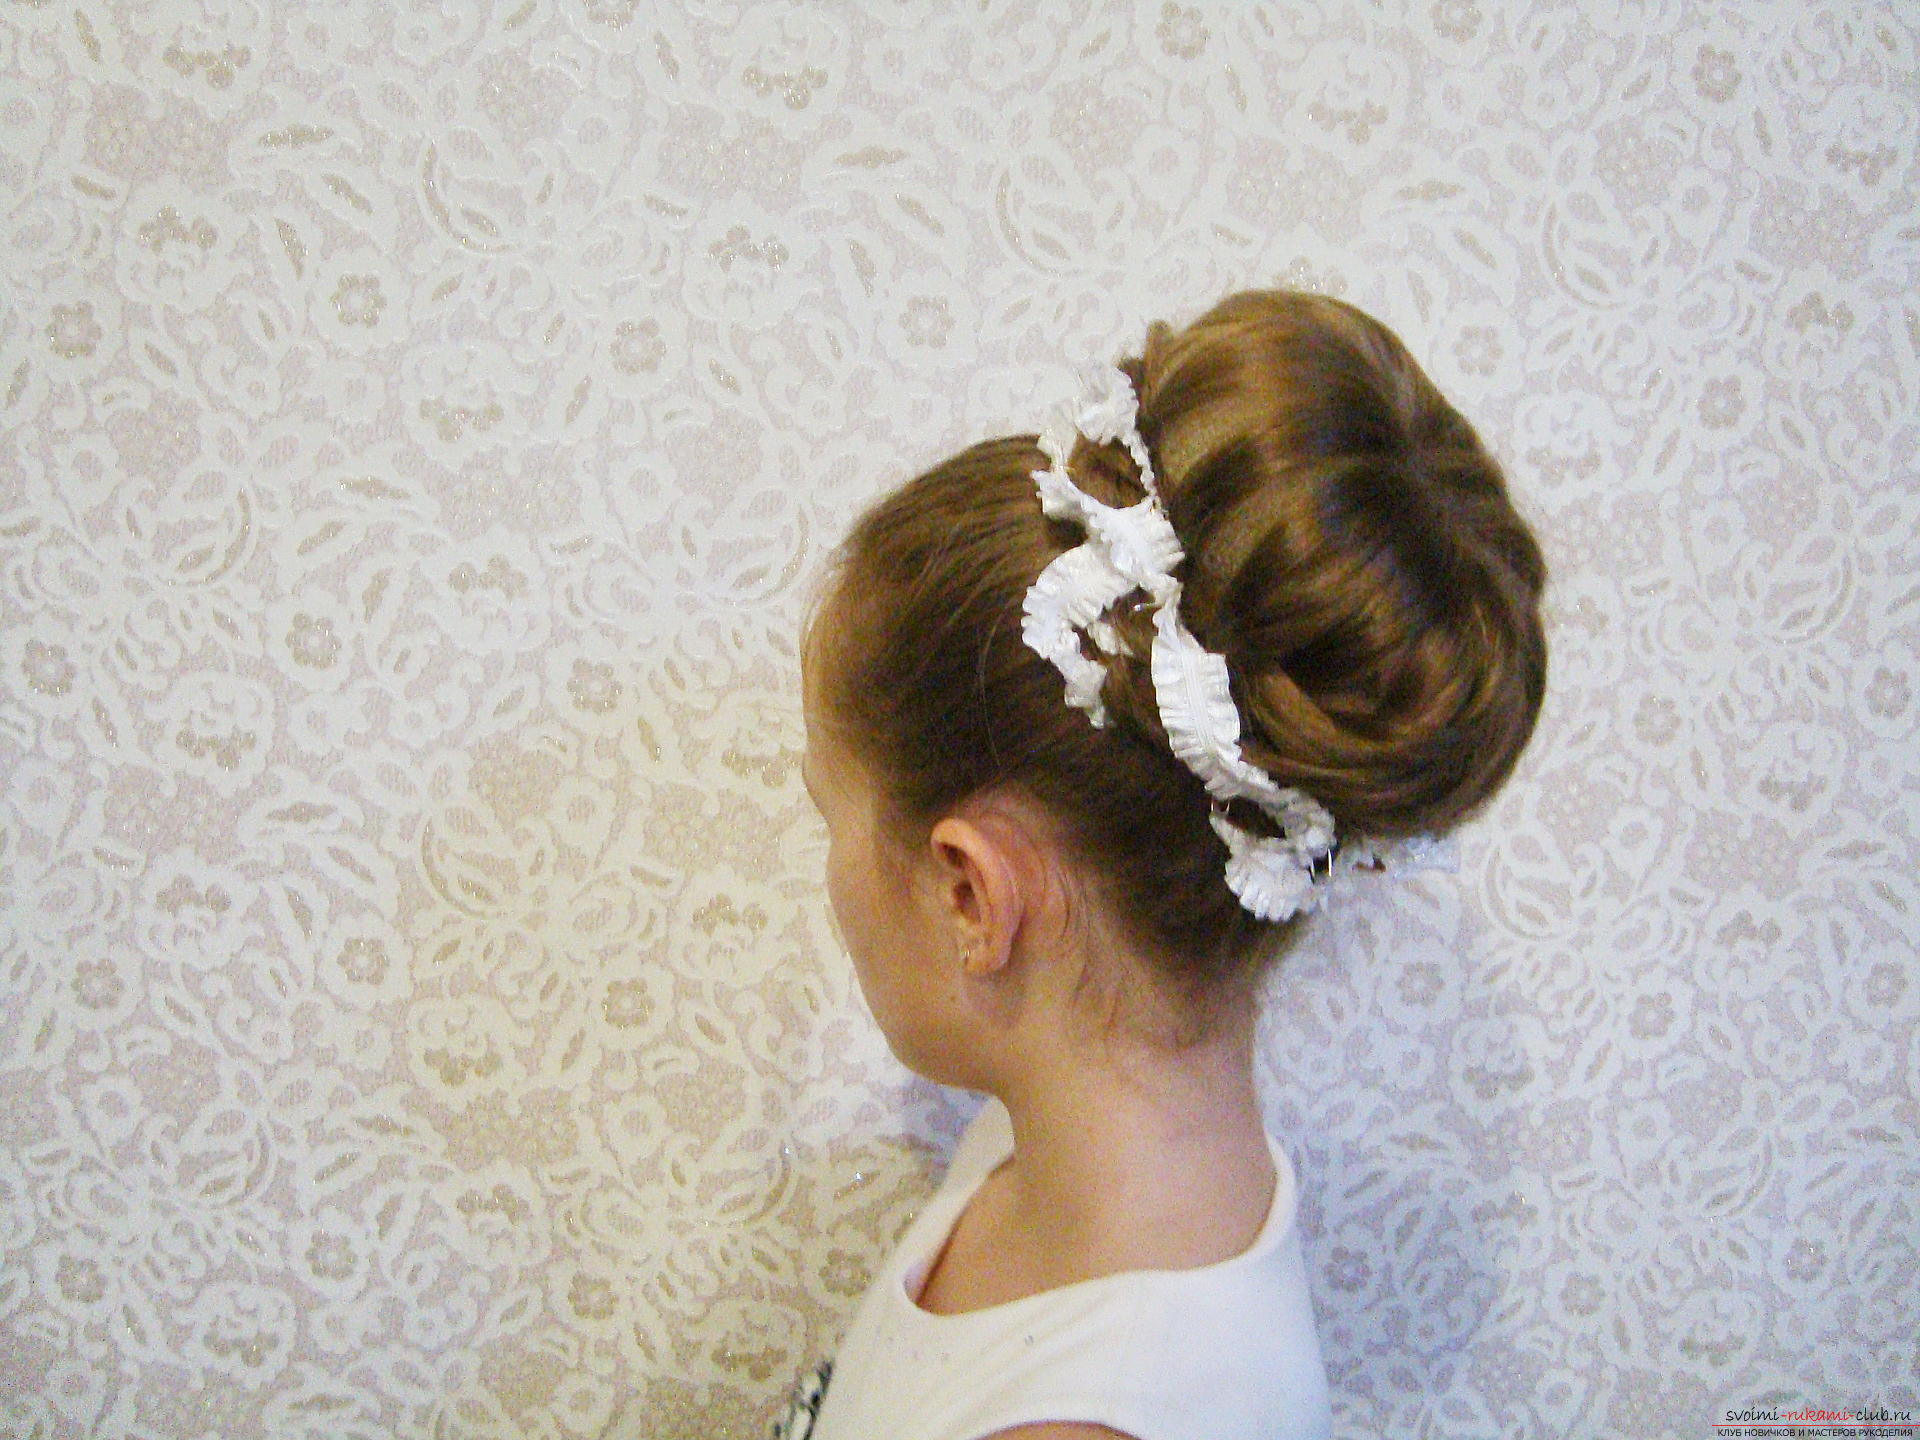 This New Year's hair is created on longhair, using a special substrate. Even in the creation of packing, a white festive ribbon is used, which makes the hairstyle especially solemn and unusual.
What do you need to prepare in advance?
Video instruction
Begin to prepare hair for the hair -carefully comb them. For this hairstyle, there is no requirement for freshly washed hair, since weaving is allowed and on hair, lubricated with natural secretions of sweat glands. Collect all the hair in a high tail. At this stage, you need to carefully comb the side hair, so that they lie smoothly over the entire head. Rub the rubber on the tail as tightly as possible. 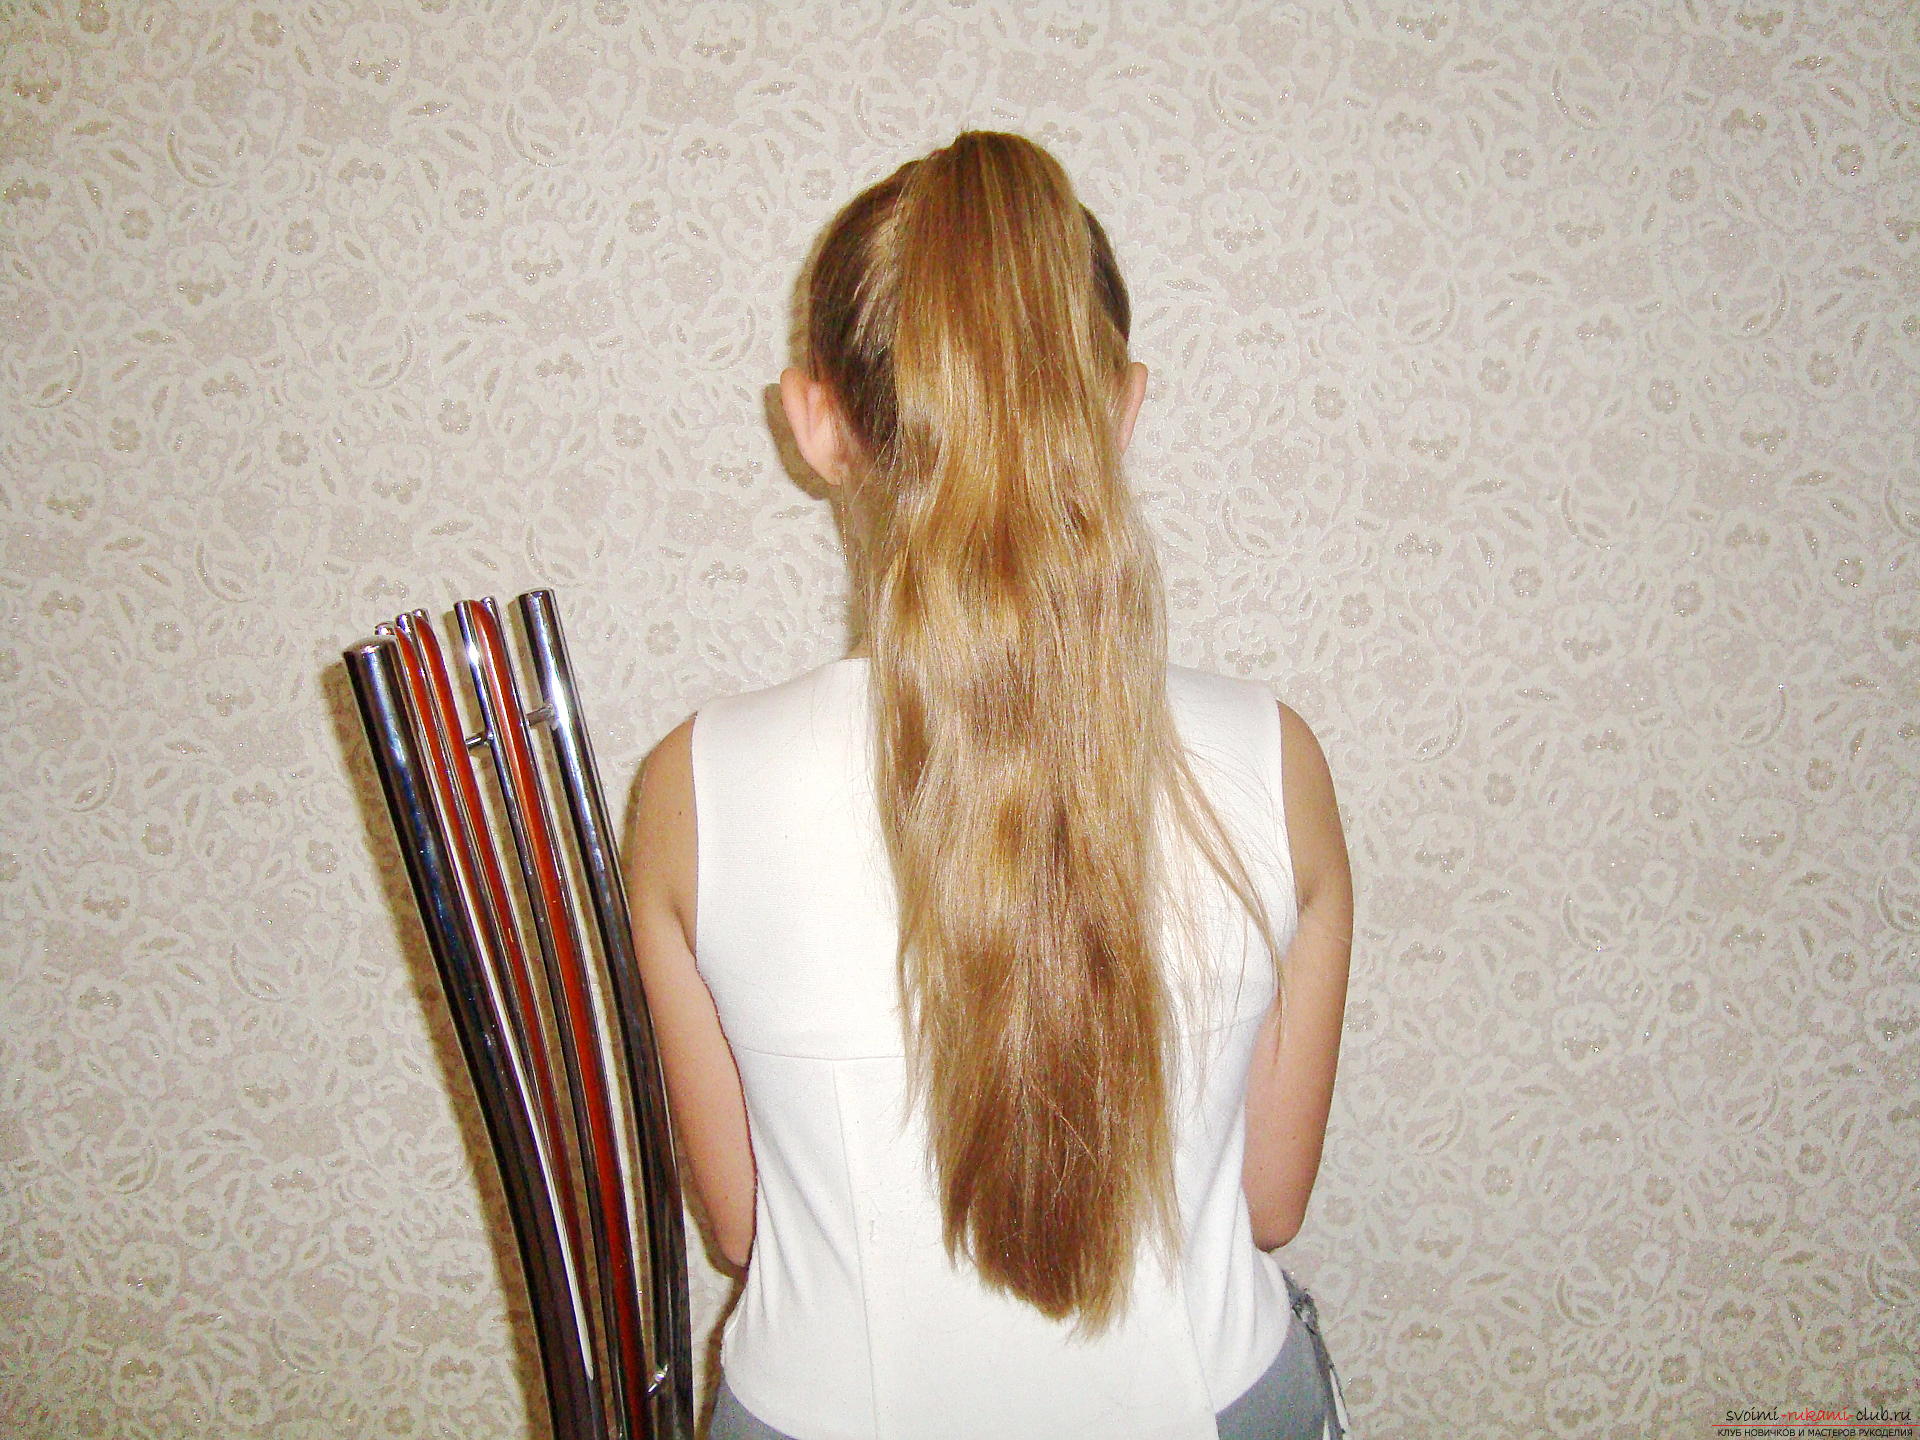 On top of the tail put on a rounded substrate. To ensure that it adheres closely to the hair collection area, and does not slip further, you need to pin it with hairpins.
 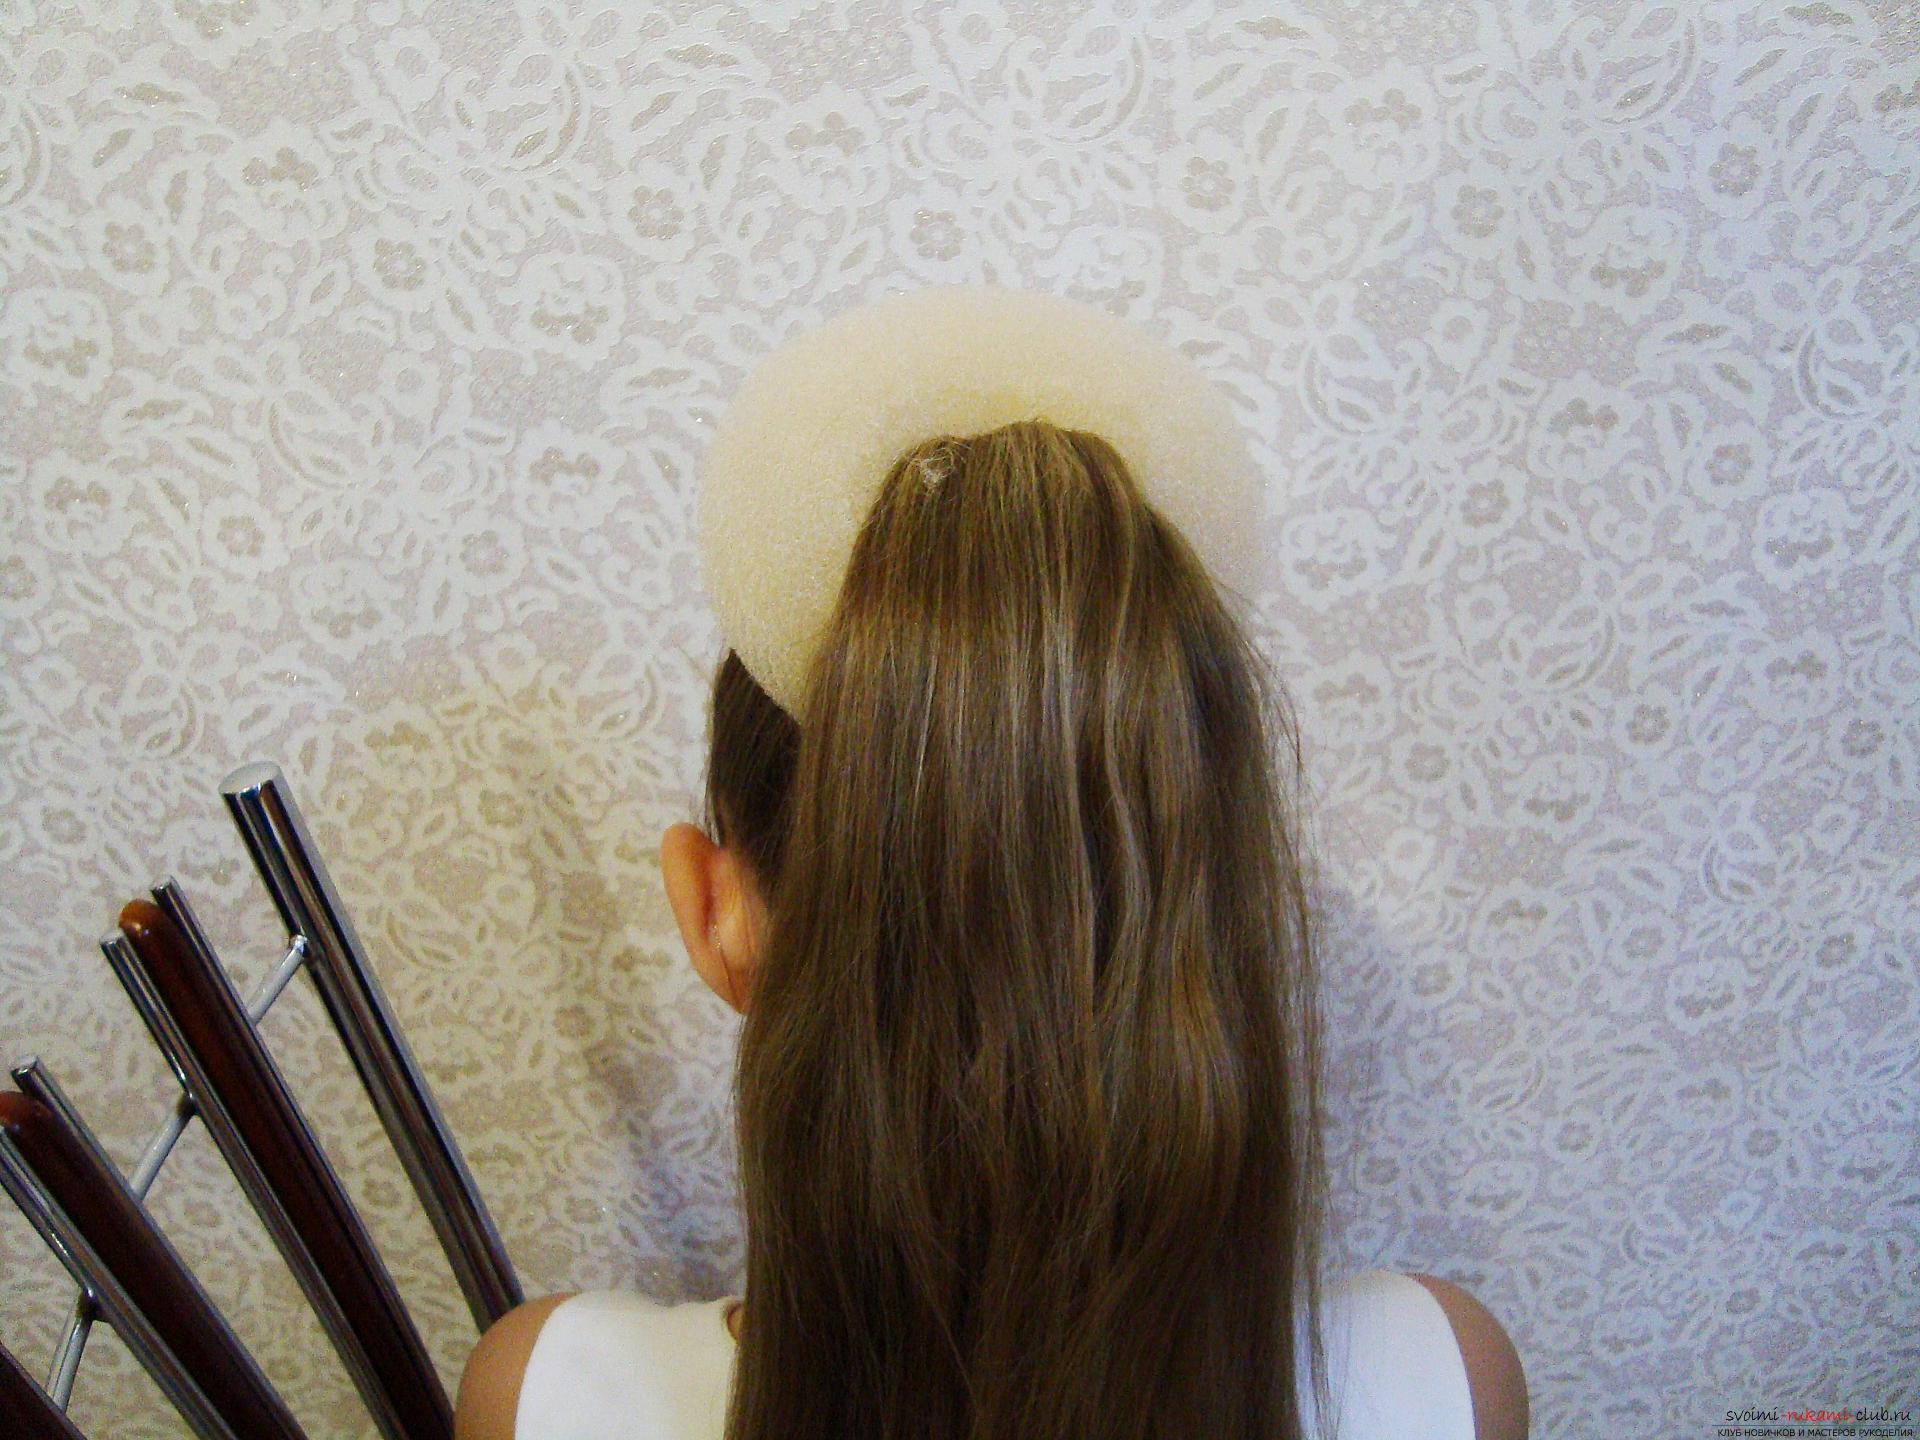 Now all the hair from the tail is thrown forward andstraighten the diameter of the substrate. That is, the hair strands must fill the entire circumference, try not to create lumens. Only an empty groove on the underside of the tail should remain. Here will take the beginning of the braid, which on the circumference will collect all the hair.
 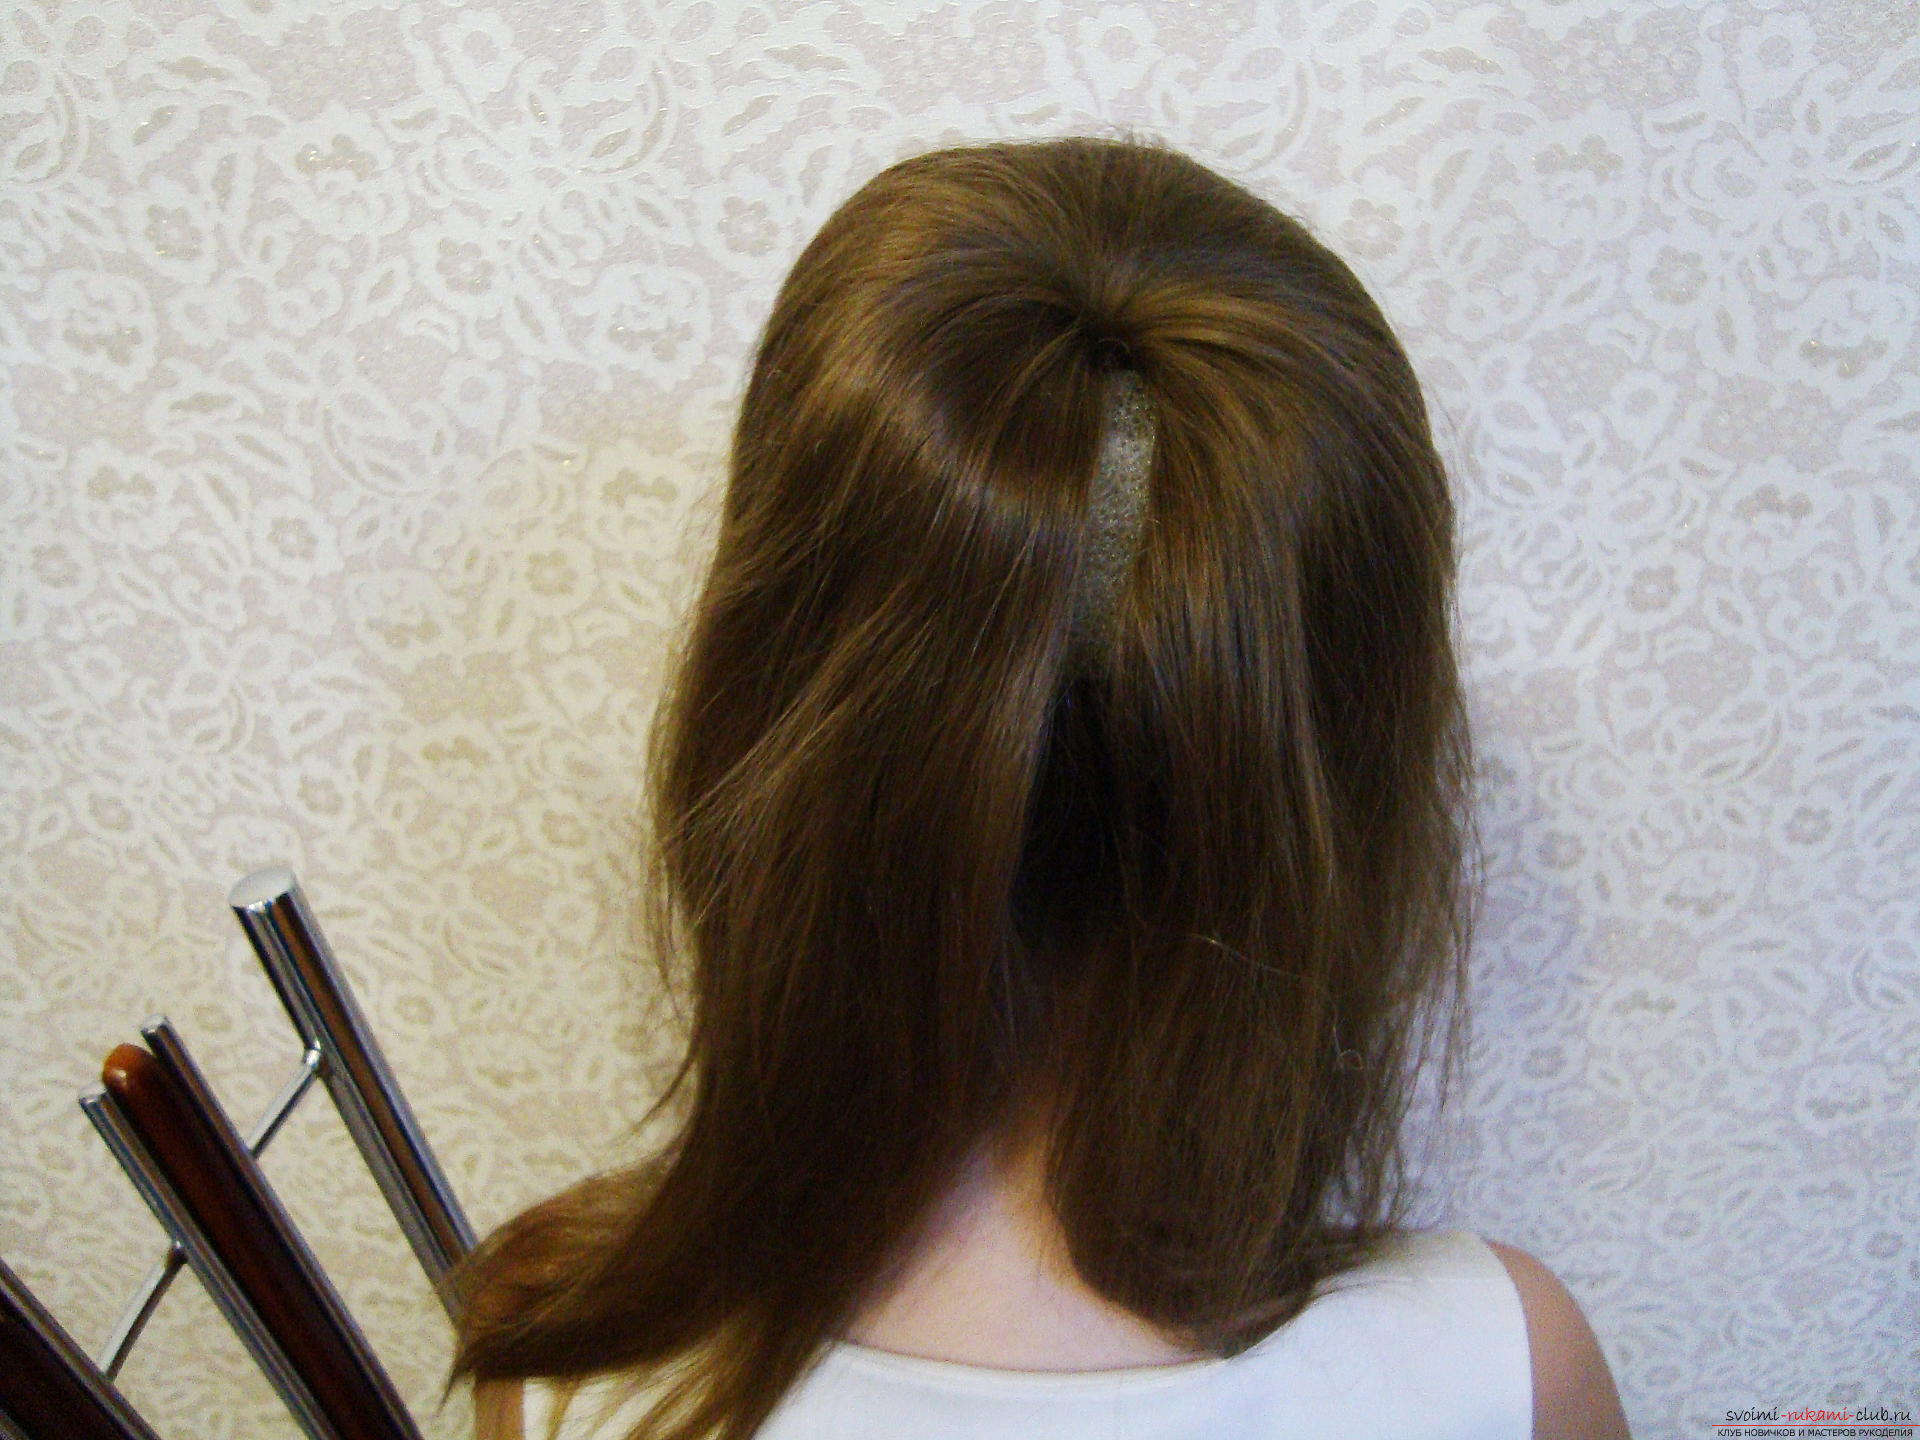 Now proceed to create the braid. In this weaving, all the hair gradually gathers, forming a festive styling. A braid starts from one strand, which is separated to the left of the groove left. Let's begin to weave the usual three-row braids. For this, we separate the string into three parts and start shifting the left part to the center, and then the right strand is moved to the middle. All the bindings go over the neighboring strands, that is, the parts of the braid from the edges are gradually superimposed on the central strand and are woven together.
  The scythe begins not at the elastic band itself, fasteningtail, and a little lower. On the second binding we connect new strands, which are scattered on the lining. We weave in the left strand an additional part. In advance, separate a small string from the scattered hair, comb it, add it to the last strand and put these hair together in the center of the weaving. The right lower part of the braid is created without additional elements; here, exactly and accurately, twist the strand into the center of the braid.
 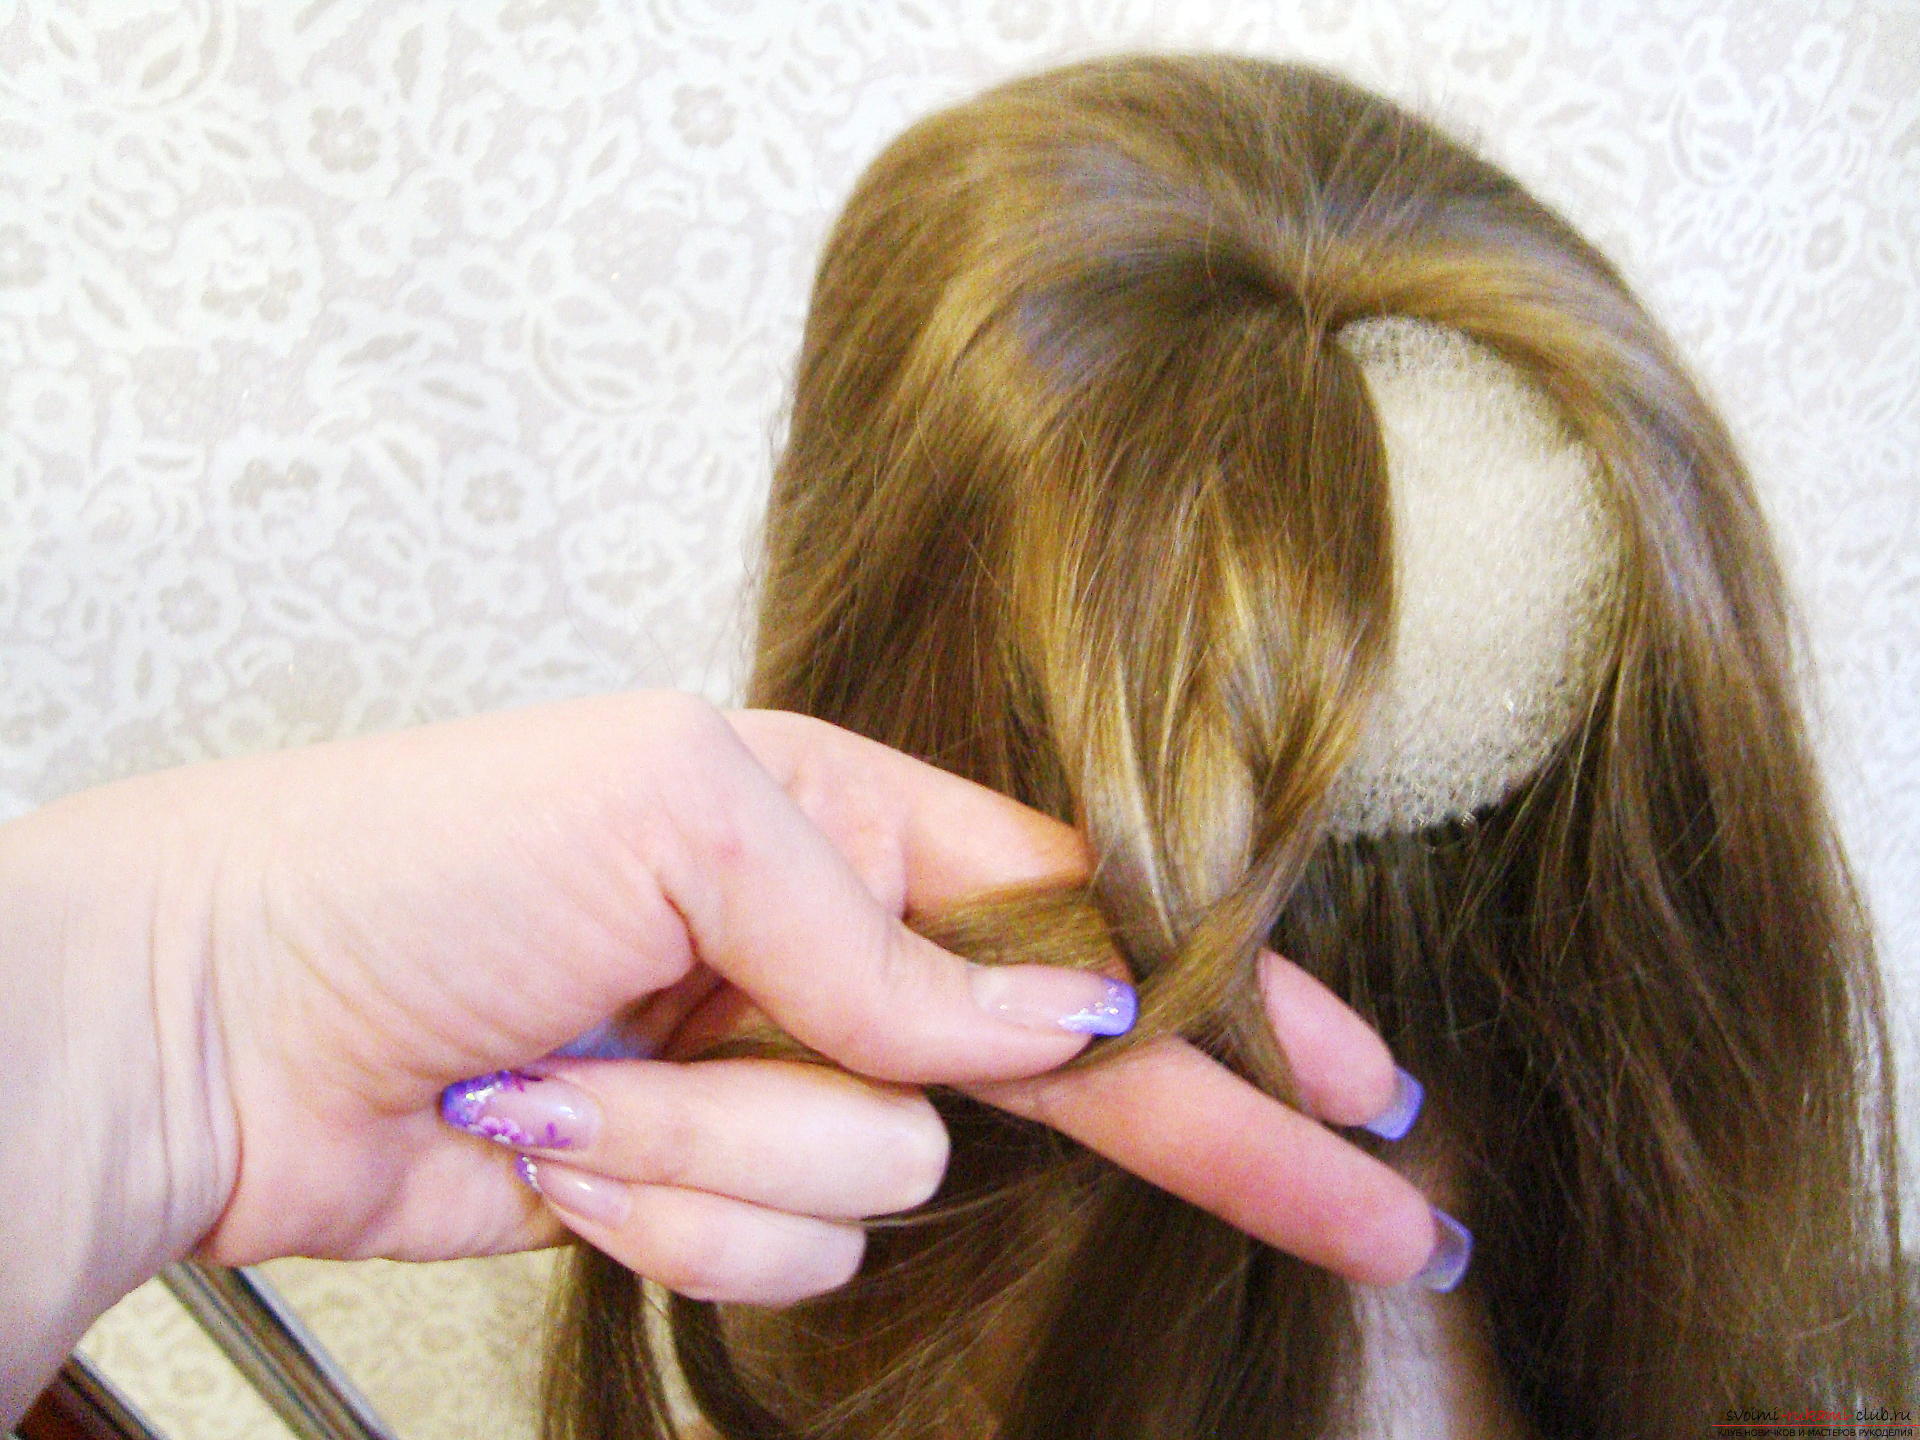 In this way, plait the spit in a circle, turningmodel or you need to move around the hairstyle. It's important to pick up everything and compare these strands step by step, so that the New Year's hairdress turns out beautiful, smooth on the sides.
 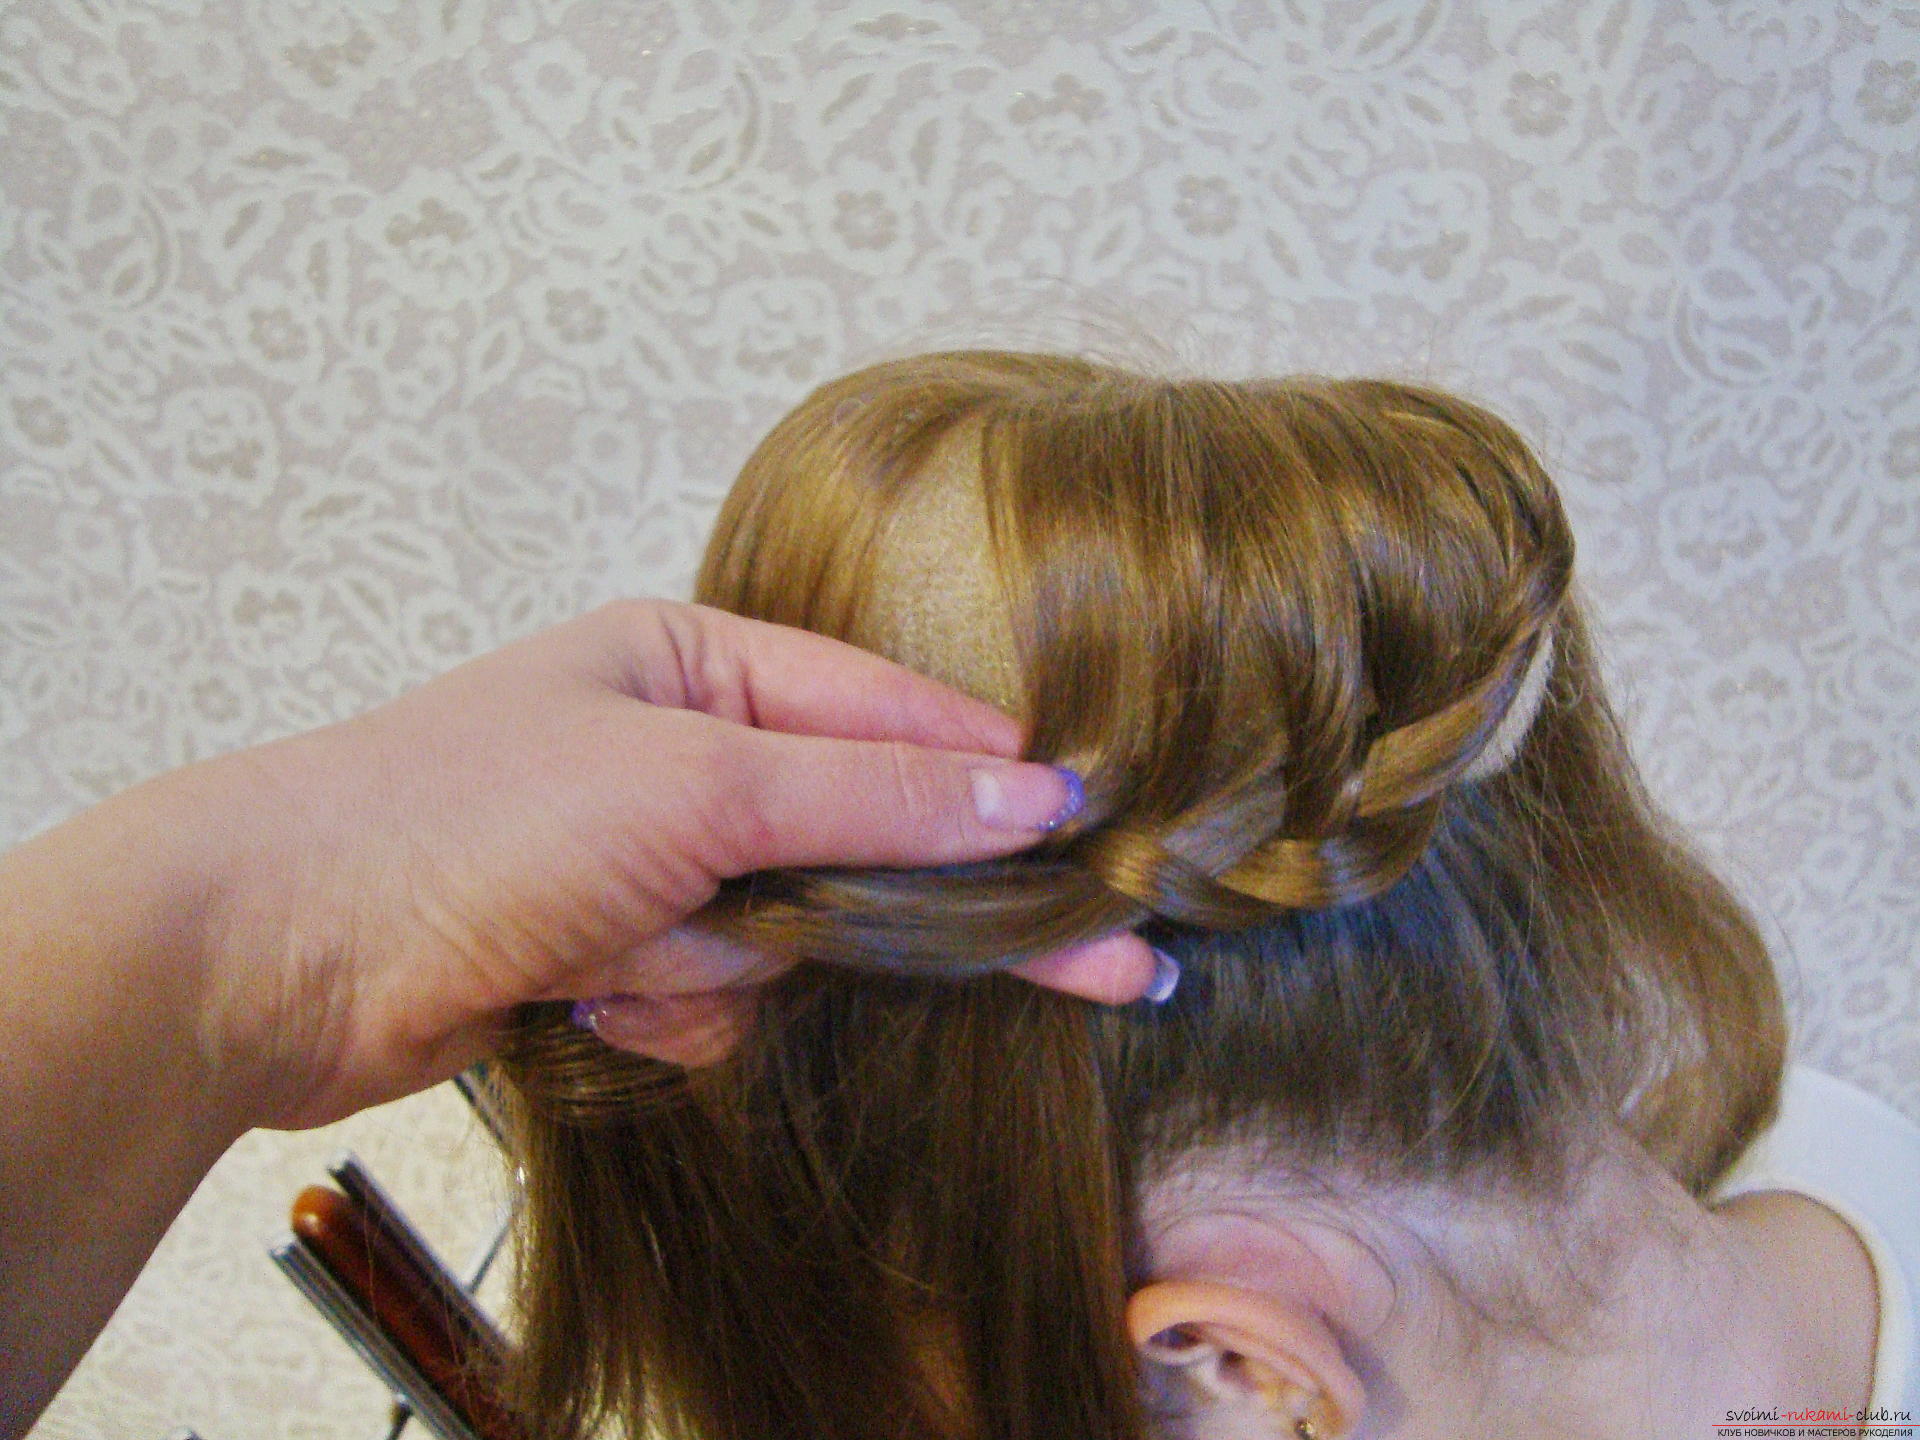 That the plait has laid down in the bottom part of a hairdress andit looked harmonious, it should be fixed with long pins. The hairpins are not fixed in a straight line, but are necessarily driven into the mass of the hair in undulating movements. The distance between the fixing parts is very small, about 3 centimeters, otherwise the braid will be difficult to hold in the given position.
 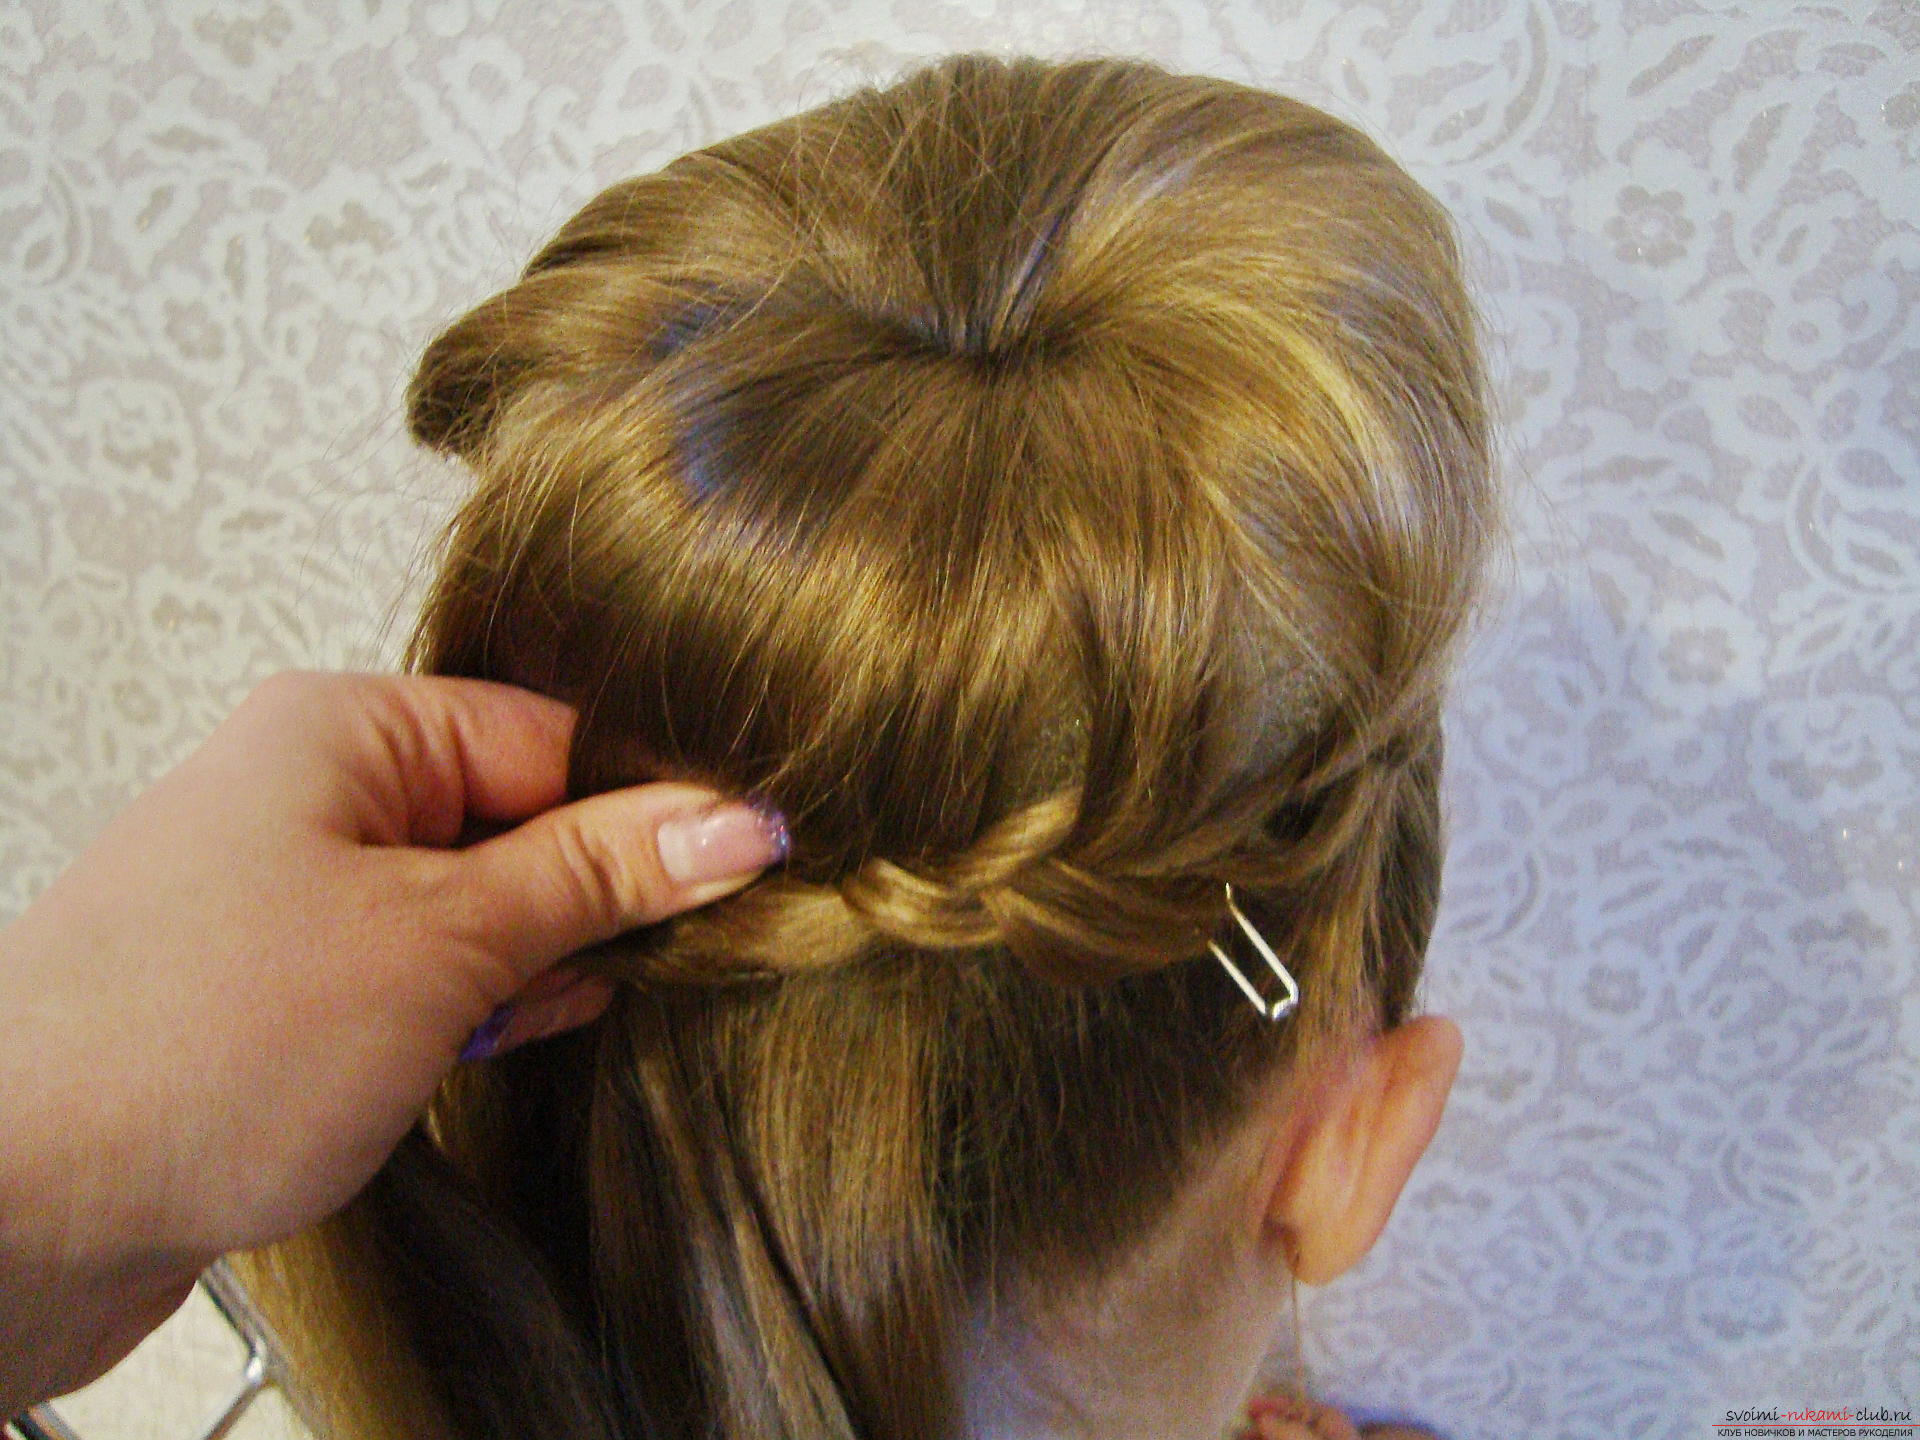 We weave the braid to the end of the circle, oftenfixing the studs. When the pick-ups are completed and a smooth laying out of straightened hair with a scythe, it is necessary to proceed to the next stage. Now it will be necessary to weave the braid from the ends of the remaining hair. This weave is also created from three parts inside, but already with the addition of a white border. The inclusion of an additional element will make the hairstyle for the New Year memorable, evening, festive. If you plan to wear a bright scarlet dress, then the tape can be changed to red. Choose a braid to the side or eye color. If desired, you can weave tinsel or beads. Bend the tape in half, and turn its stripes into the edges of the weave. On each binding, do not pull on the braid, but slightly remove it, giving the volume to the protruding parts. If the tinsel or ribbon is weaved tightly into the braid, then it will not be practically visible in the hairstyle. F 8
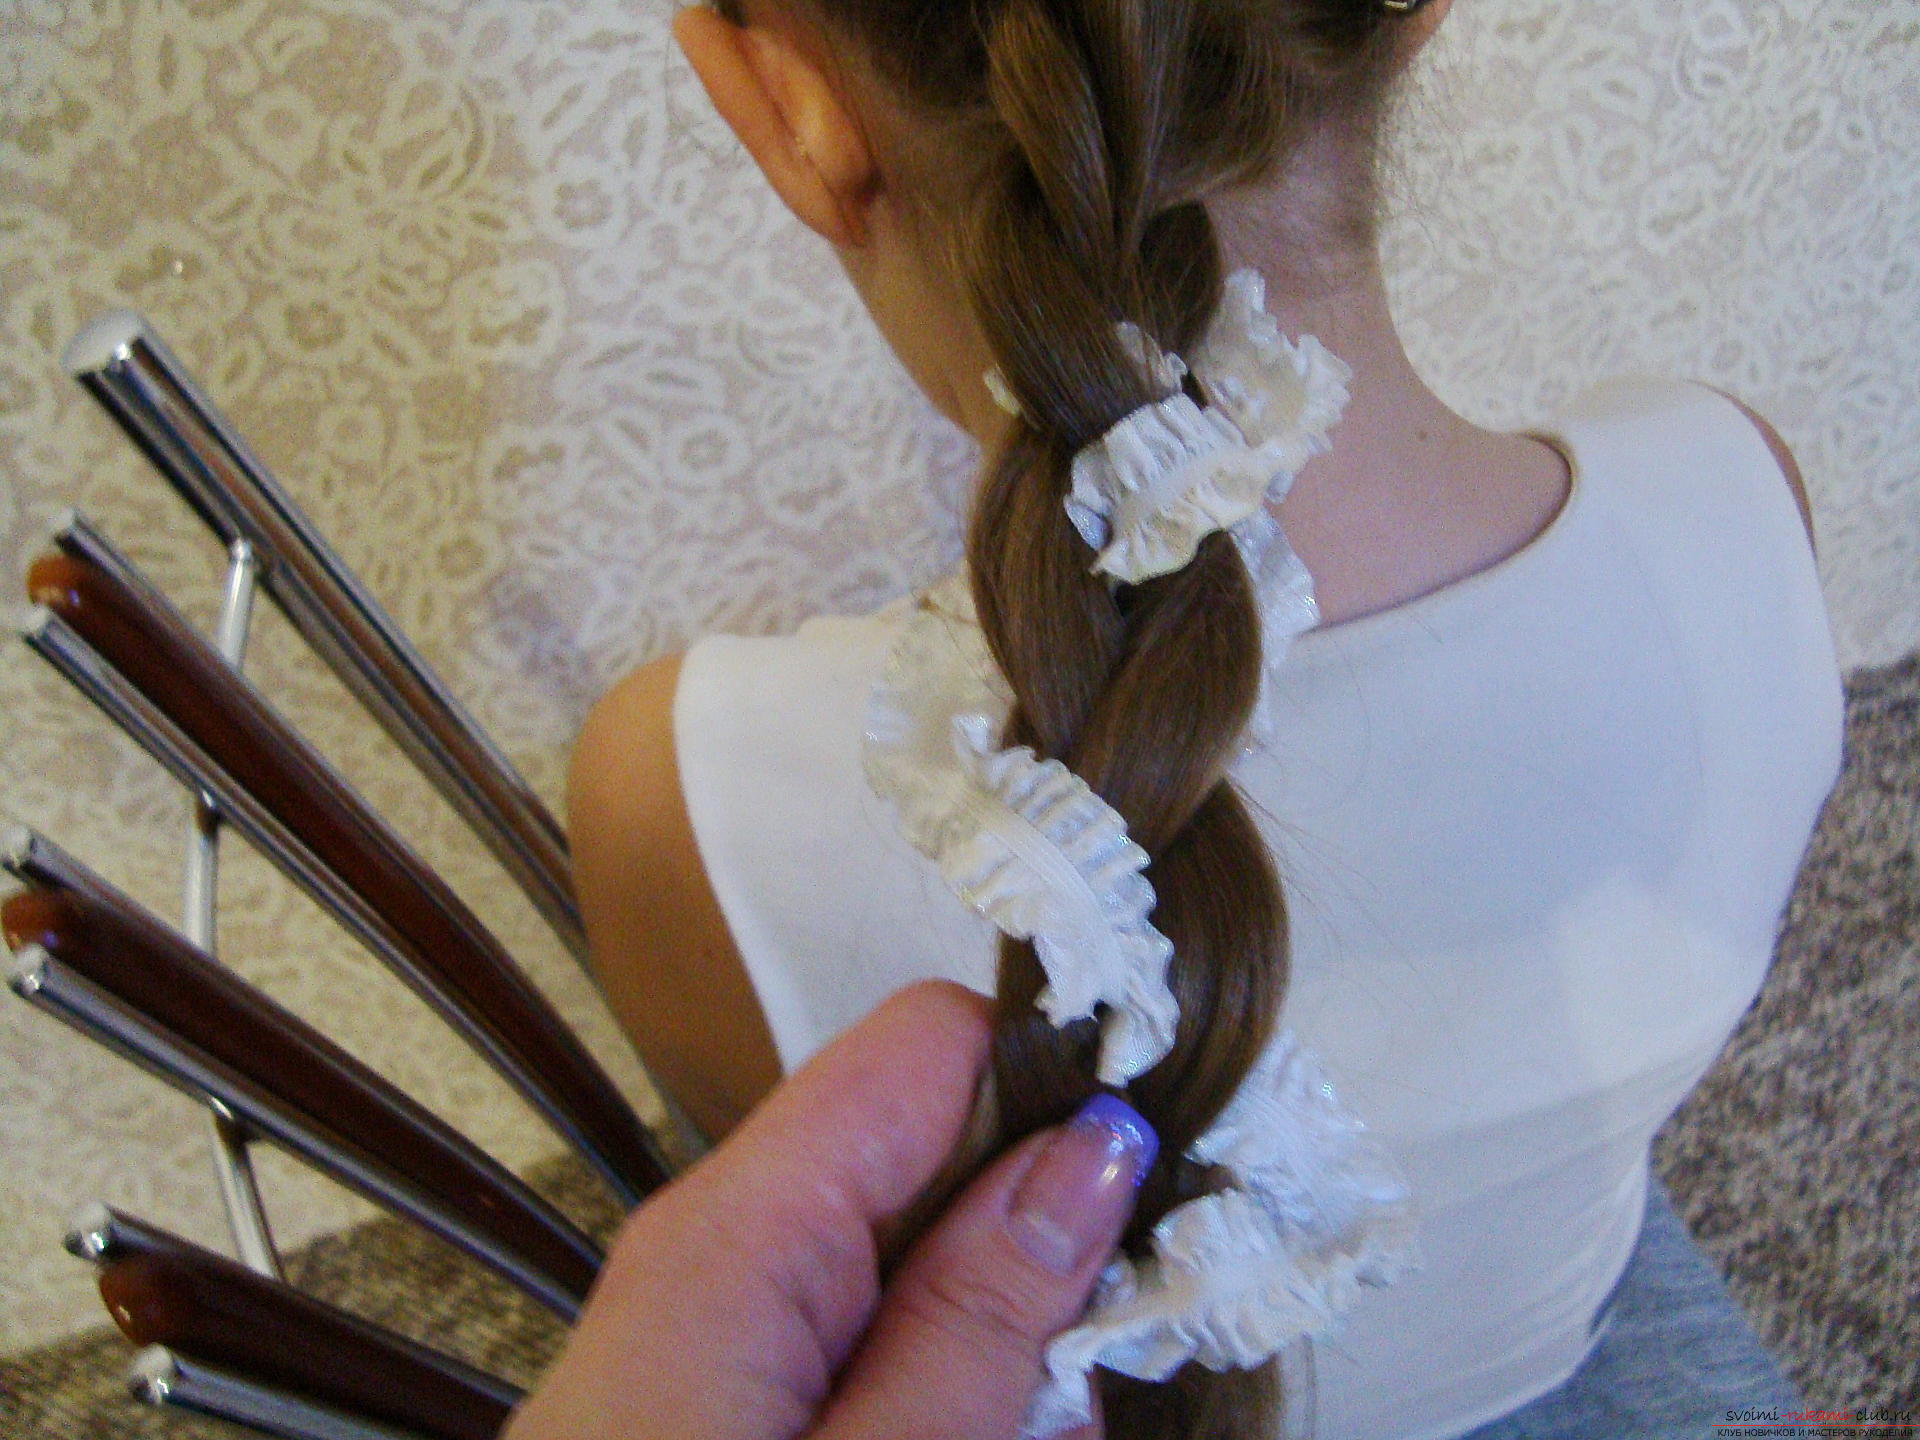 The end of the weaving is fixed with a small elastic band. Of course, the braid should not hang from the side of the hair, it fits around in the place where the first weaving was created. The ends of the tape can also be randomly distributed at the bottom of the stack. When fixing the braid around the hairstyle, hairpins are used. They must grasp the hair under the elastic band, the lining and the braid, so gently deepen the studs along the entire length, fixing as many hair pieces as possible. If desired, at the final stage, the styling can be sprinkled with varnish or sprinkled with fine glitters in the form of stellar dust.
  Festive hairstyle for the New Year is ready!
Comments
Related posts:
 How to make everyday and holiday hairstyles on long hair at home
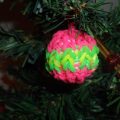
 How to tie a ball on a Christmas tree crochet? Detailed description of the work process, the technique of mating and step-by-step photos
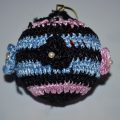
 How to weave a ball of rubber to decorate New Year's fir, you will learn from our lesson. Detailed description of the process of weaving with step-by-step photos
 Beautiful hairstyles on long hair are easily created by own hands. Master-class with a phased photo hairstyles will teach you to beautifully style your hair.
 Description and detailed instructions for the implementation of a beautiful fashionable hairstyle on medium length hair at home.