
How to make a New Year's card in vintage style with your own hands? Master class and lesson
A unique connection of generations arises thanks tohistory, which impregnated the whole world. We constantly try to find a connection with the old things and traditions that surround us. New Year holidays are not an exception to this list, and perhaps one of the brightest representatives of how certain traditions and ways can survive, passing through eternity. The same applies to postcards, which are given by other people during the Christmas holidays.
How to make a New Year's card in vintage style with your own hands? Master class and lesson
 New Year is a special opportunity to congratulaterights. The way by which you can express all your feelings and give your soul a part. The style of "Vintage" for processing and creating beautiful postcards stems from things that are associated with us for many generations. After all, the new is a well-forgotten old. Therefore, a vintage and New Year's card can be not only a beautiful gift, but an ideal reminder of the past times, holidays, which for many years will remain in our memory. New Year style "Vintage" for postcards - materials and tools The bright style of this master class will be able to explain to the masters all the details and ways to create a unique object of the card with your own hands. It is very simple to design such a miracle. To do this, you will need special materials and workpieces that can be used to create and improve the appearance of the drawing. What materials may be required during the course of the work, which turn-based course will help to display the style of "Vintage" for the New Year is best?
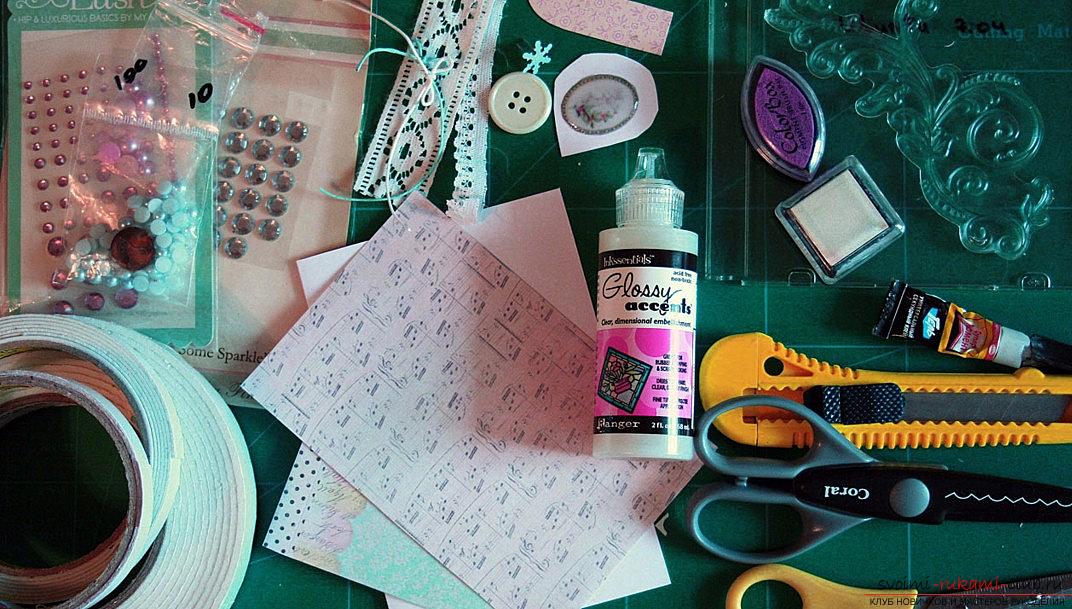
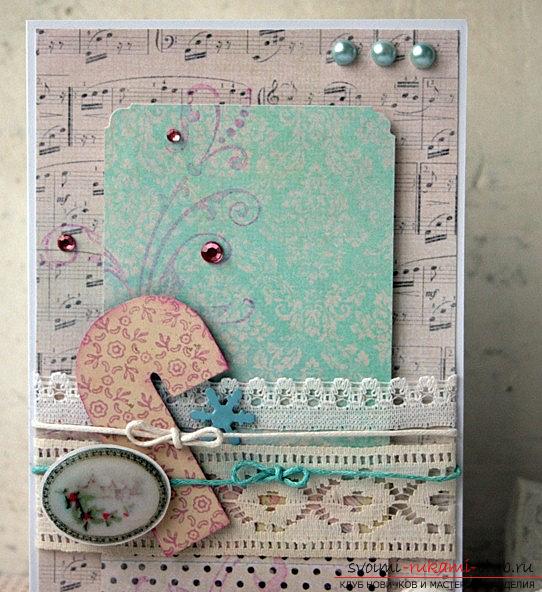
- Prepare the workpiece postcard in white in size 10 to 15 (turn 20 to 15) centimeters.
- Paper for scrap with a pink tinge of light tone - 9.5 by 14.5 centimeters
- Paper for scrap with a light blue tinge - 6.5 to 11.5 centimeters
- White lace of two kinds, narrow and wide - 10.5 centimeters
- Laces of light shade - in blue and pink color by 15 centimeters
- Brads of snowflakes - 1 piece
- Rhinestones on sticky substance in pink color - 3 pieces
- semi-shade, blue color - 3 pieces
- Candy Christmas variant, from scrap paper
- Inks of pink and lilac color
- Sticker
- Scotch tape on two sides
- Adhesive moment
- Carpet for installation
- Scissors curly and ordinary
- Knife for the office
- Silicone curl stamp
Beginning of work  It is necessary to form the corners of the vintage,Using scrap paper using scissors for figured cutting. The zigzag shape and waveform will fit perfectly. Next, you need to cut two corners. After, the result is a rectangle. Further, with the help of a silicone stamp we make fastening on a basis of acrylic, or it can be replaced with a base from under the disc box. Next, it is necessary to apply a layer of (thin) ink on the molded side in the stamping. After, the ink should be slightly "spread", using a pad from the stamp, but not rubbing it.
 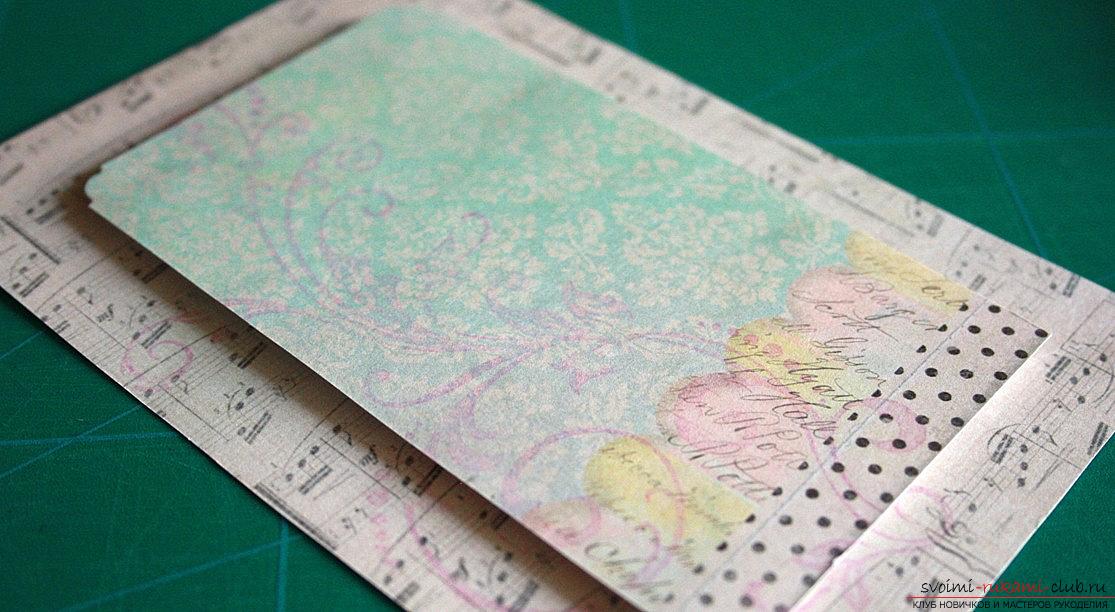 We lay out scrap paper of blue color onpink paper. It is necessary to form a stamp stamp. There will be a small version of the print. Then, using the reverse side of the blue scrap, we form squares and fix them with tape on both sides. After, we form a blue scrap-paper mount to the pink one. A three dimensional ball of the product appears. Lace decoration
  We fix the lace in one of the ways. The first is about applying drops of glue to the underside of the product. Then, the lace is attached to the postcard. The workpiece is turned over, on the reverse side, where the fastening will take place, also we stick the adhesive tape on two sides. An element of lace is fastened to it, the workpiece is ready. The second option is for gluing a thin lace. To do this, take a small strip of tape on two sides, glue it to the back of the lace material. After, the lace is attached to the postcard, the lace is fastened on the back side as well as in the first version. The facepiece will have a special appearance. Decor of the product We decorate our product. We make the tint of candy. To do this, you need to take ink and shade the edge of the product. Then, on the reverse side of the candy craft, we need to fix the pillows from the scotch on two sides. Then, glue the handmade candy for the workpiece. Get another volume for the craft. After - fix the Brads element. To do this, we use a soft lining material, form a small hole in the paper. Brads thrusts and is fixed from the underside. Using waxed shoelaces, we produce a string of small bows. We fix them, using the glue moment, so that they no longer deformed. The bow is formed on the basis of the moment-glue, is attached to the base. On the reverse side is fixed a tourniquet, similar to the lace element, with the help of an adhesive tape on two sides. Next - fixed sticker.
 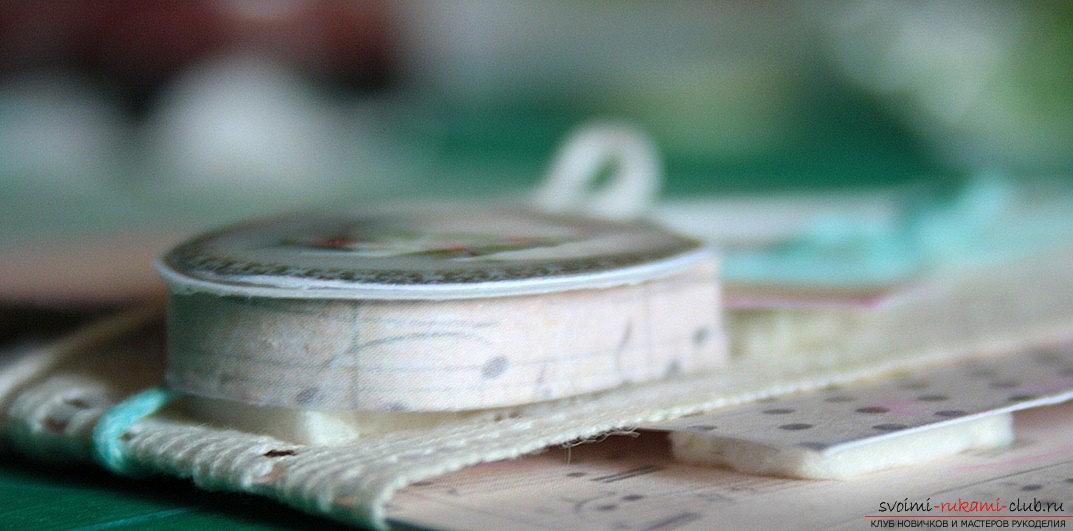 We use a foam base and adhesive tape on twoside, glued in the form of a ladder, as the sticker will be fixed on the surface of different types. The sticker and its area are not large, but the product will look great. Next, you need to cut off the paper strip at the correct height. Then, glue it under the sticker. For the upper right corner you need to glue the half-shell. Then, fasten the curls to the curl. Next, using the back side element, fix the adhesive tape and glue the main element of the postcard. Our postcard is ready, now you can safely give!
Comments
Related posts:
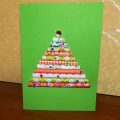
 How to make a voluminous Christmas card? A lesson for children - a master class
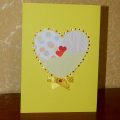
 This master class will teach you how to make your own hands a New Year greeting card.
 This master class will teach you how to make a card with your own hands in the style of ayris folding.
 This master class will tell you how to make a card by yourself for a celebration.
 This master class will tell you how to make a birthday card with your own hands.