How to make a beautiful dove in a quilling technique? Master Class
A simple example of the work of quilling should be explained on the usual needlework of the child. We will use the option of combining two techniques - paper and plastic, as well as quilling. 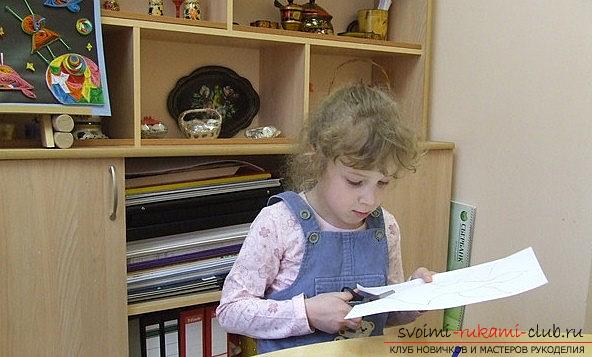
How to make a beautiful dove in a quilling technique? Master Class
- For work we need a bird pattern
- White paper, yellow paper, blue paper, red
- Napkins (of paper)
- PVA-glue, Pencil-glue
- Toothpick
- Scissors
- Ruler
- Beads of black color (for the eye)
- Pencil
- Frame
 In order to perform a certain work, we will need to make the workpiece:
- Harvesting the Sun
- Poultry head preparation
- White, yellow stripes - 4 mm wide.
- White strips 2 cm wide
- White strips 1 cm wide and 1.5 cm wide.
- Red stripes for flowers 2 cm wide and 15 cm long.
- Green rectangular leaves for the leaf are 3.5 centimeters wide and 3 centimeters long.
The beginning of quilling technique 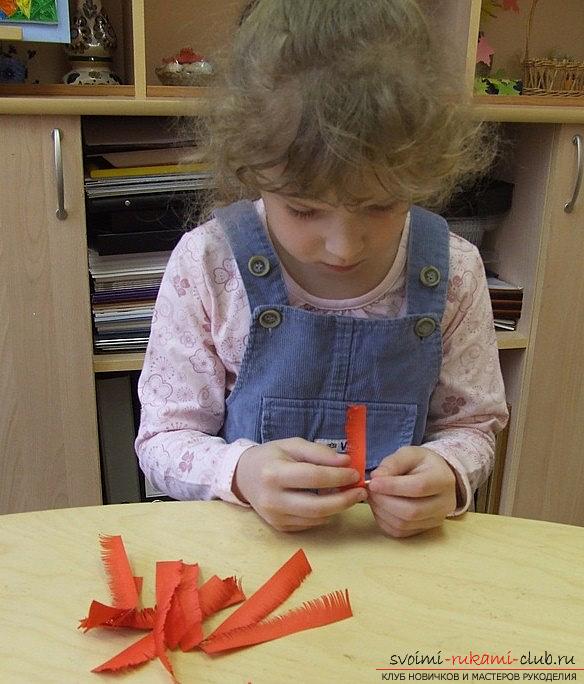 First, we need to cut out the templatethe future bird. Then, the napkin needs to be crushed and then glued on the body (contour) in order to get the volume. Next, we make florets with the help of red stripes, which should look like a fringe (straight cut). Further, using a toothpick and quilling technique, we make strands twisting. Then, glue the end and straighten the fringe. The flower is ready!
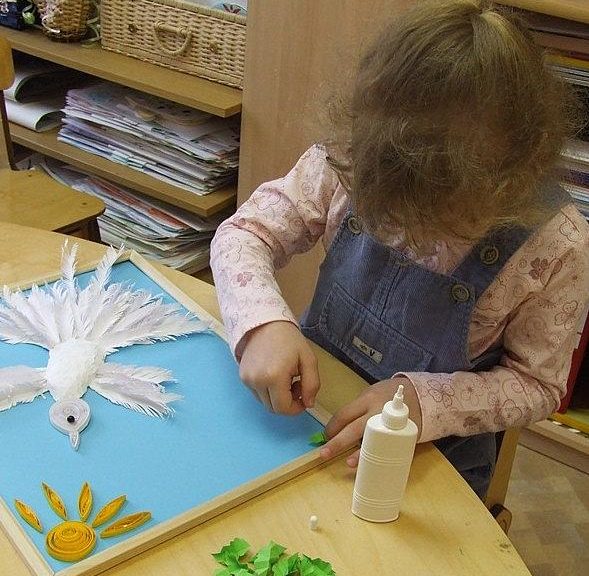
 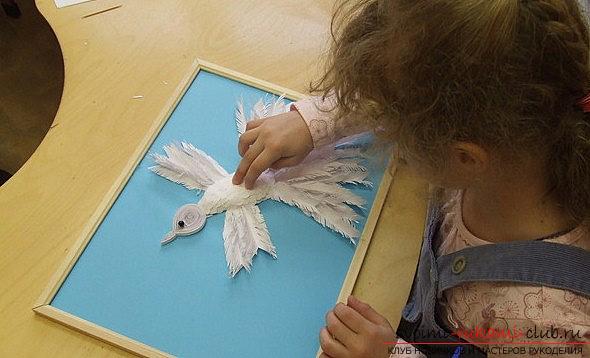 When the parts are ready, you should start building the future picture. To begin with, you need to try on, after that, stick the bird to the main part of the picture and after, glue the sun, and then - the rays.
 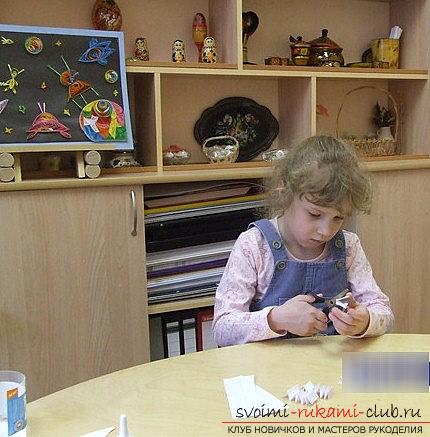 Then, it is necessary to fold the stripspaper white and cut out figures that will look like droplets for feathers. Then, using the green shapes of the rectangles folded in half, using patterns or desired shapes, cut out the leaves of the twig.
  Next, glue the finished feathers to the tail part. The beginning is made from the bottom. middle of the tail, we glued with feathers of great length, than for the side.
 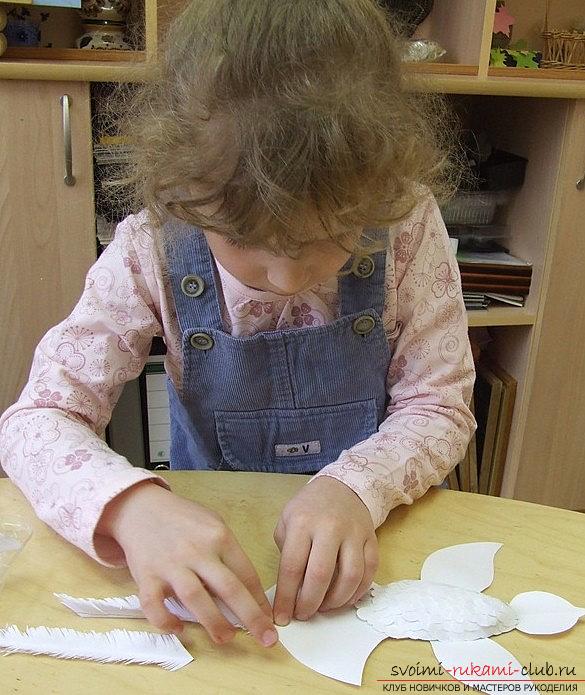 Complete the work Using the white stripes forwe create a head, then a beak. Next, we make the sun, using yellow strips for quilling and create a circle of the middle and then, using a smaller number of strips, make more circles and then - shape the rays for the future version of the sun.
 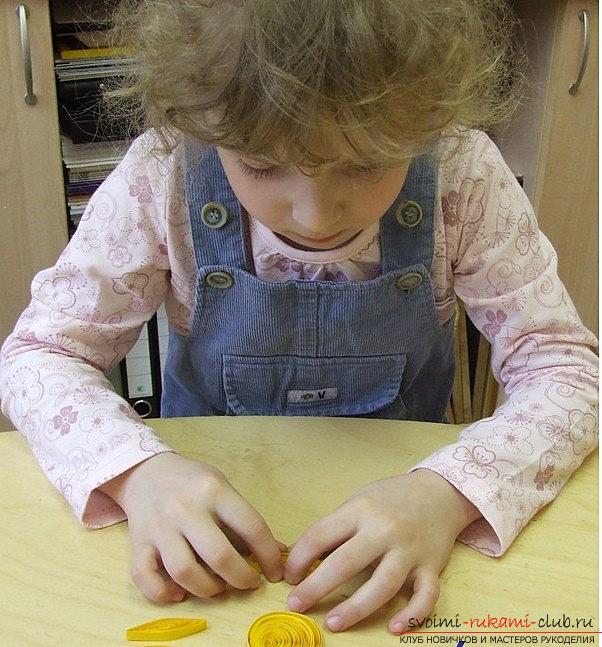 Then, you need to glue flowers and addbranches "grass" using a green strip (thin). After that, the flowers should be "tried on" on the craft and glued obliquely to the wings of the feathers. After this, it is necessary to make bends in the paper-plastic technique in order to get the volume. We glue feathers along the trunk, starting from the lower part of the body and then climbing upwards. on the neck, feathers should be small. Then, take the white strips for feathers and add them in half and start recreating the fringe of the oblique cut.
 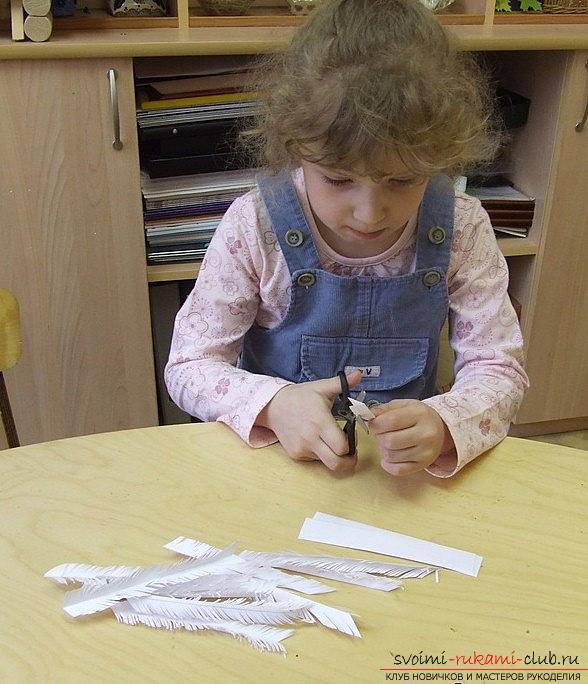 Then, we glue the key and the workpiece for the trunk. We glue an eye - we collect a branch. The product is ready!
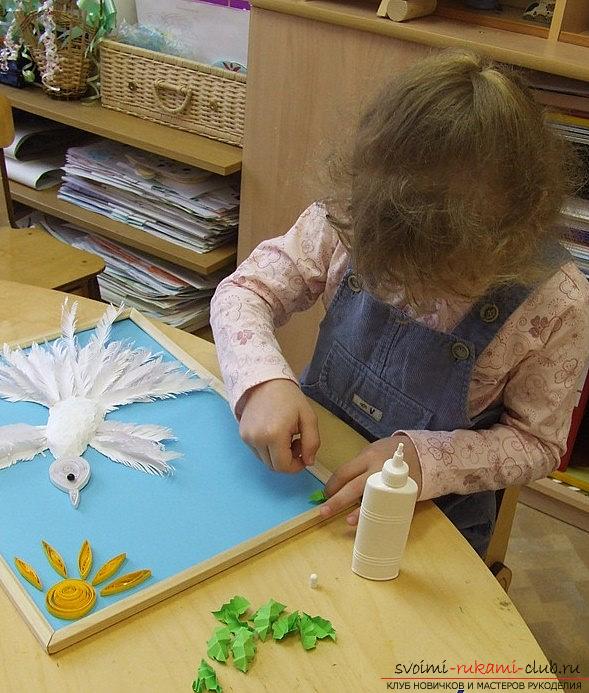
Comments
Related posts:
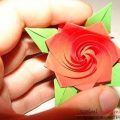
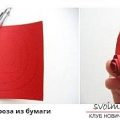 Quilling of a beautiful rose with your hands - a master class in quilling technique
 Postcard with pigeons in quilling technique, master class for the dove of the world
 How to make a pigeon pigeon - a symbol of peace with your own hands? - Master Class
 How to make a sharp rose in quilling technique? Master class in technique and photo
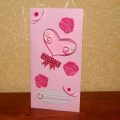 This master class will teach you how to make a postcard by yourself in the technique of quilling.