How to make a beautiful hairstyle for a wedding with your own hands with a step-by-step description and photo.
In the proposed master class, we will talk about how,how to make your own wedding hairstyle for different lengths of hair and different styles. In this case, by its appearance, it will not be worse than in a professional hairdresser. Model number 1. "Under the crown." This hair can be recommended to owners of long hair.  1. Separate the central volume of hair with a circular parting.
 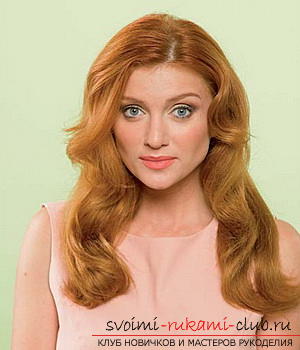 2. The hair remains on the occipital part, the temporal and the face.
  3. On the occipital part there are 3 small strands.
  4. Of them the most common pigtail is plaited. The hair should be pulled to make the weaving fairly tight. In the braid are picked up only small strands from below. Weave is done towards the face. 5. Similarly, we weave strands in the face and the temporal part.
  6. The person picks up all the hair. This technique can be braided even a short bang.
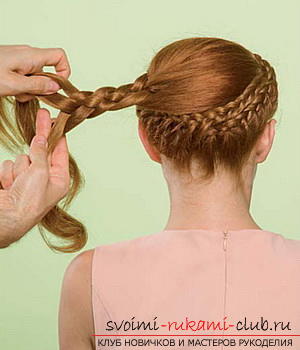
  7. We braid the braid with a rim - from the back of the neck to the back of the head. 8. The tail that remains is disguised as a pigtail from above.
  9. You will get an elegant, tight and lacy weave.
  10. The rest of the hair is divided into 4 identical parts. 11. Out of the 4th we start spinning a new braid. First, cross the 2 strands to the extreme right and left.
  12. Next, two central strands are crossed with each other.
 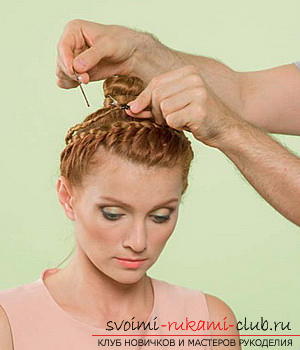 13. You will get an interesting and elegant braid.
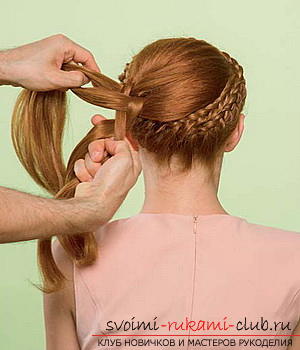
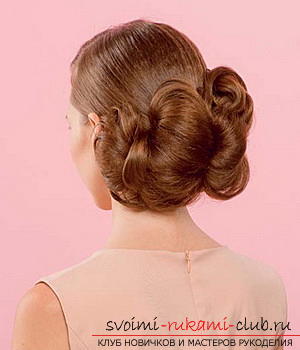
 14. The braid is braided from the side - remember this! 15. The resulting braid is stacked by the crown from above. 16. Fingers are allowed to give the hairstyle an additional height or volume.
  Model number 2. "Elegant silhouette." This option is a hairstyle in the traditional simple style with an attractive styling. It will fit equally well on medium and long hair.
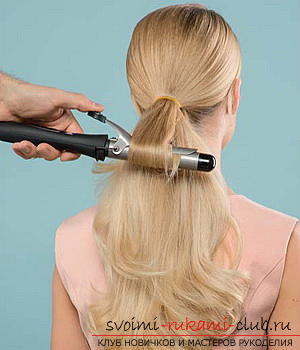
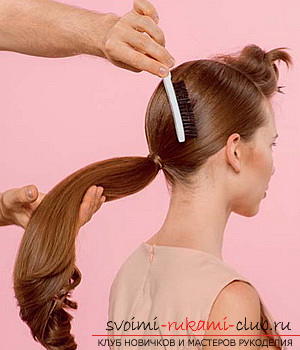
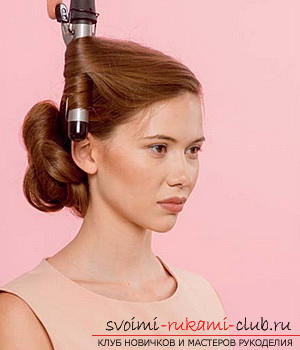
 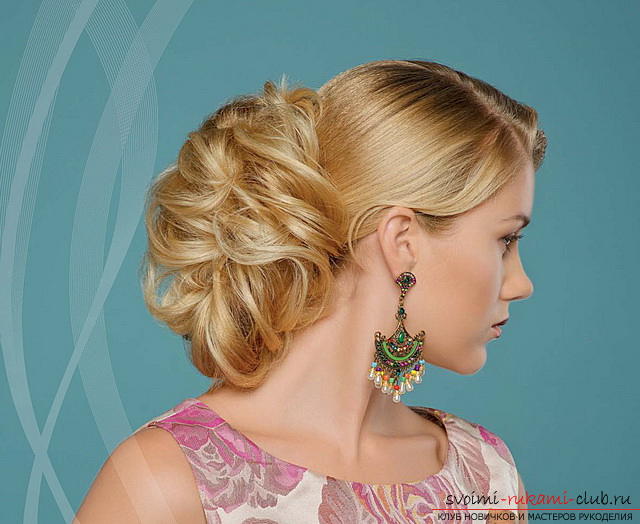 1. All strands are assembled by a single tight low tail. 2. Twist the tips of hair using large forceps.
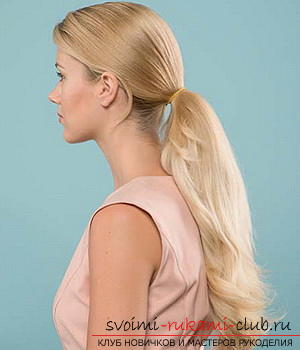
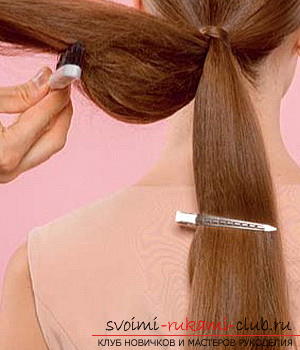
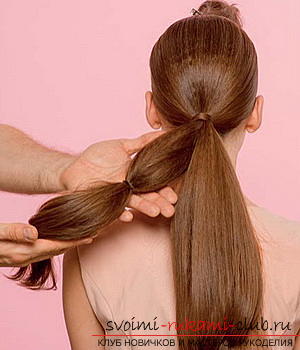
 3. Hair is divided into 3 identical parts. 4. The central part is twisted into a large bundle.
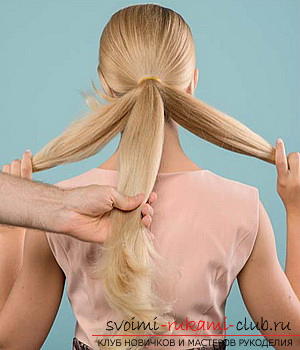
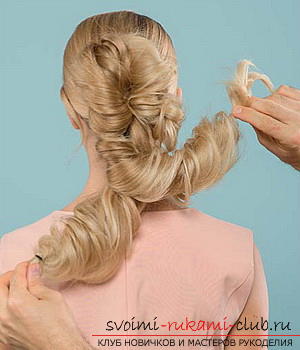
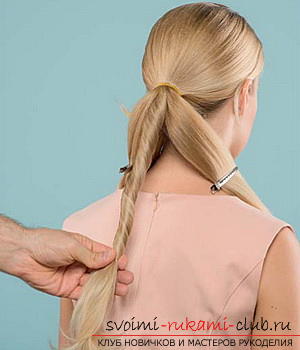 5. We disassemble the plait with hands to give it splendor and volume. 6. We fix the tips of the harness using a small rubber band. 7. She also secured the tourniquet to the ground. 8. The tourniquet rises to the top, after which it is fixed behind the elastic with a hairpin.
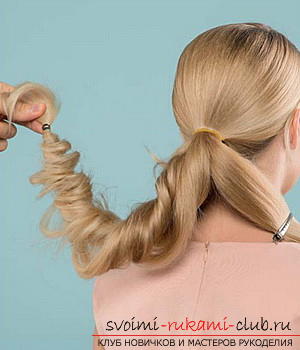
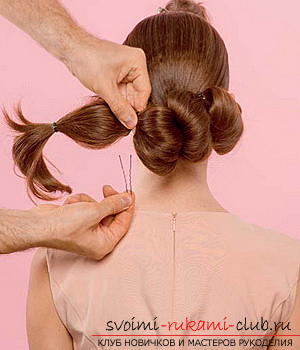
 9. The remaining tail is fixed below. 10. Go to the twist of the new harness from the left side.
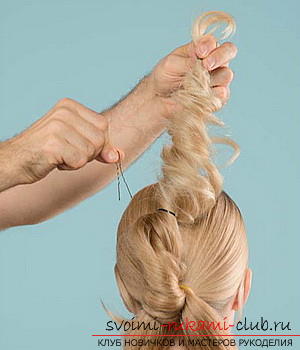
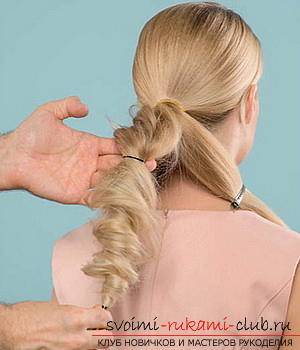
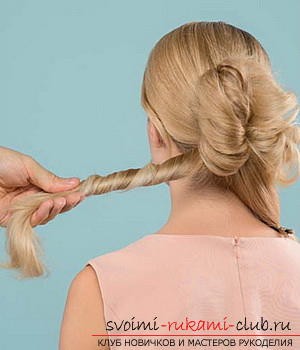 11. We also try our hands carefully. 12. Similarly, a tourniquet is created on the right. Total, the hairstyle will have 3 bundles. 13. Harnesses left and right below cross each other. 14. The harness on the left is placed to the right. 15. The harness on the right is laid to the left and fixed from above with the help of pins.
 16. The resulting form requires manual revision. 17. Everything is fixed with varnish.
 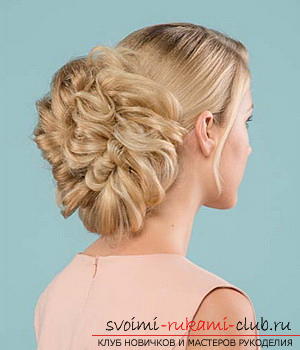 This technique is very simple and allows you to make your hair even on long hair. Created thus the curls can produce the effect of three-dimensional curls and a very non-trivial silhouette.
  Model number 3. "Real Romance." Below is a description of the creation of the hair of a light romantic style. Based on the step-by-step descriptions, this process for you will be easy and affordable.
 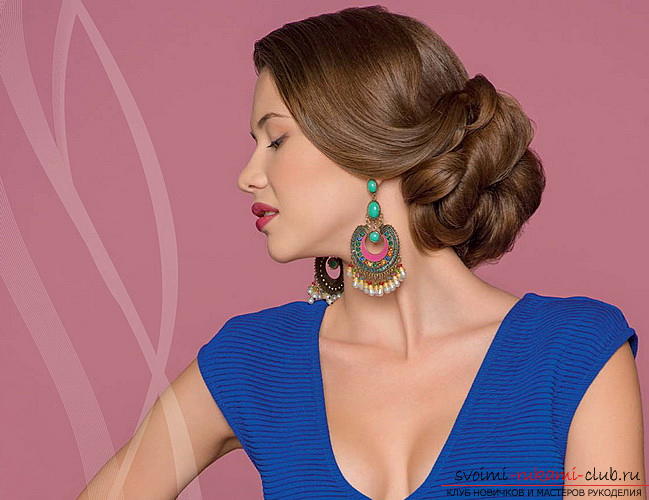 This hair style classic style can berecommend owners of long hair. 1. In the area of the crown, take a strand in the shape of a triangle. 2. The remaining hair should be collected by a single tight, low tail.
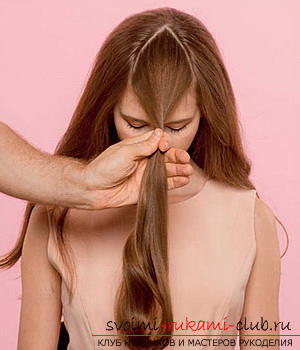
 3. The tails are divided into 2 identical parts. 4. One of them starts with a brush from the inside. 5. Nachos, which turned out, should be carefully smoothened from above. 6. This element is fixed with a strong locking lacquer. 7. The other part is similarly started from the inside.
 8. From the tail should go 2 volume elements. 9. The ear and ends of each part are fixed with the help of small rubber bands. 10. It turns out about such an interesting basis for the future hairstyle.
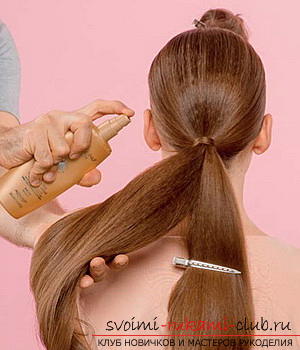
 11. Start laying with the first part of the tail. 12. For each element of the hair, you need to carefully fix the fixation with the help of hairpins for the rubber. 13. You can move to another part of the tail. Also fit the elements with curls.
 14. Similarly, each tail is laid, creating a single shape. 15. The form that you will get, requires further refinement. To give a good volume, each part is stretched with fingers. 16. The strands of the face are wound with large forceps with a diameter of 25. 17. Using a brush, comb the hair away from the face.
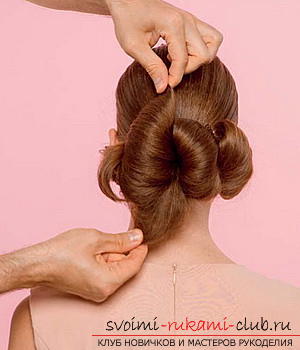
 18. Put all the strands to the right, connect the tail with the rest of the hair.
  19. Of all parts of the hairstyle is to come out a three-dimensional form of classical style. This concludes the review of wedding hairstyles,which can be easily created with their own hands. These models are not an exhaustive list, but only examples that can be used to form their own fantasies.
Comments
Related posts:
 How to make a fashionable hairstyle for the autumn-winter season 2016 with your own hands with a step-by-step description and photo.
 How to make a beautiful styling with a bang with your own hands - master classes with step-by-step description and photo.
 Create a fashionable hairstyle for medium hair with your own hands in 5 minutes with a step-by-step description and photo.
 How to make a beautiful wedding hairstyle for medium hair with a photo and description.
 How to make a fashionable hairstyle for thin hair of medium length with their own hands with detailed descriptions and photos