How to make Kantashi bows with your own hands, detailed master classes with step-by-step photos
Bows are a very popular decoration. They decorate clothes and shoes, interior items, bouquets and, of course, hairstyles. Our grandmothers weaved ribbons into braids and tied lovely and simple bows. But the Chinese women and Japanese women of past years came up with a much more sophisticated and original jewelry for the hairstyle. The technique of creating decorative elements from ribbons, which came from ancient China and Japan, is called "Kanzash", which means "folding". Small squares of ribbons, folded in a special way, allow creating incredible compositions, and the master classes offered in this article will allow you to make a beautiful bow in Kansas technique yourself. Such a wonderful gift can be made for your little girl, or you can use a beautiful hair clip or an elastic band itself. First, we suggest you make a charming white flower, which can be attached to an elastic band or a hairpin and to decorate the school girl's hair. 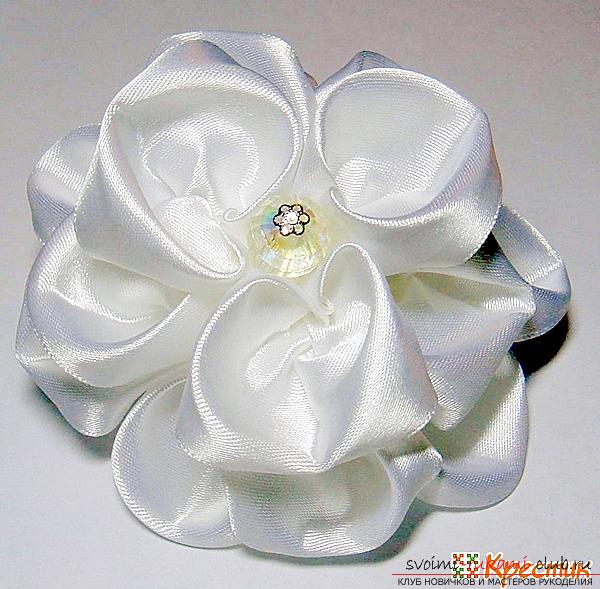 Materials for work:
- White satin ribbon 5 cm wide;
- Candle (you can use a soldering iron);
- Scissors;
- Linea;
- Tweezers;
- Glue instant gel or glue gun;
- Strong yarn or monofilament;
- Needle;
- Beautiful bead for the core.
To begin with, you need to cut the ribbon into pieces 12x5 cm. The more luxuriant you want the flower, the more pieces you need. In the proposed flower, 15 pieces were obtained.  Ribbon to unfold the front side of itself and bend the right upper corner into the inside. For convenience, the fixation can be made with needles or pins.
 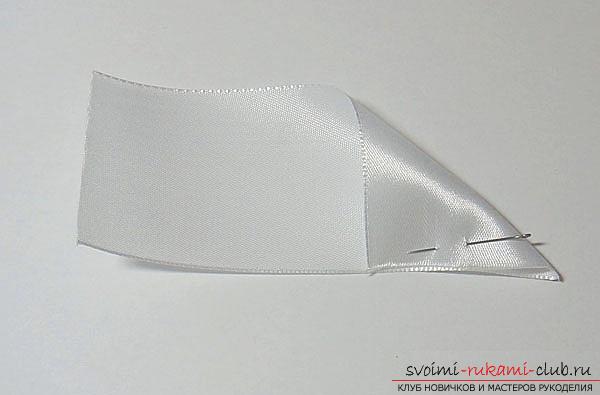 Expand the workpiece and bend the lower left corner, as shown in the photo.
  The very end of the folded corner is hidden inside.
 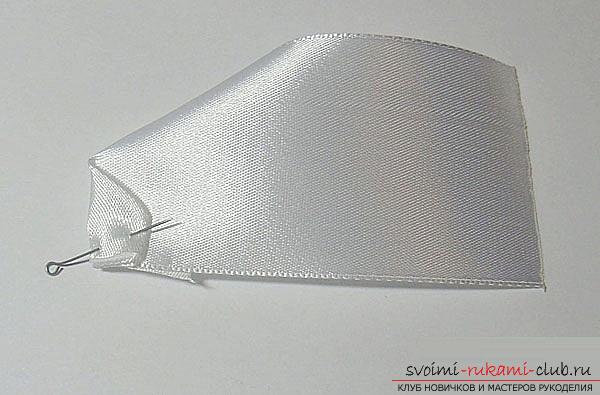 Similarly, the second side is bent.
 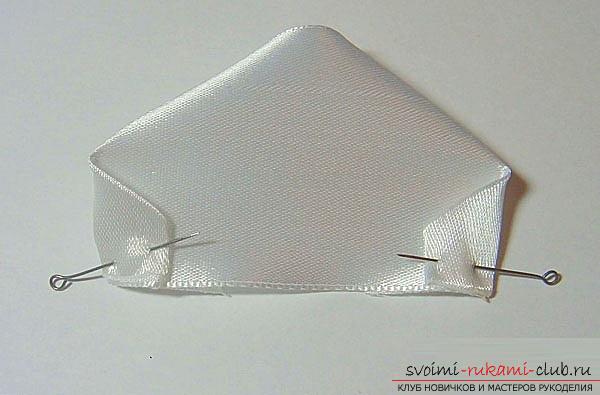 Fold the bent corners inward.
  On the bottom edge of the sewing thread.
 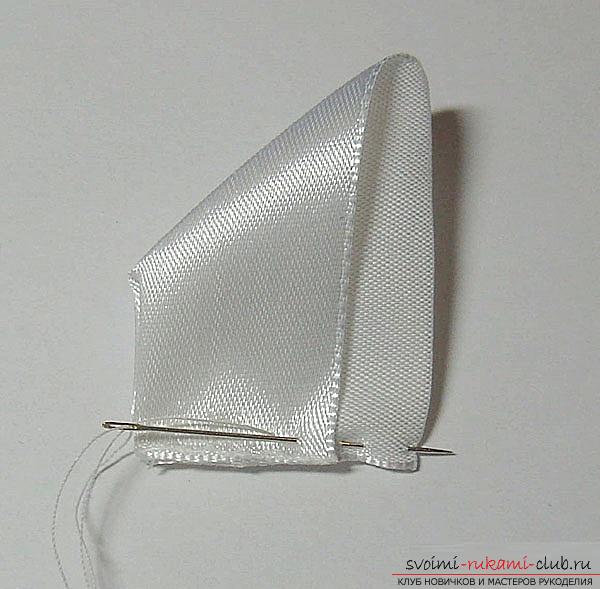 Pull the thread at the base of the petal.
 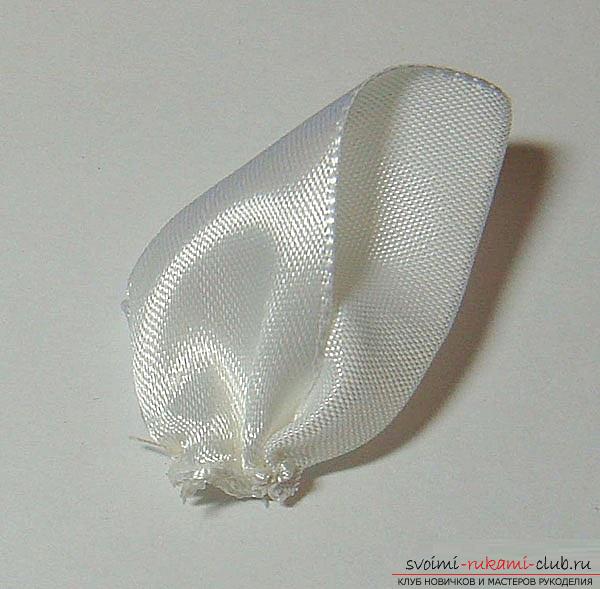 Turn over and untwist the workpiece. That's what happened.
  Similarly, make all other pieces of tape.
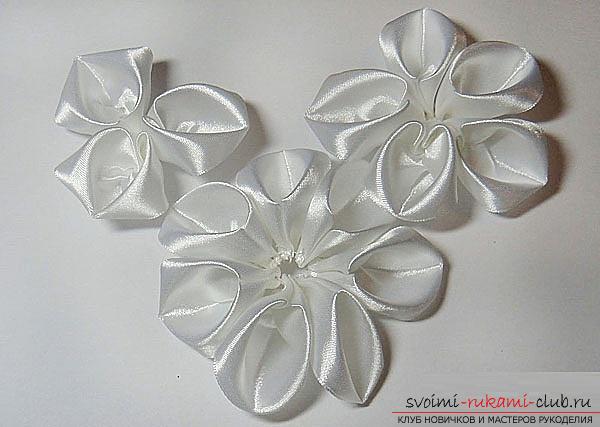
 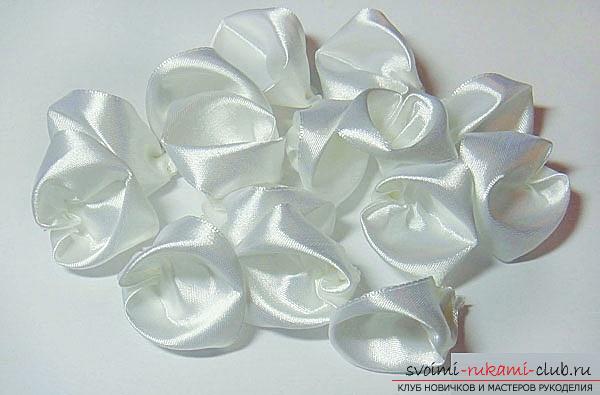 Now you need to thread on the thread and tighten in a circle 7petals for the first, lowest circle, for the second (middle) - 5 and for the uppermost - 3 petals. You can have more or less at will. That's what happened.
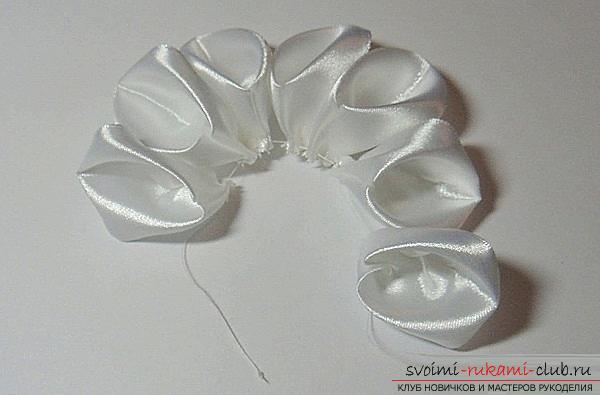
 Turn the largest circle face down and glue the middle to the center.
 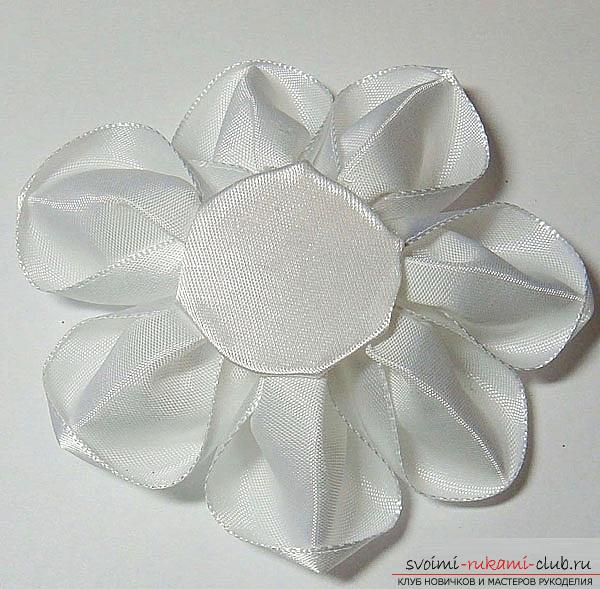 Turn over on the face, paste in turn the middle and smallest circles.
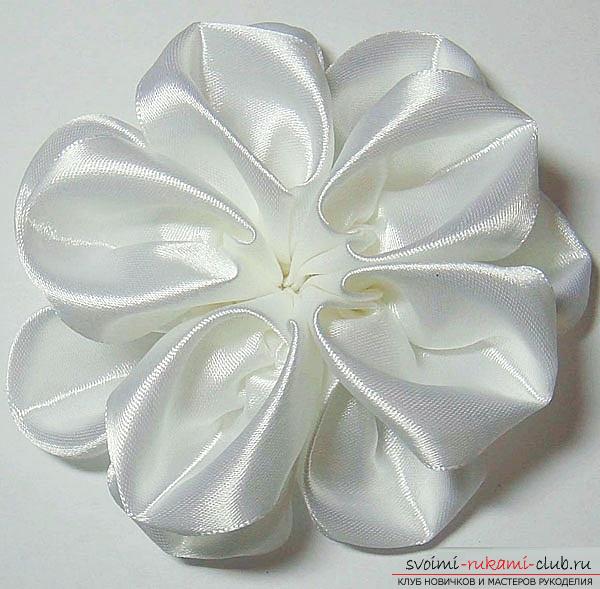
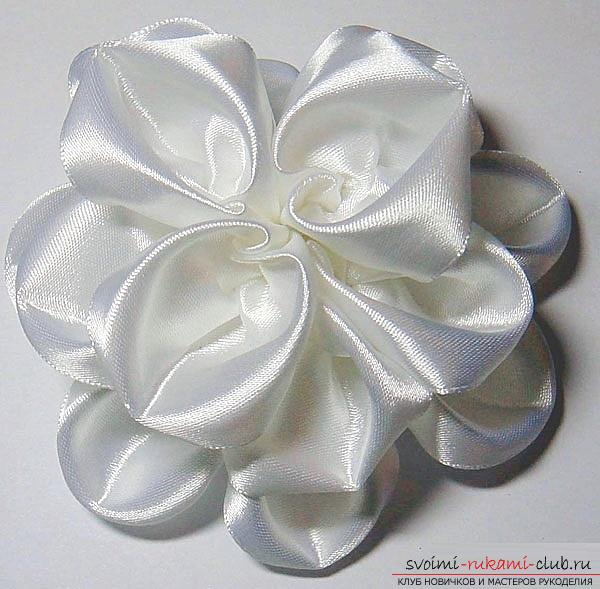 It remains only to decorate the core with a bead and attach a hairpin or elastic band and a beautiful Kantash bow is ready.
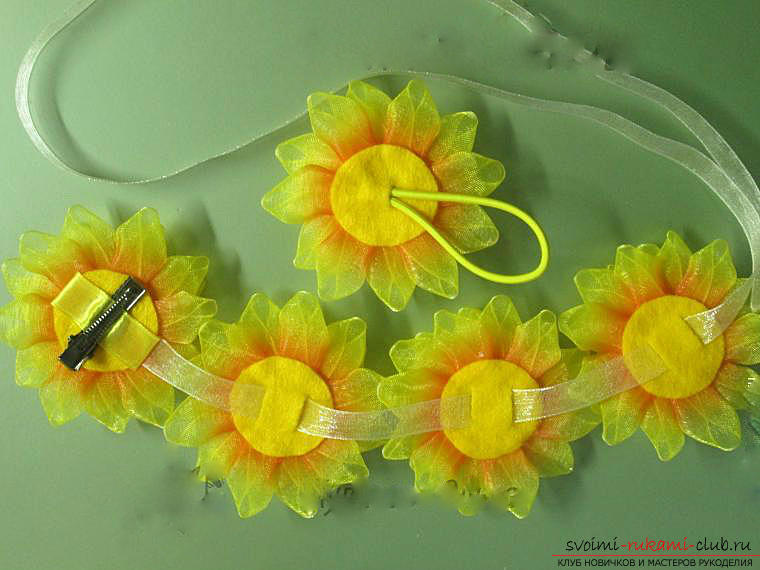
 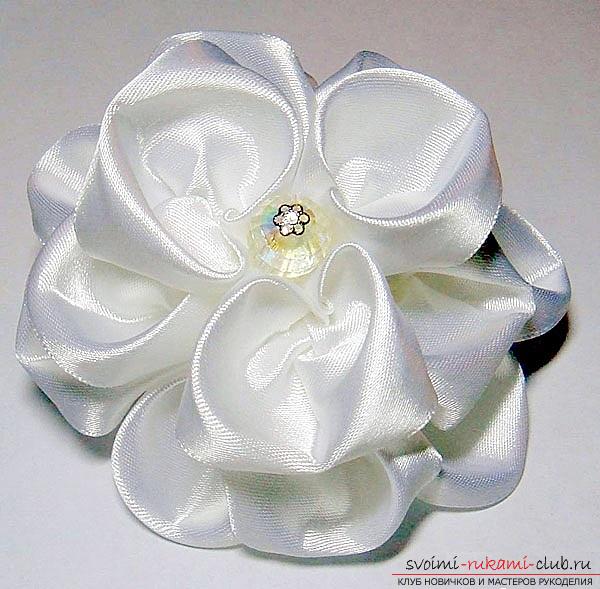 The next bow, not even a bow,a whole ribbon of bows-flowers Kanzash. Bright sunny bows-dahlias will please even on the most cloudy day. The very first bow can be attached with a hair clip, and the subsequent bow is fastened to the ribbon, which can be weaved in different ways into the hair. Of course, you can create your own unique composition, for example, attach all the bows to elastic bands or pegs, in general give vent to creativity.
 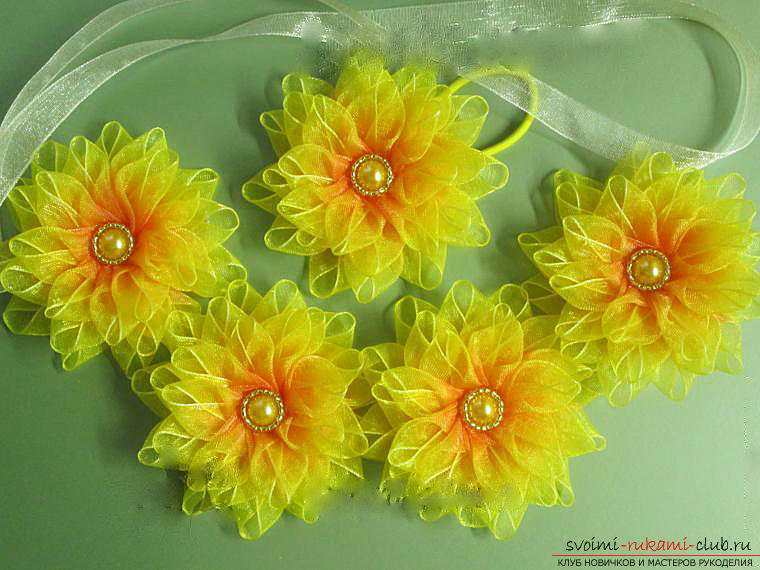 Materials for work:
- Tape made of organza 2 cm (two-color, with a smooth gradient) and 1 cm wide by 75 cm;
- Satin ribbon 1 cm wide by 6 cm;
- Scissors;
- Tweezers;
- Candle;
- A piece of felt;
- Needle with thread;
- Rubber band 10 cm;
- Clip-clamp;
- Rasparivatel;
- Pencil;
- Half-beads;
- Beads, in harmony with the color of the half-beads;
- Glue gun.
One flower requires 28 petals. For decoration you need 5 flowers. Means petals-blanks need 140 pieces. To cut off from a ribbon in width of 2 sm of 140 pieces in length of 5 see To bend the right top corner so that it has got out a little for the center. 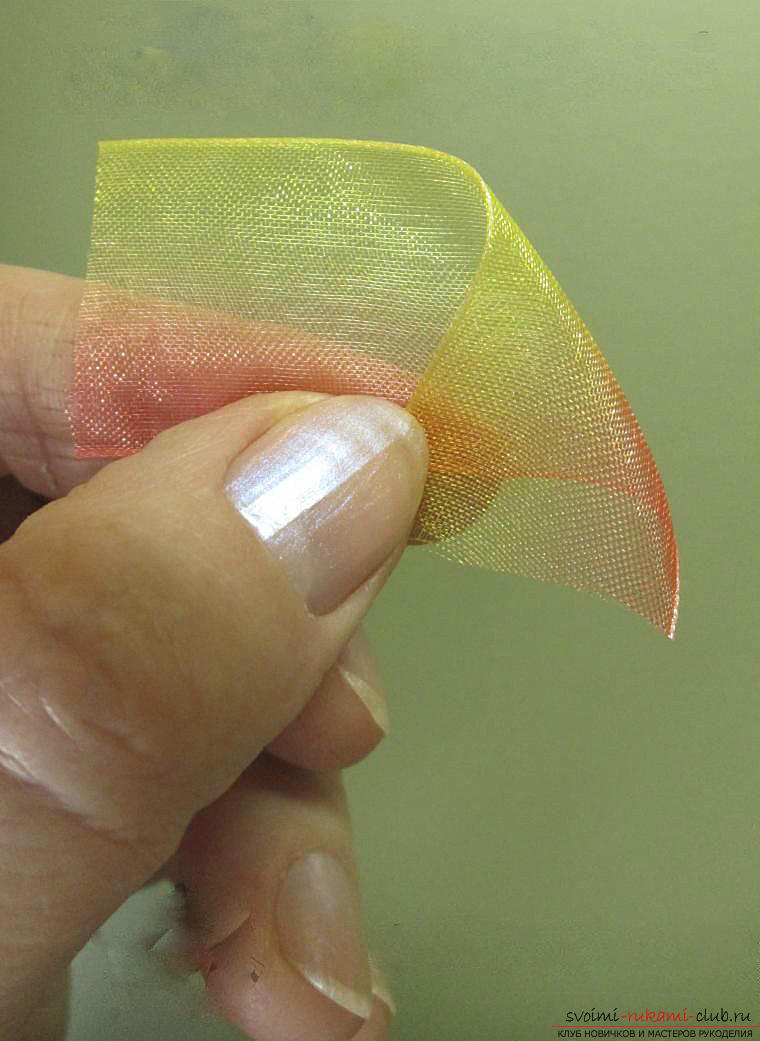 Now bend the left upper corner to the right and a little overlap on it, about half a centimeter.
 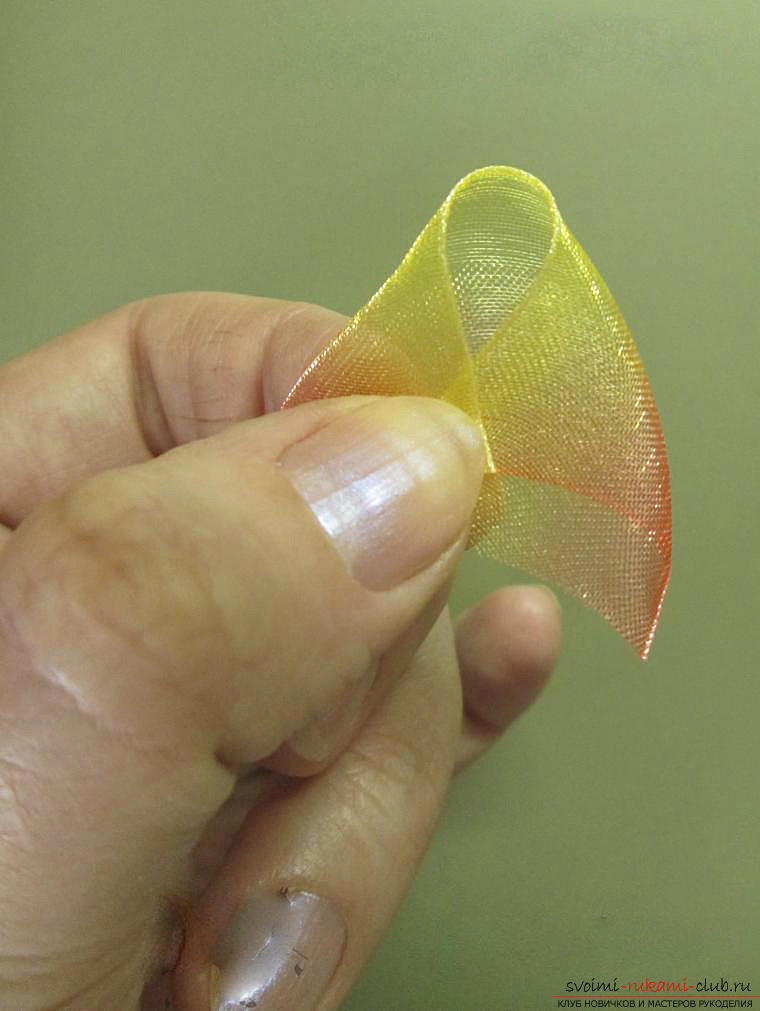 Now again fold the right and left corners (left overlap). That's what happened.
 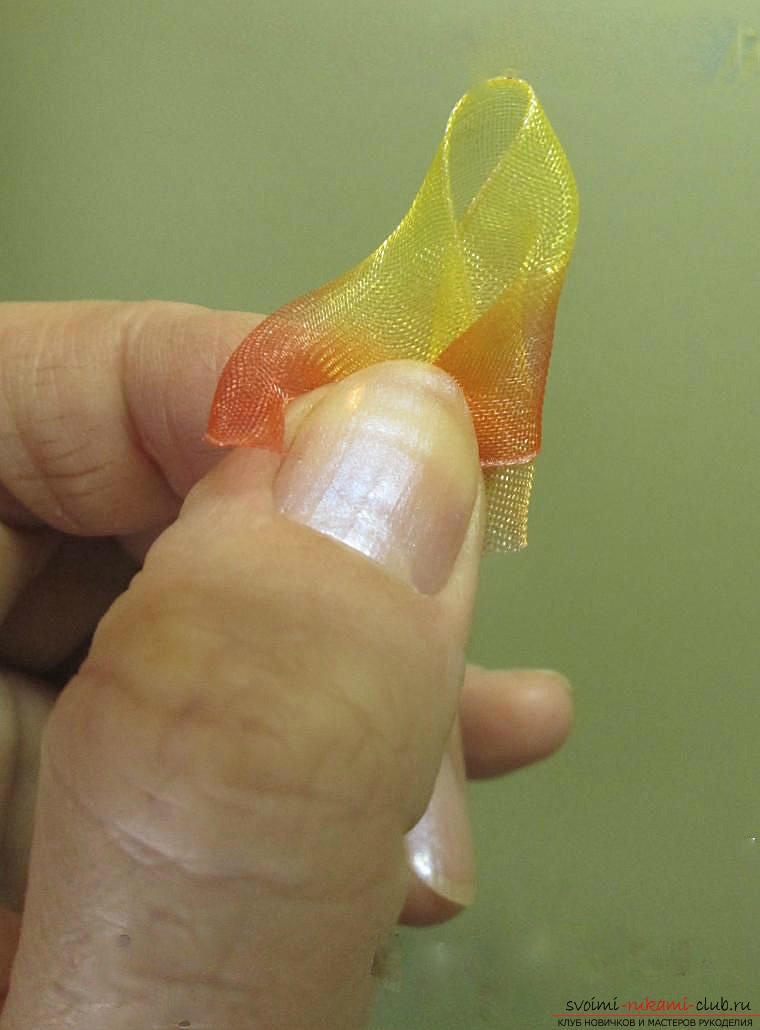 You can try to fold the petals a bitotherwise, look for an option that you like more. The main thing is to make all the petals equally. Now it is convenient to intercept the petal and cut off from below, leveling the edge.
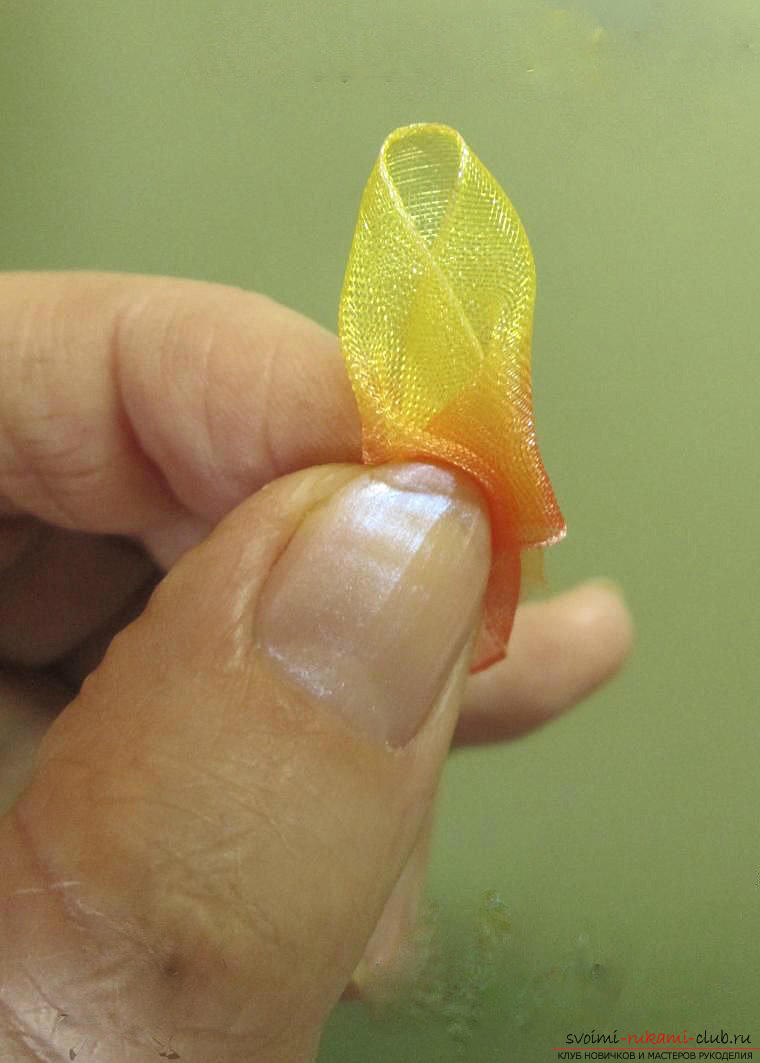
 Smooth bottom of the petal with a pair of tweezers.
 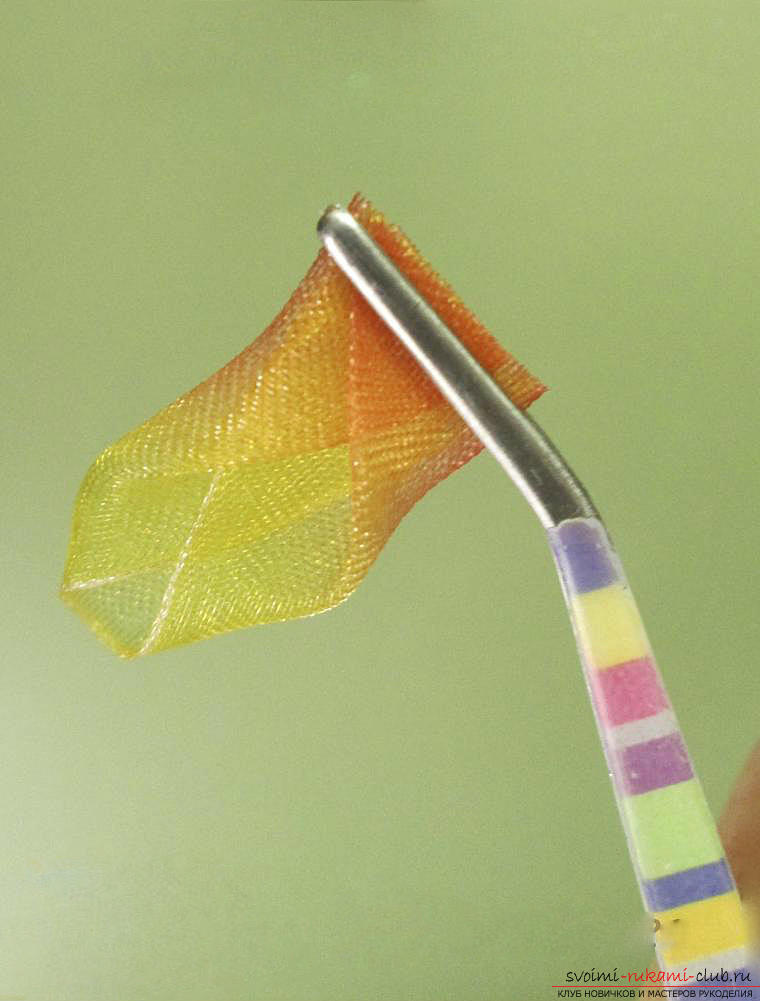 Treat the lower edge over the fire. You can use a lighter or a candle. It's not scary, if some petal was slightly larger or slightly smaller. The result is not affected.
 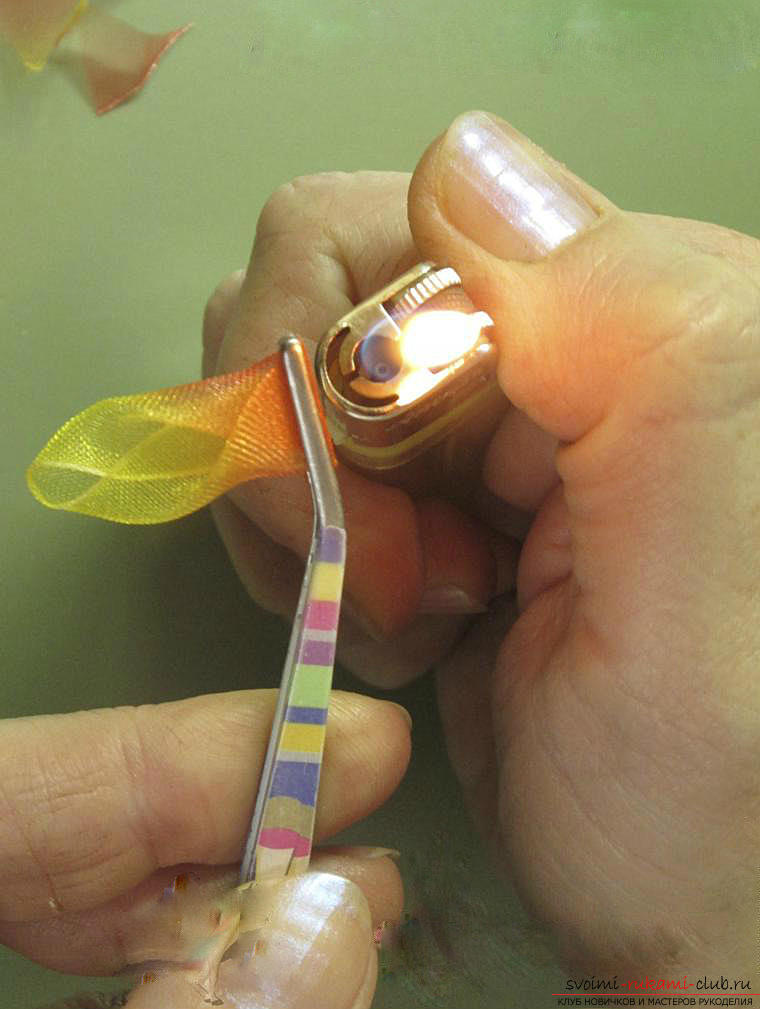 Here are some beautiful petals.
 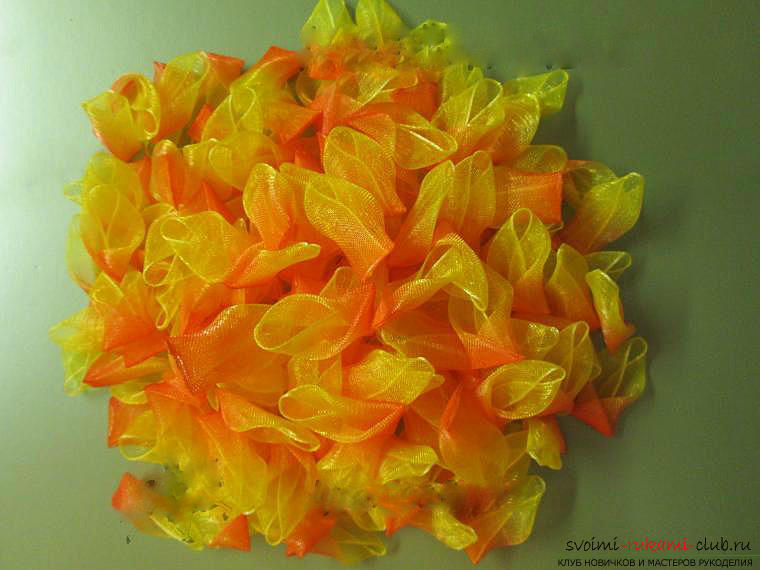 Now you need to make a base for the flowers. This requires a piece of felt. Now you need to cut 5 circles 2.5 cm in diameter and five - 3 cm in diameter. Large mugs cut out of felt yellow, small from any other.
  Now proceed to assemble the flowers. The first circle. Sew on a smaller circle of felt 6 petals.
 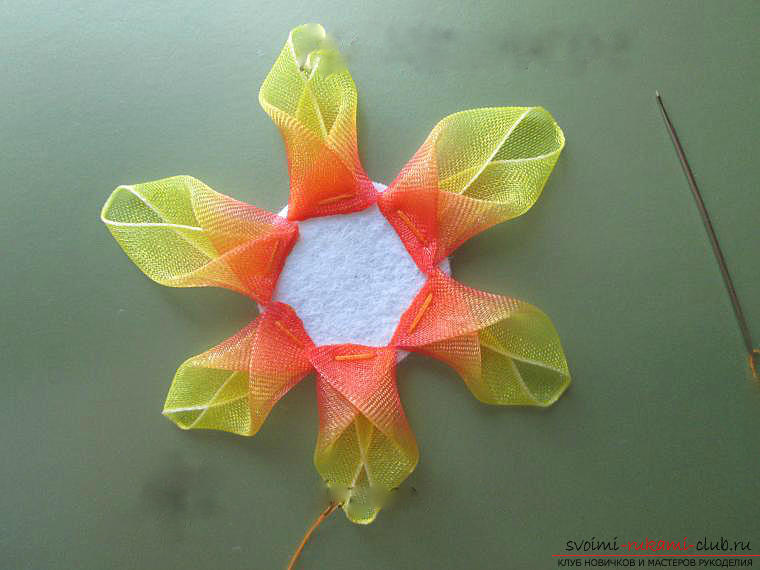 The second circle is stitched in staggered order. It also consists of 6 petals.
 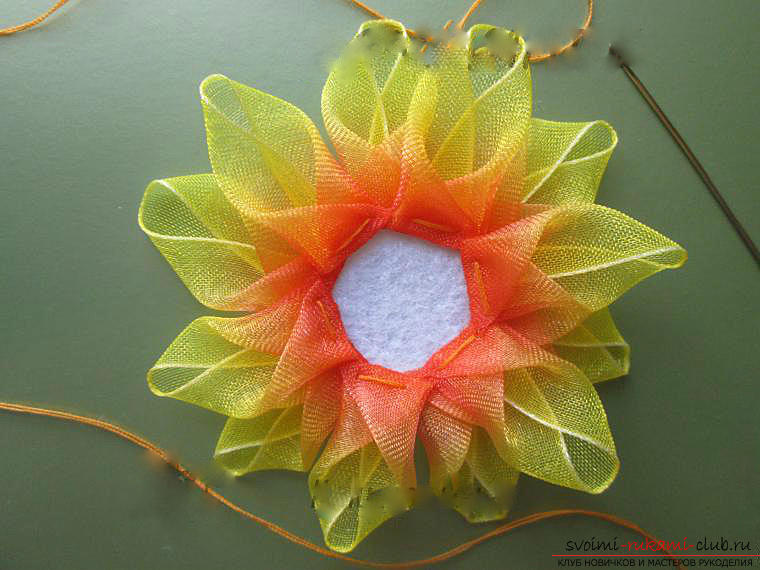 The third circle will consist of 8 petals, they overlap by about half in relation to the previous one.
  The fourth circle. Similar to the third of the 8 petals and sew them lapped by 2/3.
 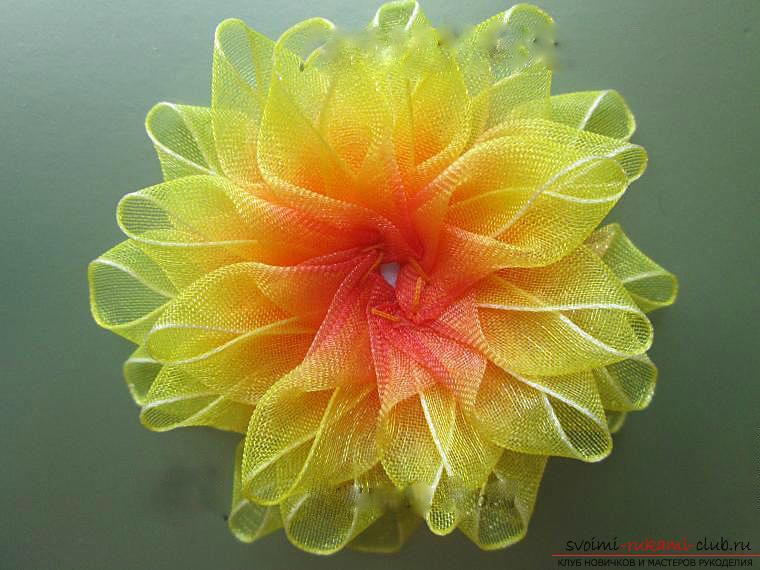 That's what it turns out.
 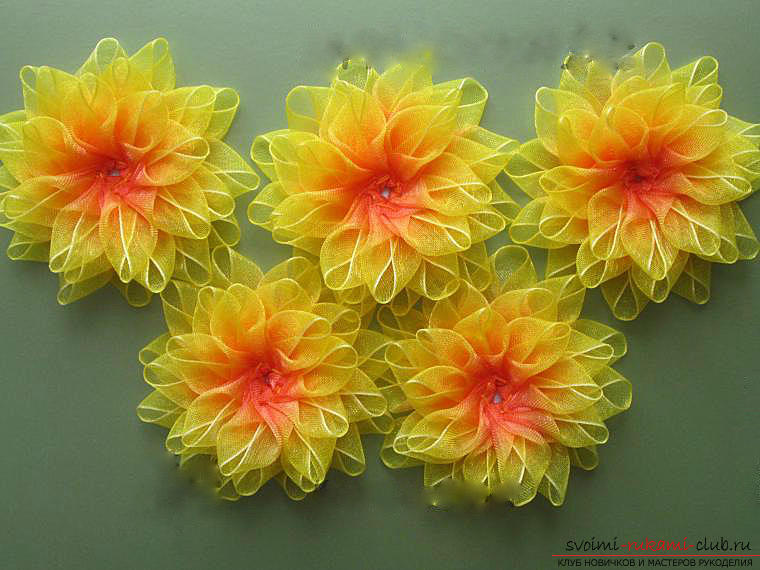 Now you need to make the core for the bows. On a piece of felt paste glued half-beads and sew on the edge of the beads.
 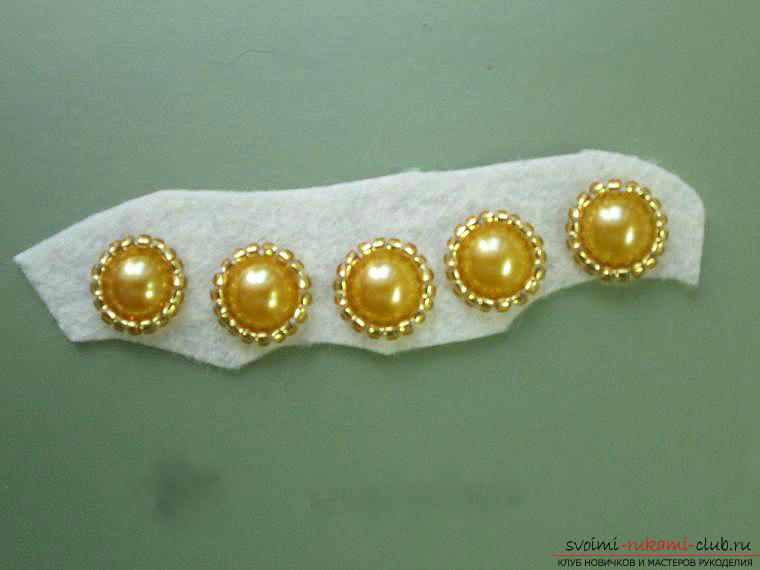 The outer side must be glued toround yellow piece of felt. To fix the inner side, glue a piece of tape to the clip and a circle of felt. In order to make a rubber, you need to cut a small hole in the circle of the yellow felt, pass both ends of the rubber, there they are stitched together and glued to a mug of felt.
 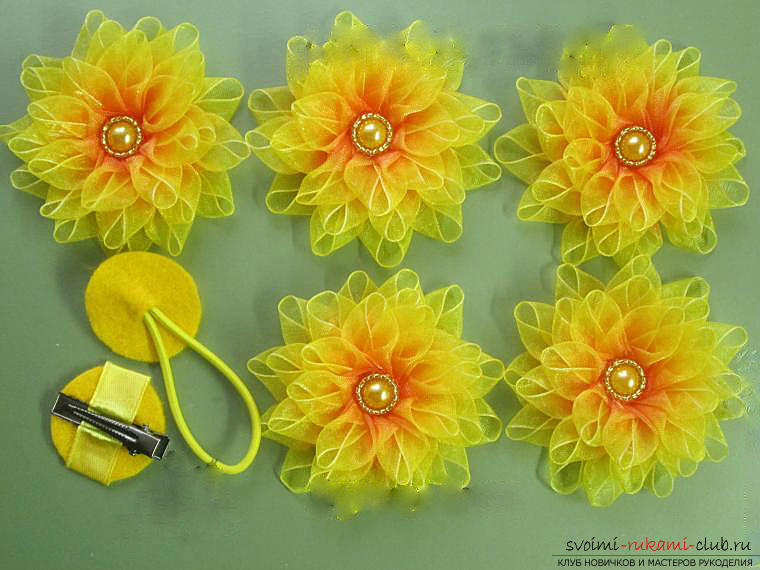 Now glue a piece of organza with a width of 1 cm onto the workpiece with a clip, pre-sing the edges beforehand.
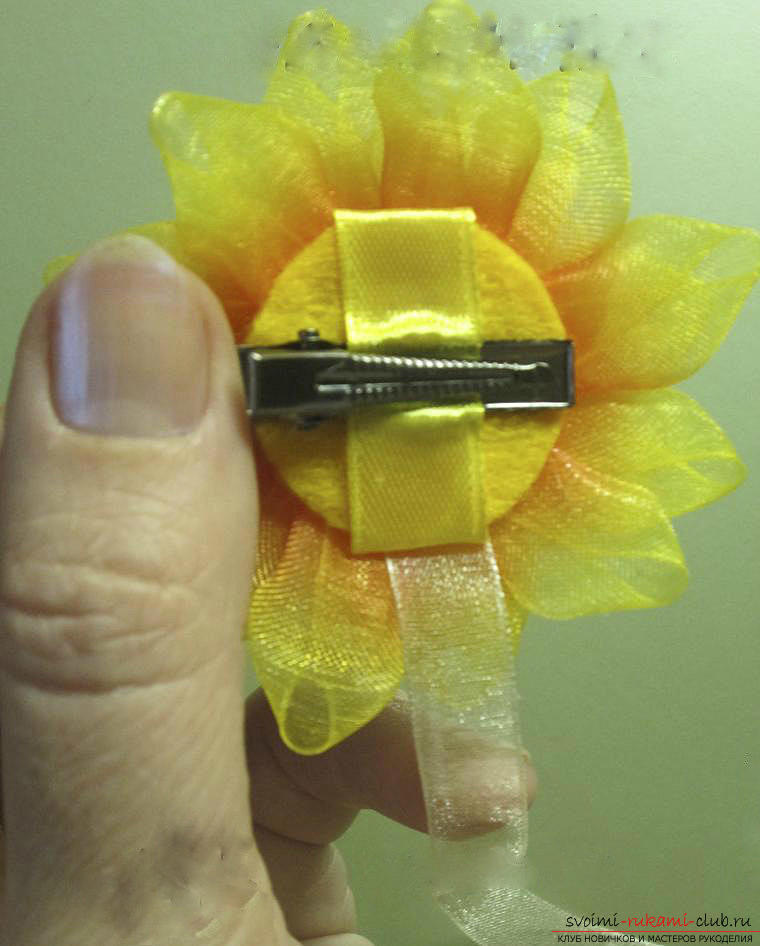
 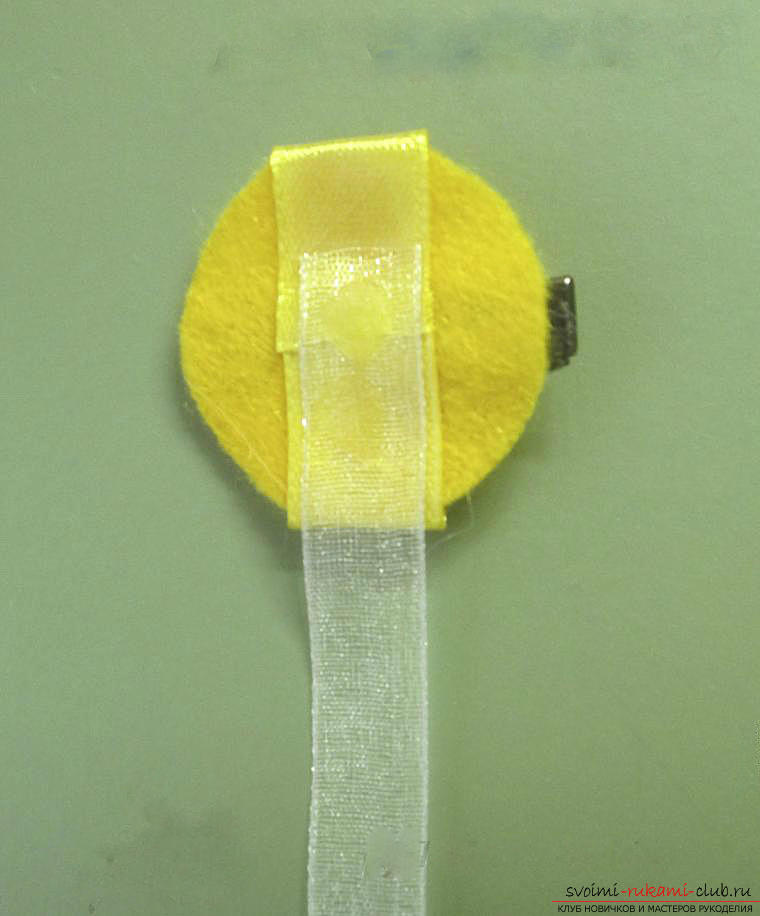 Stick the flower.
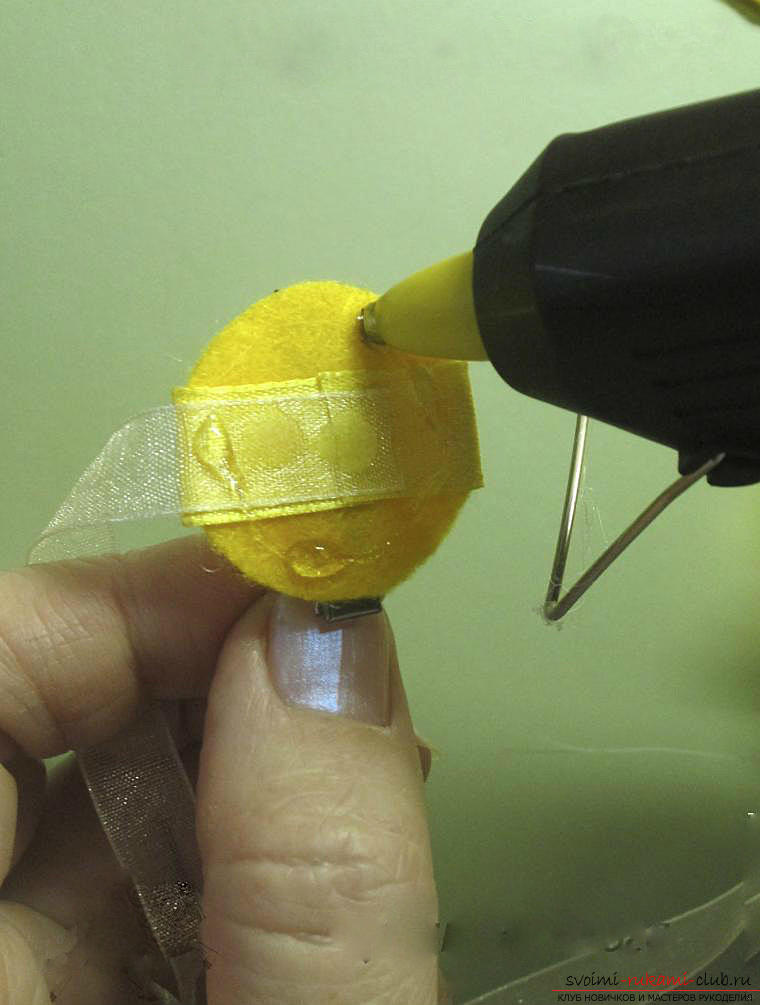
 Now you need to take the remaining three yellow blanks and apply the markings, as in the figure. The length of the incision is 8 mm.
  That's what it turns out.
 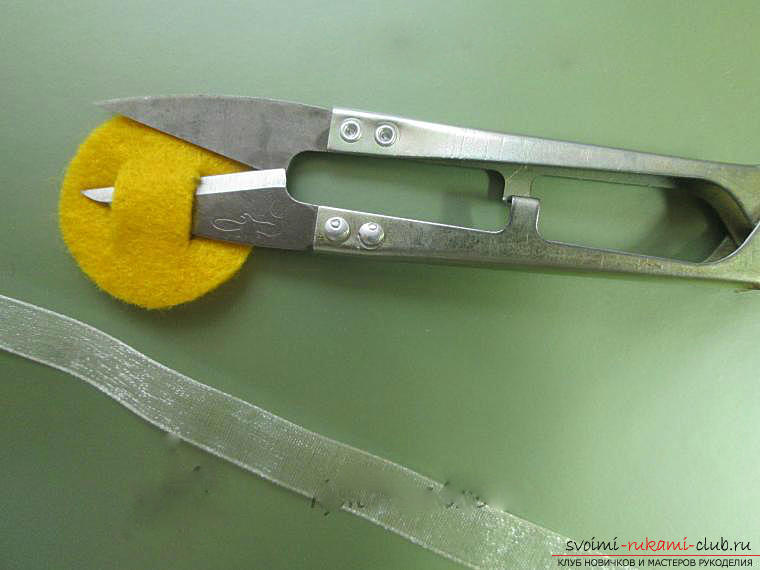 Apply glue along the edges.
  We glue the next flower, the place with cuts will serve as a loop so it should be free of glue.
 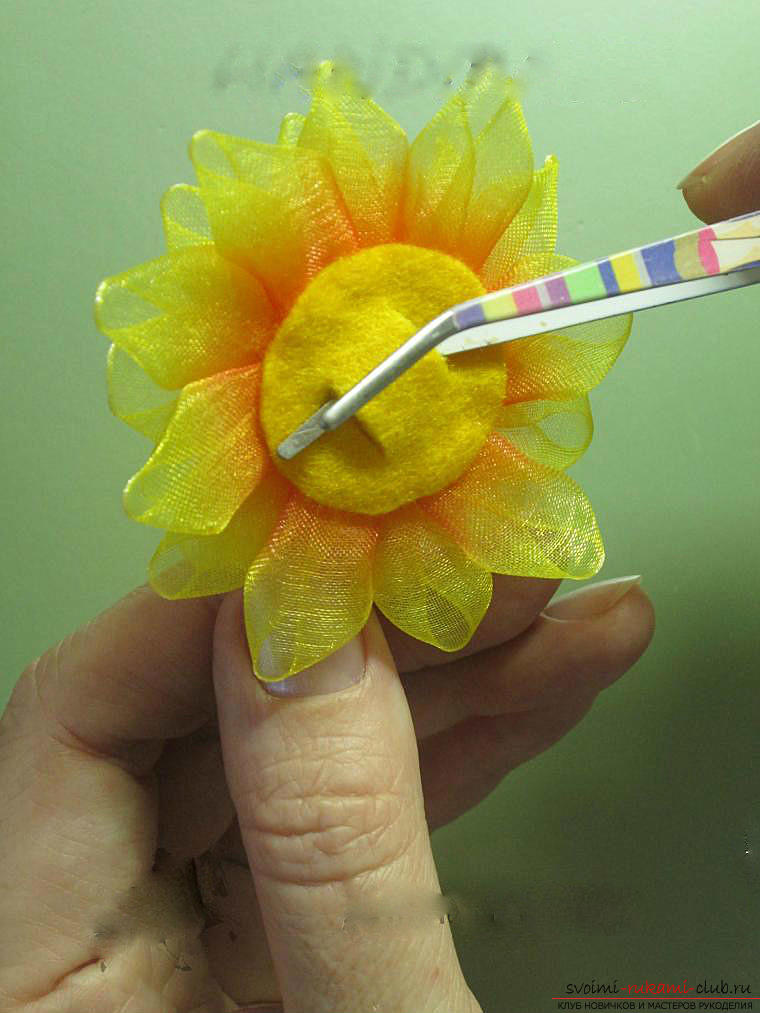 Now thread the flowers on the ribbon. They should sit tight and do not move out when the ribbon is lifted up.
 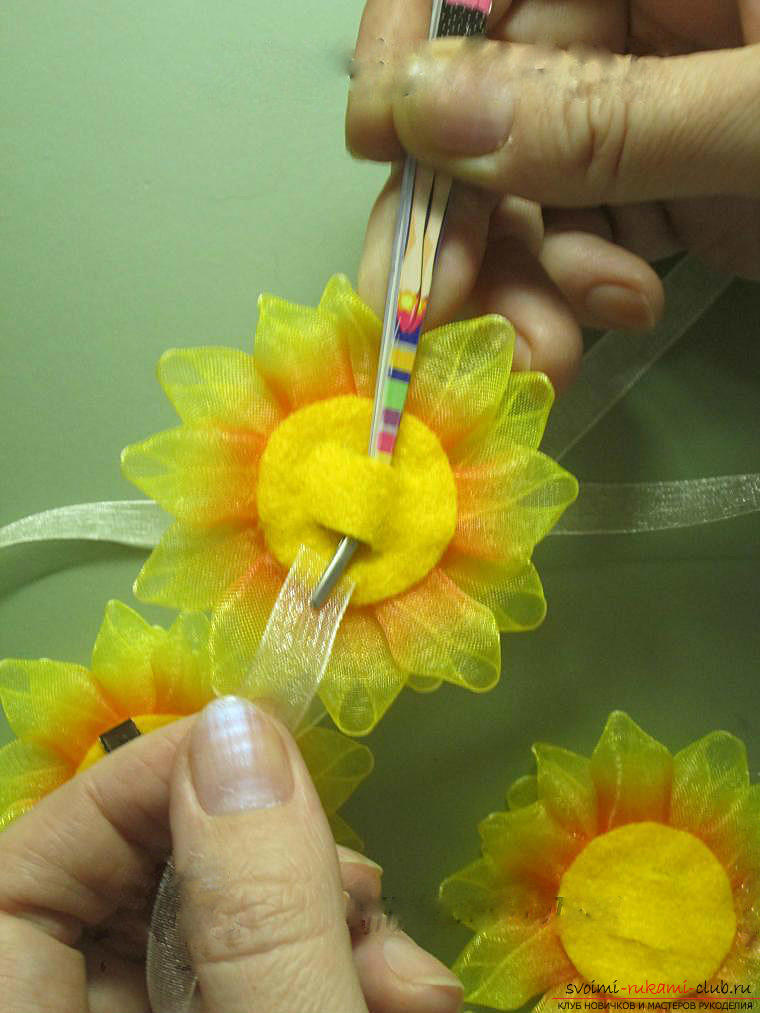 That's what happened. Such a wonderful decoration can be worn even under hats. Flowers are perfect to keep in shape.
Comments
Related posts:
 How to make Christmas-tree toys: balls, snowflakes and much more by yourself, master classes on creating Christmas tree toys with step-by-step photos and descriptions
 How to make an original accessory - a tie with your own hands with Kanzash elements? Lesson with step-by-step recommendations and photos
 Bright bows, kanzashi for beginner ideas and master classes
 Master classes for the manufacture of beautiful crafts for the New Year 2016 with their own hands with photos and step by step instructions.
 How to make a maple leaf by yourself? Quilling and master classes