
How to make Santa Claus using modular origami.
New Year's holidays are already on the way. It is these reasons that help us to look for new and interesting activities that will help to cheer up the holidays and help decorate the apartment, house, and make a nice present close. What can be nicer than a gift made with your own hands? 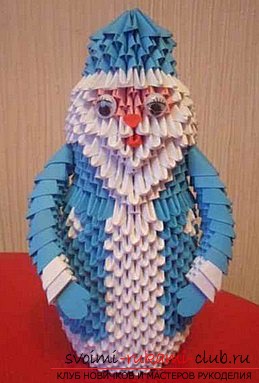 To your attention is an article thatpopularly tells how you can apply the technique of modular origami to build a beautiful grandfather frost. This option is perfect as a gift wrapping, it can become an ideal decoration for your festive table, or simply, supplement the appearance of the home.
How to make Santa Claus from origami?
In order to make Santa Claus with the help ofOrigami, you have to use the modular scheme. To do this, you need to create small modules, which will be the connecting elements of your future concept. 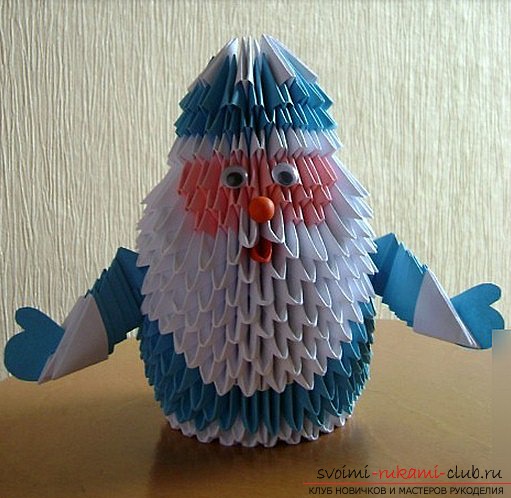 Below we will propose a picture, which will show,what form should the modules be for later realization by their own hands. First of all, assemble the chain in three rows with the help of white modules. For each row, twenty-five modules are needed. Then, the chain needs to be fixed in the ring. After - the ring needs to be turned out. Next, you need to complete the fourth row. This requires twenty-five blue modules. Beard for our grandfather frost need to start doing already in the fifth row. To do this, insert the three modules in white, using the short sides outwards.
  For the sixth row, you need to fix twenty-onethe blue module, as well as four white modules over the same modules in the third row. The arrangement of the white modules, as well as the blue ones, must be done on the outside. Wear them in such a way that they come forward. For the seventh row, you need to fix five white modules, as well as twenty blue modules. For the eighth row, you need six white modules and nineteen blue modules. For the ninth row, we use seven white modules, as well as eighteen blue modules. Then, make the tenth row, which will consist of twenty-five modules of white color. They need to be worn in such a way that they are exactly on the tips of the modules for the ninth row. For the eleventh row, you must put on one red module (for the mouth of Santa Claus), as well as twenty-four white modules. For the 12th row, two white ones are needed, also for the mouth, also two pink and nineteen white modules, and then again two pink modules. The thirteenth row should be performed using seven pink color modules and eighteen white modules. For the fourteenth, you need eight pink modules and seventeen white modules. Next, you need to give your figure the necessary shape. Then, we will begin to perform the cap of Santa Claus. In order to make the desired shape, you need to press your finger inside the craft to make the head turned round. Then, it is necessary to make fluff of hair and beard. Do exactly the same outside the face to make it flat.
  For the fifteenth row you will need twentytwo modules of white color. Then, in order to shorten the modules in the rows, you need to put the three pairs of the module not on 2 corners as before, but on 3. For the sixteenth row, you need to fix twenty blue modules, and for the seventeenth row - eighteen modules of the same. For the eighteenth row, nine white modules are needed. They need to be inserted through one to pass through two corners. (Figure 9)
  Next, make the hand of our grandfather frost. To do this, you need to prepare nine blue modules and three white modules. It is necessary to connect three blue modules, according to the type of figure 10.
 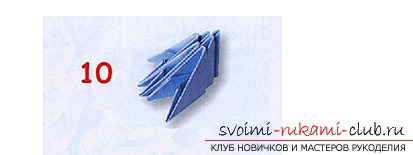 Then, you need to put on three blue modules. To do this, secure the end modules. This can be done using pockets for an outdoor object (Figure 11).
 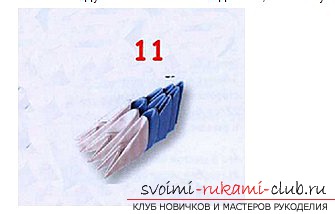 Next, you need to put on two blue modules, and then three white modules. (Figure 12).
 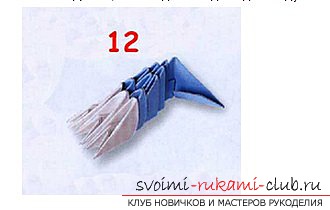 Connect the figure using the blue connection module (Figure 13) Then, it is necessary to cut out the mitten and paste it next to (between) the white modules. In the same way, organize the second hand. Your workpiece is complete!
Comments
Related posts:
 The scheme for creating modular origami of Santa Claus from paper for beginners
 Origami New Year's grandfather frost - how to make jewelry yourself?
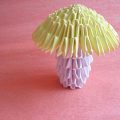 This master-class step-by-step modular origami with a photo will teach you how to make your own handiwork - a fungus.
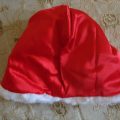 How to sew a New Year costume of Santa Claus? Lesson on the creation of New Year costumes for Santa Claus with a pattern, a detailed description of the work process, step-by-step photos and video-instruction
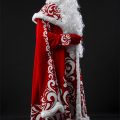 How to make a Santa Claus costume. Simple tips for working with your own hands and photos.