How to make a maple leaf by yourself? Quilling and master classes
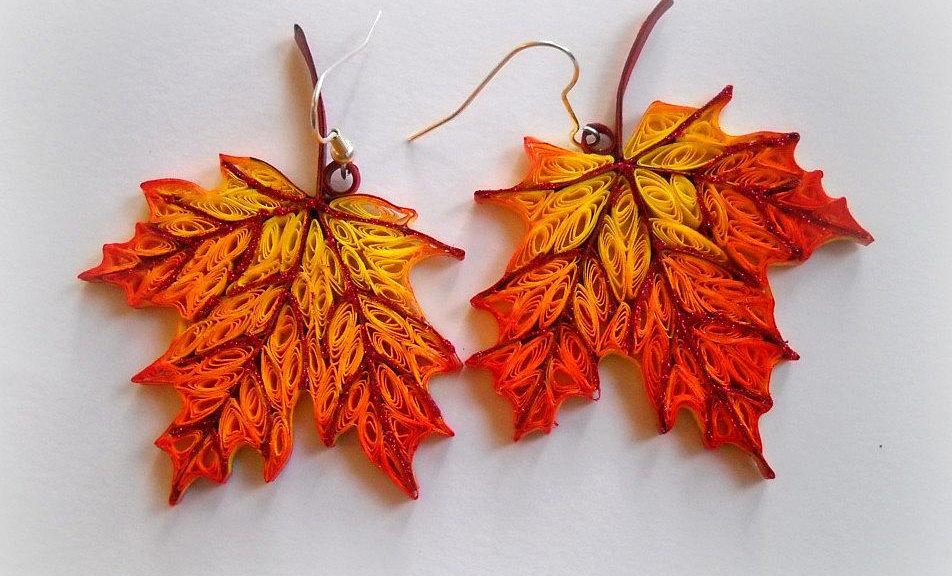
In the last months of autumn, each of us wants tofeel the time of the year for real and maybe even make your own craft on this topic. Quilling is a great opportunity to realize your skills and at the same time, to practice something new. We offer you to issue a seasonal hand-crafted item in the form of a fallen maple leaf, which is perfect for maintaining the necessary external signs of the season in the interior. 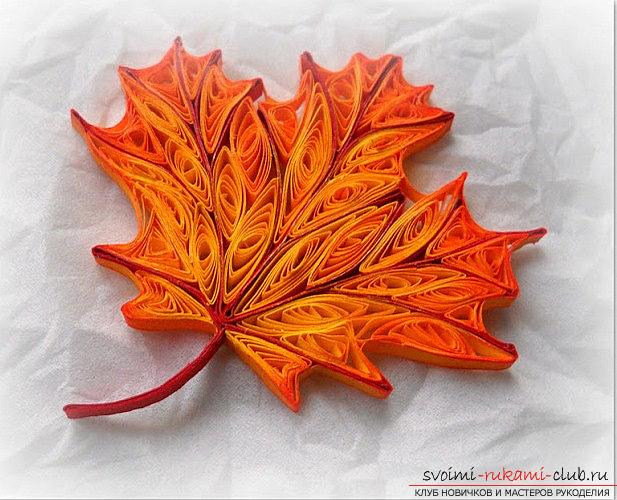 Seasonal postcard - materials We will need special materials:
- Glue is needed for blanks
- Paper strips three millimeters wide
- Tweezers for quilling processing
- Scissors for processing quilling
- Template leaflet
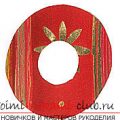
Prepare a Template 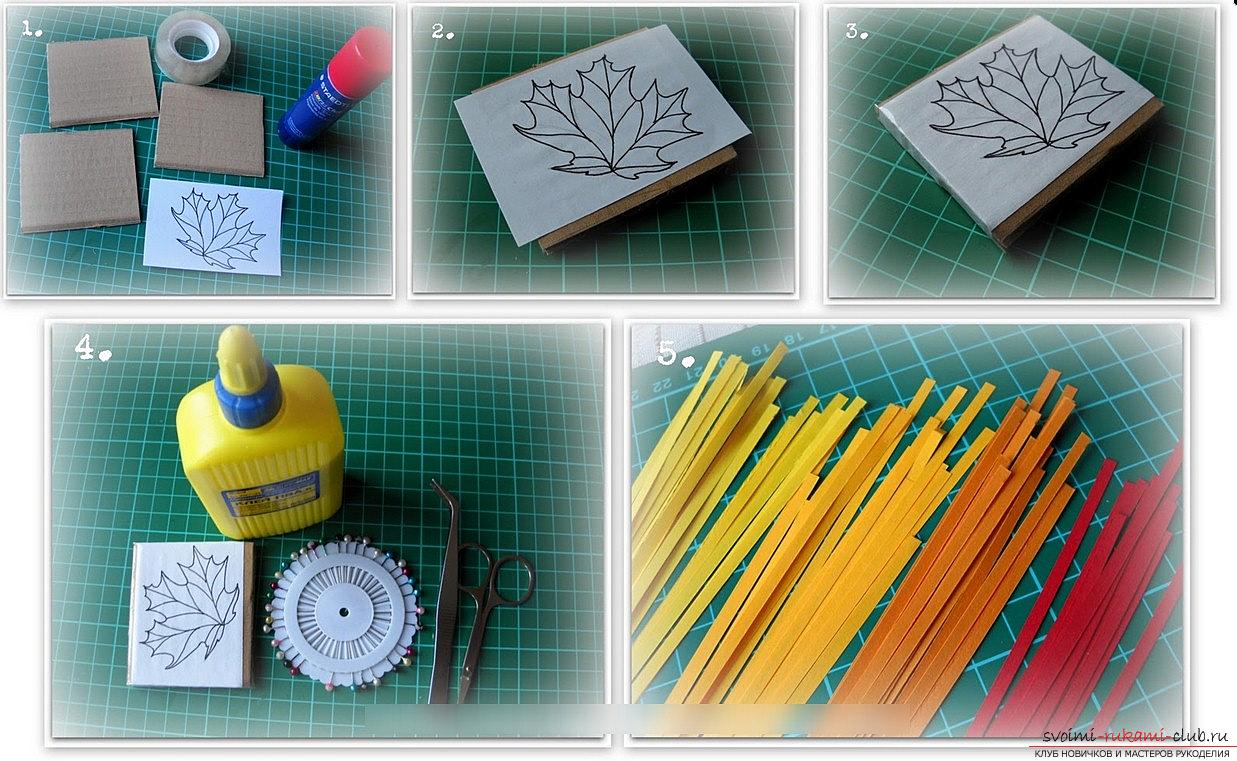 In order to obtain a symmetrical formsheet, you need to prepare a template blank. We will choose the form of "sandwich", which we will produce with a triplet of pieces of cardboard, which must first be greased with glue. In addition, you need to make a blank drawing of a maple leaf, or copy the desired option from the Internet (for example, print). Wrap it all up with Scotch tape. Scotch tape in this case is a mandatory option, as otherwise we can get a leaf that simply supports the pattern. We continue our work
 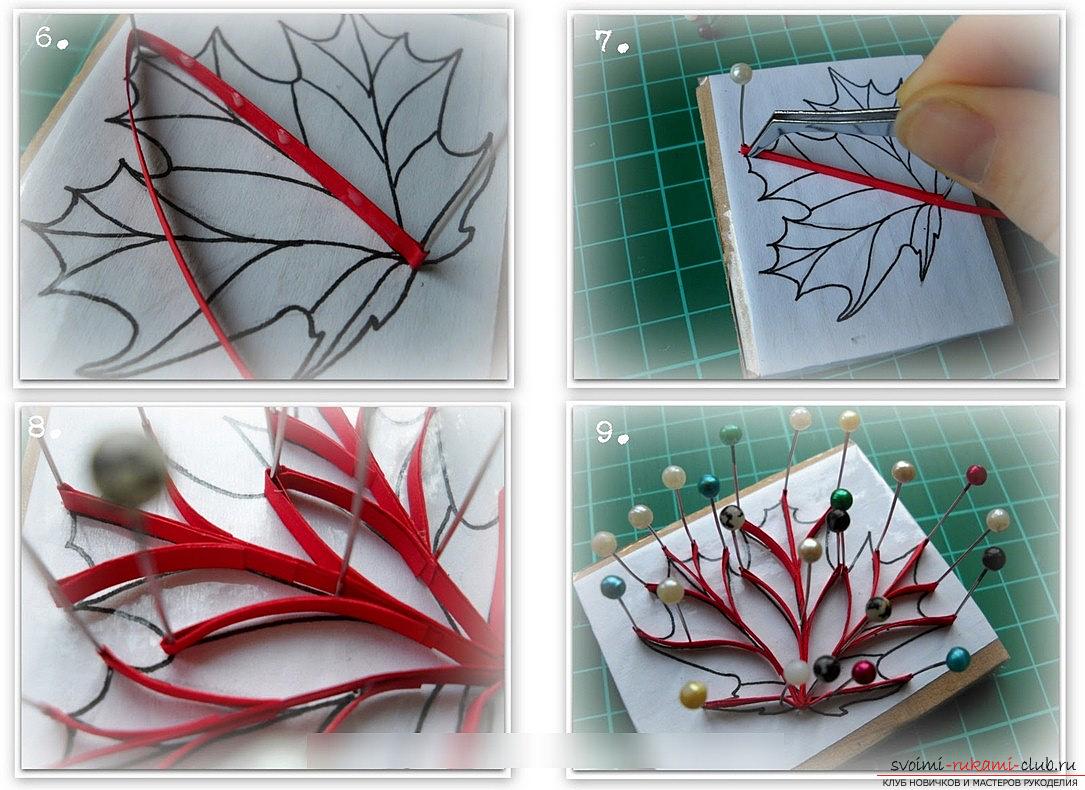 Using strips of red paper, we selectdensity of leaflets. It should be in the amount of 130 grams. per square meter. Create the skeleton of the future sheet. To firmly fix the product, use the studs. Next, we take a strip in length by 6-12 centimeters and recreate the rolls, in which we form the shape of the "eye", "treguolnik" and "droplets".
 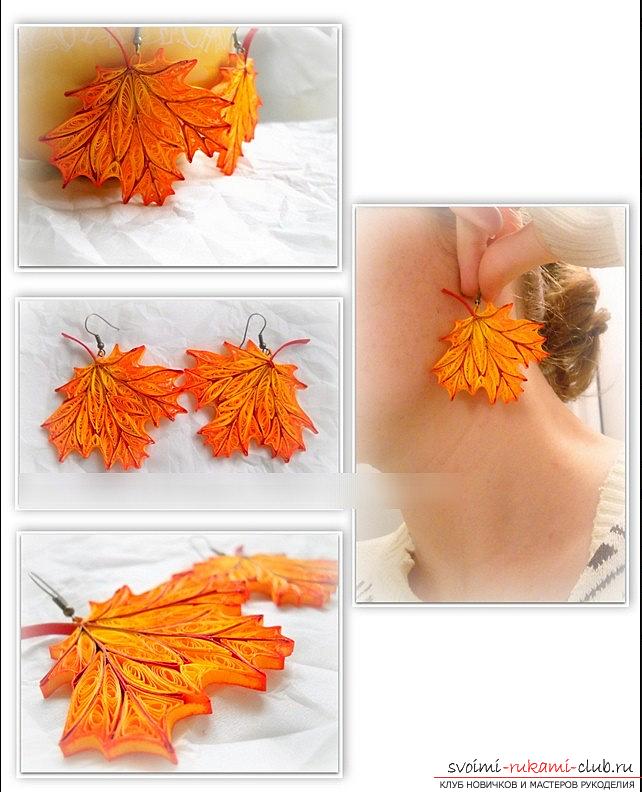 All forms that will be veins of the leaf fiton our record, which we must fill. Plastinochku need to be pasted with a paper tape. Ink and sponge produce toning sheet, from the middle to the sides, making the tone dark. End of work
 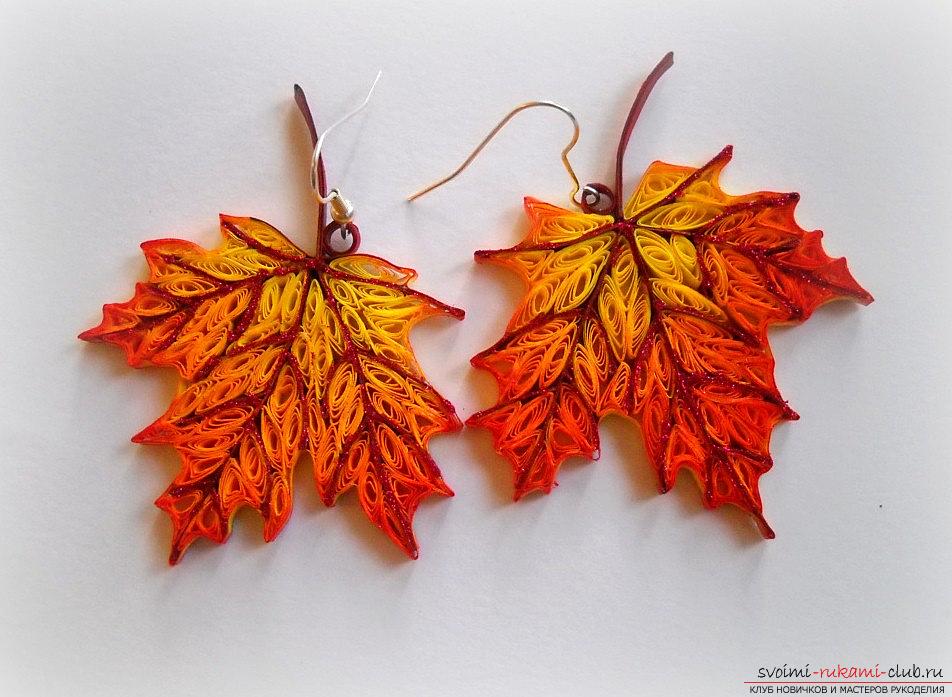 Everything, our workpiece is ready! You can use it to decorate our works or the interior in the house!
Comments
Related posts:
 Quilling is a master class. Pictures and postcards by own hands
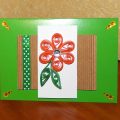 This master class will teach you how to make your own beautiful quilling cards.
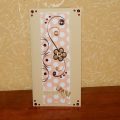 This master class will teach you how to make a postcard with your own hands in quilling technique.
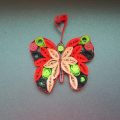 Quilling butterflies - loop quilling and master class with their own hands
 New Year's crafts, children's hand-made paper from their own hands, how to make a snowman from paper, free master classes.