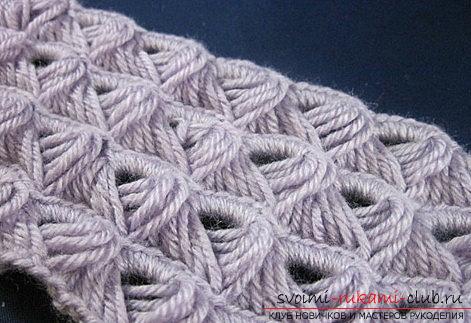
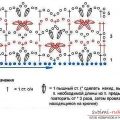
How to make a beautiful "Peruvian" pattern with the help of a hook by your own hands - scheme
Sometimes, in order to learn to knit really beautiful things, you need to learn interesting lessons, with which we can both update the knowledge, and learn new techniques of knitting.
How to make a beautiful "Peruvian" pattern with the help of a hook by your own hands - scheme
 In this article we will learn the popular pattern"Peruvian" species, which is now very popular and offers the opportunity to decorate your own objects, regardless of their orientation. But, as it happens, there is a set of materials for each lesson:
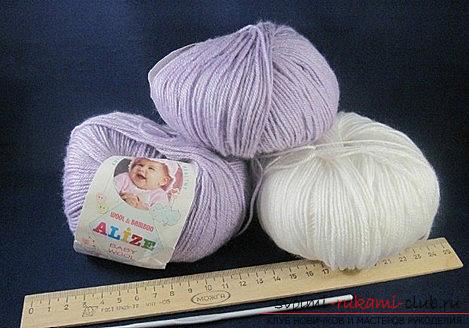
- You will need yarn (We took a variant of the yarn "Baby Wool"
- Straight hook №2.5
- Ruler (It is desirable that the measurements take place with a clerical ruler)
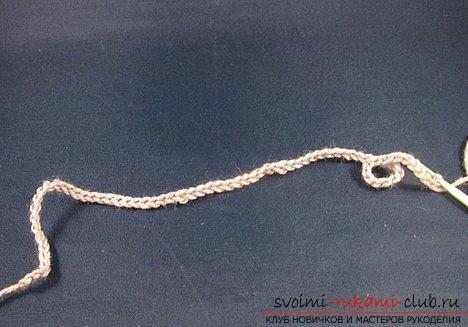
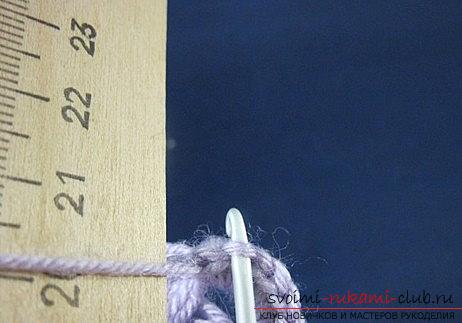
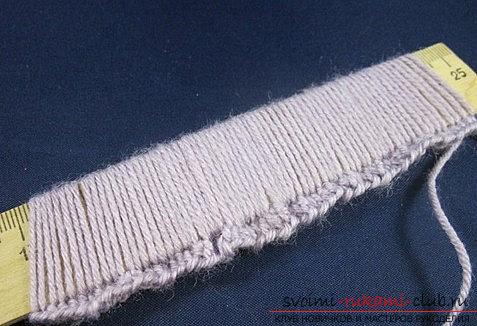
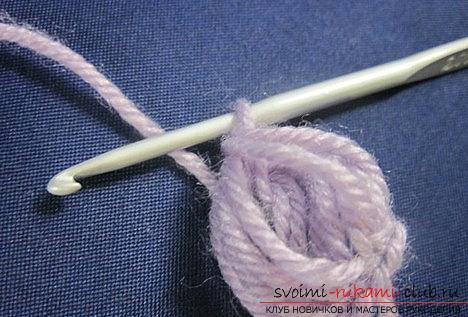
To start, on the hook you need to dial the airloops. For loops, there must be an amount equal to the number of loops (elongated) for 1 element. In our case, 7 variants of loops (elongated) will be used, so for air we select 70 loops to make 10 elements of Peruvian style knitting. Next, we type another kind of air loop, then - neobhodimo it pull. Next, the buttonhole needs to be put on the ruler so that the materials of the chain of the air loops are on the edge of the product. 
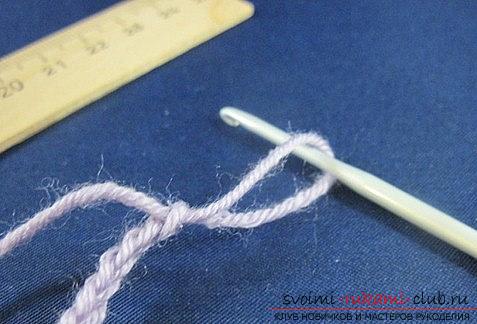
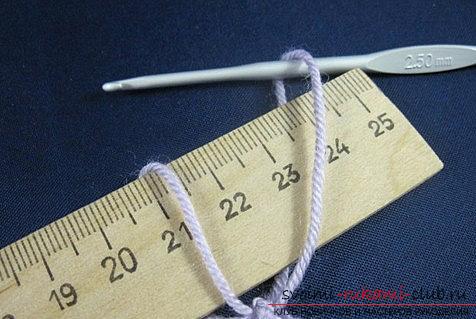
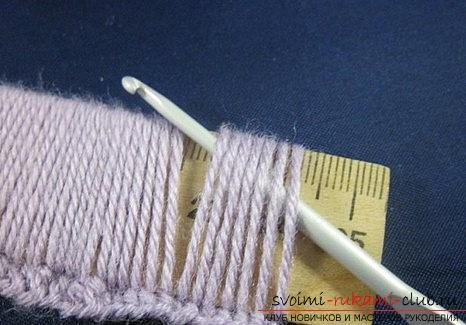
 Next, you need to insert a hook for the back wallloop, which follows the loop from which was drawn 1 loop. Next, you need to make a cape for the hook and pull out one loop as well. After, the loop should be put on the lining and tighten the thread, make sure that a number of all these air-type loops are on the edge. Thus, loop by loop, in each air loop it is necessary to create one loop and throw them on the ruler.
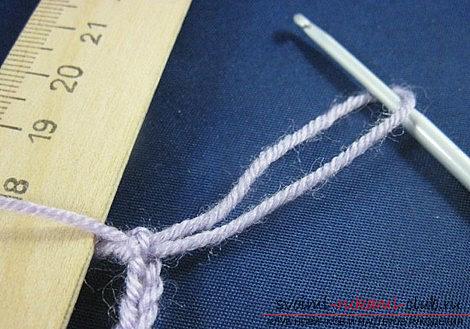
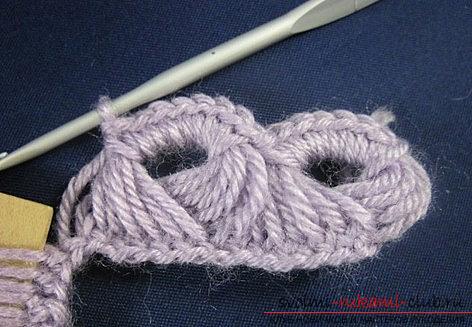
 Working on Peruvian knitting Next,it is necessary to count the elongated loops by seven pieces. For them we pass the hook. Then, it is necessary to remove the hook from the loop carefully. Then, make a crochet in this hook and gently stretch the thread of the cloak through the aisle into the elongated loops.
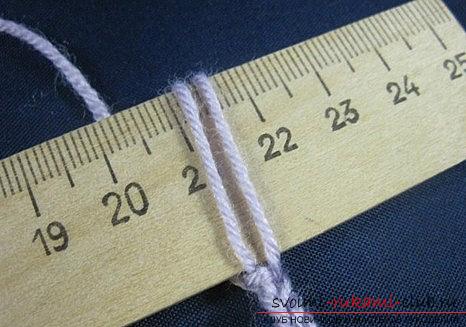
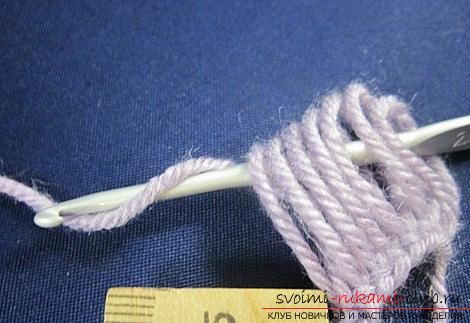
 Next, we make one loop of air type andhold a hook under each elongated loop, you need to tie seven columns without a cape. After that, again it is necessary to pass the hook under the next set of seven loops to the ruler, remove the loops and after - make a cloak and stretch the thread through seven of these elongated loops. Next, make one air loop and after - shine the hook under the seven loops of an elongated type, also tie seven columns without a cape.
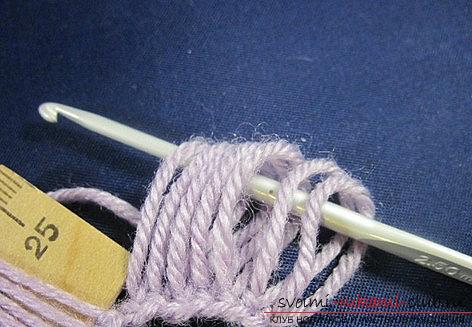
 End of work
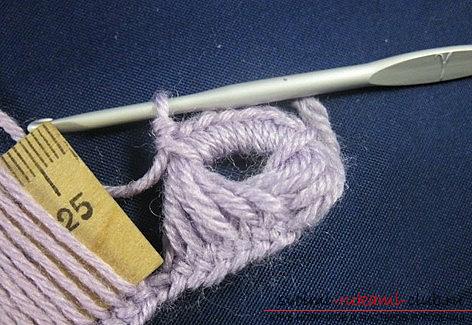
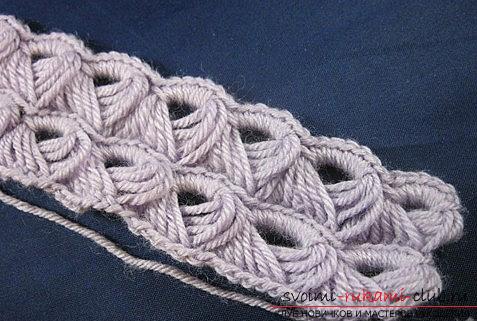
 Next, you need to commit anothereight times, we will get ten items in a row. The last loop - which is located on the top of the seventh column without the crochet in the last element is stretched and superimposed on the ruler.
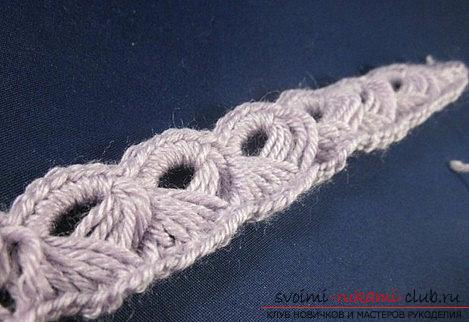
 Then we create loops again, pull them outtops for the columns without a cape for the previous row. The hook for this is to be carried through the rear walls for the loop of the top of the column without a cape. The same method is necessary to tie and the second row. Each series will be a beautiful, unique pattern such as "Peruvian".
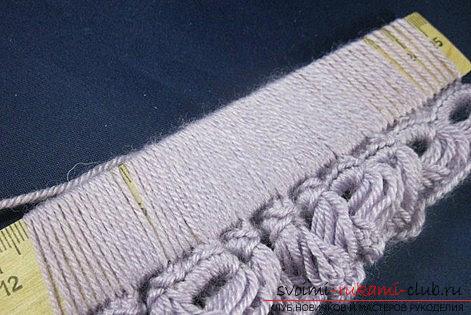
 Use it specifically to knit clothes, scarves or snacks, hats and other fabric items!
Comments
Related posts:
 How to make a beautiful two-tone pattern for autumn clothes? Master Class
 Beautiful fan pattern crochet on the dress - a fan pattern with your own hands and a master class
 The pattern of "paired leaves" for the pattern of the scarf - how to make a beautiful pair pattern?
 You can tie a beautiful sheep with your own hands with a hook and give it to a child or friend for memory.
 How to make a pattern of three-dimensional flowers crochet - a flower pattern and a pattern