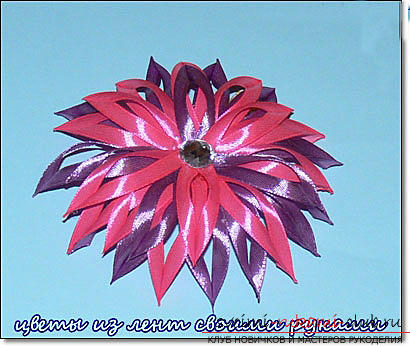
How to make a beautiful kanzashi hairpin with your own hands with a description and a photo.
To create a beautiful hair clip in Kansas techniqueyou do not need a lot of free time or expensive materials. Such work is possible even for beginners. Despite its "youthful" appearance, the flowers of Kanzas often form the hairstyles of mature ladies, they decorate not their colorful dresses, they impart an original tenderness to elegant dresses. In addition to pins, Kanzash flowers become an ornament for brooches, hoops, combs, rubber bands.  For a little princess, such an accessory to heralong will be a wonderful gift. Before making kanzashi hairpins, prepare the following materials and inventory: a pebble or bead; adhesive for working with fabric materials;
 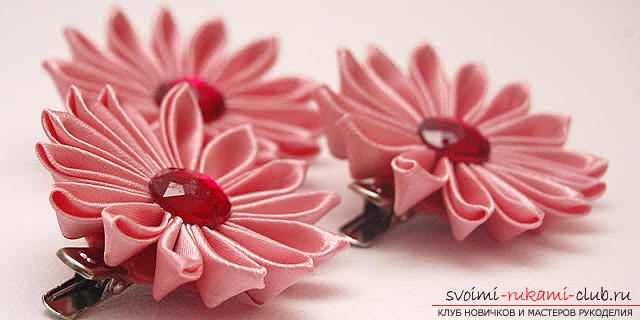 ruler; hairpin, which will need to be decorated;ribbon of satin 5 cm wide and 360 centimeters long; In our example, ribbons of 2 colors will be used, although one can be used; scissors; base (a circle of felt or knitted fabric with a diameter of 5 centimeters); candle or lighter. Course of work.
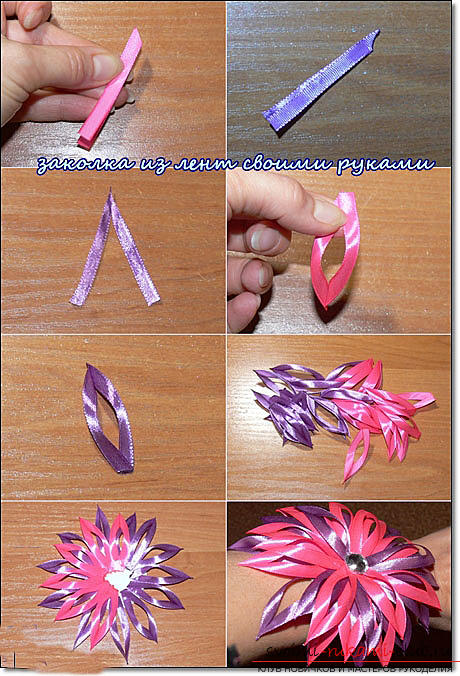
On this clip from Kanzas can be considered complete. Create such cute decorations for your little princesses more often. In addition, that it is simple, they do not require a lot of time and significant monetary costs. We think you have already seen this yourself!
Comments
Related posts:
 Make kanzashi from satin ribbons with your own hands with photo and description.
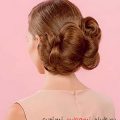 How to make a beautiful hairstyle for a wedding with your own hands with a step-by-step description and photo.
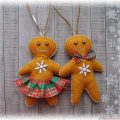 This master class with a description and photo will teach you how to make crafts from felt by yourself.
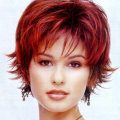 How to make a beautiful styling with a bang with your own hands - master classes with step-by-step description and photo.
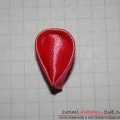 Round Kanzas with their own hands, a lesson on creating a circular petal Kansas with a description and photo.