How to make a crocodile from beads: a weaving scheme (video)
Content
- Necessary materials
- Crocodile tail weaving
- Weaving of the feet
- Weaving the torso
- Crocodile head
- Video: Learning beadwork of a crocodile
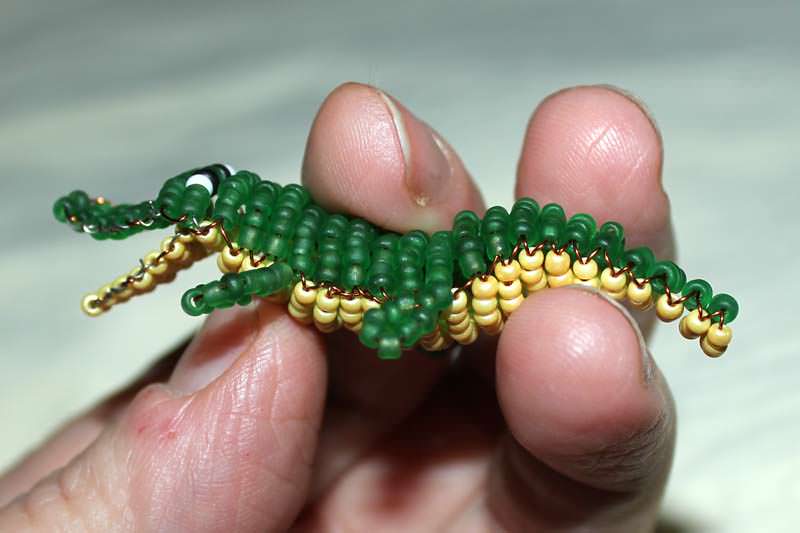
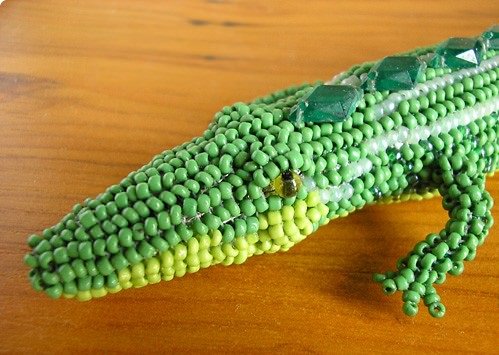
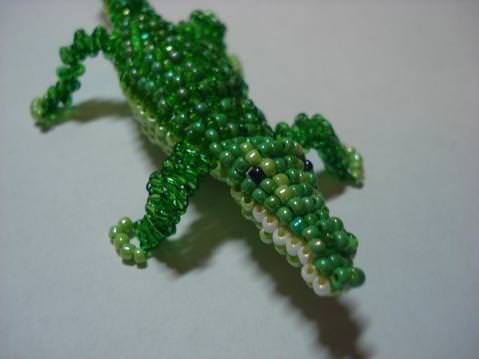
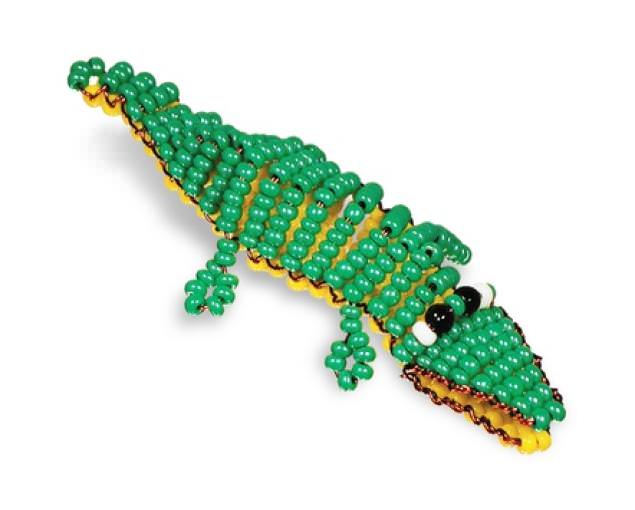
Weaving from animal beads allows you to makeFunny souvenirs that will delight both children and adults. Particularly interesting in this capacity can become a crocodile, if it is made in the form of a key ring on the phone or keys. In addition, a crocodile that can be done by following the instructions of this master class will be open-mouthed, which adds to it even more attractiveness. The diagram below will be available even for beginners.

Necessary materials
2 meters of wire and 35 cm additionally harmonious with the whole product color, approximately the same amount of green and yellow beads of 10 grams and beads for the eyes, 2 black and white.
Crocodile tail weaving
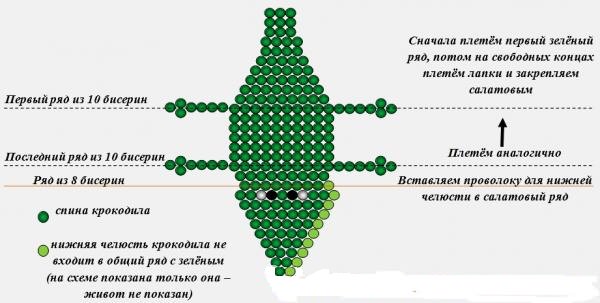
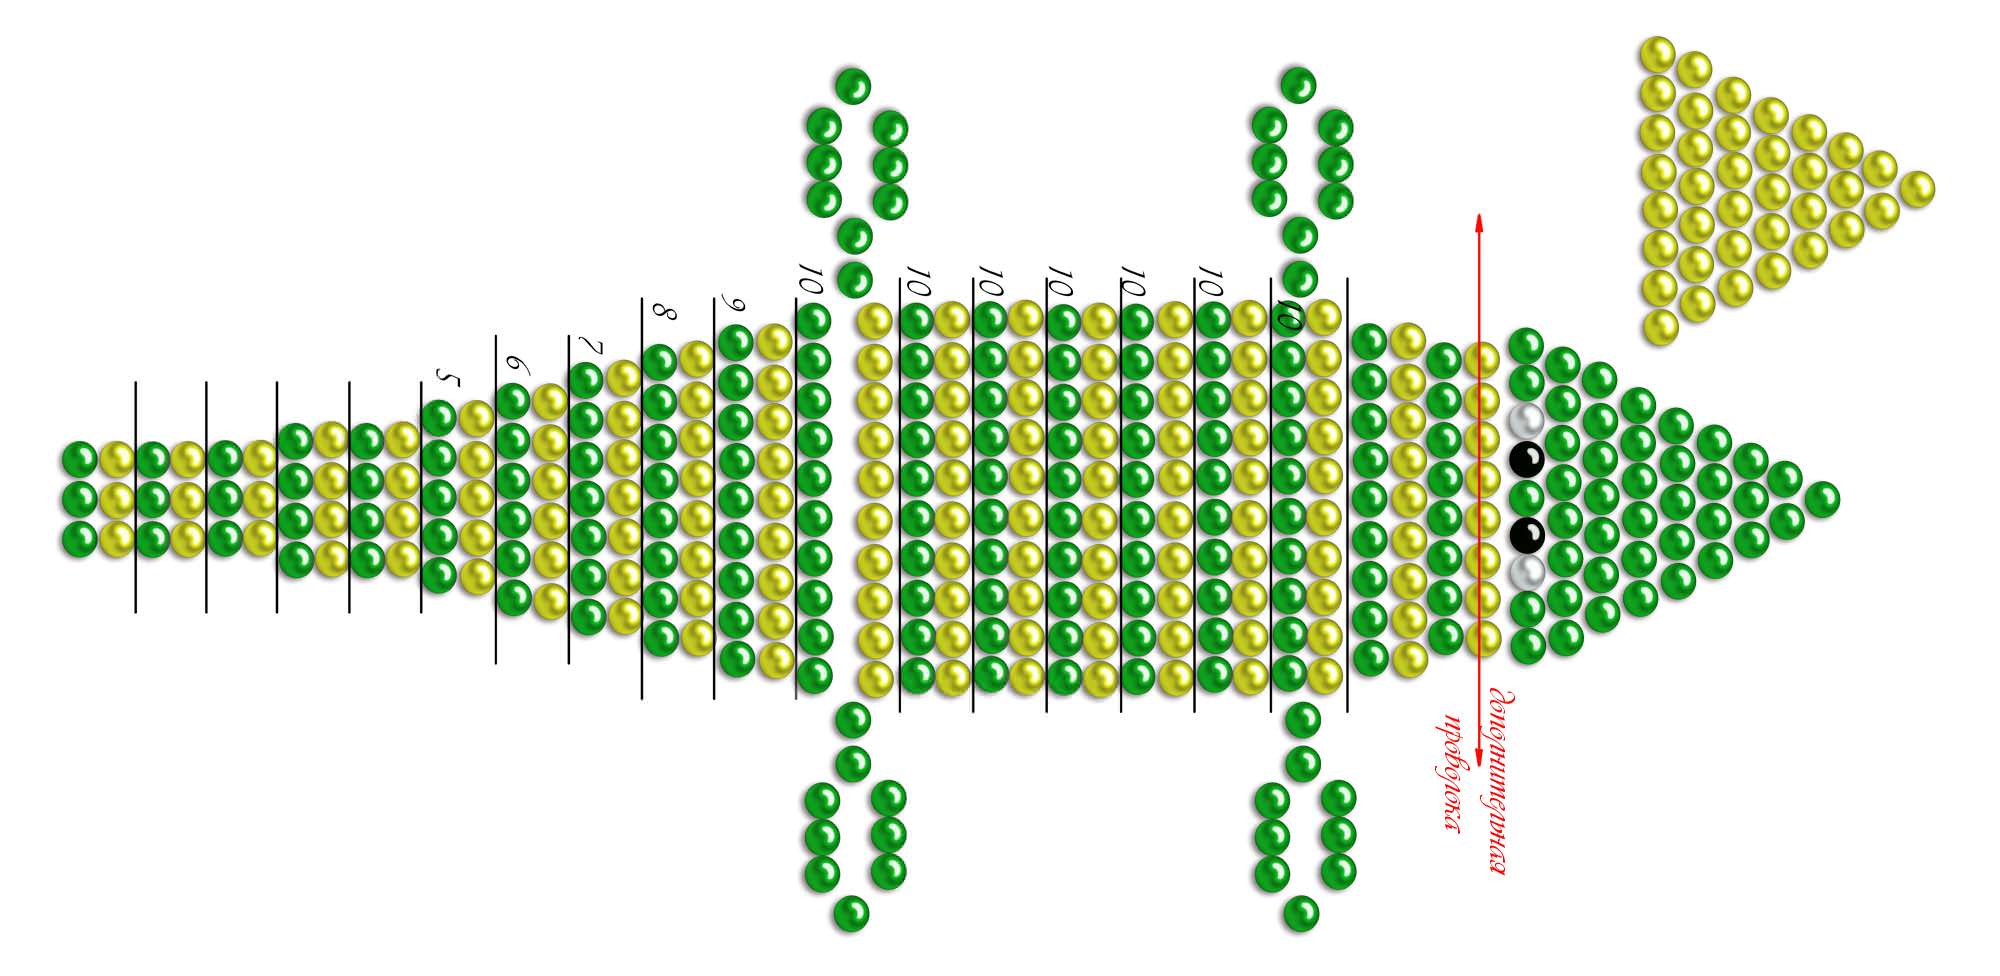
In the manufacture of our crocodile we use the technique of parallel weaving. You can choose one of the presented schemes and start working:
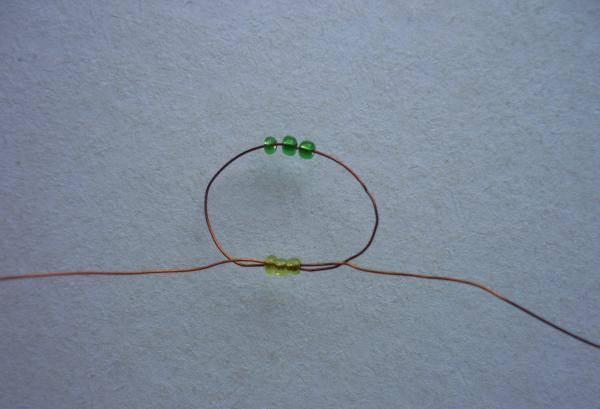
The main piece of wire is determinedThe middle on which 3 green and 3 yellow beads are threaded. After that, the end with beads of green color is passed through the yellow, forming a ring. The weave is tightened tightly, it should be ensured that both ends remain the same length.
The next row should be weave of green beadsSo that it is located above the previous yellow row, you need to do this throughout the entire weaving. Our crocodile will be voluminous, its belly will eventually turn yellow, and the backrest will be green. Accordingly, further it is necessary to alternate rows of different colors, placing them one above the other and vice versa, observing the complete symmetry for both parts of the product. This is especially convenient due to the wire that is used for weaving.
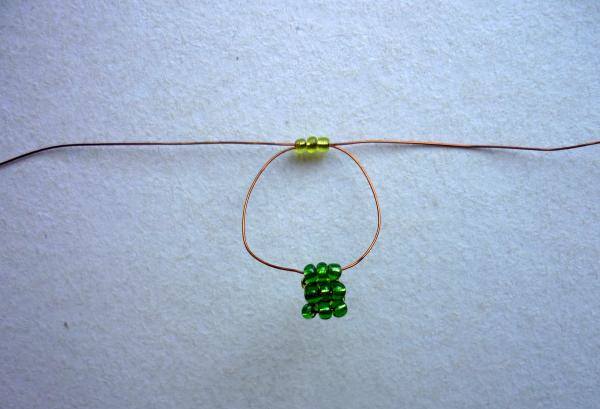
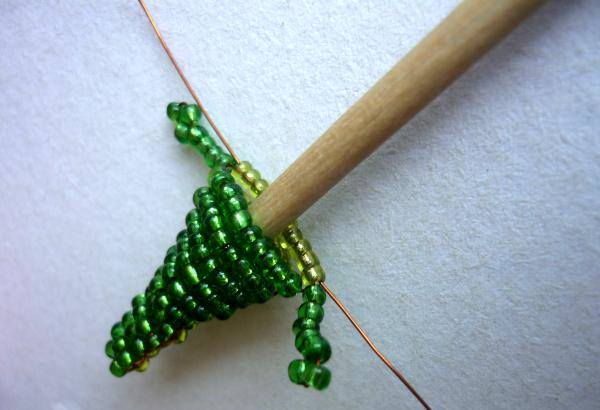
The schema to be adhered to looks likeAs follows: 3-3-3-4-4-5-6-7-8-9-10. In this case, each row is duplicated by both colors, alternating with each other. To the crocodile was larger and more attractive, it is better to separate his back from the belly by inserting into it something like a pencil or a stick from a brush. This can be done when the dimensions will allow, at a width of 4 beads. A pencil or other similar tool will give the product a rounded shape, and the wire frame will retain it.
Weaving of the feet
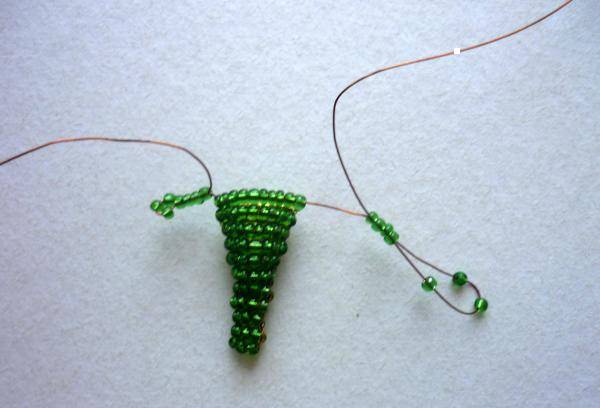
The paws must be started when moving fromGreen to yellow. Thus, according to the scheme, we only need to weave up to the first row of a pair of 10 beads, pass a free end to it in order to complete it. After this, 9 beads are typed at the end of the wire, after which you need to make a loop, passing it through the first two of the strung beads. It is enough to pull it up so that the foot is denser. Similarly, on the other hand, the second hindlimb is also performed.
A little more accurate may look slightly differentOption. This requires 7 beads, the loop is formed from the last three, and the end of the wire must be passed through the first four. We also observe that the beads fit tightly to the body, so that no free gaps remain. If we begin to tighten before this, then it will be difficult to fix it, the wire may break, and then everything will have to start from the very beginning. Accordingly, the same scheme must be repeated with the second foot symmetrically.
The hind legs are ready, in the same way we will do the forelegs, but more on this later.
Weaving the torso

After the paws, it remains to finish the series started andWeave it out of yellow beads. Next, we will weave as before, 5 more two-colored rows of 10 beads. In this case, do not forget to regularly correct the volumetric body shape with a pencil or other rounded tool. Next will be again a row of green beads, after which the front paws are performed. To perform them, we will use it in exactly the same way as the rear ones did. For detailed information, you will have to return to the corresponding section above. After doing this part of the work, we finish the series with a second color, all like the last time.
Then the fun begins. While everything was simple enough even for beginners, but will continue to be no more difficult.
Crocodile head
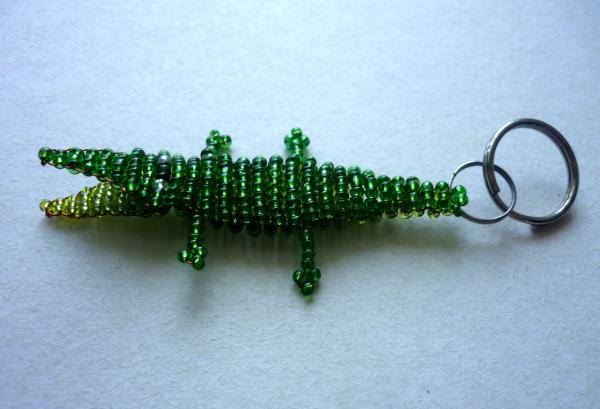
In accordance with the scheme, we continue the weaving. To start the head will need to make two more rows, of 9 and 8 beads, respectively. In the last yellow row, the second wire is passed, which was postponed at the very beginning as an additional wire. It is necessary to make with its help the lower jaw of the open mouth of the crocodile. For some time we leave it in this form, passing exclusively to the upper part of the head. From now on, you do not need to duplicate the rows in different colors, each part will be executed separately.
The crocodile will have a head that goes into the nose, with two eyes on it from the white and black beads of the same color on top as the whole body.
It is performed as follows: 2s-1b-1h-1s-1h-1b-2s (first row) -8-7-6-5-4-3-2-1 (the rest). When the crocodile's nose is finished, the remaining ends must be secured. To do this, you can tie them in and tuck them down.
As was said, the crocodile will have an openMouth. The wire that we left earlier is used for the lower triangular jaw of yellow color, weave according to the scheme 8-7-6-5-4-3-2-1. The ends must also be fixed.
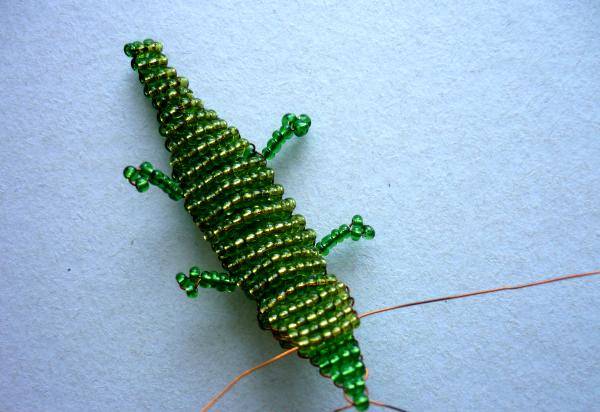
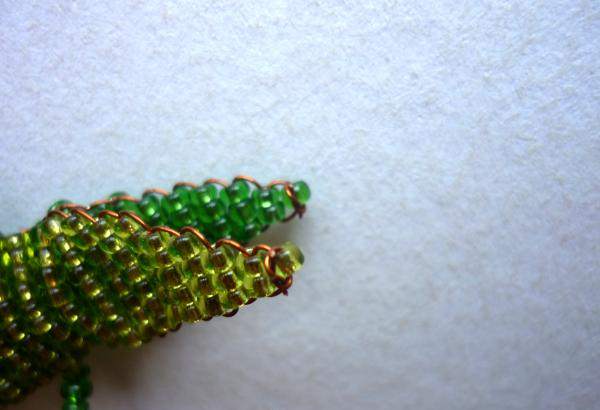

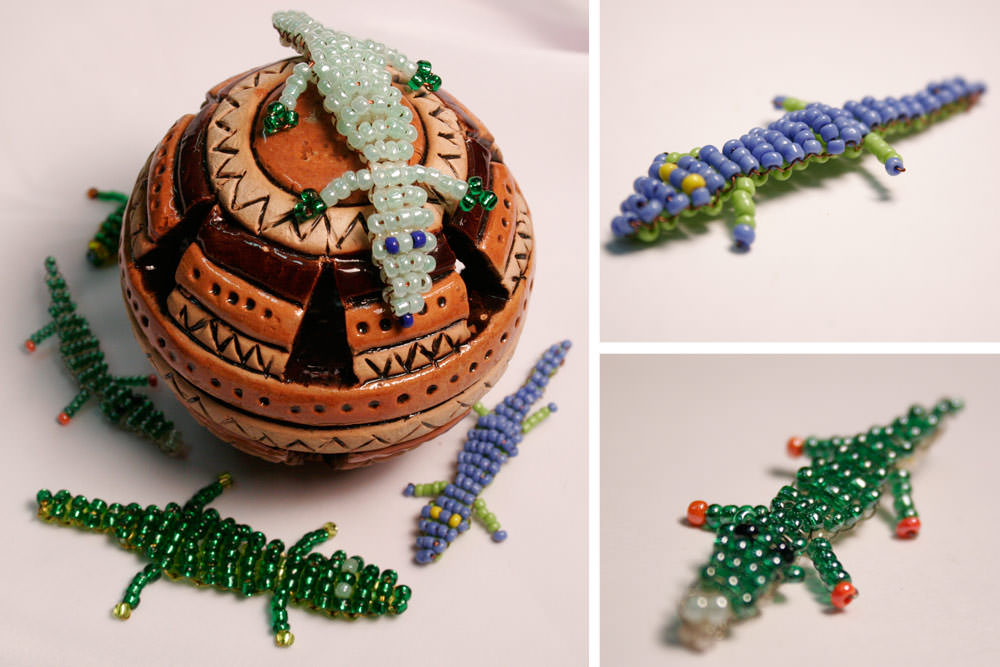
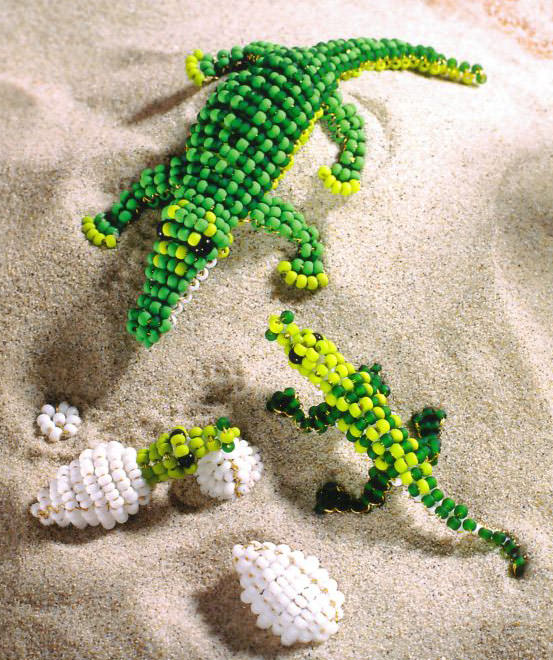
On this our charming crocodile is ready. It can stand if the paws are bent appropriately. For him, you can make a loop or leave in this form as a decorative element. It will look good for several animals, woven in one pattern, but using different colors. Perhaps, he wants to let him on the back of the stripes or various patterns - here already as the fantasy and personal taste will tell.

For the key fob in the tail, you can insert a small ring, and for it hook on the main ring, which it will be attached to the keys, bag or backpack.
Apparently, weaving a crocodile from beads does notcomplicated. To please yourself or friends and friends with a new figure is available even for beginners. After the instructions given above are summarized, a nice crocodile must be obtained.
For an explanation of the details, watch the video master classes on weaving a small reptile.
Video: Learning beadwork of a crocodile
