
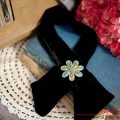
How to make an original accessory - a tie with your own hands with Kanzash elements? Lesson with step-by-step recommendations and photos
Ties can be of completely different shapes,some of them look stiff, others are piquant, some are gallant, etc. But there are gentle ties that are suitable for decorating blouses of young people, such a product can be used as an office version, or such a tie is combined with the school uniform and will emphasize the young charm. 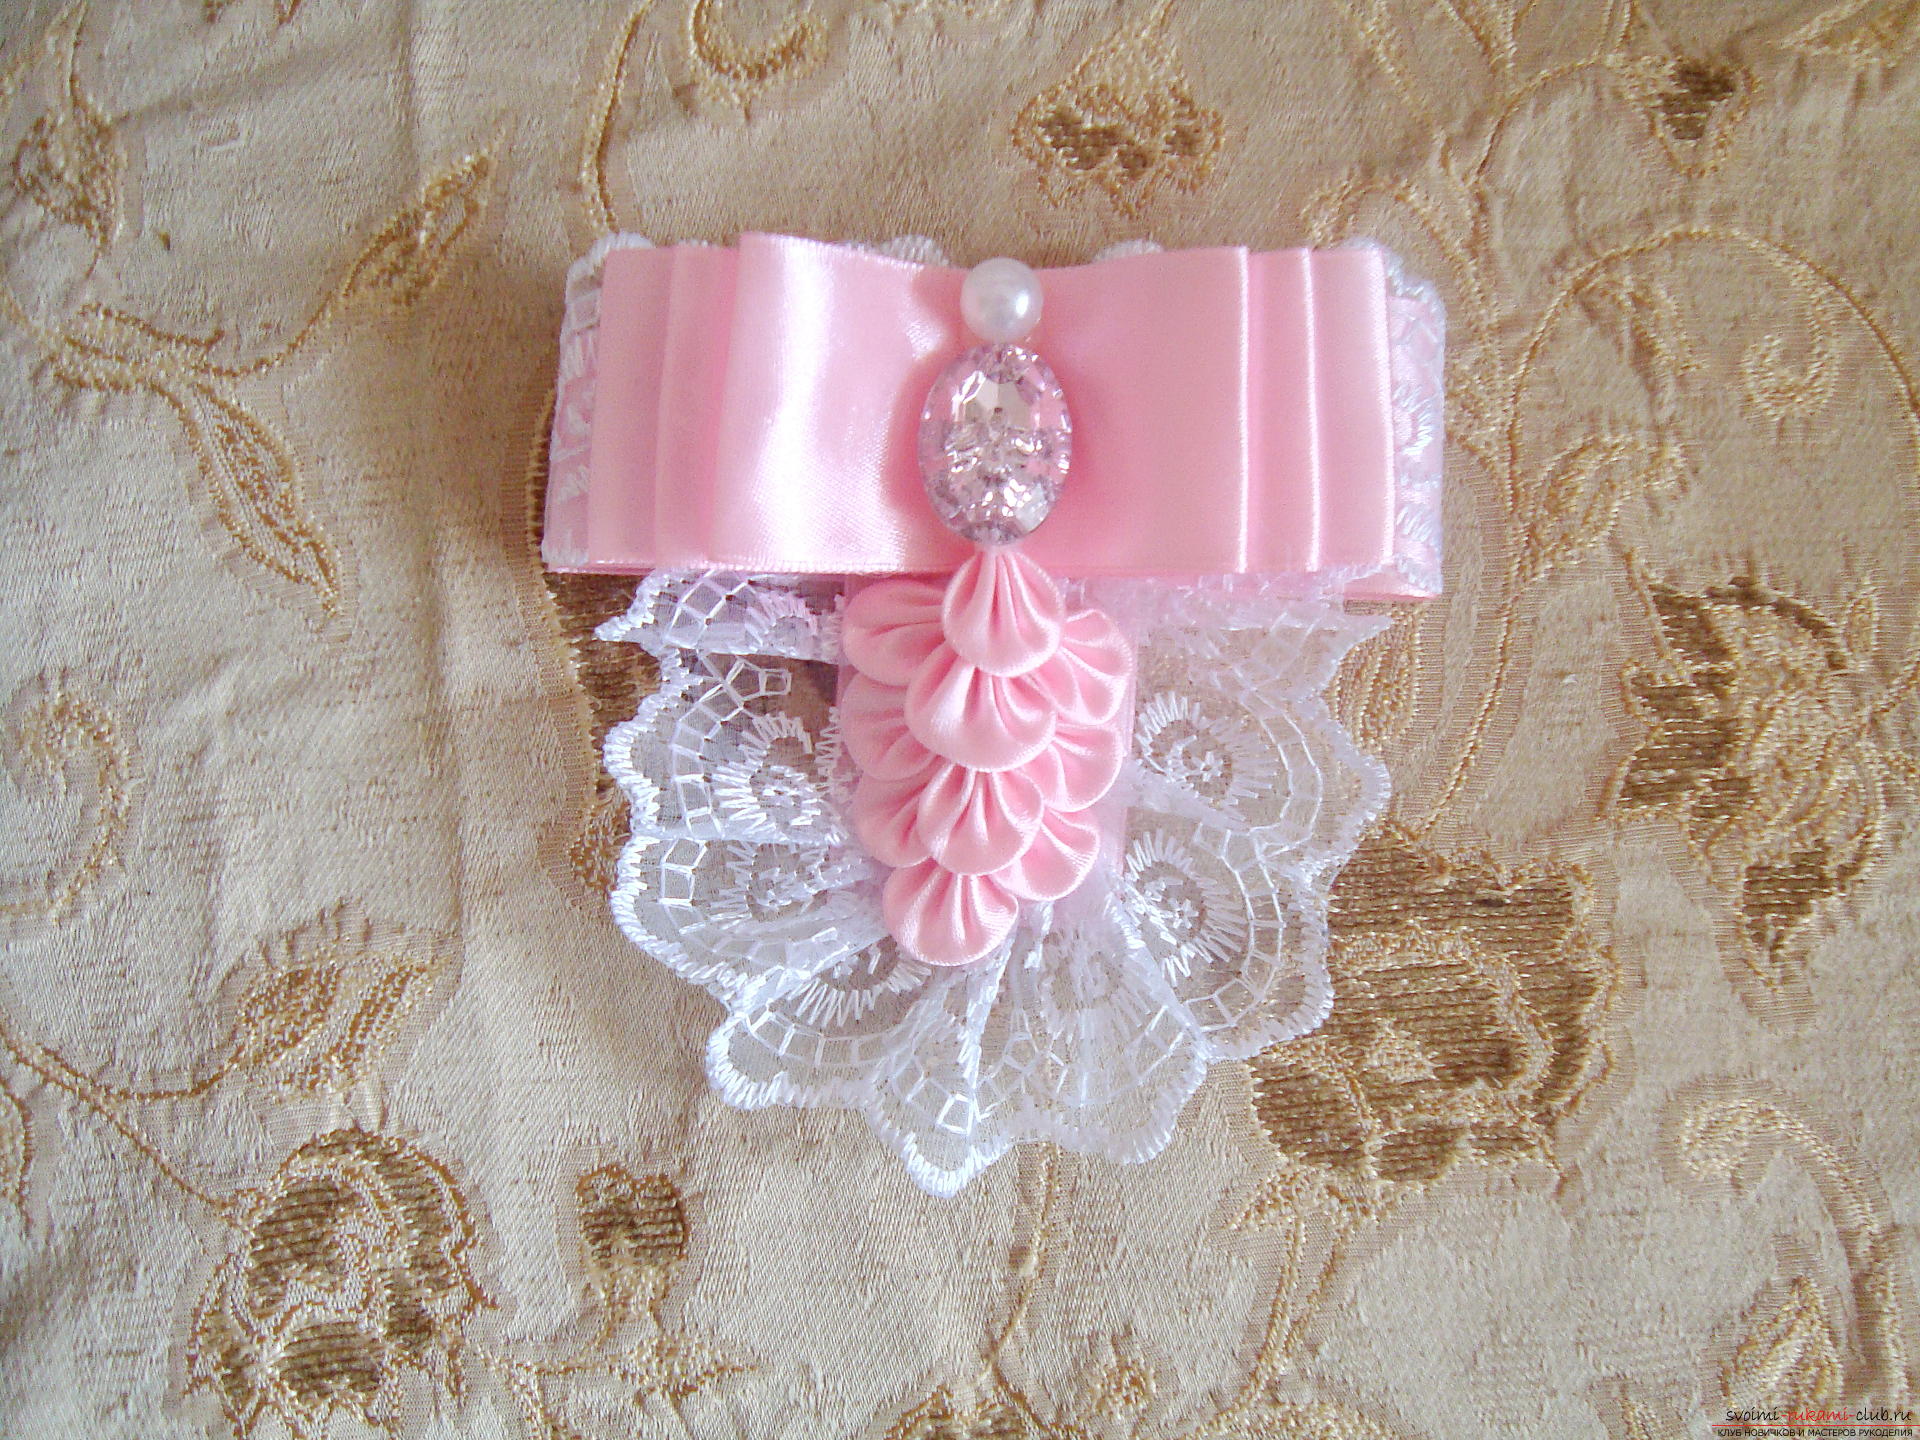 This variant of the wardrobe can be safely set offunique, as it is created by your own hands without any pattern, you can make your own unique elements - beautiful beads, button heads, change colors or add ribbons in a different color scheme. Pink color is more suitable for girls and girls, it emphasizes the whiteness of the face, the tenderness of the image, imparts beauty and charm. So bravely create such a thing for a schoolgirl, girlfriend, niece, etc. If you are going to decorate the strict blouses of ladies of the older generation, then you can use the beige and coffee palette. The size of the tie can be slightly extended, for this, the number of rows should be increased. To change the width of the product is also possible, but then its general appearance will change and the elegance, the sweetness of the product, will be lost. In order to create such an accessory, prepare:
At the first stage, the base is prepared from a tape withopenwork, then create a lot of elements in the form of petals in the technique of Kansas and collect a single product. First, we measure the sections of a satin pink ribbon on 25, 24, 23 and 22 cm. That is, each detail is shorter than the previous one by 1 cm. Such a difference in size will allow creating a magnificent multilevel base in which each element is looked through. If you create cuts of the same length, they will coincide with each other, and will not separate from neighboring elements, merge into a single incomprehensible picture. The longest ribbon is connected with a cut from the white border. To do this, connect the ends of the two parts (satin and openwork) together and slightly solder over the flame of the cigarette lighter. When melting, the artificial fabrics will join at the edge and further constitute one lower part. In the center, fix the tape with thin drops of glue, the second edge is also cauterized. To form the bottom base, it is necessary to glue the ends of this double tape to form the shape of the ring. Then, the glue is applied to the seam on the inner side and the part is glued in half to form the simplest bow. The resulting bow must be glued to another tape, the length of which is about 12 cm. The pieces are fixed with glue at a right angle, so that the lower part of the tie hangs from the center of the first layer of the base. 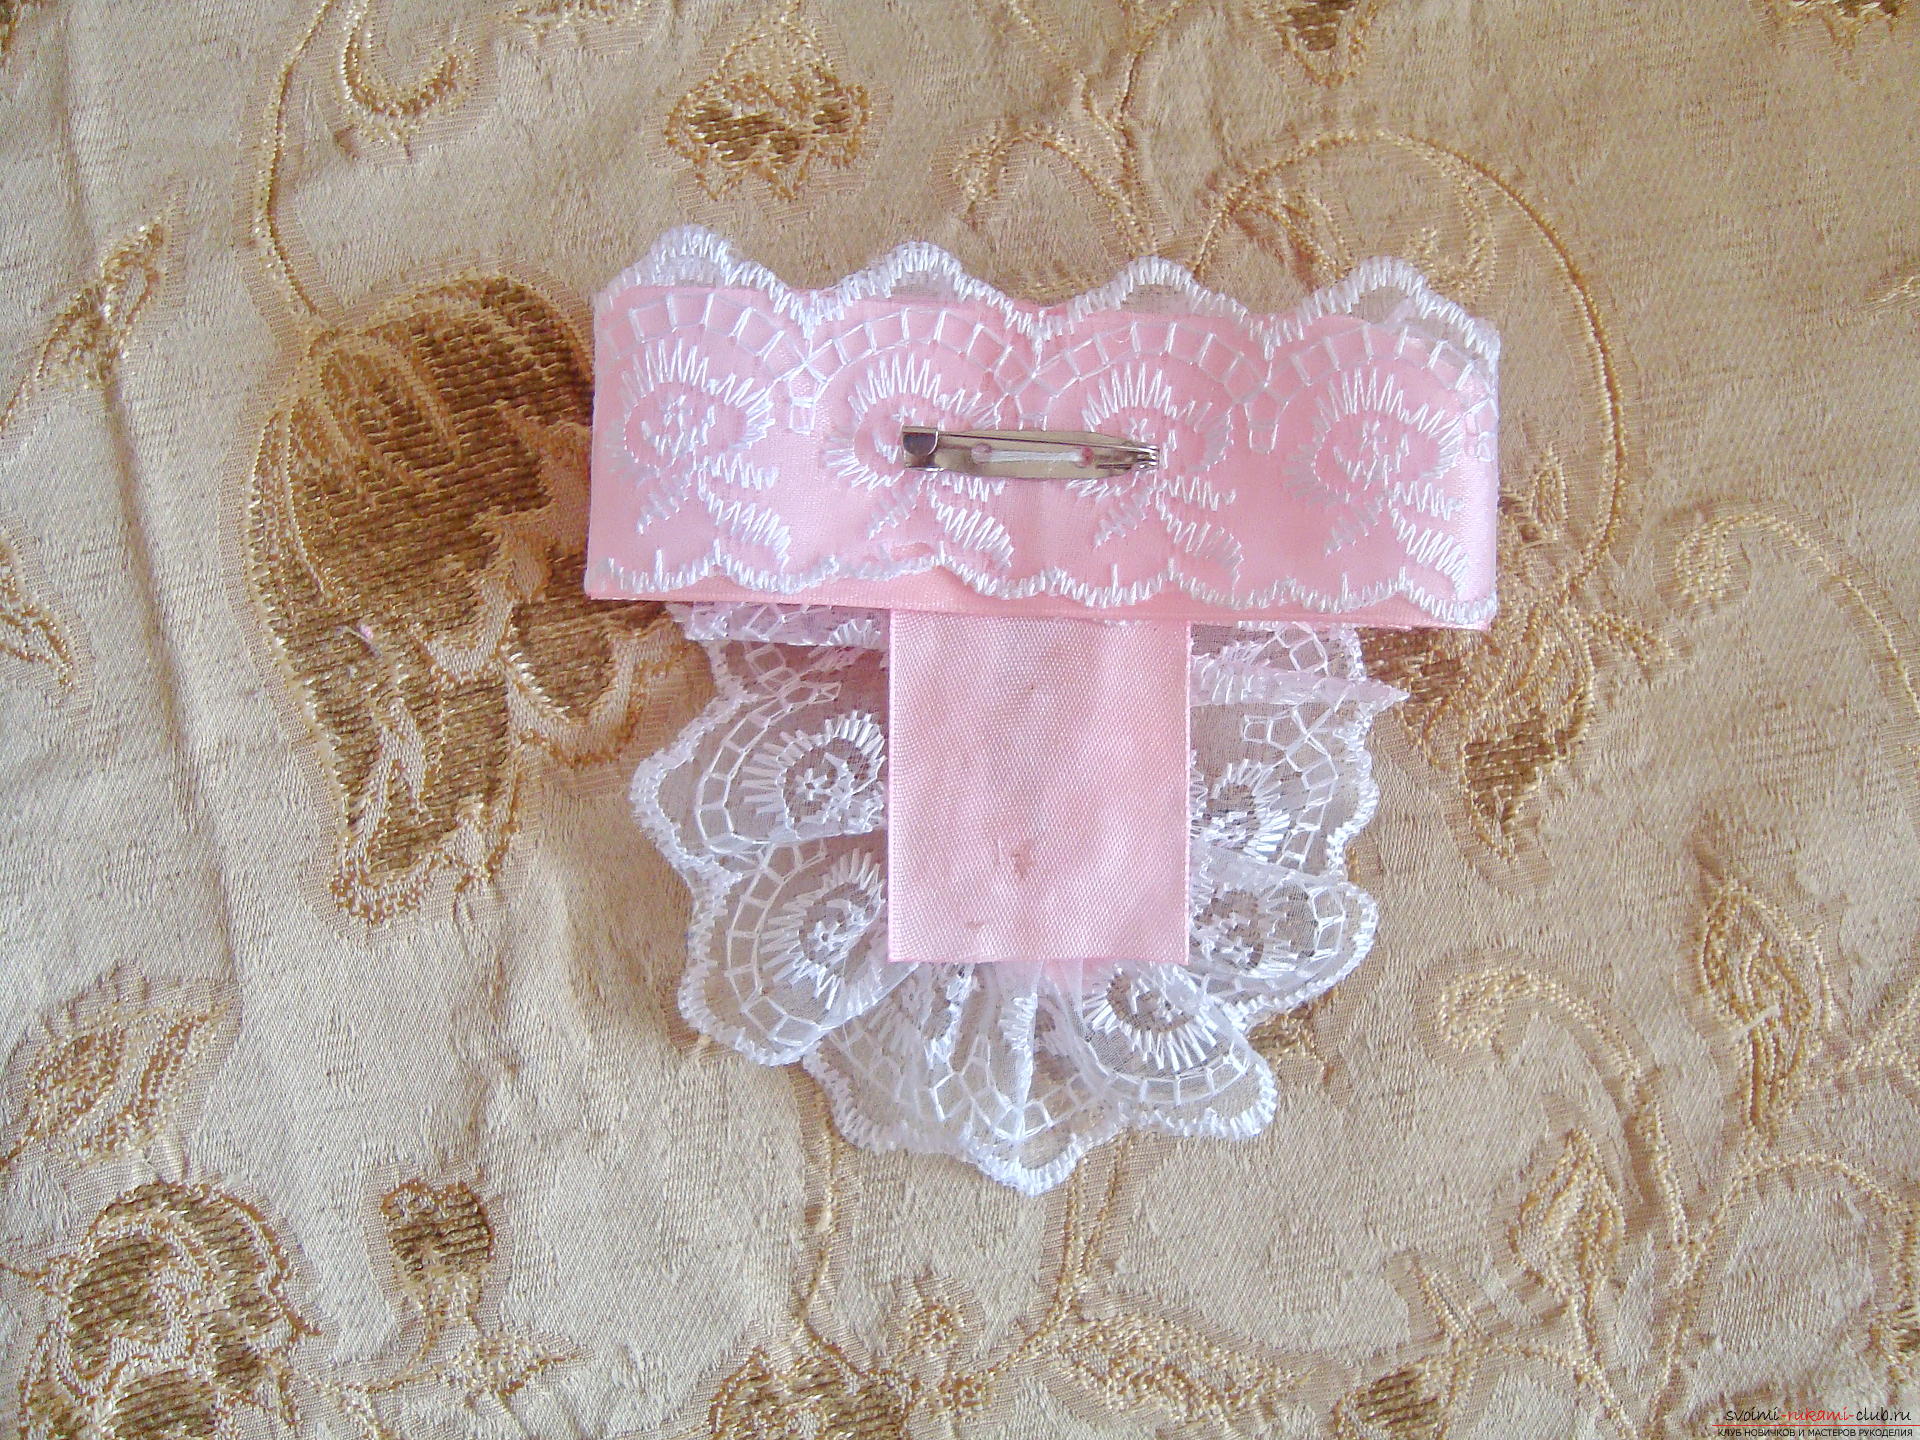 The lower vertical part must also be glued onlace. To fix the white border, you need multiple folds, which are located half-moon and provide a smooth, oval curvature of the outgoing part of the product. The remaining bands of pink ribbon also need to be turned into bows. To do this, each piece individually you glue along the very edge of the cut, so that a rounded part is formed. Then apply a little glue on the joint line of the seam and immediately press it to the opposite side, and then you get the shape of the figure-eight. All details in the form of eights are located on the top of the tie. These elements are fixed strictly horizontally. Stick so the folded pink details so that with each layer a smaller bow is used and it is pasted firmly in the center of the layer below. This sequence will create an optimal basis, where each element is clearly visible.
 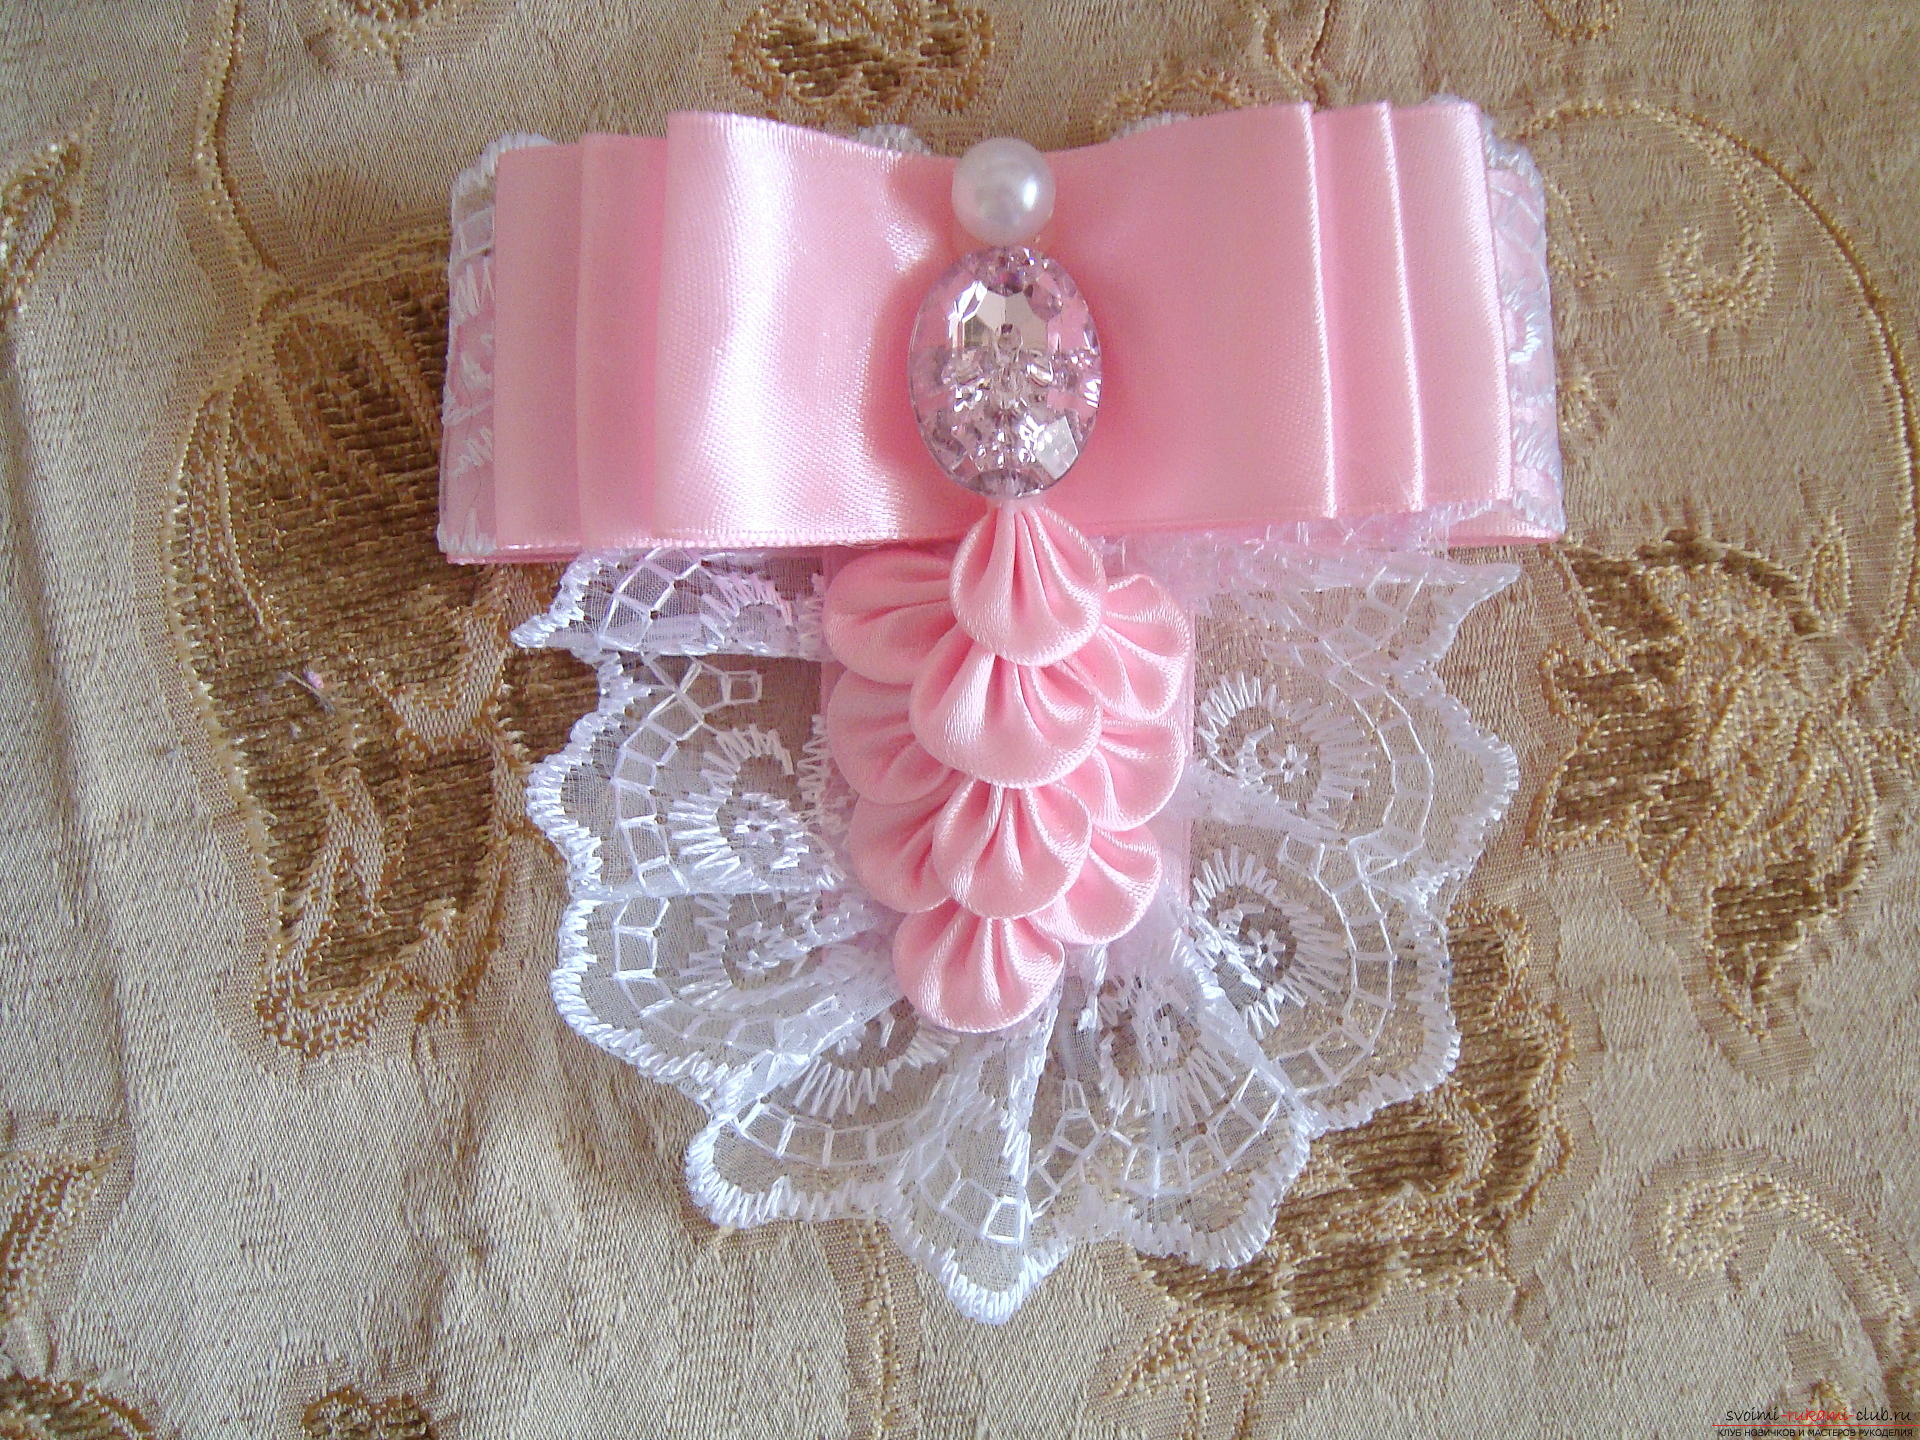 Now let's start creating small elementswith folds in the form of petals. Such details are formed according to the principle of Kansas petals. For the petals you will need blanks from the tape, which will look like a square. The dimensions of the sides of the part correspond to the width of the tape. In total, approximately 20-30 parts will be needed. Pick up one square and bend it from corner to corner. With the right bend, a rectangular triangle is formed. Expand the triangle so that the top of the hypotenuse is located, and the angle is looking down. Now you need to create wrinkles on a large fold. To do this, first bend the central part of the workpiece, moving one millimeter into the right and left sides, create two more folds. Then a crease is created from one edge of the element, and the last bend is formed on the other side of the element. Now you need to fix all these folds on the petal, so they do not fall apart. To do this, squeeze the bottom of the pink part with tweezers, cut the protruding corners with sharp scissors and start singing for the cutting line. After melting the slightly cut edge over the candle flame, tightly hold the shape of the petal with tweezers. To prevent the petal from hanging on the product, but lay flat and take a horizontal position, you need to cut the folds from its back side. But the atlas is very delicate material and can easily swell, so turn the work so that the slices of veins of the petal are convenient to sing over the flame. Keep the petal near the source of fire, do not allow the edge of the flame to smoke the part, because then it will turn black and not suitable for participation in the creation of the product. More detailed instructions on the creation of the petal can be seen on the VIDEO: In order to give splendor and tenderness to the product, fill the lower part of the tie with pink petals. The first element is fixed in the center of the "language", which departs downward. The following elements fall apart from the first part. All the petals are fixed with hot glue, each element must be pressed firmly against the base for 2-5 seconds to securely fix. The decoration of the lower part of the tie also ends with a single element. If your base is wider than in this example, then you can finish the work with three petals, which are oval and smoothly round the product.
  In order to be able to attach the product to a blouse or otherclothes, you need a clasp. It can be removed from an old brooch or purchased a new one, in the form of a pin, the side of which has a flat base. Thanks to a small flat surface, the fastener will be easy to glue to the tie, so that you can then cling to the second side for clothes. If you do not have the right part, you can use a big pin, but it looks less aesthetic and more dangerous. The fastener is glued to the back of the base. The lock is located strictly horizontally and in the center of the lower base layer. Apply hot glue on the metal surface, attach it to the product and immediately press down the clasp. Charming tie is ready. It is combined with a white blouse or other bright palette.
Comments
Related posts:
 Knitting lessons on warm knit socks "Chess" with step-by-step recommendations and photo
 How to make a beautiful bow tie for a girl. A visual lesson of creating clothes for a teenage girl.
 How to tie children's warm socks "Winter" with knitting needles? Lesson on knitting with children's socks "Winter" with detailed description of the technique of binding, recommendations and step-by-step photos
 Lesson on creating a decorative mini dummy for costume jewelry with step-by-step recommendations and photos
 How to make a variety of jewelry from satintapes with their own hands, lessons with step-by-step photo creation of jewelry for hair, creating decorative items for the interior, decorating bottles of champagne