
How to make a palm from plastic bottles, a master class with a photo and a description of the work.
The warm south is always associated with the hot sun,warm sea and rustle of palm trees, the leaves of which are touched by a sea breeze. For those who want to plunge into the southern atmosphere even on a cold New Year's Eve, without leaving home, a master class is offered to create a palm from plastic bottles.  Materials for work:
- Plastic bottles (brown and green);
- Scissors;
- Base under the barrel (metal pin or plastic tube);
- Scotch.
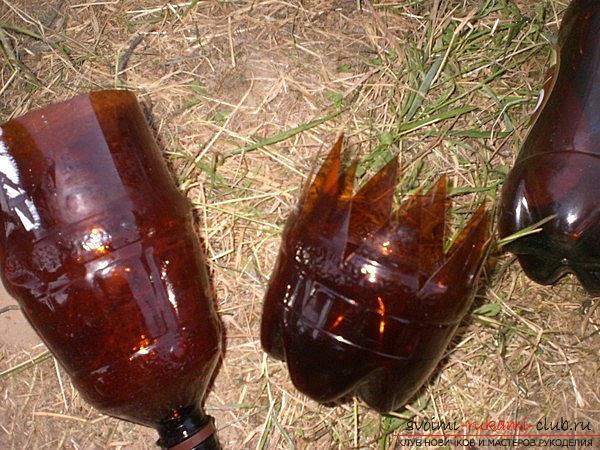
The first stage is the creation of blanks for the trunk. You can use bottles of different shades of brown. Cut the bottles across, the bottom part to do a little more than the top. The upper half with the neck is cut into eight pieces along, until the neck is narrowed. All cut parts must be shaped like triangles. Expand them to the outside. In the bottom of the second part of the bottle it is necessary to cut a hole with a diameter from the neck. It's easy to do with a hot knife. The rest of the workpiece is cut just like the first part. Triangular parts of the workpiece, too, bend. 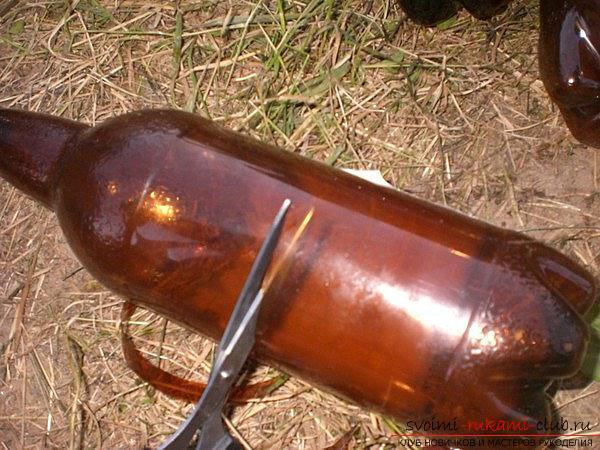
 Put the brown parts aside. The second stage is the formation of leaves. At green bottles it is necessary to cut the bottom and neck. Cut the resulting blank into 4 equal parts. If you take bottles of different sizes, then the palm will be more realistic. Leave uncut only 3 cm at the top.
 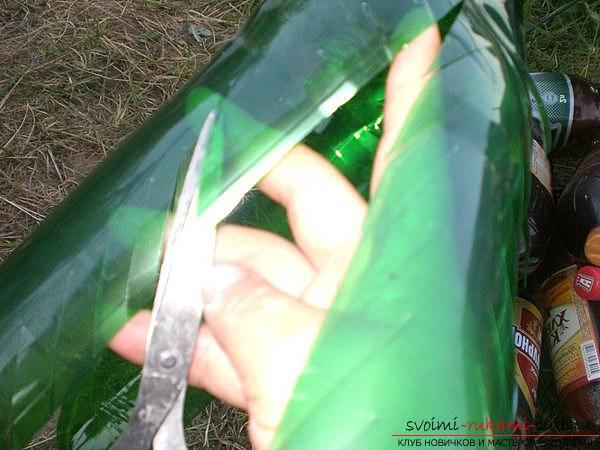 Now it is necessary to round the bottomof the resulting cut pieces, and slightly cut the part that is closer to the top so that the smooth narrowing of the blanks of the leaves of the palm goes. Now it is necessary to bend and align all the blanks in one plane. In order to make our palm look like a real palm, we need to make oblique cuts on the leaves of each leaf on two sides of each leaf, not reaching the middle of about 2 cm. The direction of the cuts from the rounded side to the narrowed side. To make the leaves seem more voluminous, it is necessary to straighten the stripes according to the scheme: one up, one skip, one down, one skip. The last stage is the assembly of a palm tree. For this, it is necessary to give stability to our base (metal pin or plastic pipe). If you want, plant the future palm tree in a tub, or in the ground. All according to your desire.
 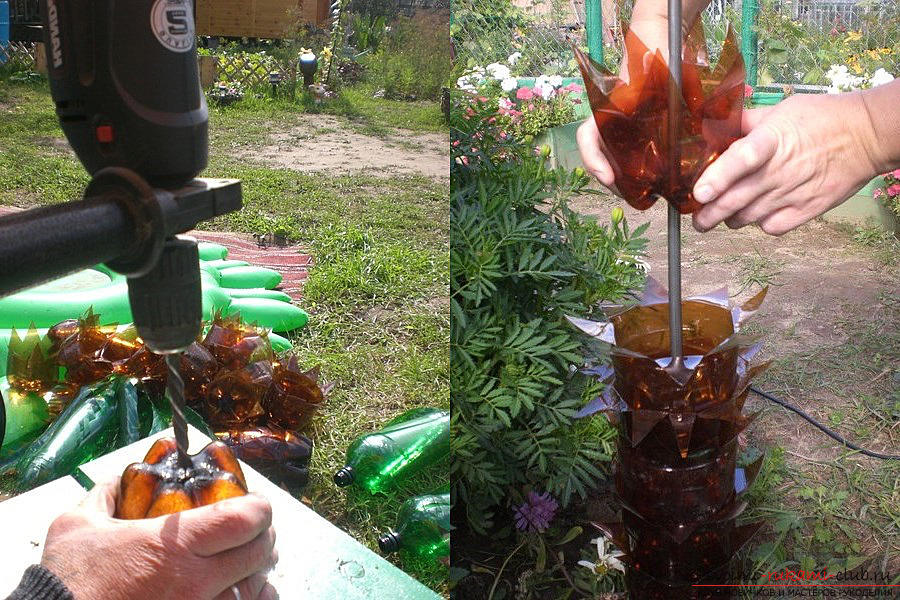 Now we put on the basis of our preparations. The diameter of the pipe should not be more than the neck of the bottles. The height of the palm depends on how many bottles you have prepared. First we collect the trunk. We first use the parts from the large bottles and move in the direction of reduction. String the bottom of the workpiece with the neck (where there is a neck). Unfold the workpieces in a staggered manner so that the empty parts of the previous part are closed. The first details for fidelity need to be attached with adhesive tape. String on the basis of a certain amount of brown parts, start to put on green. They also need to unfold in a checkerboard pattern and follow the rule from large leaves to smaller ones. The last green part can be glued or attached carefully with an adhesive tape. All the palm trees are ready. It is not afraid of cold weather, it does not need watering. You can decorate with real bananas or coconuts for the fun of kids.
Comments
Related posts:
 Master class to create crafts by March 8 from plastic bottles with detailed descriptions and photos.
 BEST IDEAS. What can be done from plastic bottles.
 Master class with a description and photo will teach how to make decoupage of a bottle of champagne with your own hands
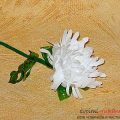 Crafts from plastic bottles with their own hands, how to make flowers from plastic bottles, cornflowers from plastic bottles, roses from bottles with their own hands.
 Necklace of plastic bottles. Master Class.