
How to make scrapbooking notebook in vintage technique? Master class with their own hands
Notepad is a personal thing and registration of suchthe subject must be combined with a person's personal choice, with his idea and, of course, his way of life. In this master class we will tell you how you can create such a notebook and what tools you might need for work.  How to make scrapbooking notebook in vintage technique? Master class with their own hands
- Take the usual office paper
- Next, take the cardboard, or thick paper
- You also need to use pastel paper
- Need to take needles, as well as strings
- You need to have paper clips with you
- Stationery knife
- Ruler
- Scissors
- Glue for gluing the cover
- Moment crystal - for gluing the binding
- Water and coffee - to make paper aged
- Decoration
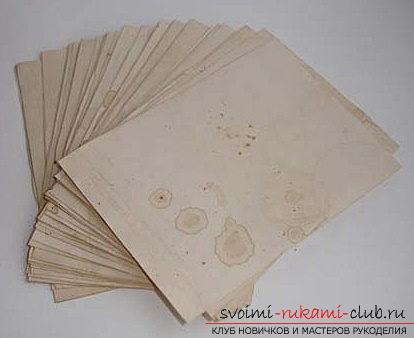 We will make a small notebook of A7 format. This will require office paper, cut into 4 parts. In order to cut through the paper, you need to measure the thickness of the paper. The notepad will be thicker - twice. After you cut the paper in the right amount, you need to take coffee and make paper.
 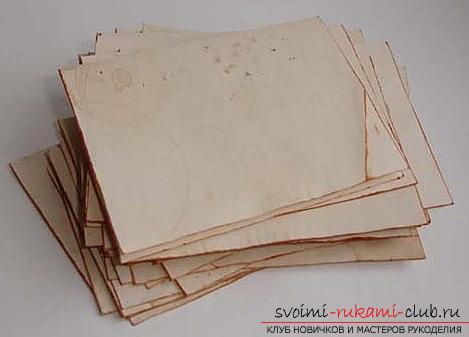 Designing pages To do this, prepare the water (boil), add 6 spoons of coffee (regular, soluble). Then, the coffee must be surrendered to the desired temperature.
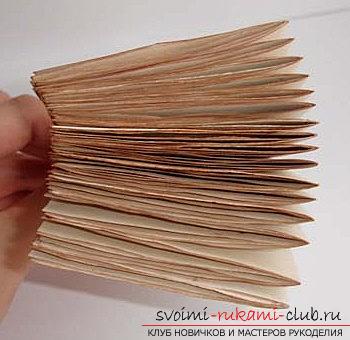
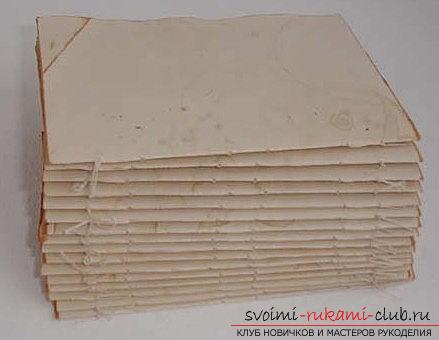 After that, the coffee is poured into the tray untilboards, or in another vessel. Drop the sheets of paper for half a minute in such a solution. We take out the sheets and dry them. We divide sheets of paper into two parts and tint their edges. We put them together on 3 sheets. Blocks are obtained for three sheets. Each block can be stitched. Fold the piercing with a needle on 6 holes. Each unit needs a firmware twice. After that, we will get paper stacks on blocks of 3 sheets. We take a couple of clamps and fasten these blocks of paper with a tool. Sew the leaves and again sew twice. After this, take the crystal moment and fill our seam, and after it dries - fill it again. It turns out that such a stack of individually stitched blocks of paper on 3 leaves. Thus, we have prepared the sheets, and now we are going to create the cover.
 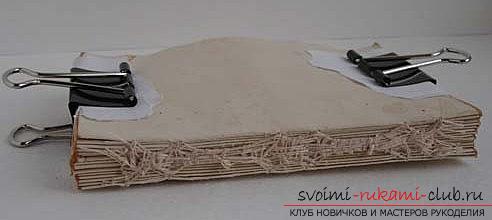 Cooking cover and crust
  We take a thick cardboard paper and cut out twothe element of rectangles in size by 7.6 centimeters, and also by 11 centimeters and add 5 millimeters for the length of the block of paper, subtracting the width by 2 millimeters. Also, make a spine in a length of 11 centimeters and a binding width with 1 added millimeter.
 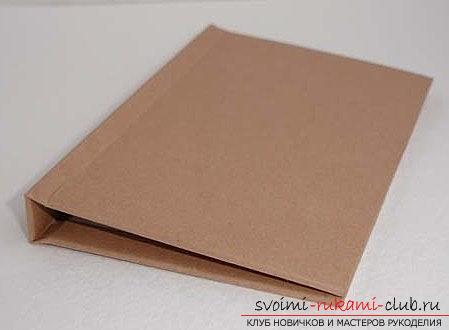 Next, take the pastel paper and cut itrectangles in sizes of 20 centimeters x 13 centimeters. We place the spine so that it is centered, glue the roots. Next, cut the rootlet in the corners. We bend the sides of the paper from the photo.
 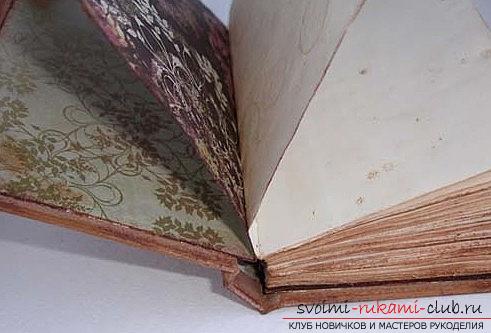 Now, call the paper scrap, cut out 2rectangular elements in the amount of one letter from the usual sheet in A4 format. Fold in two, tint the product. After that - we paste these elements for the inner parts of the cover on both sides for our future notebook. We paste the binding. We decorate the cover and get our product!
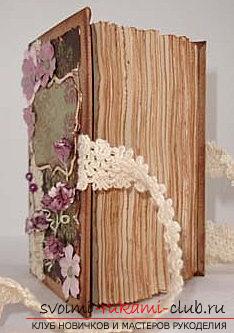
Comments
Related posts:
 This master class will teach you how to create your own hand notebook in the scrapbooking technique
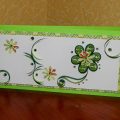 This master class will teach how to make postcards with your own hands in quilling technique.
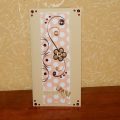 This master class will teach you how to make a postcard with your own hands in quilling technique.
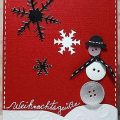 Greeting cards with your own hands, how to make a New Year's greeting card in the technique of scrapbooking, rules and tips for making postcards by yourself.
 This master class will teach you how to make your own hands decoupage of a cutting board in the technique of a two-step craquelure.