
How to make pompoms with your hands out of thread
Pompons of thread - an excellent soft material forIn order to make rugs and pouffes, garlands or decorative elements for clothing and interior. There are several ways to make pom-poms with your own hands. Each of them is very simple. We need thread, fork, cardboard circles and our own fingers.
Pompons with your hands on cardboard circles
Cut out two identical circles from the cardboardholes in the middle. The diameter of the circle depends on the size of the finished pompon (1). Start winding the yarn in circles. To make the pom-pon faster, wind the thread folded twice, four times or more (2-3). The more you wind the yarn, the more fluffy will be the pompon. Then, carefully cut the threads along the sides with scissors (4). Slightly move the circles out of cardboard and firmly tie a thread in the middle (5). Remove cardboard, fluff the pompom and, if necessary, trim it, giving it an ideal shape. 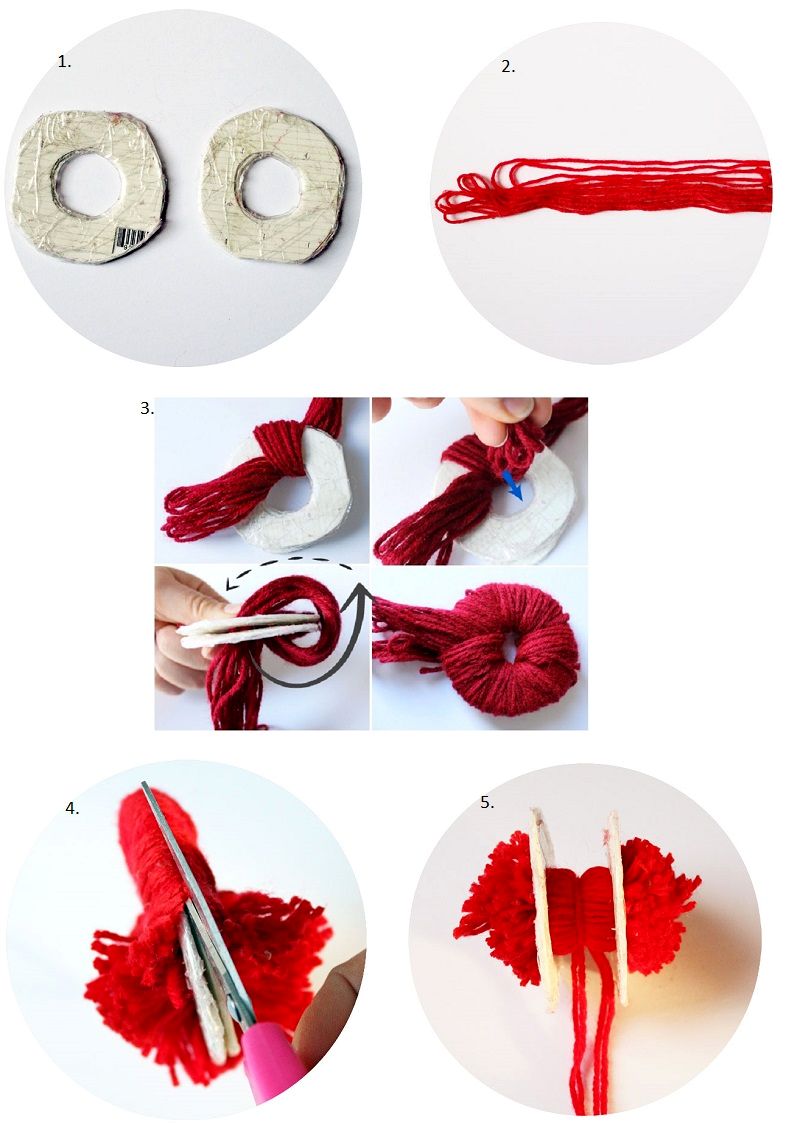
Pompons with their own hands of thread on the fingers
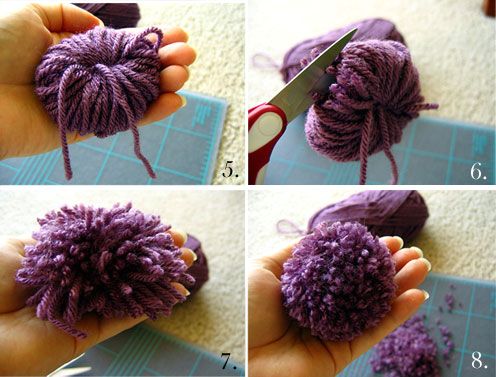
If the cardboard is not at hand, then pom-poms can bemake it simple on the fingers. Wrap the yarn on the fingers (1-2). You can make small pompoms for two fingers or large for all five. Carefully remove the hank from your hand and lay it on the table (3). Cut the thread and tighten the knot tightly across the skein (4-5). Cut the threads (6) on the sides, straighten (7), trim the scissors with the shape (8). 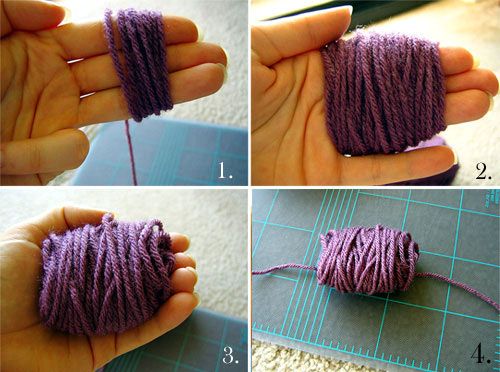
Small pom-poms with their own hands on the fork
Small pom-poms for decoration are convenient to make onfork. The course of work is identical to the previous two options. Wrap the yarn across the teeth of the fork, tie with a thread in the middle of the skein, remove from the fork and cut at the sides.  With a fork, you can make smalldecorative bows. Take a thin ribbon or braid about 15 cm long and wrap it around the left side of the fork. The end of the tape lying on the back of the fork, wrap around the right side on the front (the second half of the tape stays underneath this) and pass between the middle teeth from the bottom. The front half of the tape is also upwardly between the middle teeth. It turned out that both ends of the ribbon came from the back of the fork on the top and bottom of the horizontally stretched tape. Tie the ends around it with a knot. Remove the resulting bow from the fork, if necessary cut the long tips and process them.
Comments
Related posts:
 Horse-own, a toy horse, a horse of socks with his own hands, a horse of thread with his own hands, how to make a horse from improvised materials, advice, recommendations and phased photos.
 What can be done from threads and leftovers of yarn (photo)
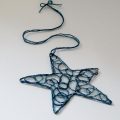 The master class will teach you how to make an odd bit of an asterisk of threads with your own hands
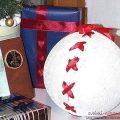 How to make magic Christmas balls from threads with your own hands you will learn from this article
 Rug from pompoms own hands: pompons in the interior