
How to tie a cute hedge crochet? Lesson describing the stages of work, a list of necessary materials and step-by-step photos
Toys crochet many. And they are so diverse that it is impossible to find two absolutely identical rabbits or a seal, a bear or a chanterelle. And each toy, bound by hand, carries a piece of the heat of its creator. In this master class we will tie one of these toys - a nice hedgehog. But it will not be prickly. And opposite is very soft and even fluffy!
Materials and tools
- The yarn is gray, white, red and black;
- Hook;
- Synthepon;
- Gray fur for felting;
- Needle for felting;
- Needle for sewing;
- Yarn;
- Beads;
- Water;
- Hair spray.
Stages of work
So, in the beginning we will knit a head for a hedgehog. In general, we will knit gray hedgehog with a hedgehog. Therefore we take it and we knit six columns without a crochet in the second loop from the hook or into a sliding loop. Here to whom as it is more convenient. Now we will add three more bars in the second row. We'll get only nine. And we'll fasten the next row. Now we will add six columns in the third, fourth, fifth and sixth rows. And we'll get at the end of thirty. Further increases we will no longer be. We now need to tie just three rows. And then we will deal with reductions. In the next four rows we will make six deductions. And at the end of a good knitting, so that the hole was not visible. To fill the head and the body should be very tight so that they do not crumple, but keep the shape. After all, we will be sewing details to them and even weaving hair. The head is ready for a hedgehog.  Now we connect the hedgehog with the body. First make a sliding loop. And we will knit into it our first randochek. It will consist of six bars. But in the next series we will be tying up six increments and we will end up with thirty loaves. We will make three more rows. Next, make six adjustments. And we'll tie a row. Again we will make six deductions and we will tie two rows. And once again make six deductions. We pull the hole, not forgetting to fill the body with a sintepon when knitting.
 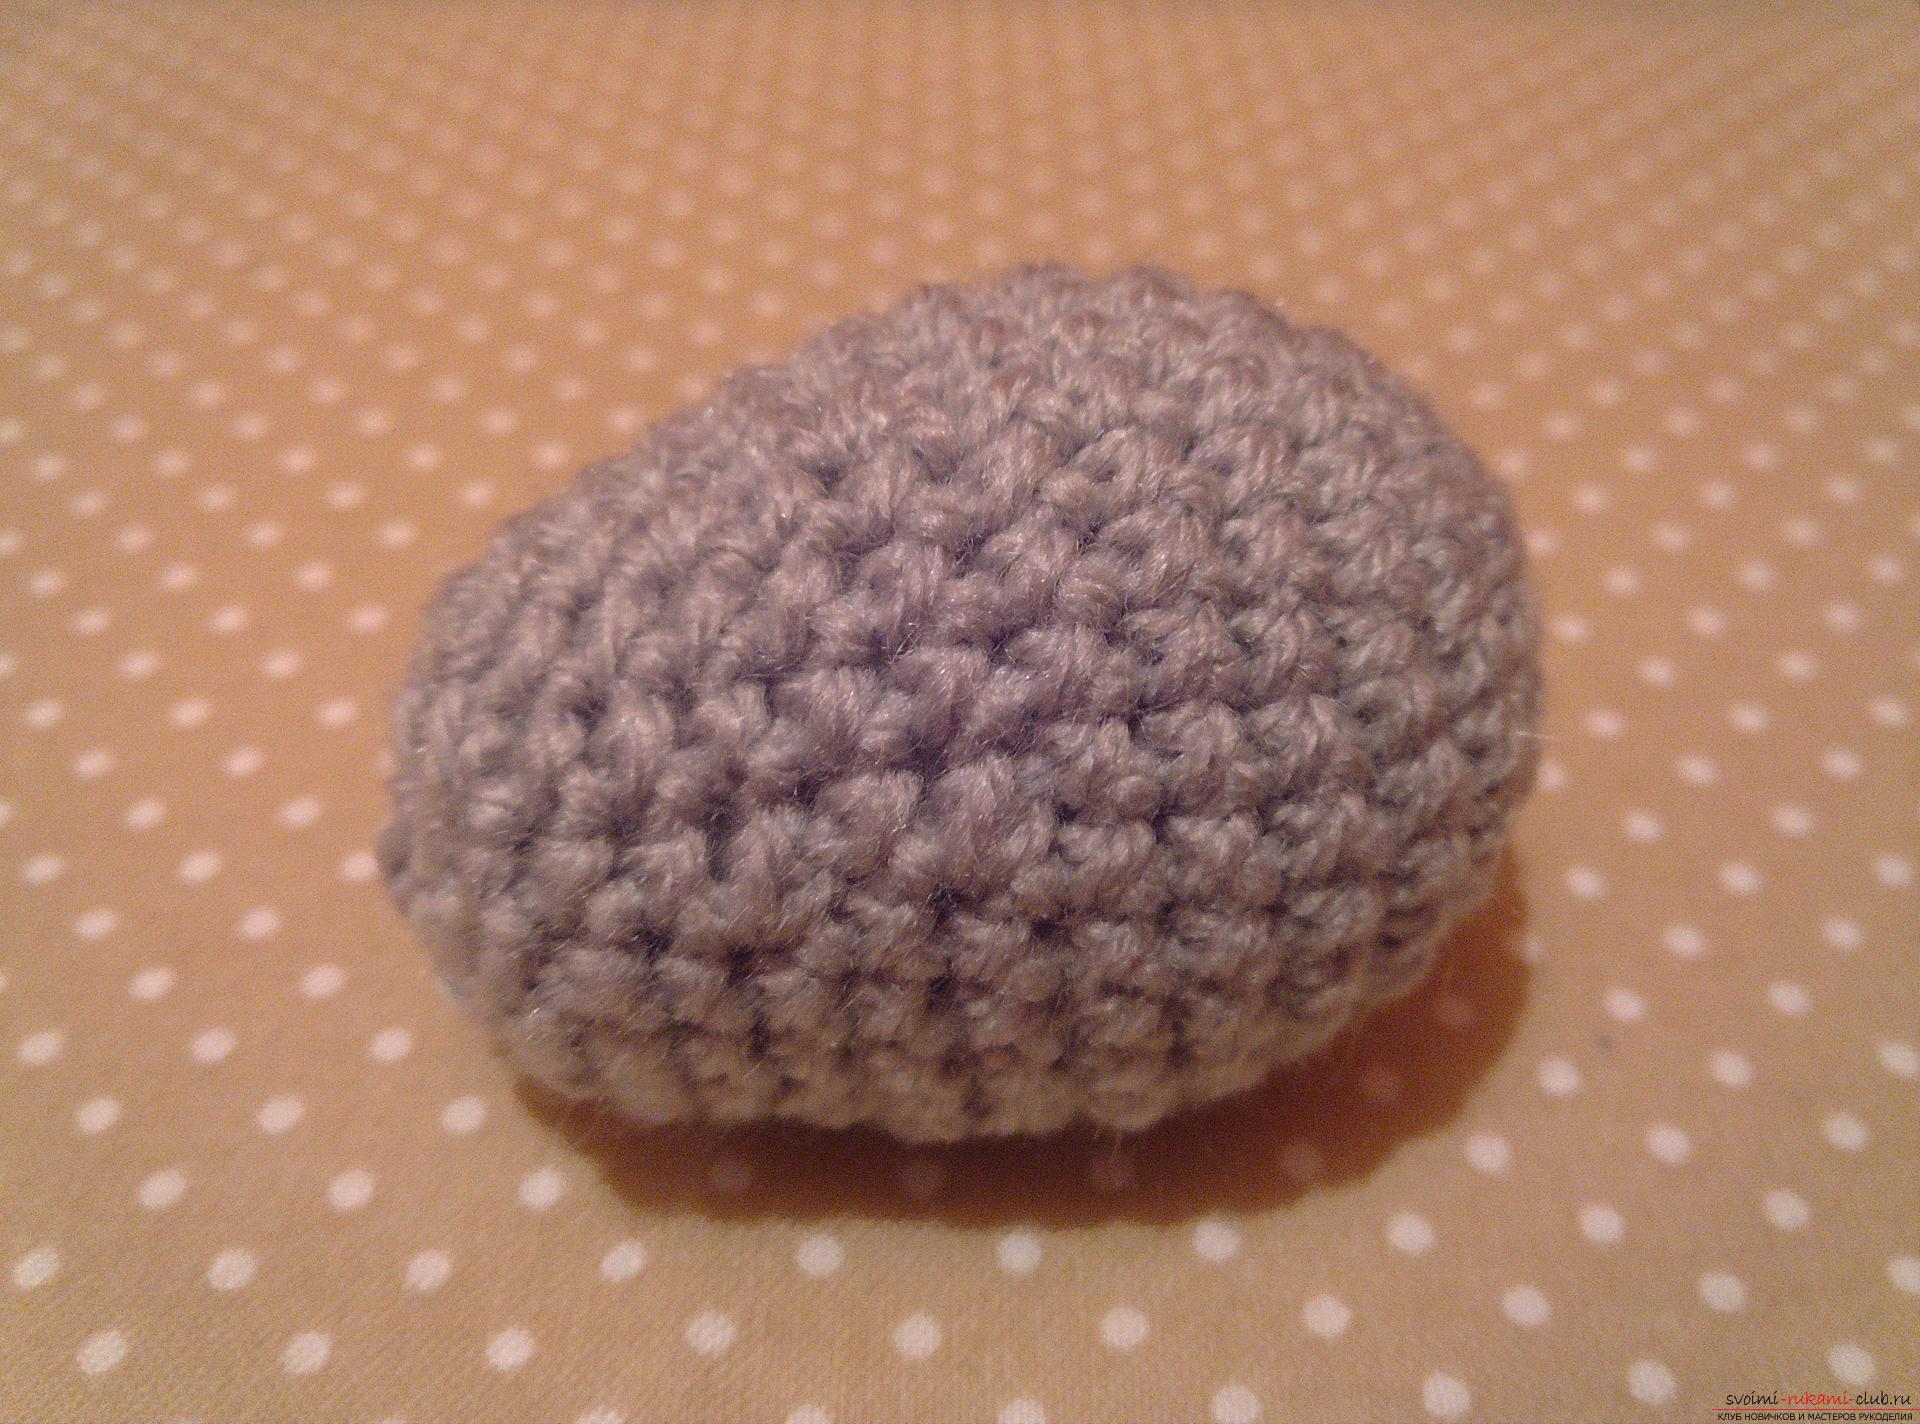 Next we will knit paws for the future hedgehog. Take the yarn and make a ring from the sliding loop. Again, we will fasten six bars to it. In the second ryadochke we will make only two increases. And we'll tie a row. After that, remove one bar. That is, we make a reduction. And we'll fasten four ryadochka. Everything, one foot is already ready. We knit such three more. The rear can be made a little more authentic. But then again everything depends on your desire. In this master class, the feet are both front and back of the same size.
 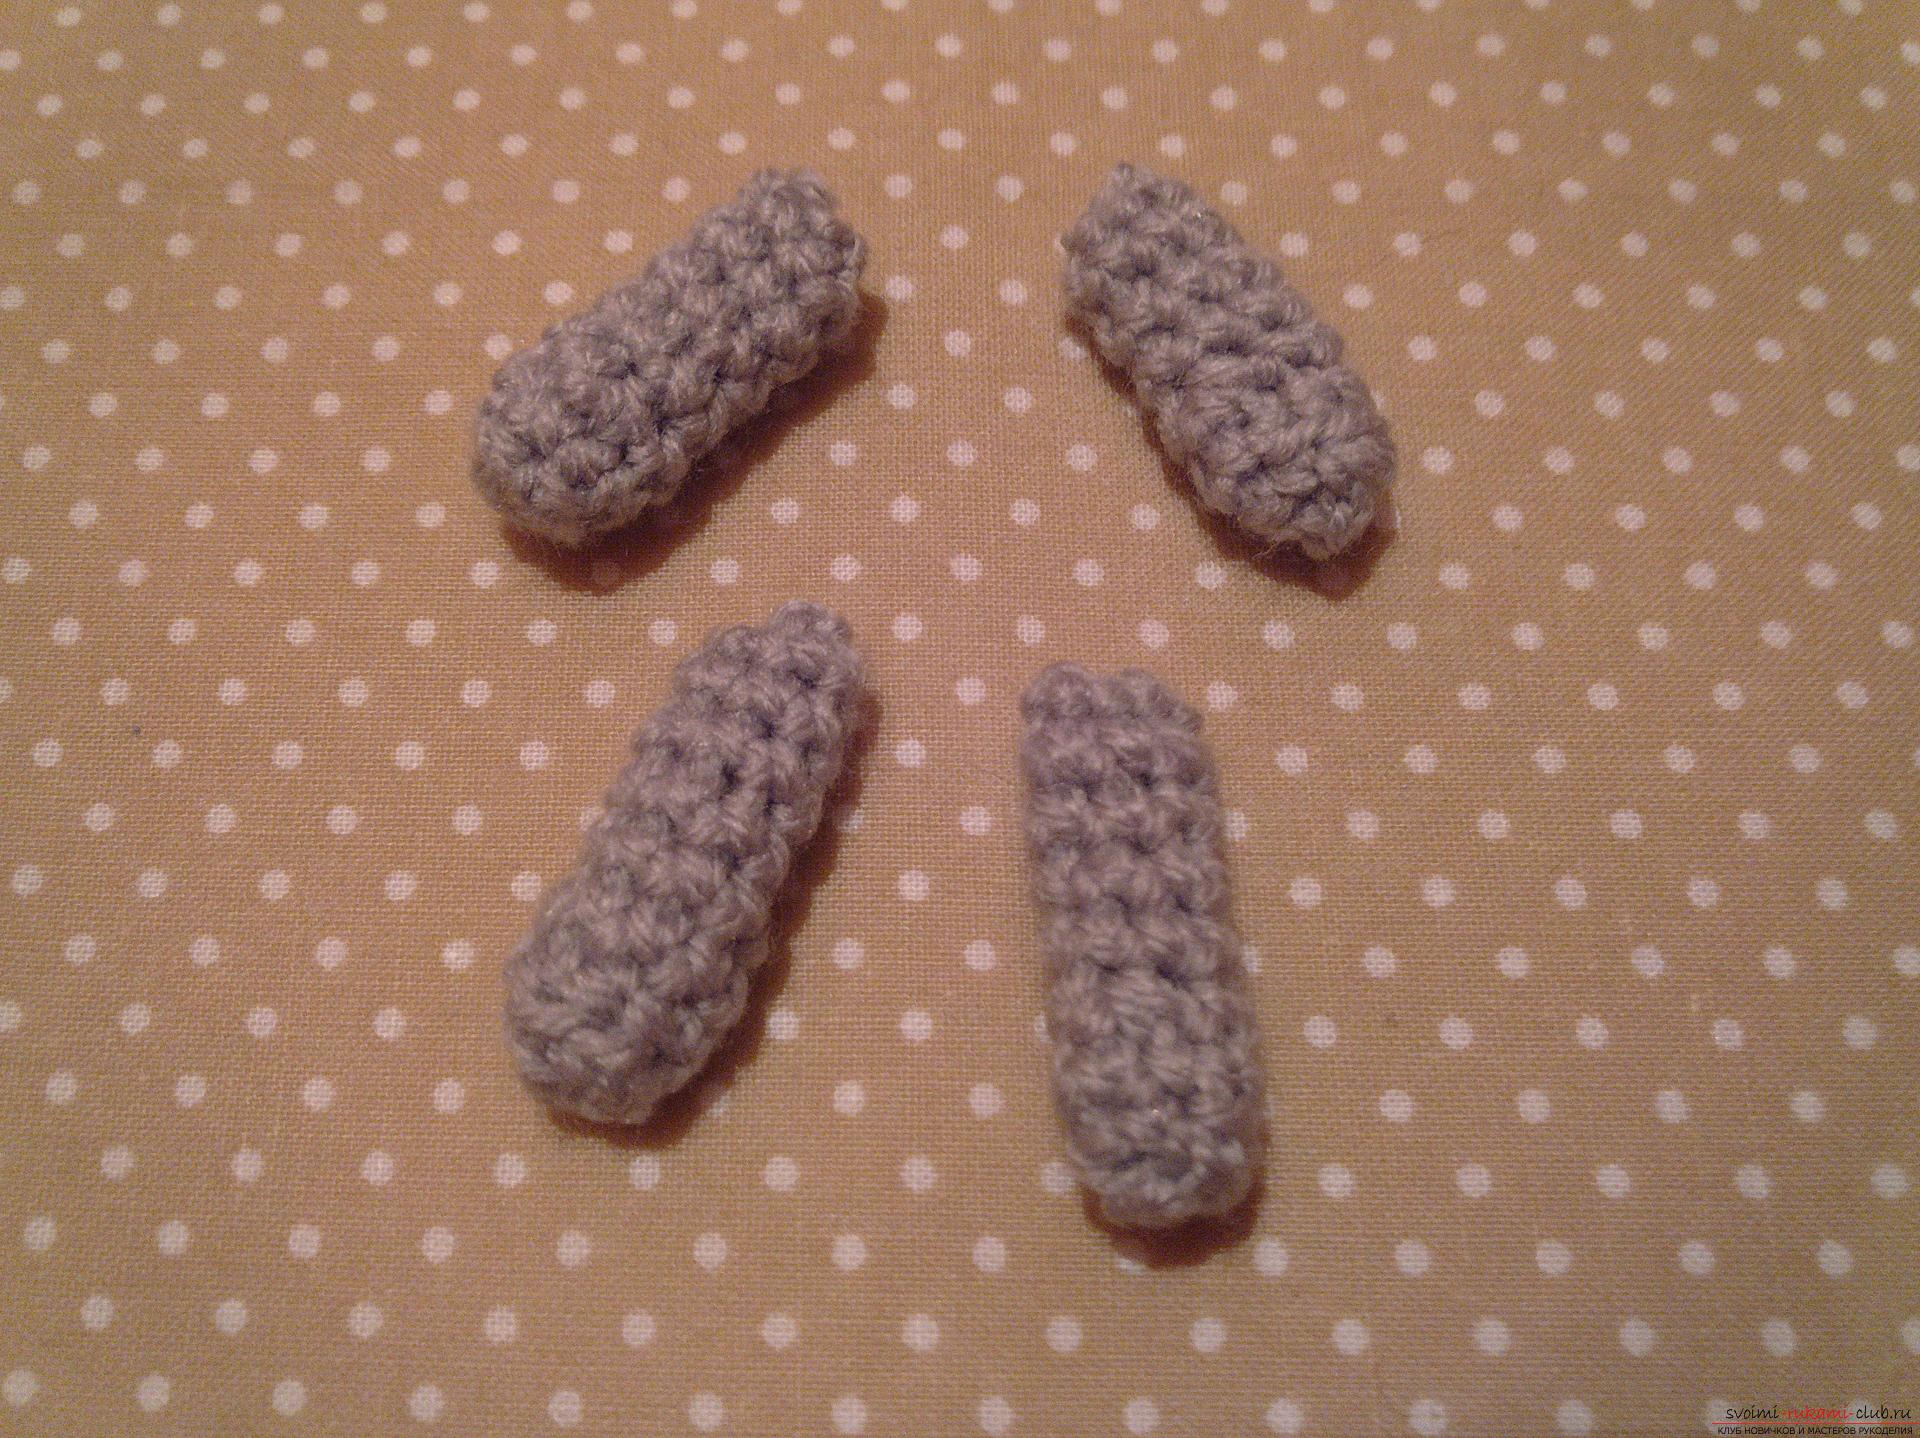 Now back to the head of the hedgehog. Tie the ears. They are quite small. Choose a place under the ears. And we put a hook under your eyelet. We grab a thread and make four air. We retreat a little and attach this chain to the head. Turn knitting and under the chain we knit six or eight columns without a crochet. The eye is ready. We knit the second. Strongly far to retreat is not necessary, just one loop. And on the face with a thread and a needle in the tone of the yarn we make a tightening under the eyes. To do this, we'll put a needle in the place where there will be a glazier. Let's retreat a little bit, literally one millimeter and we'll put a needle there. And we will remove it already in the place where there will be a second eye. Again, back off a little bit and start a needle. We deduce on the second eye. We make a knot and hide the thread inside the head.
 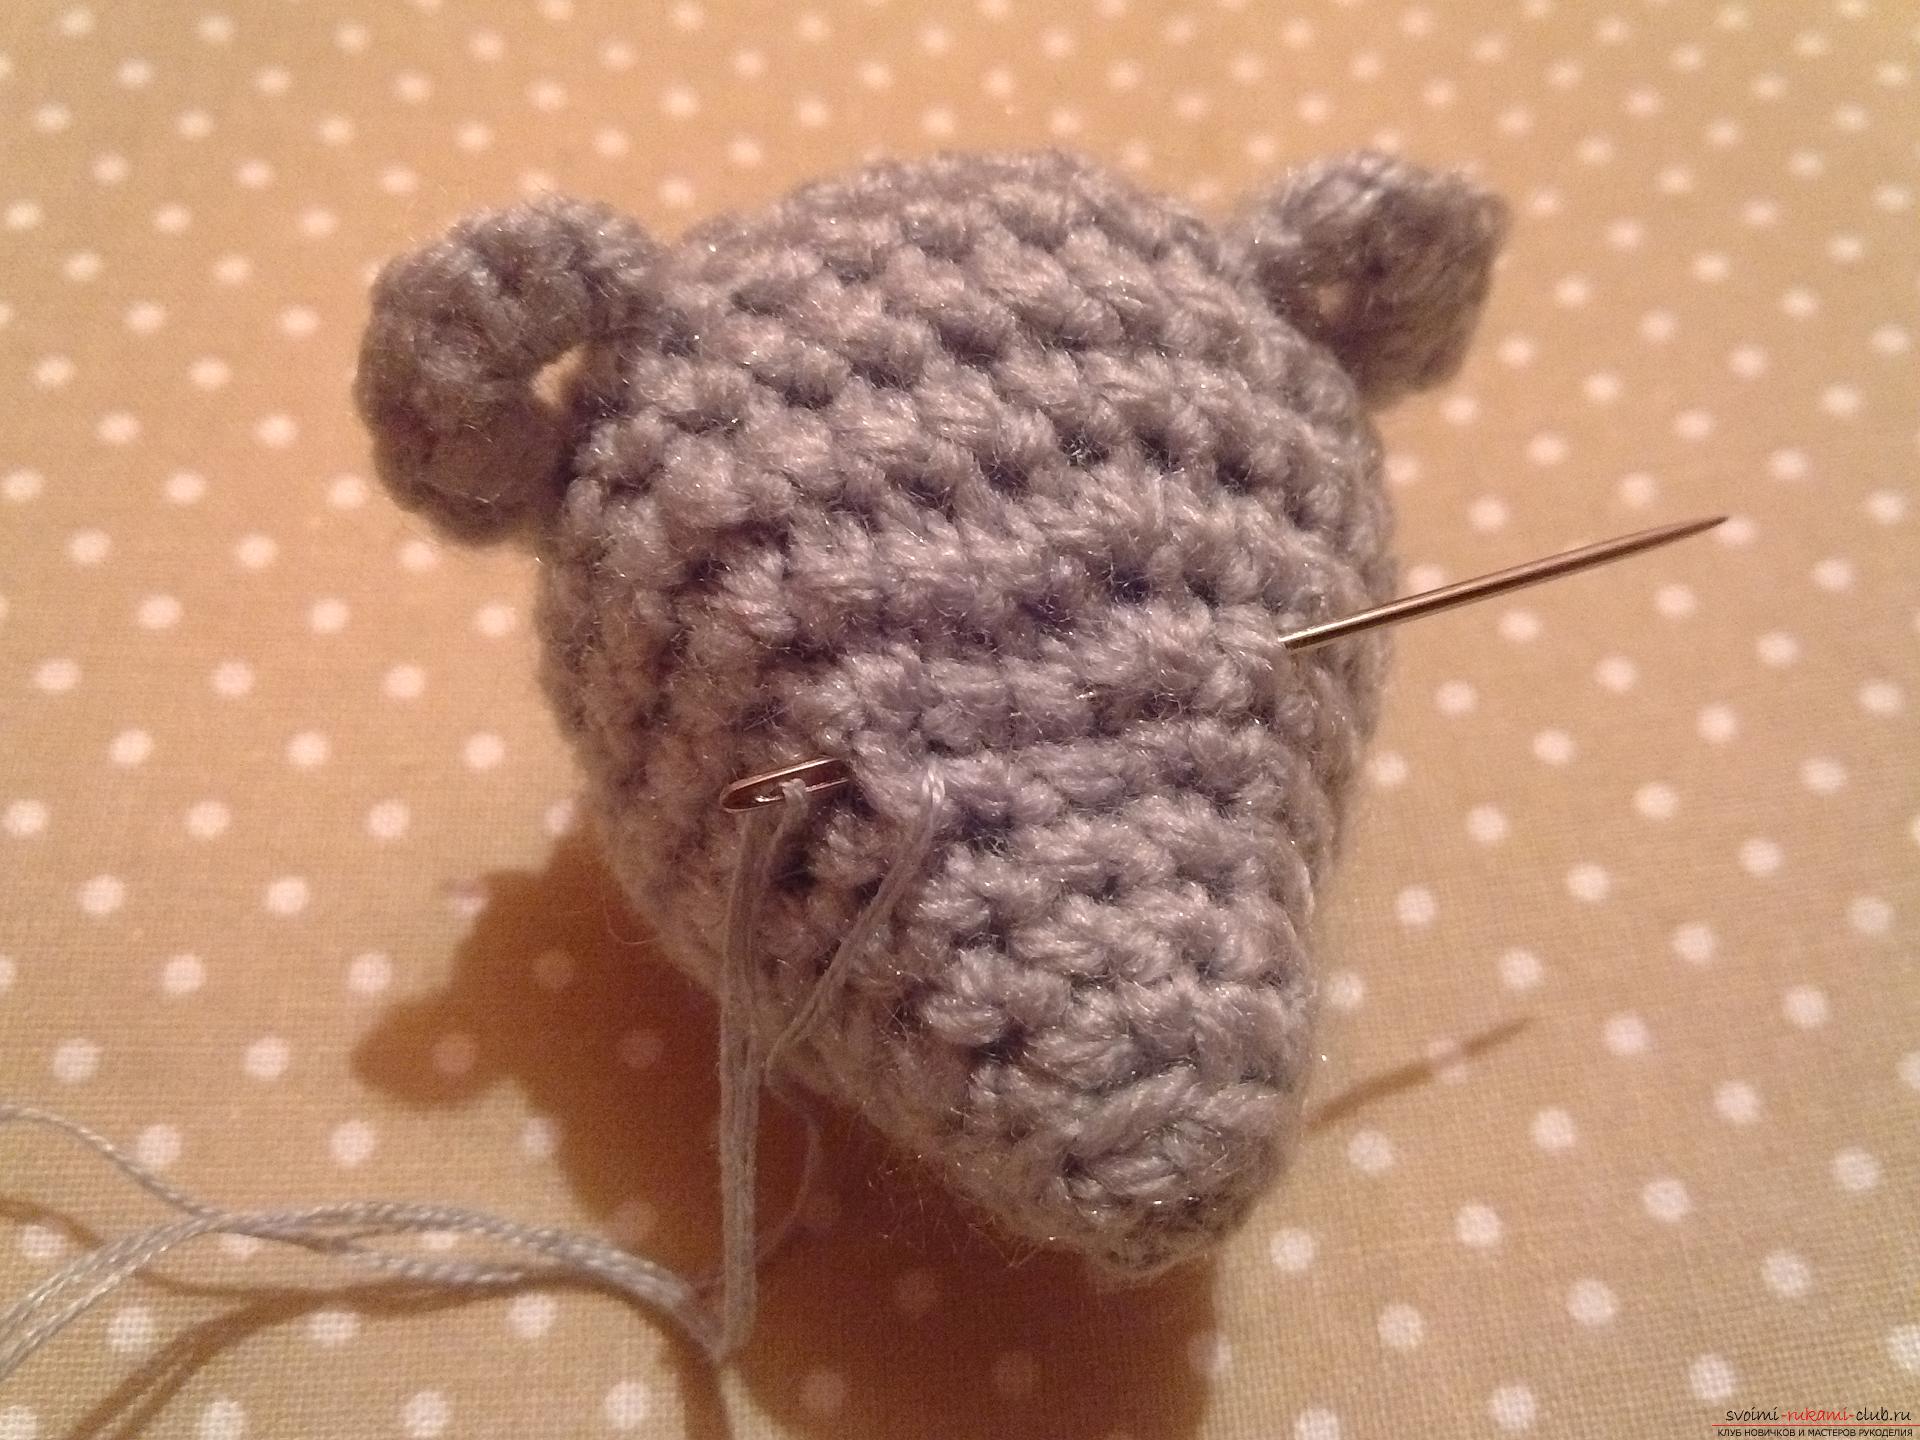 Now we first sew the head, then the front and back legs to the hedgehog body. Here it is almost ready.
 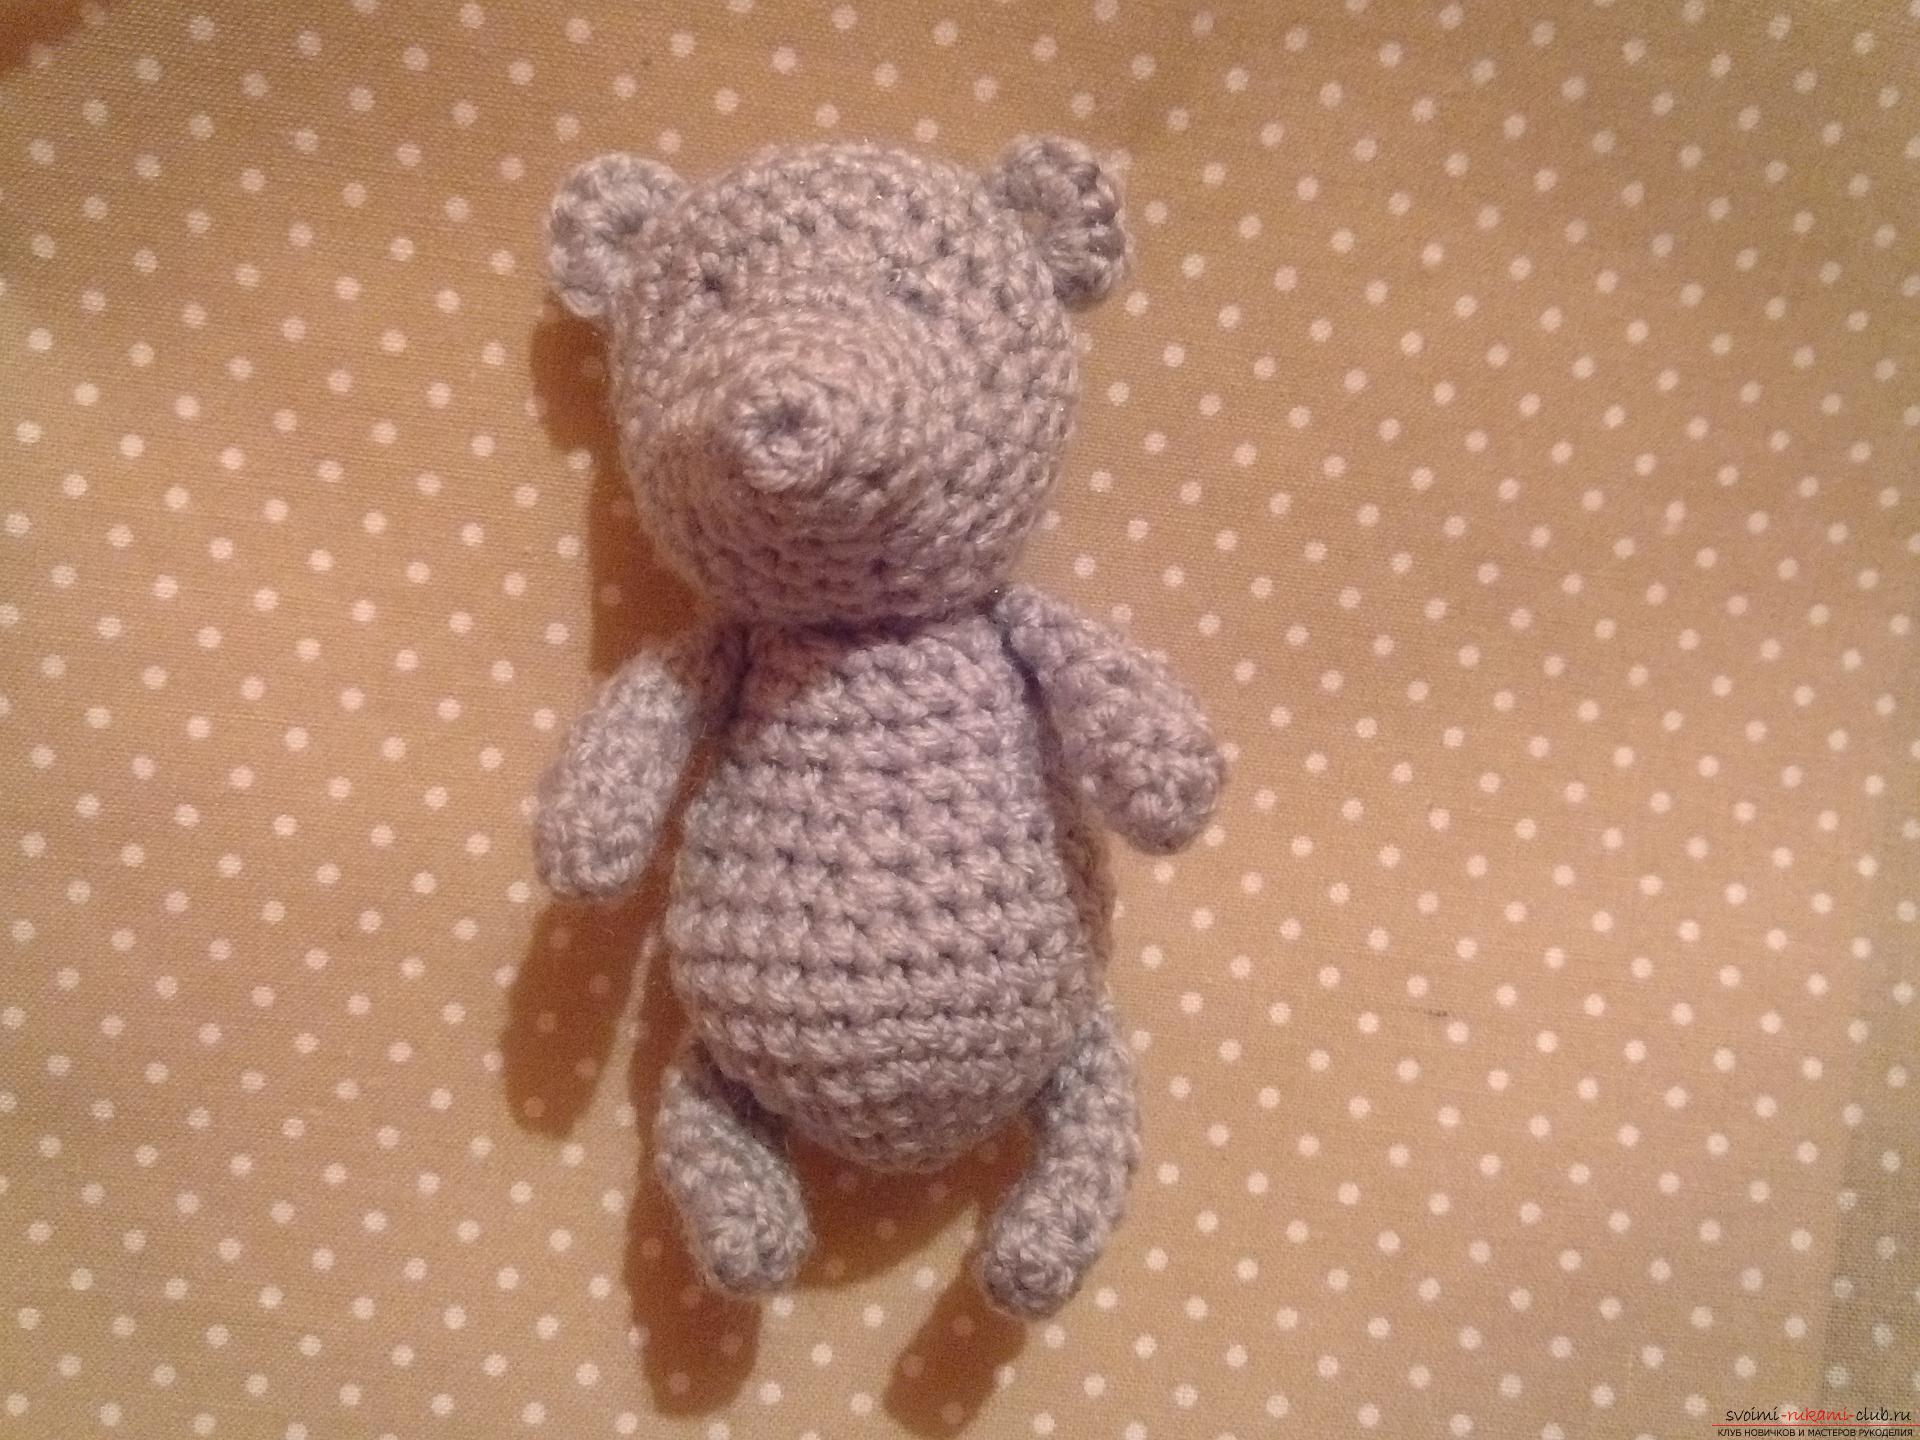 Next we take two dark beads or doeyes from polymeric clay and sew them where they made a weft. We embroider a mouth of black yarn. And we'll tie a spout to our hedgehog right away. We will make it black. First we make a ring from a sliding loop and we will fasten six bars into it, we will add six more in the second row. We will tie one row without any increase. And we will tighten it a little. We'll fill it with a little sintepon, so that it does not crumple. And we sew a toy to the face. Our hedgehog is already breathing and smiling. But so far, he is more like a bear cub.
 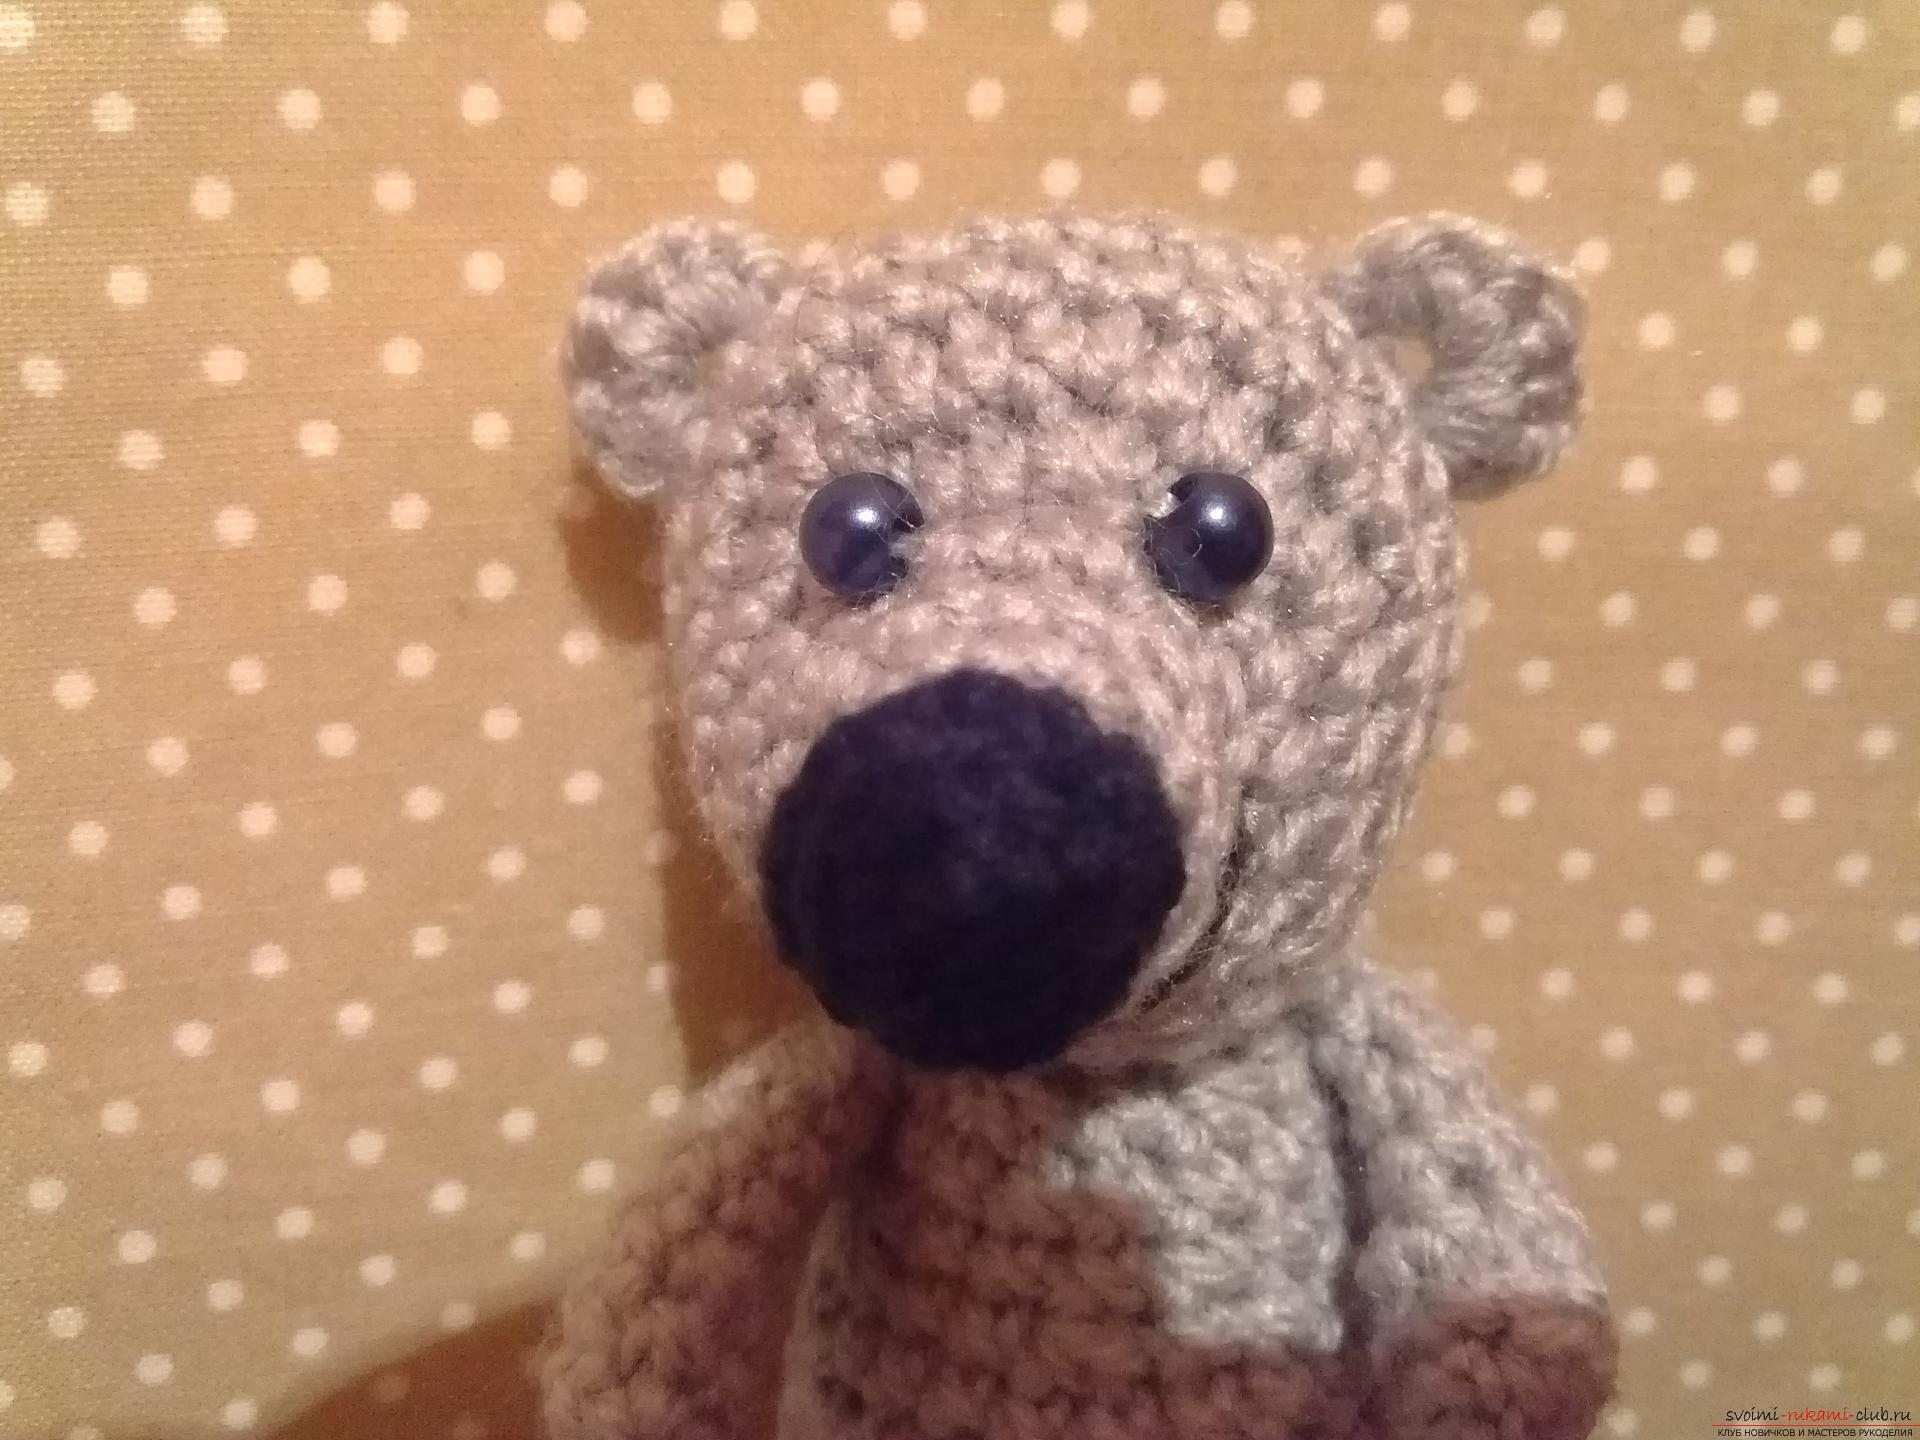 And that he turned into a hedgehog, we needadd him needles. But we make them soft and fluffy. They will be made of soft gray fur for felting. We separate small pieces of wool and attach them first to the head from behind, and then on the calf. It is necessary to coat wool as best as possible, so that it firmly holds on to the hedgehog and does not fall off.
 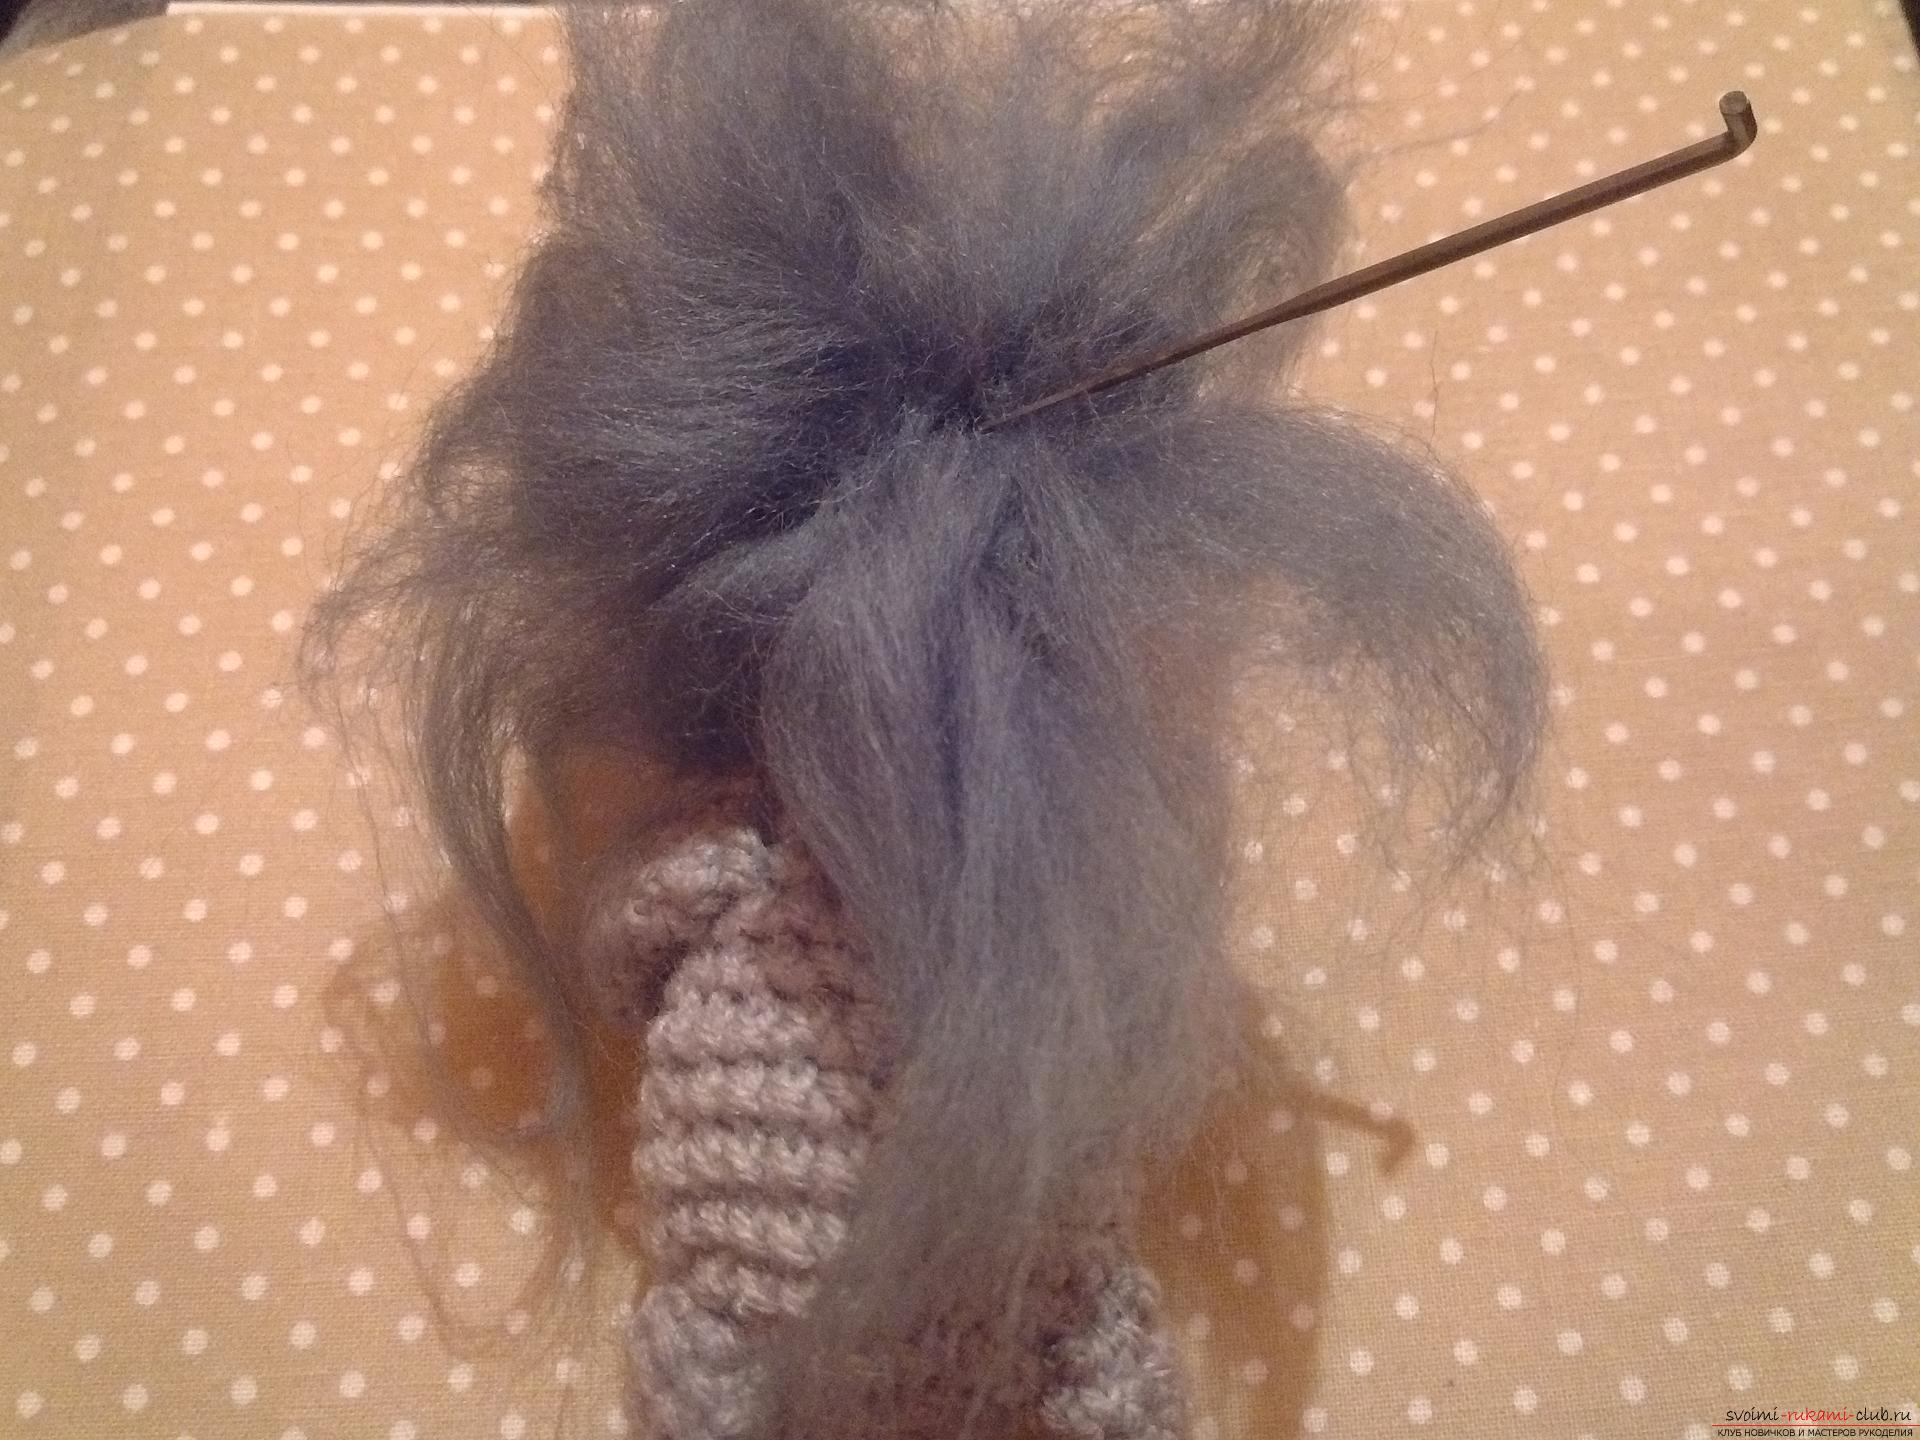 It's okay if the villi are differentlength. We can always prune too much. Now we can moisten the index and thumb in the water and spin the tips of the wool between them, making needles. Of course, they will not stay on the water. Therefore, we will take a hair spray (better than a strong fixation) and sprinkle the hair.
 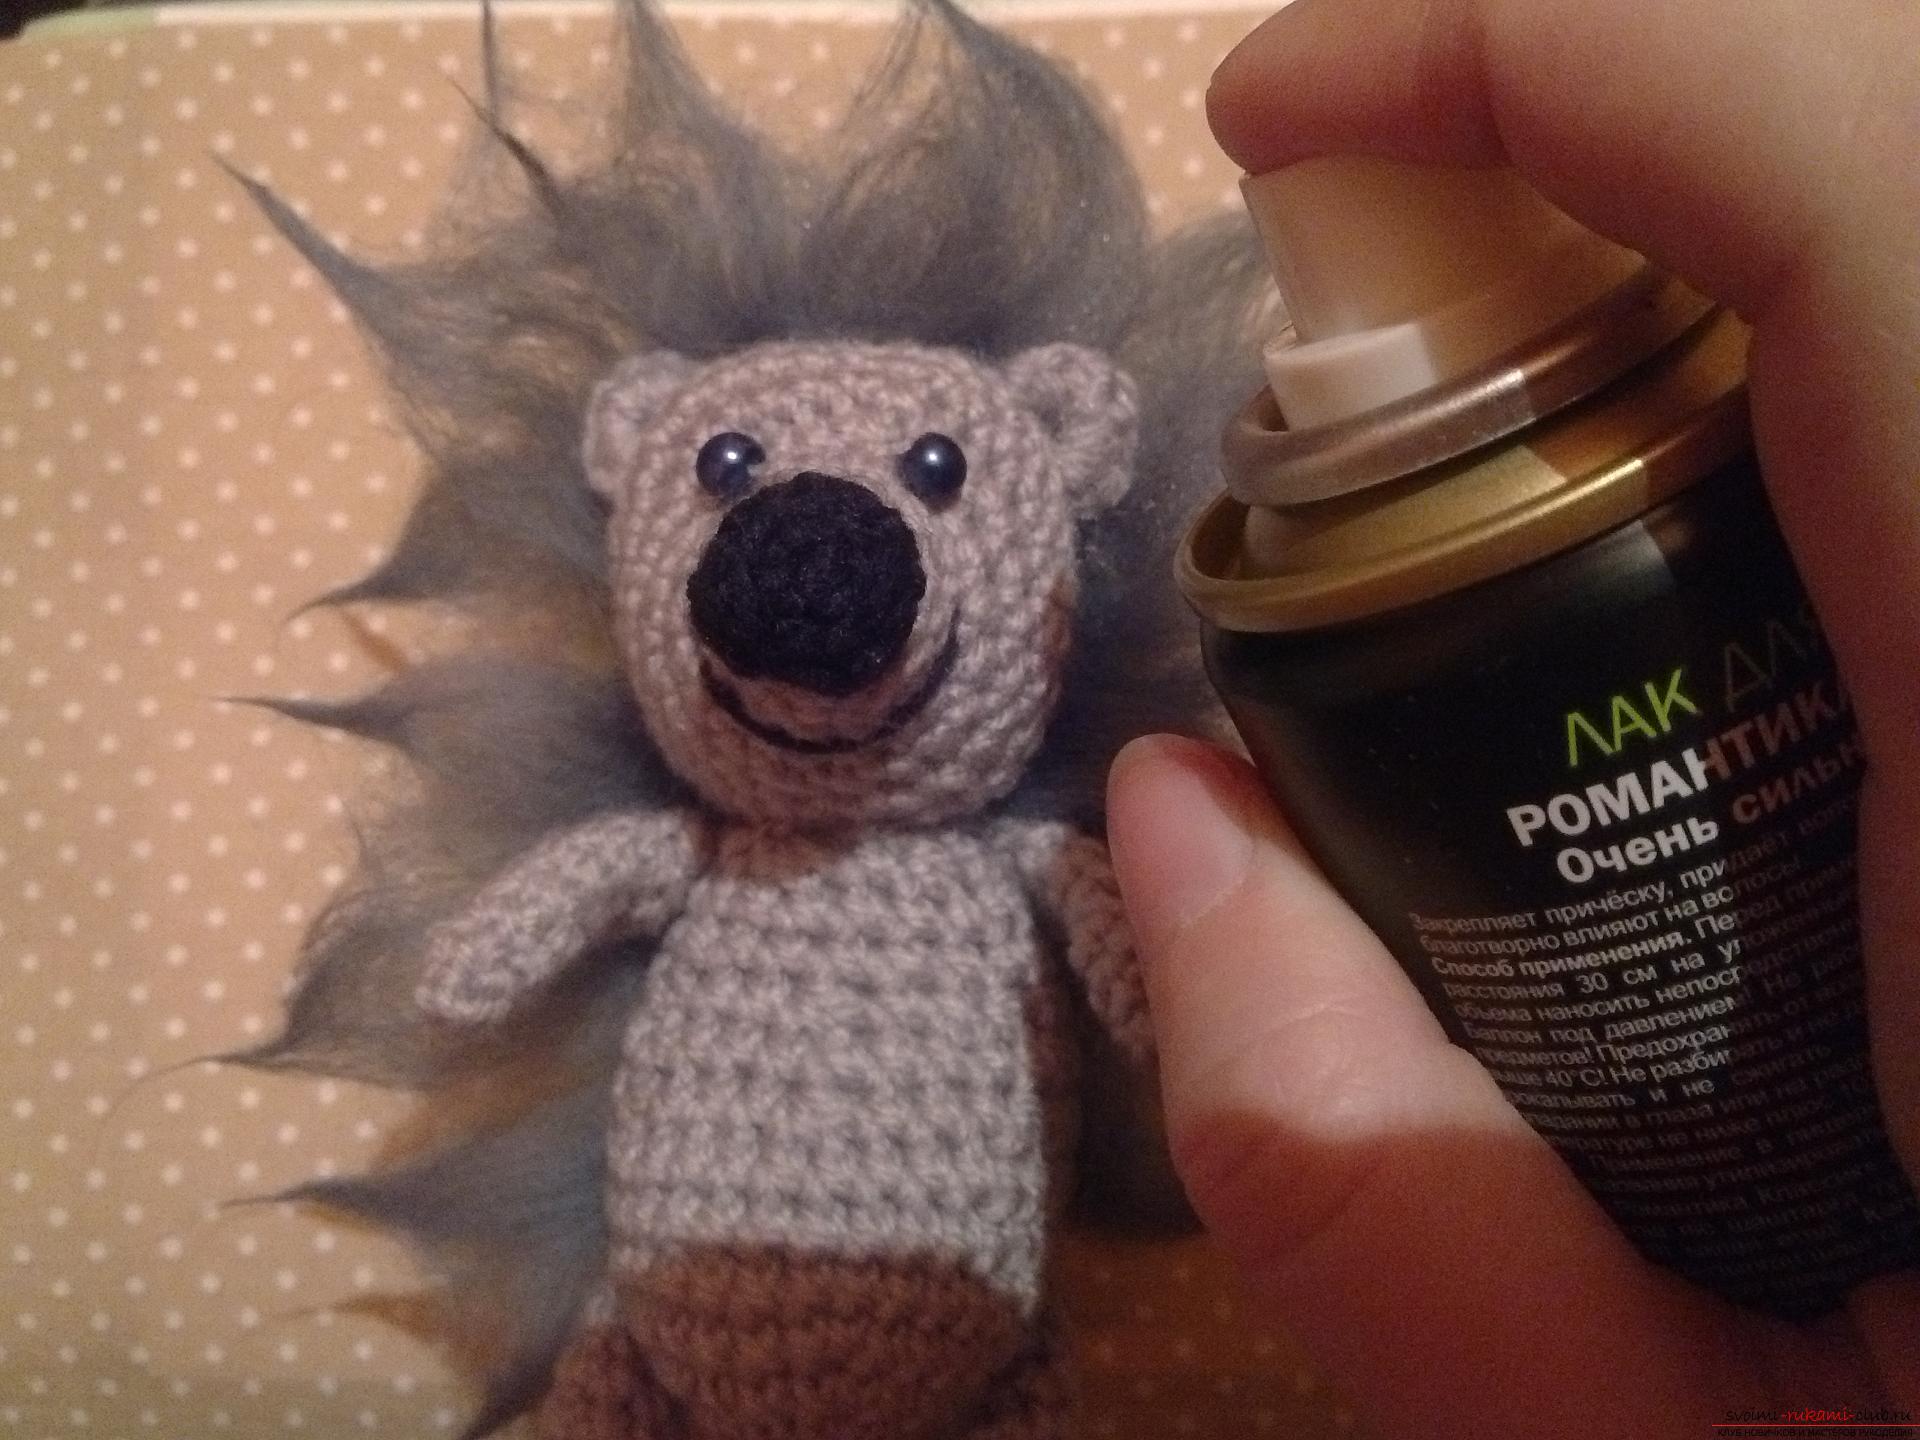 Everything, the hedgehog is already ready for us. But to make it look even more interesting, we will bind him a mushroom - a fly agaric. First we knit a white leg. In the sliding loop we again we will fasten six columns and we will make six more increases in the next row. We connect two rows. And make four adjustments. We'll link three more ryadochka.
 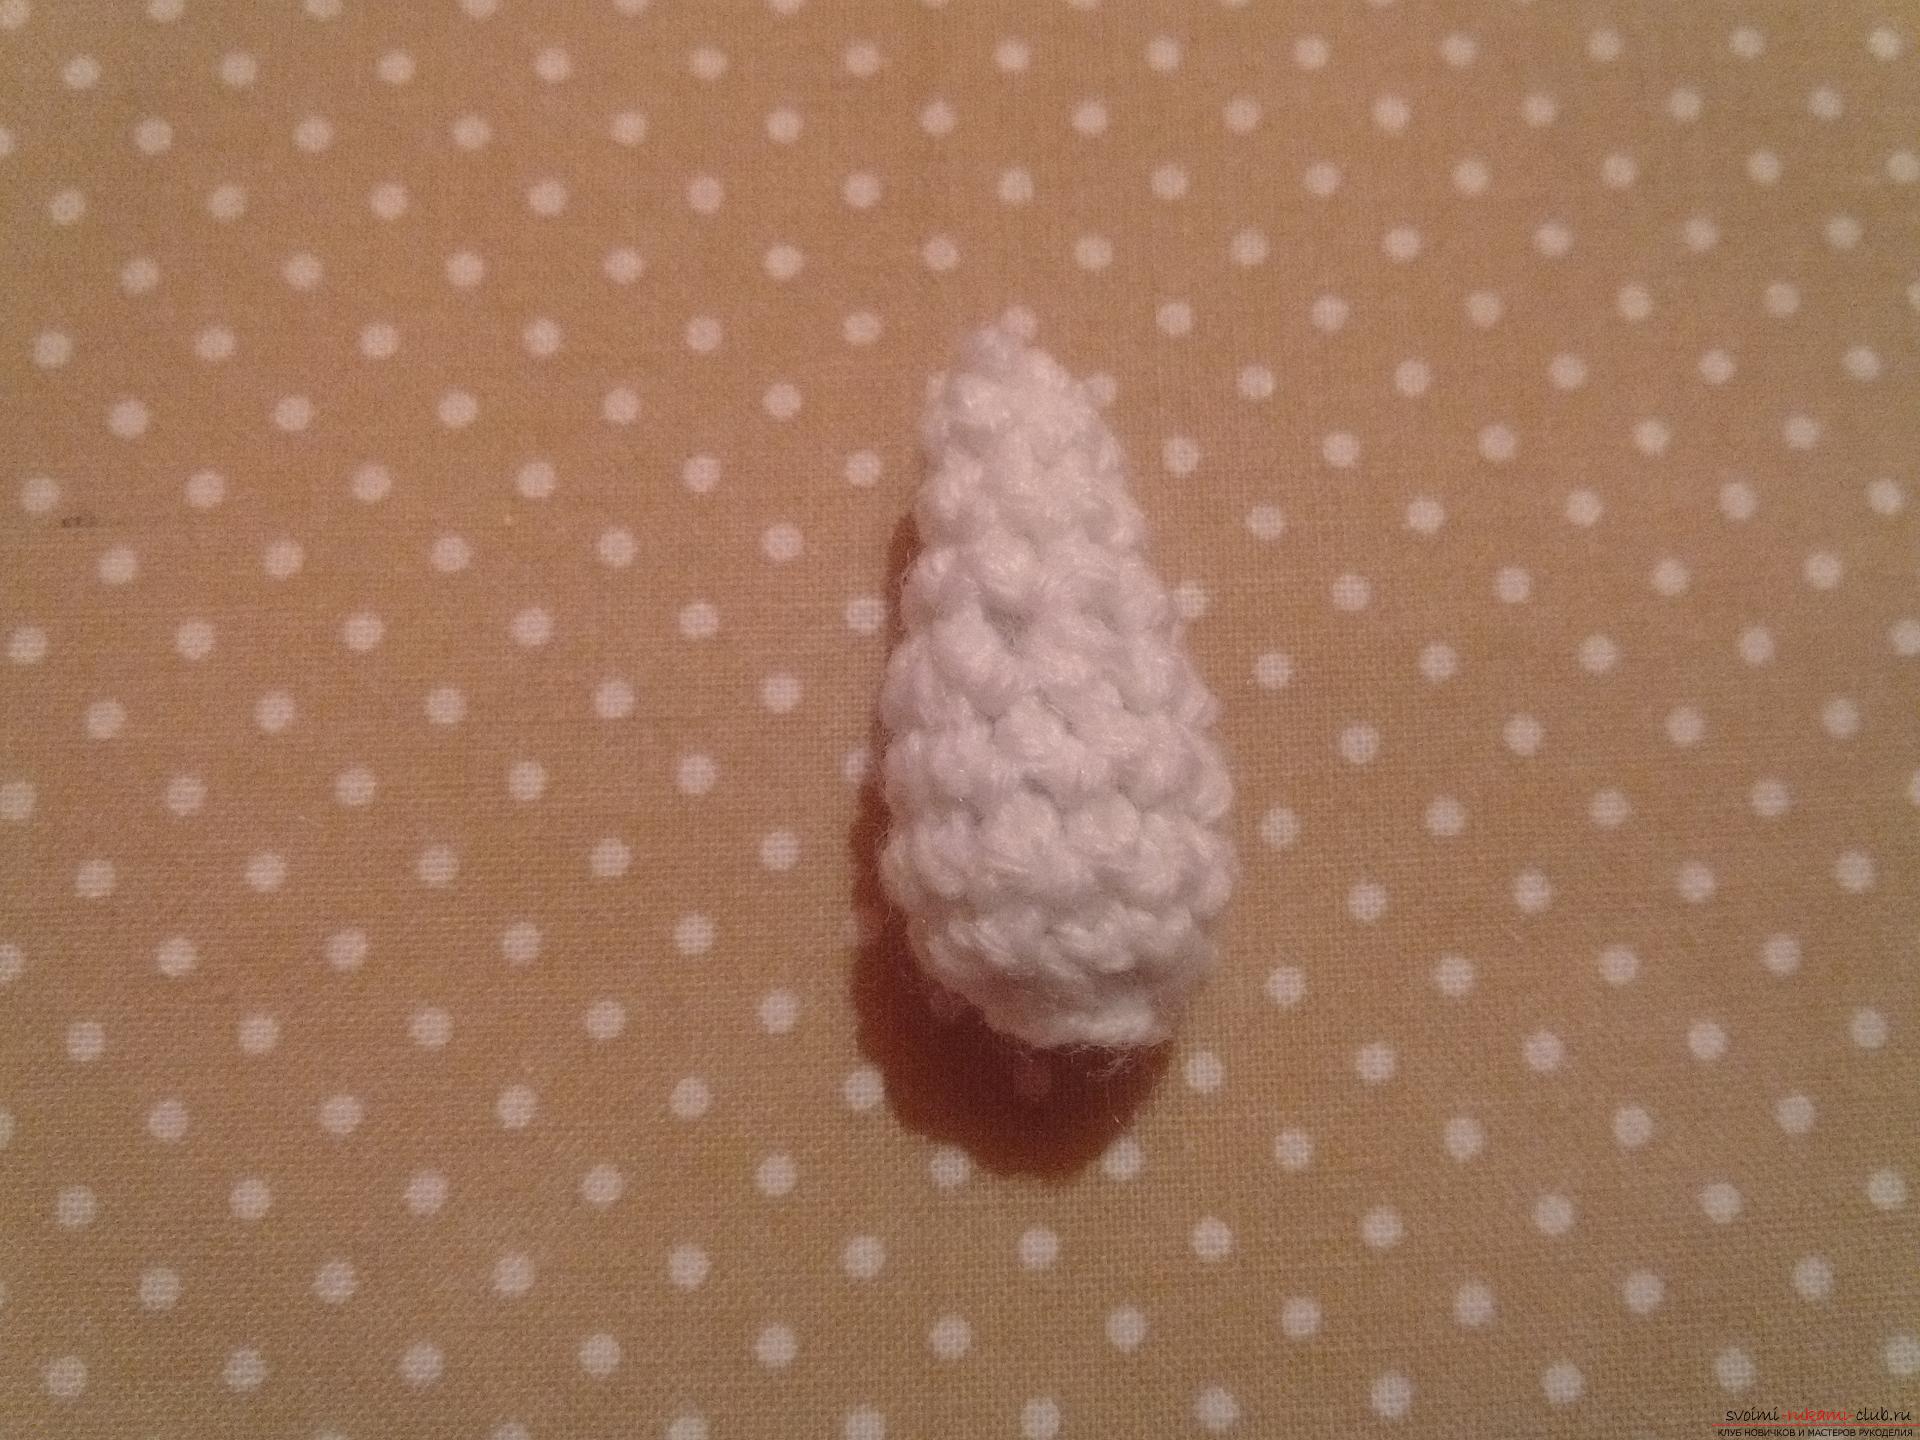 Now you need to tie a skirt for the fungus. It is also white in fly agaric. For the skirt we will make twelve air loops and connect the first and last. Now we make three air and we sew a half-loop into the next loop. Again, do three air and we sew a half-loop into the next loop. And so on the circle we knit the whole skirt.
  Further we will connect a hat for a fly agaric. She's got a red color. We make a sliding loop, which we knit, as always, six bars. We will make three more increases in the next row. And one row we will bind without them. And then we will do six increments in three rows in a row. Now take a needle and a white thread (yarn) and we will embroider on this hat small white spots - strips. Here is a hat for fly agaric obtained.
 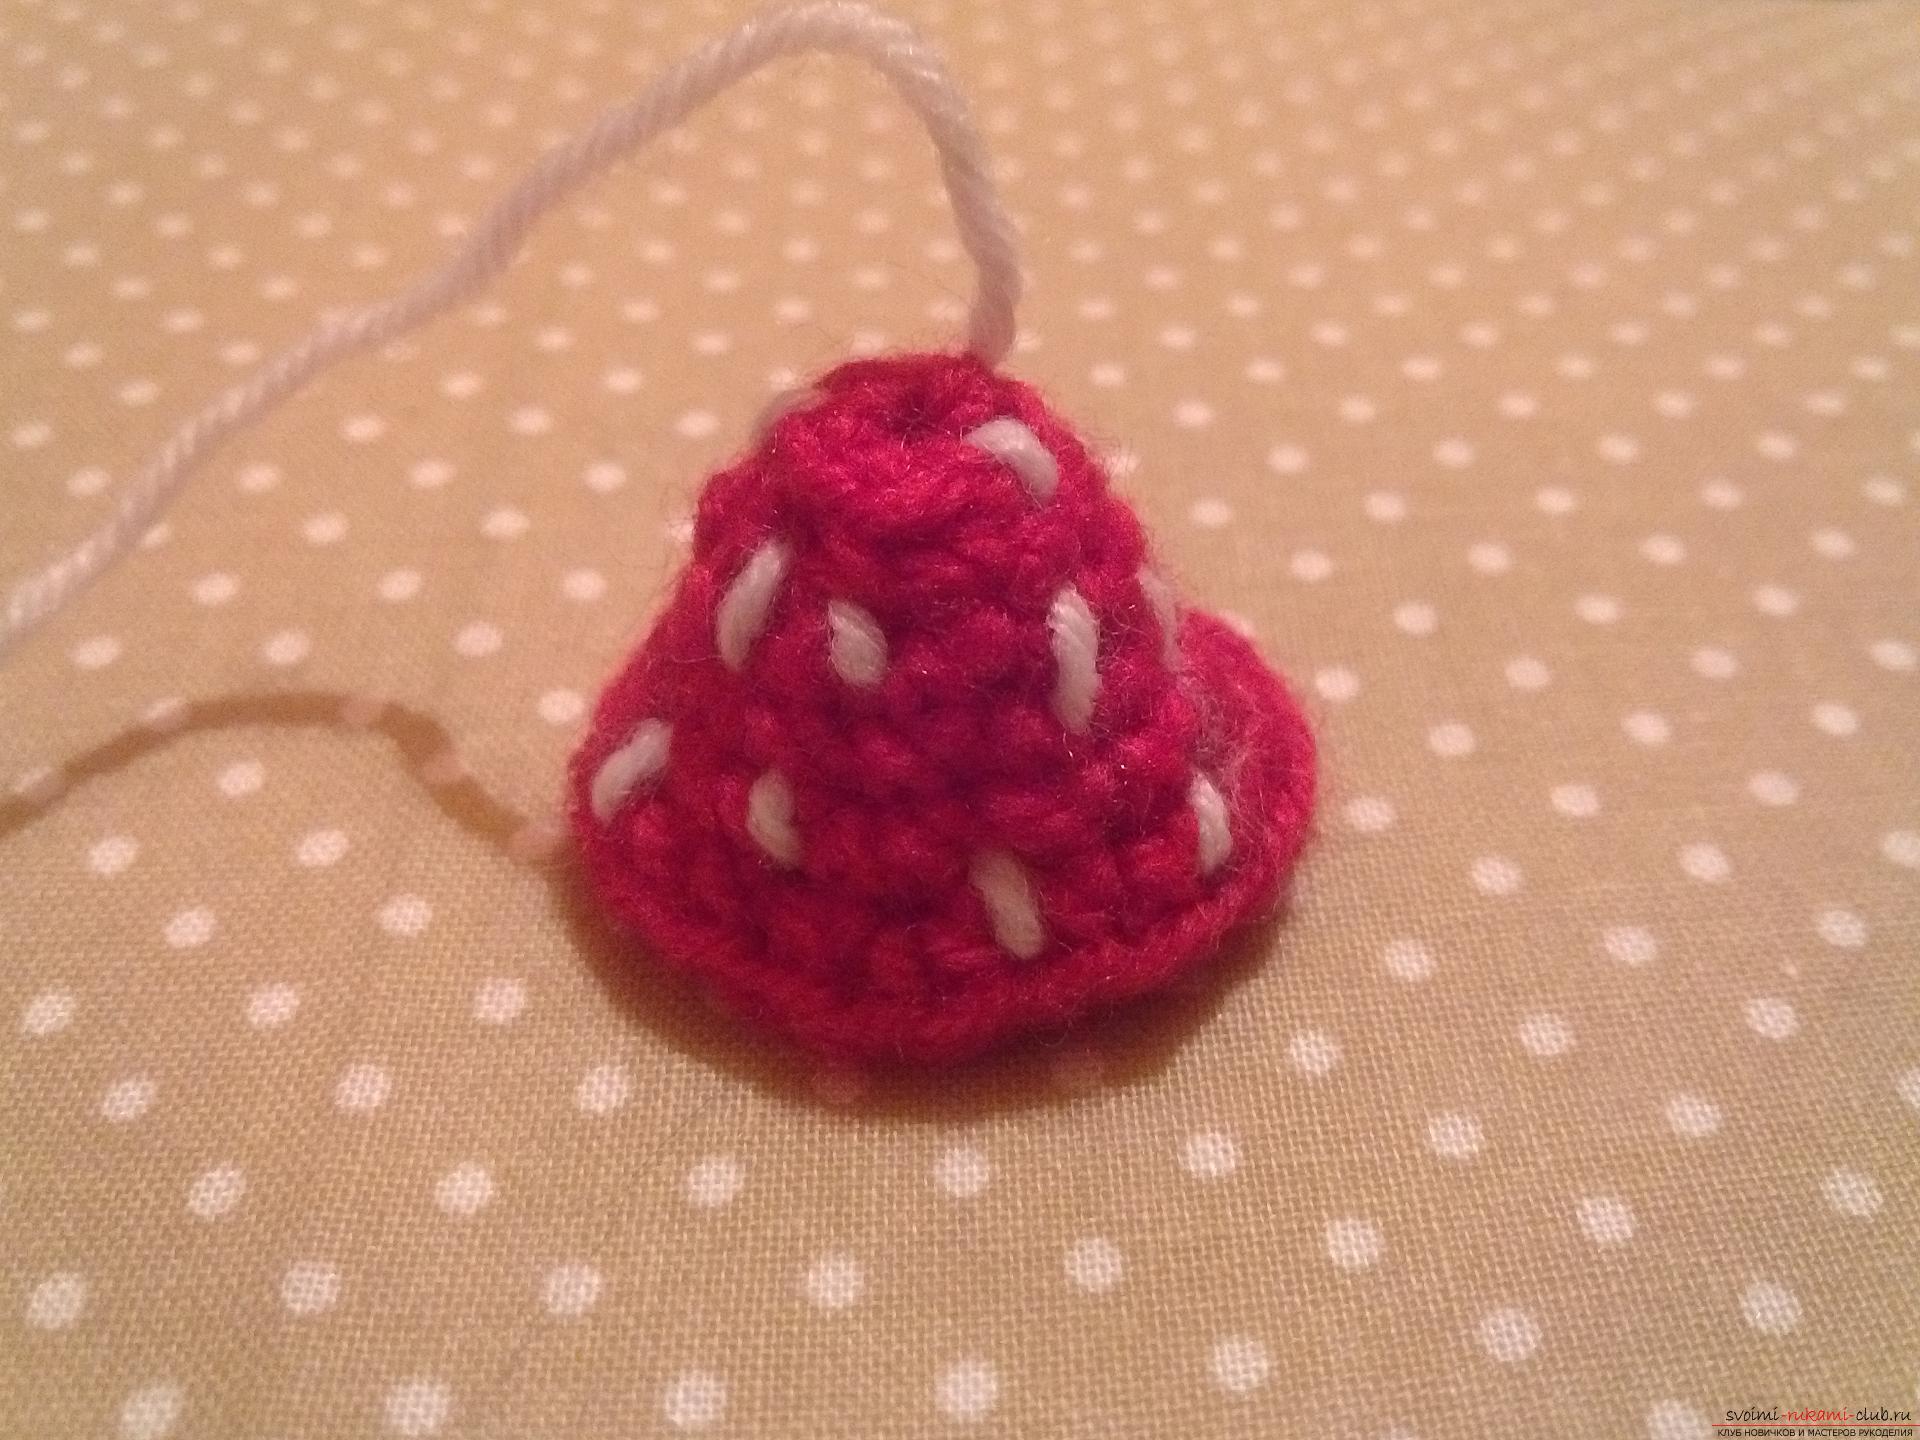 Now we collect all the mushrooms. First we put on the skirt and sew it to the leg. And then we put on the hat too. We sew it, too.
 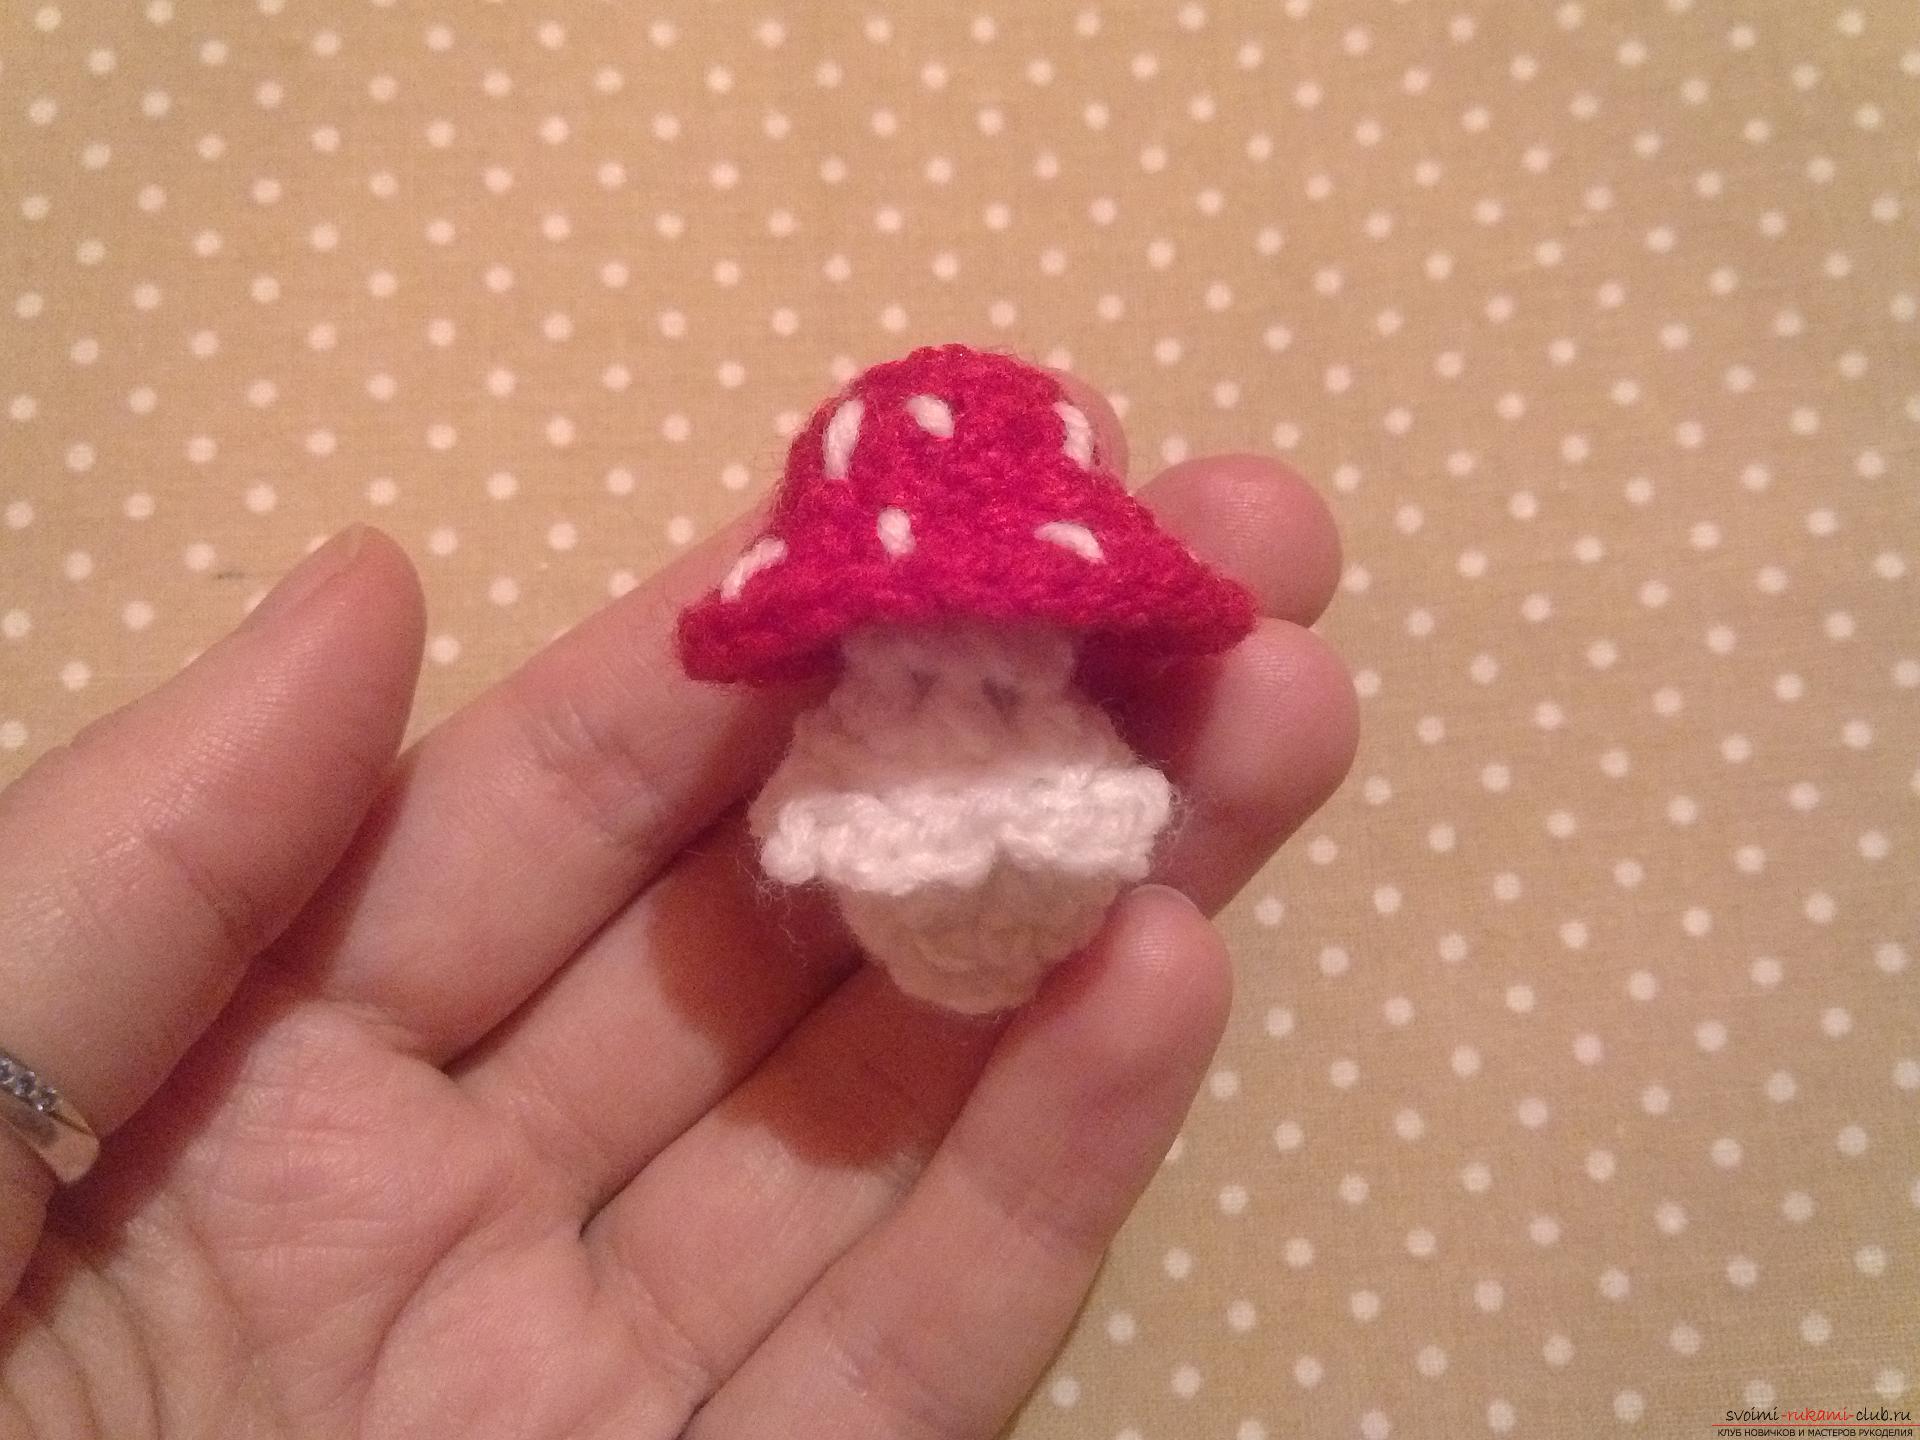 It remains to give the mushroom in the foot of the hedgehog and also sewit, so as not to fall out of the foot. That's such a baby hedgehog turns out! You can decorate it not only with a mushroom fly agaric, but also with flowers, apples or berries.
Comments
Related posts:
 How to weave a Christmas wreath for a festive decor? Step-by-step instructions and photos, a list of necessary materials
 How to crochet a poppy flower of lilac color? Detailed description of the stages of work, a list of materials and step-by-step photos
 How can we weave a small toy "Red-haired girl" out of multicolored rubber bands? Detailed description of the process of weaving, a list of necessary materials and step-by-step photos
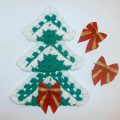 How to tie a Christmas tree crochet? Crochet crochet lesson with detailed instructions and photo
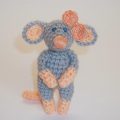 How to tie a funny toy crochet "Mouse-baby"? Basics of crocheting technique, description of the work process and quality step-by-step photos