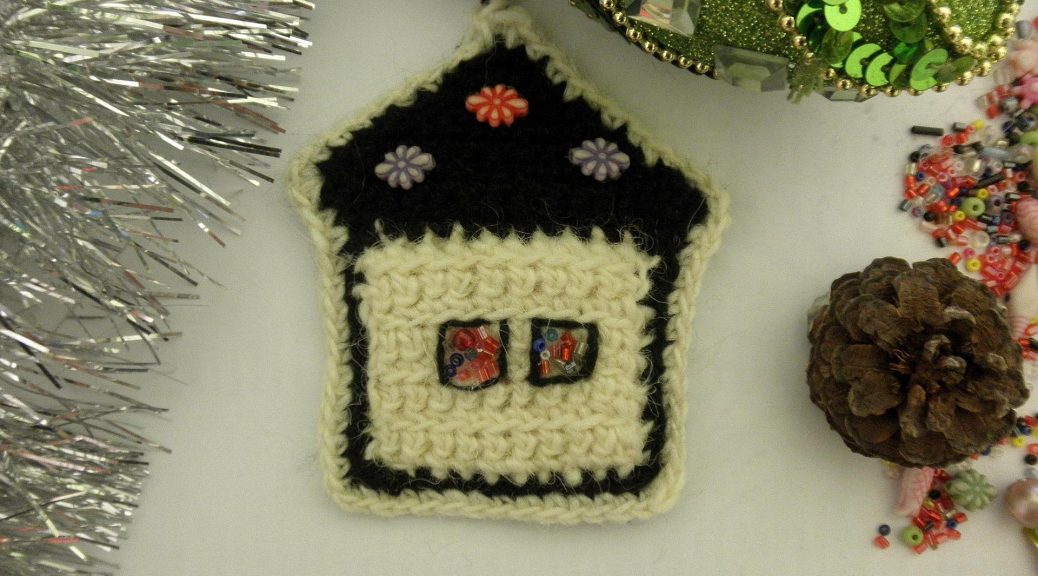
How to crochet a toy on a New Year tree "House"? Crochet lesson for beginners with step-by-step description and photo
For more than two centuries Christmas in many countriesThe world is closely connected with the beautiful tradition of gingerbread house cottages. Probably, from her happened and Christmas-tree toys of this kind - very cute decorations depicting cozy winter dwellings. For those who know how or want to learn how to crochet, we have prepared a small MC for making such a toy.
Materials and tools
To work needed:
- thick threads of two colors;
- hook;
- needle;
- scissors;
- glue;
- beads and stones for decoration.
How to work The house will knit the usual shape inThe form of a square with a triangular roof, but not to wrap the edges, we make a two-layer basis. To do this, we knit a rectangle with one side equal to the size of the house and the other - twice the first. When knitting rectangular hooks for inexperienced knitters, the problem of gradual narrowing or widening of the strip sometimes arises. To avoid this is simple: the lifting loop is considered the first loop, so at the beginning of the row, after it is unfastened, we insert the hook into the second loop, and then just count the number of loops - in each row it should be the same. Knitting is better to lead along the narrow side (we recruit at once the number of air loops corresponding to the size of the house). 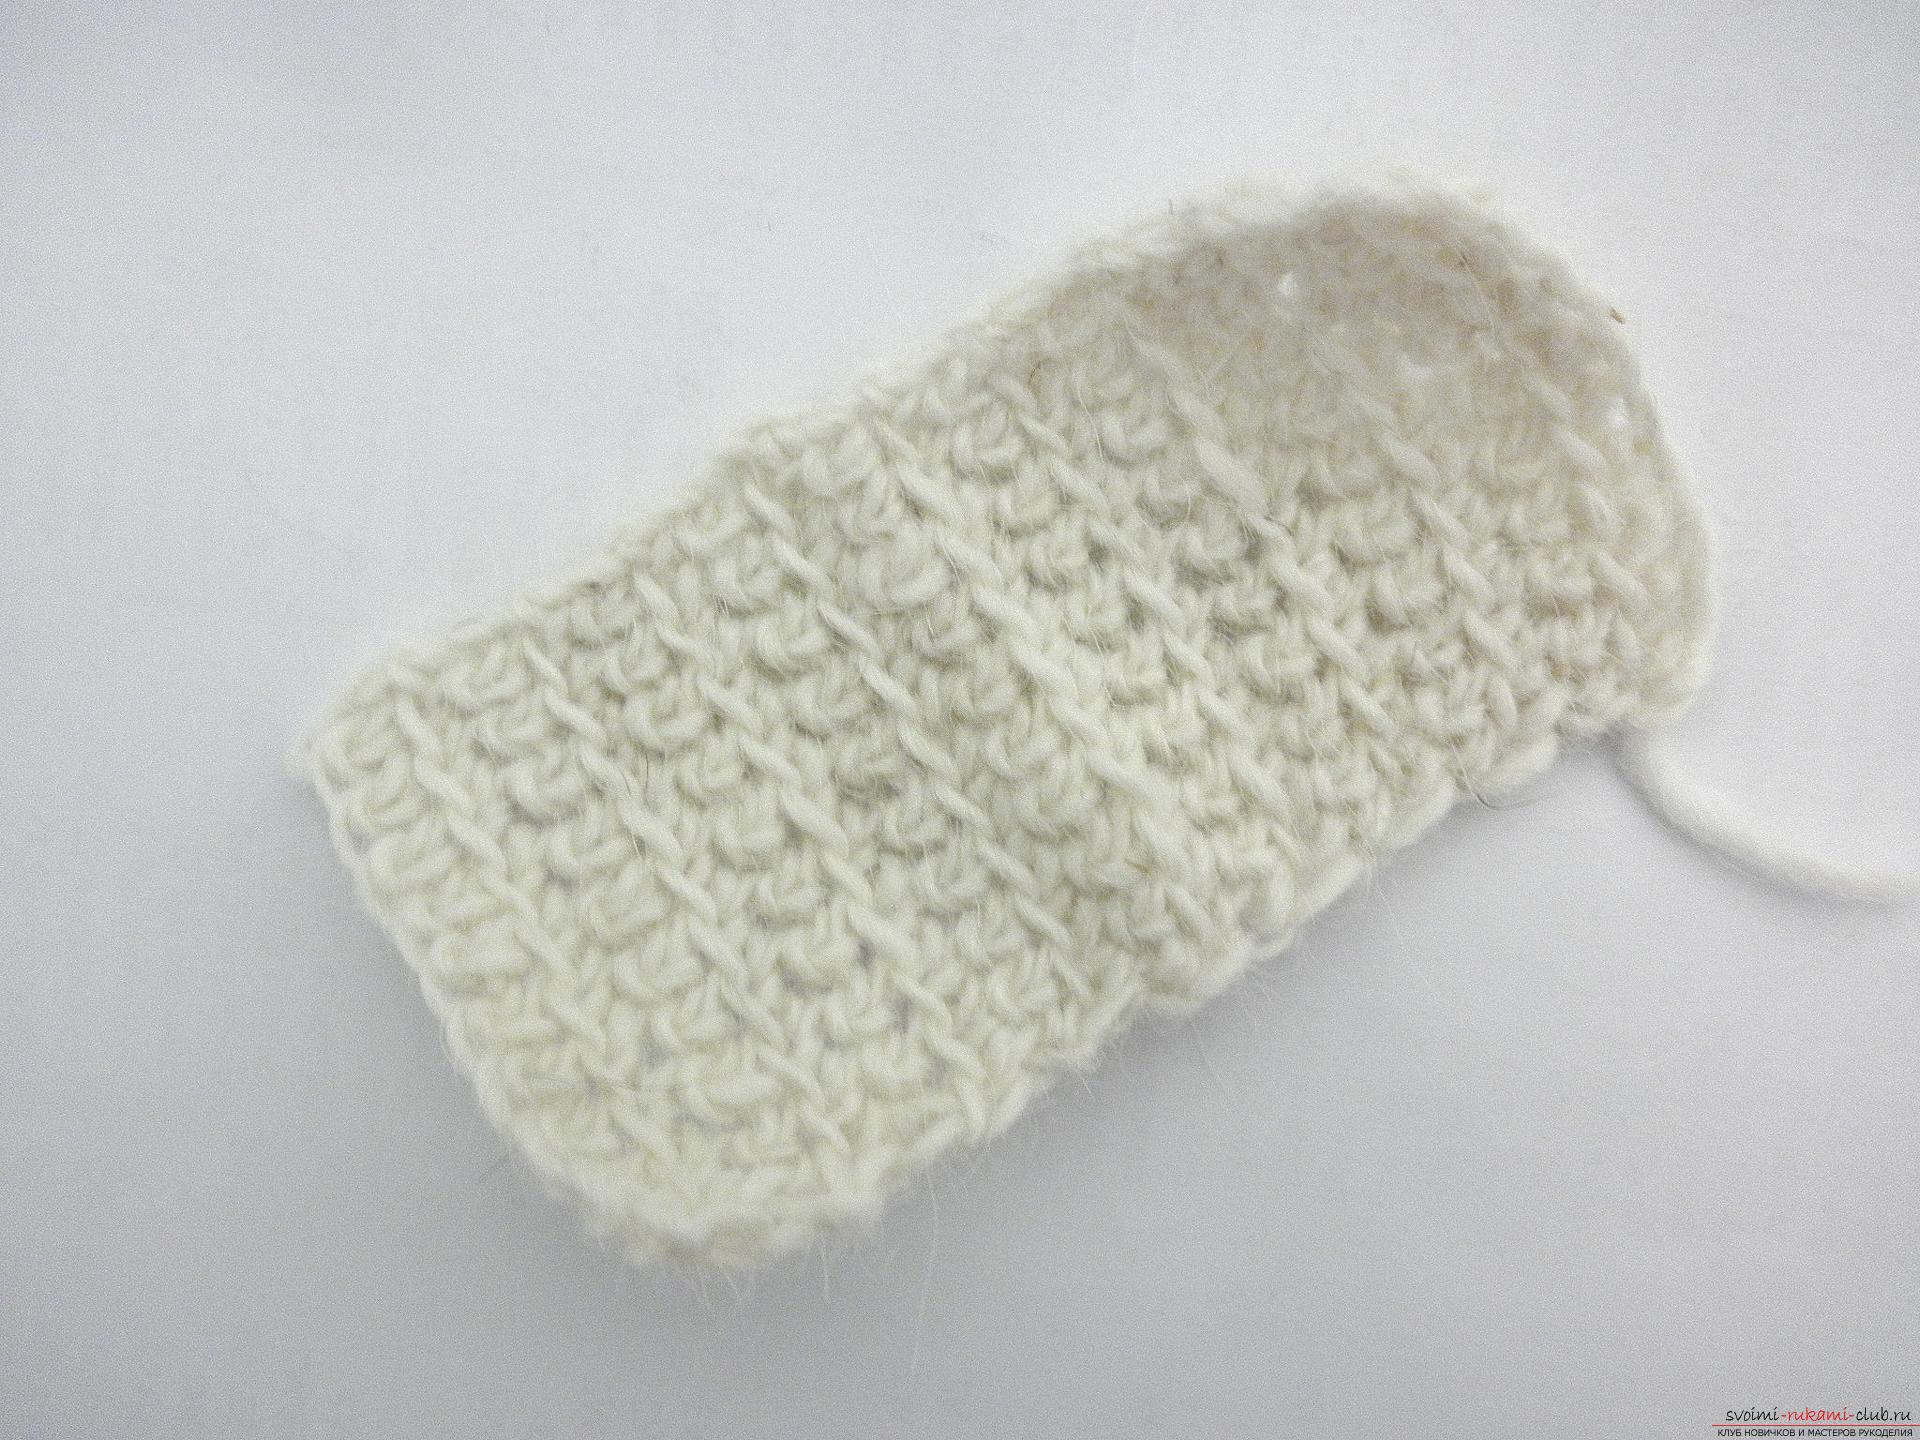 We fold the bound fabric two times and we tie three sides of the resulting square with columns without a crochet with a thread of a different color.
 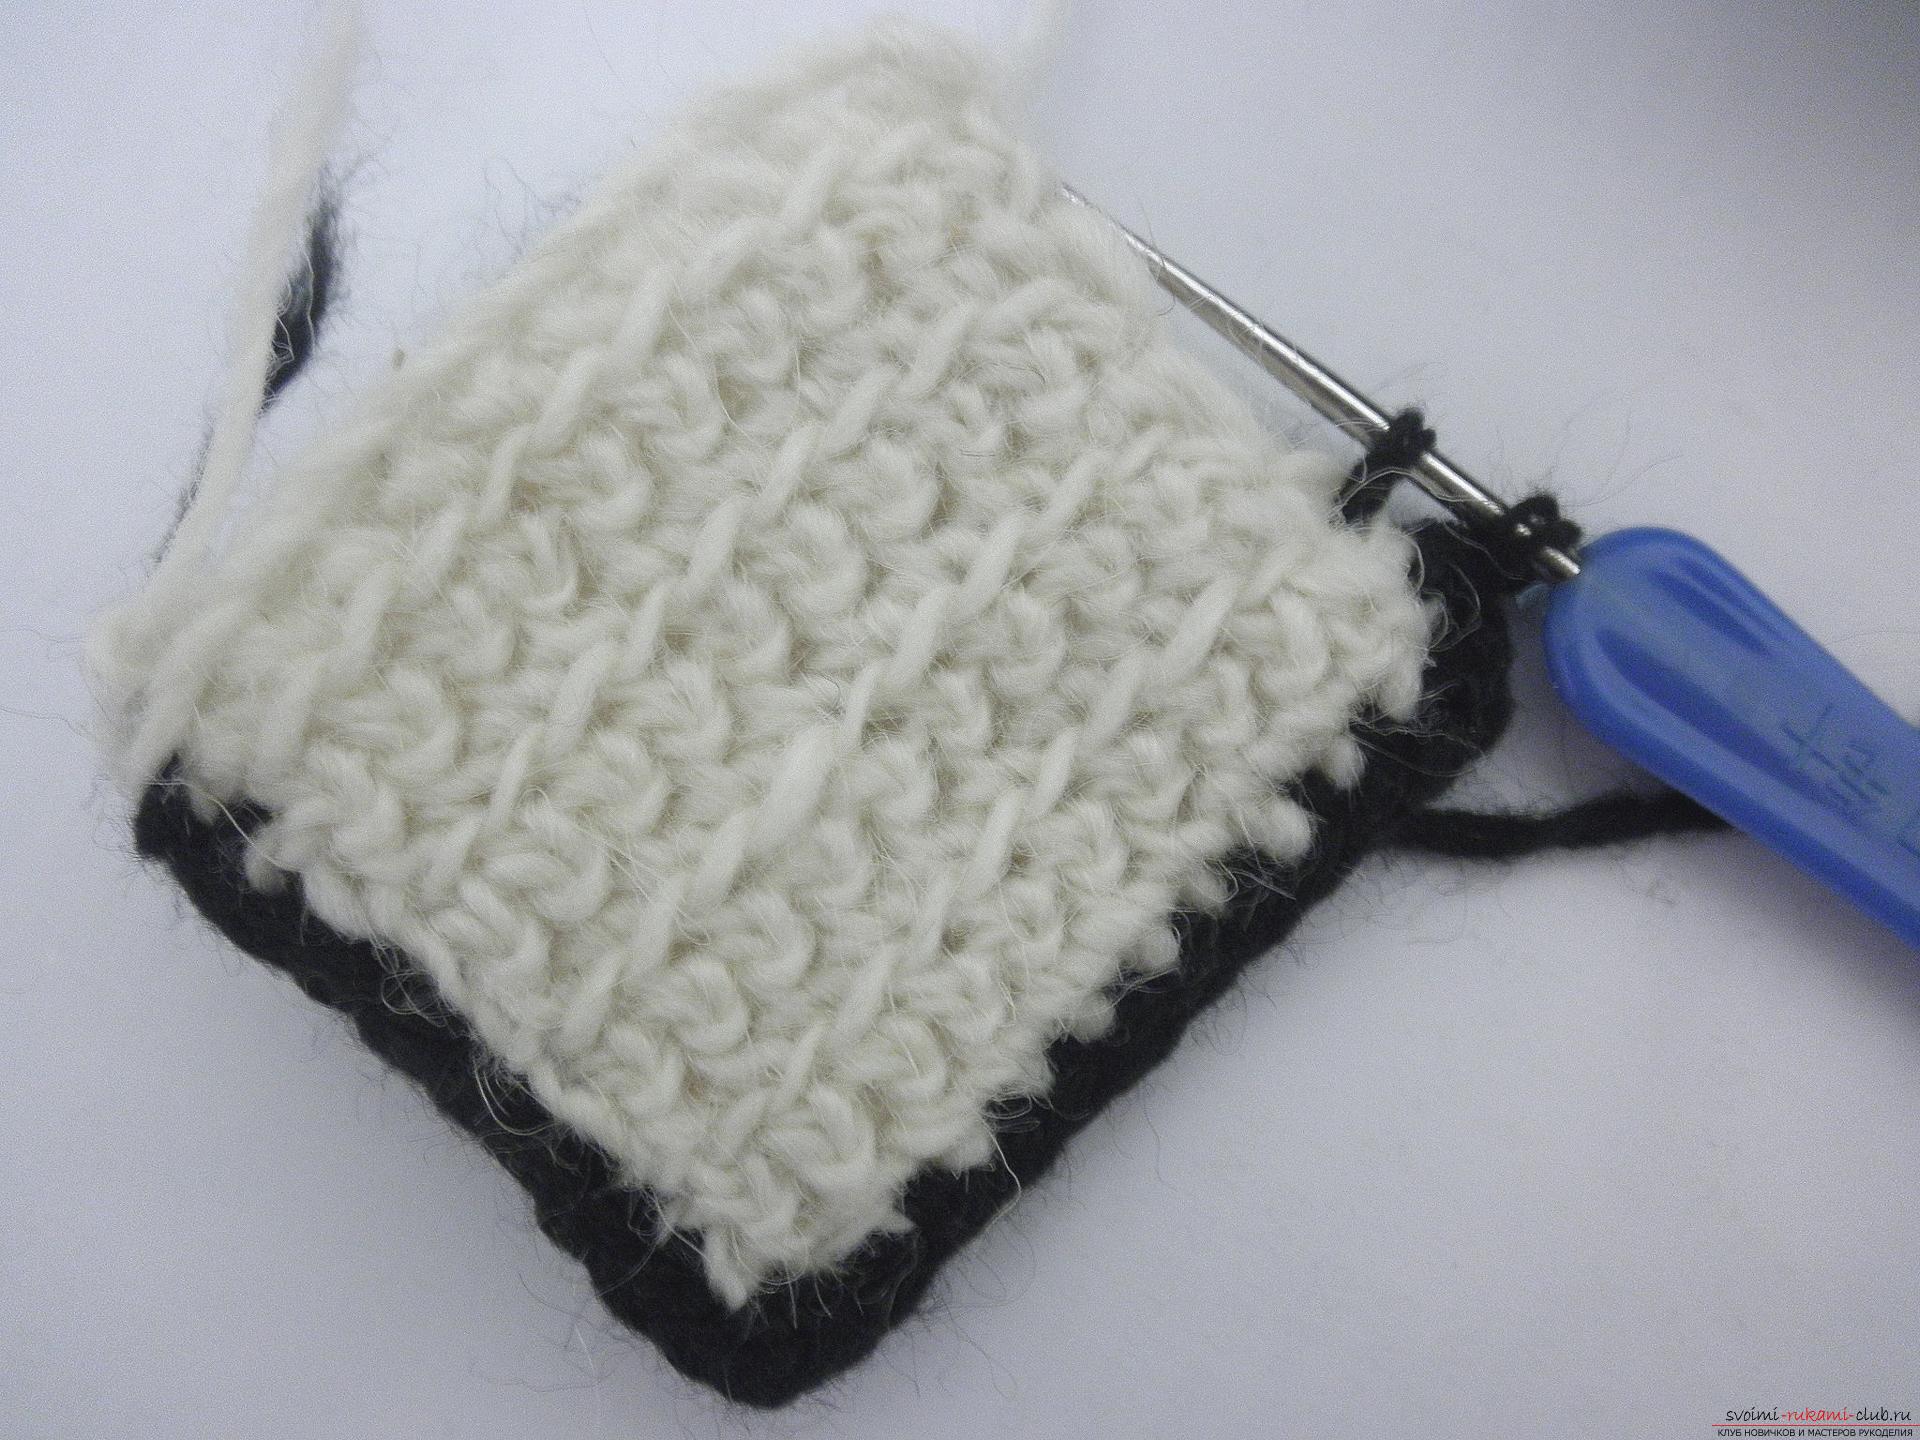 Having finished tying the third party, we type a few air loops. For a small house 2-3 hinges, for a large house - 4-5.
 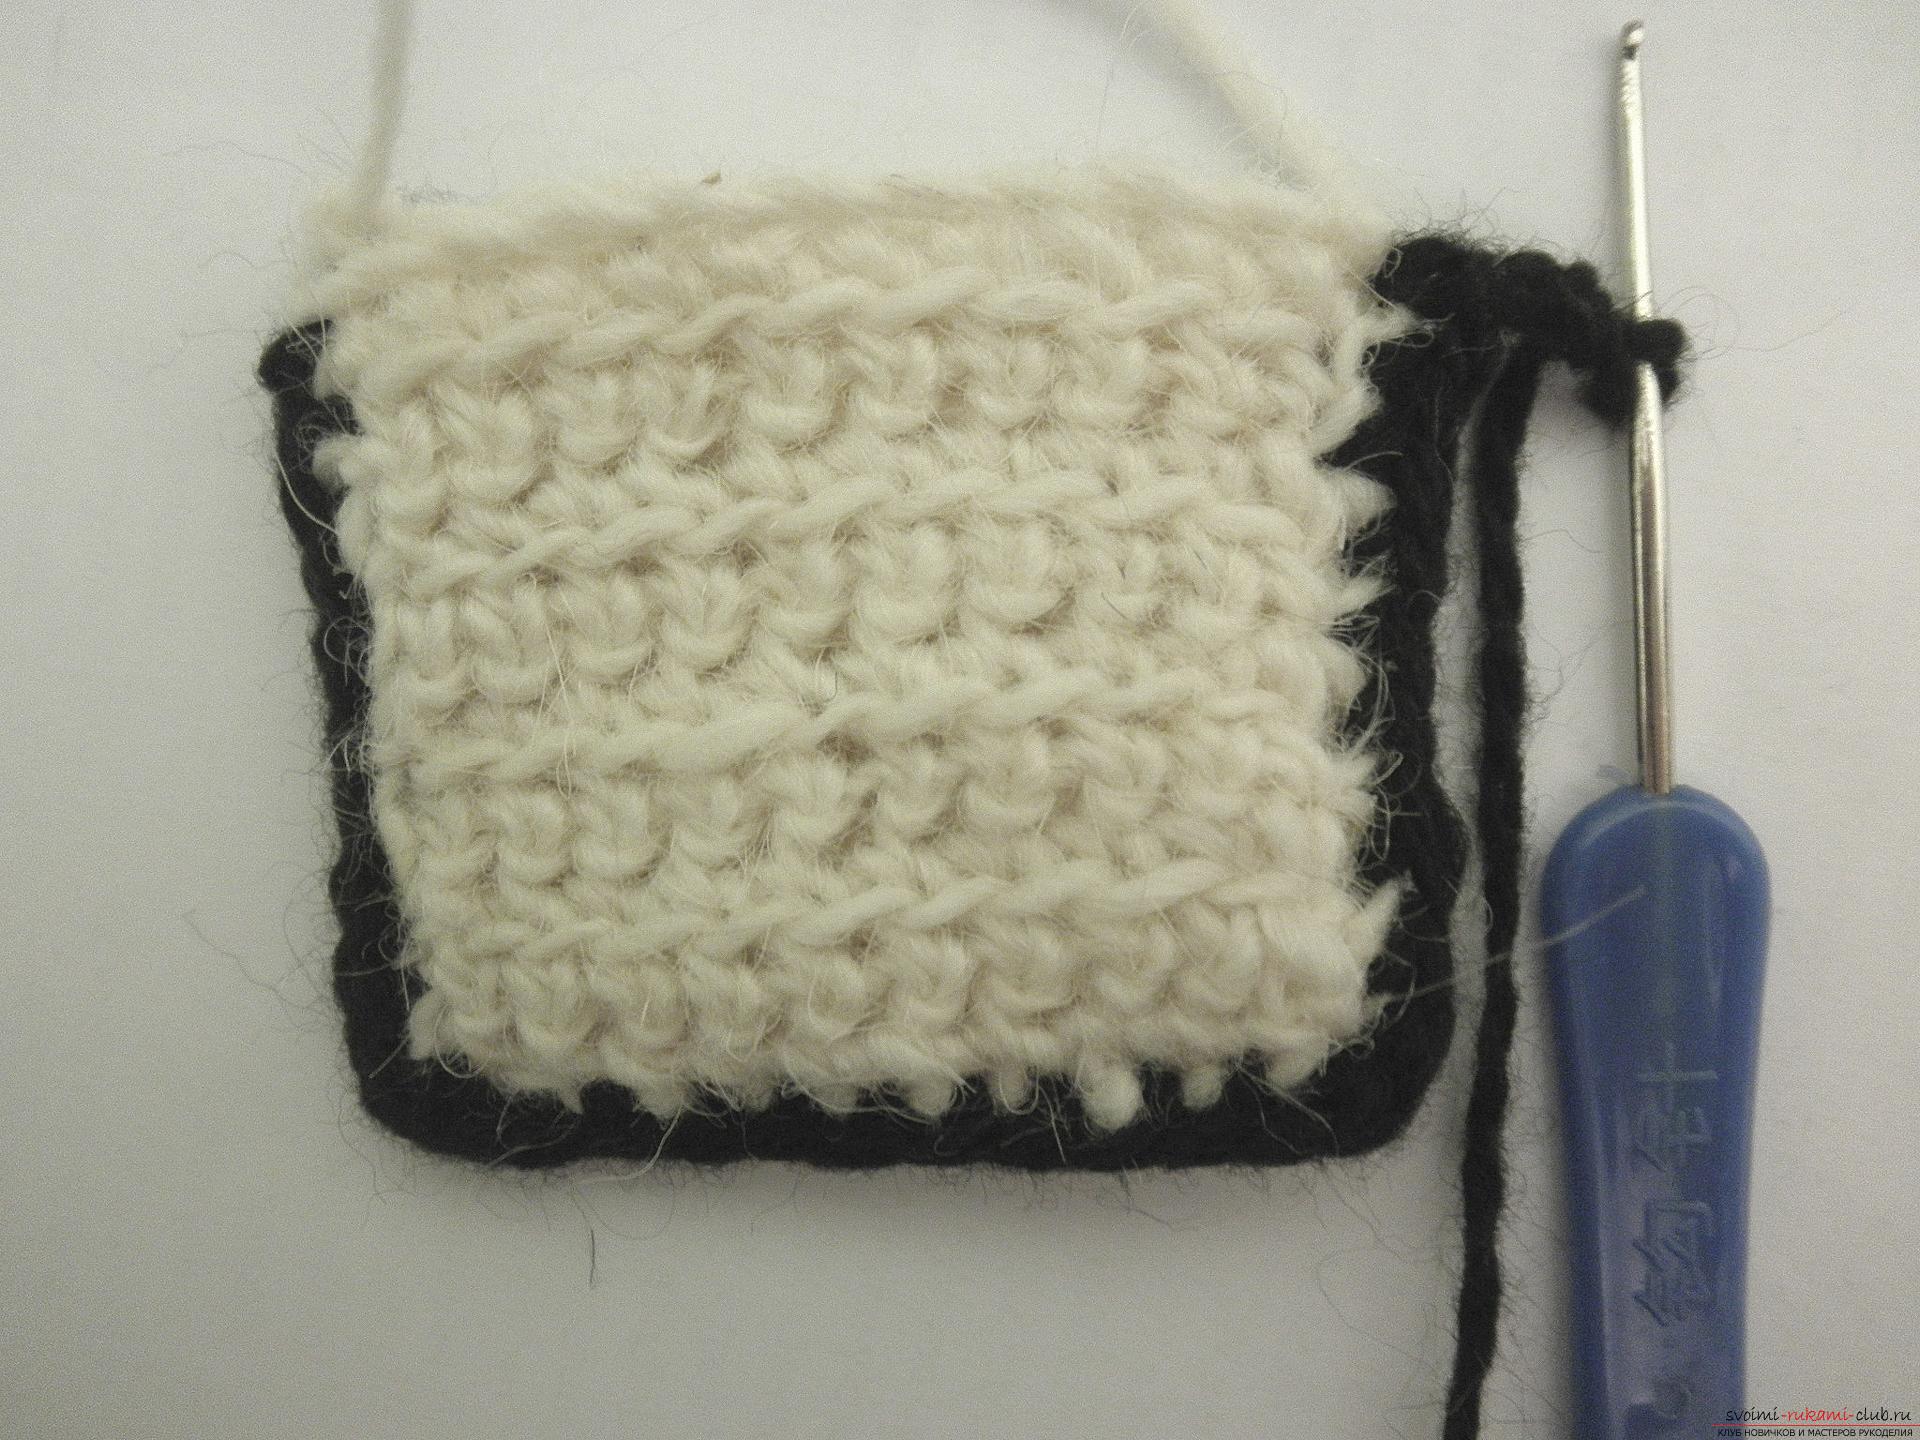 We return back by columns without a crocheting, doingthe first row of the roof. We begin the series with the typed air loops. At the end of the row we type the same number of air loops, turn knitting and tie the second row. Further, in order for the roof to narrow, at the beginning of each row we introduce a hook not into the second but into the third loop.
 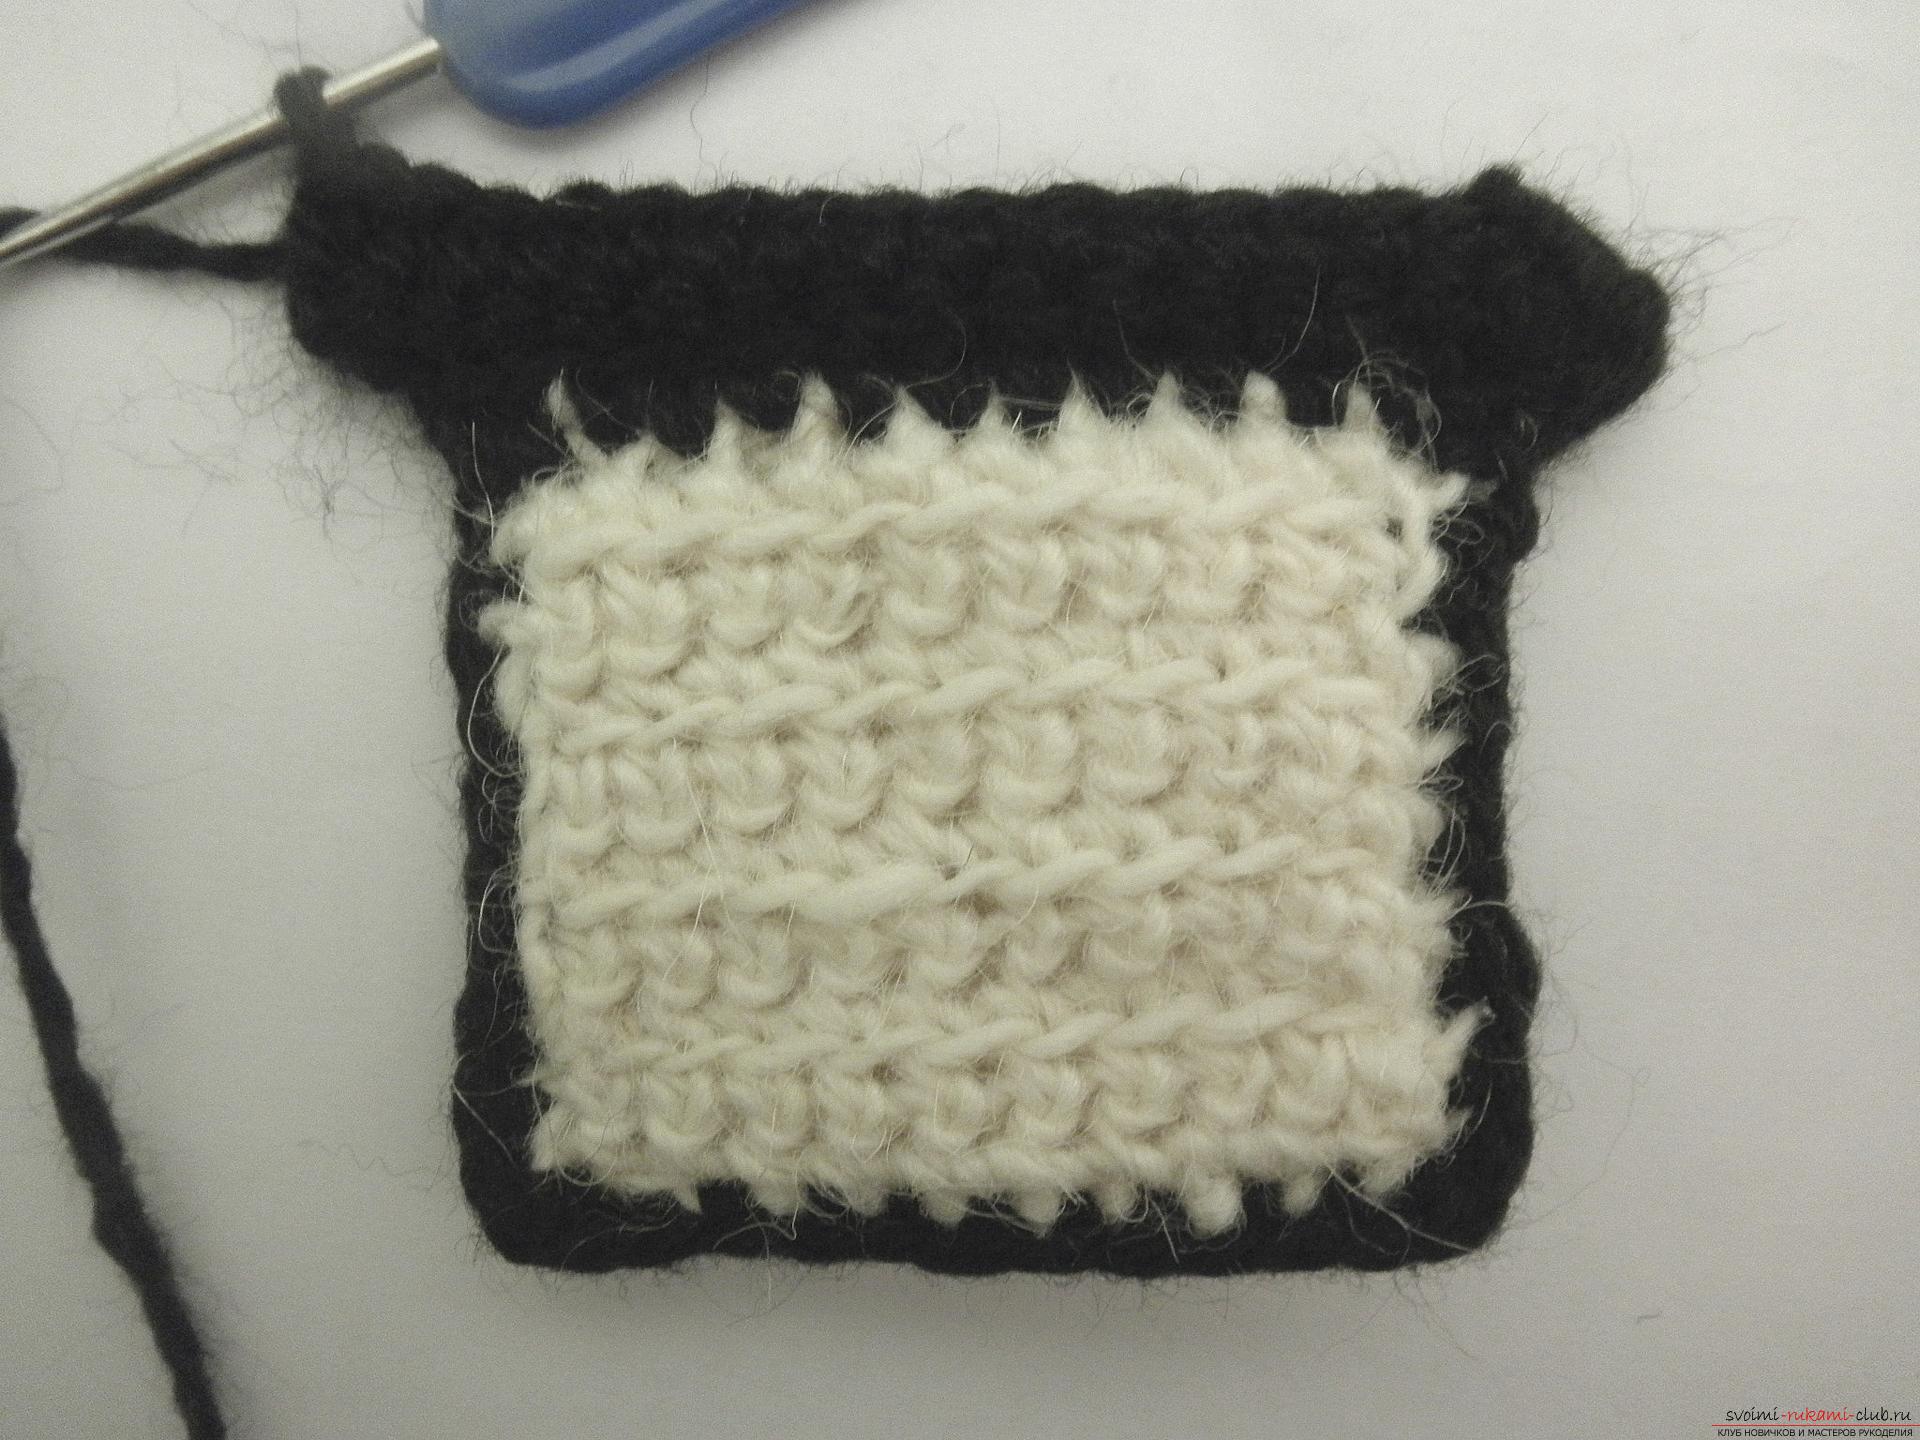 We knit the roof in this way until it joins the top of the triangle.
  From the last loop pull the thread for the suspension and cut off the end. We take a thread of a different color and tie the perimeter of the house with columns without a crochet starting from the top of the roof.
 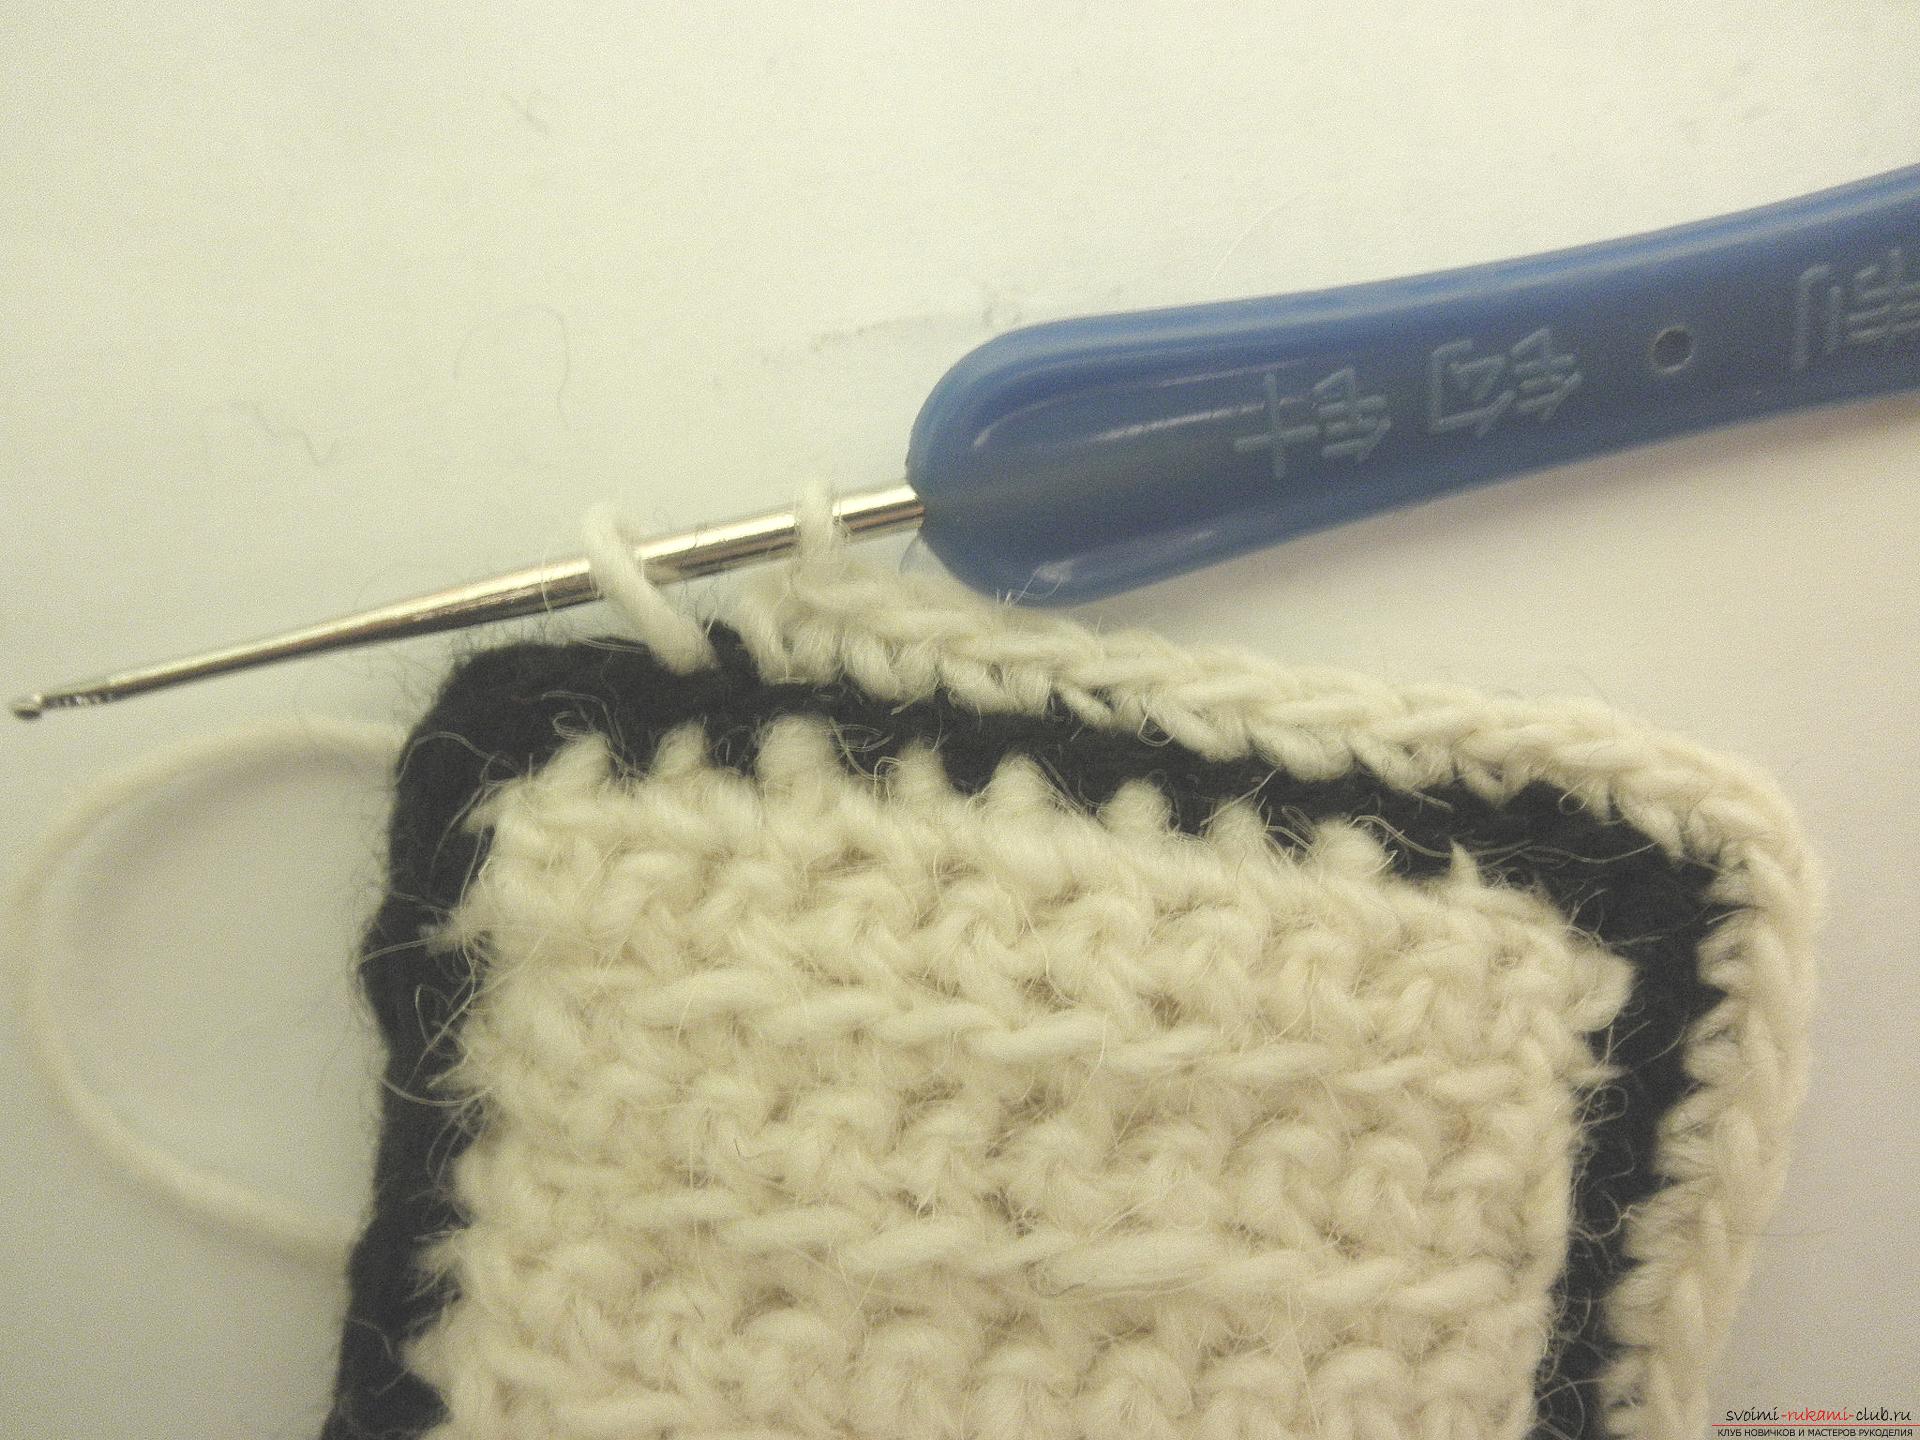 From the last loop we draw a thread of the same length as the previous one. Free ends of the thread bind and fasten.
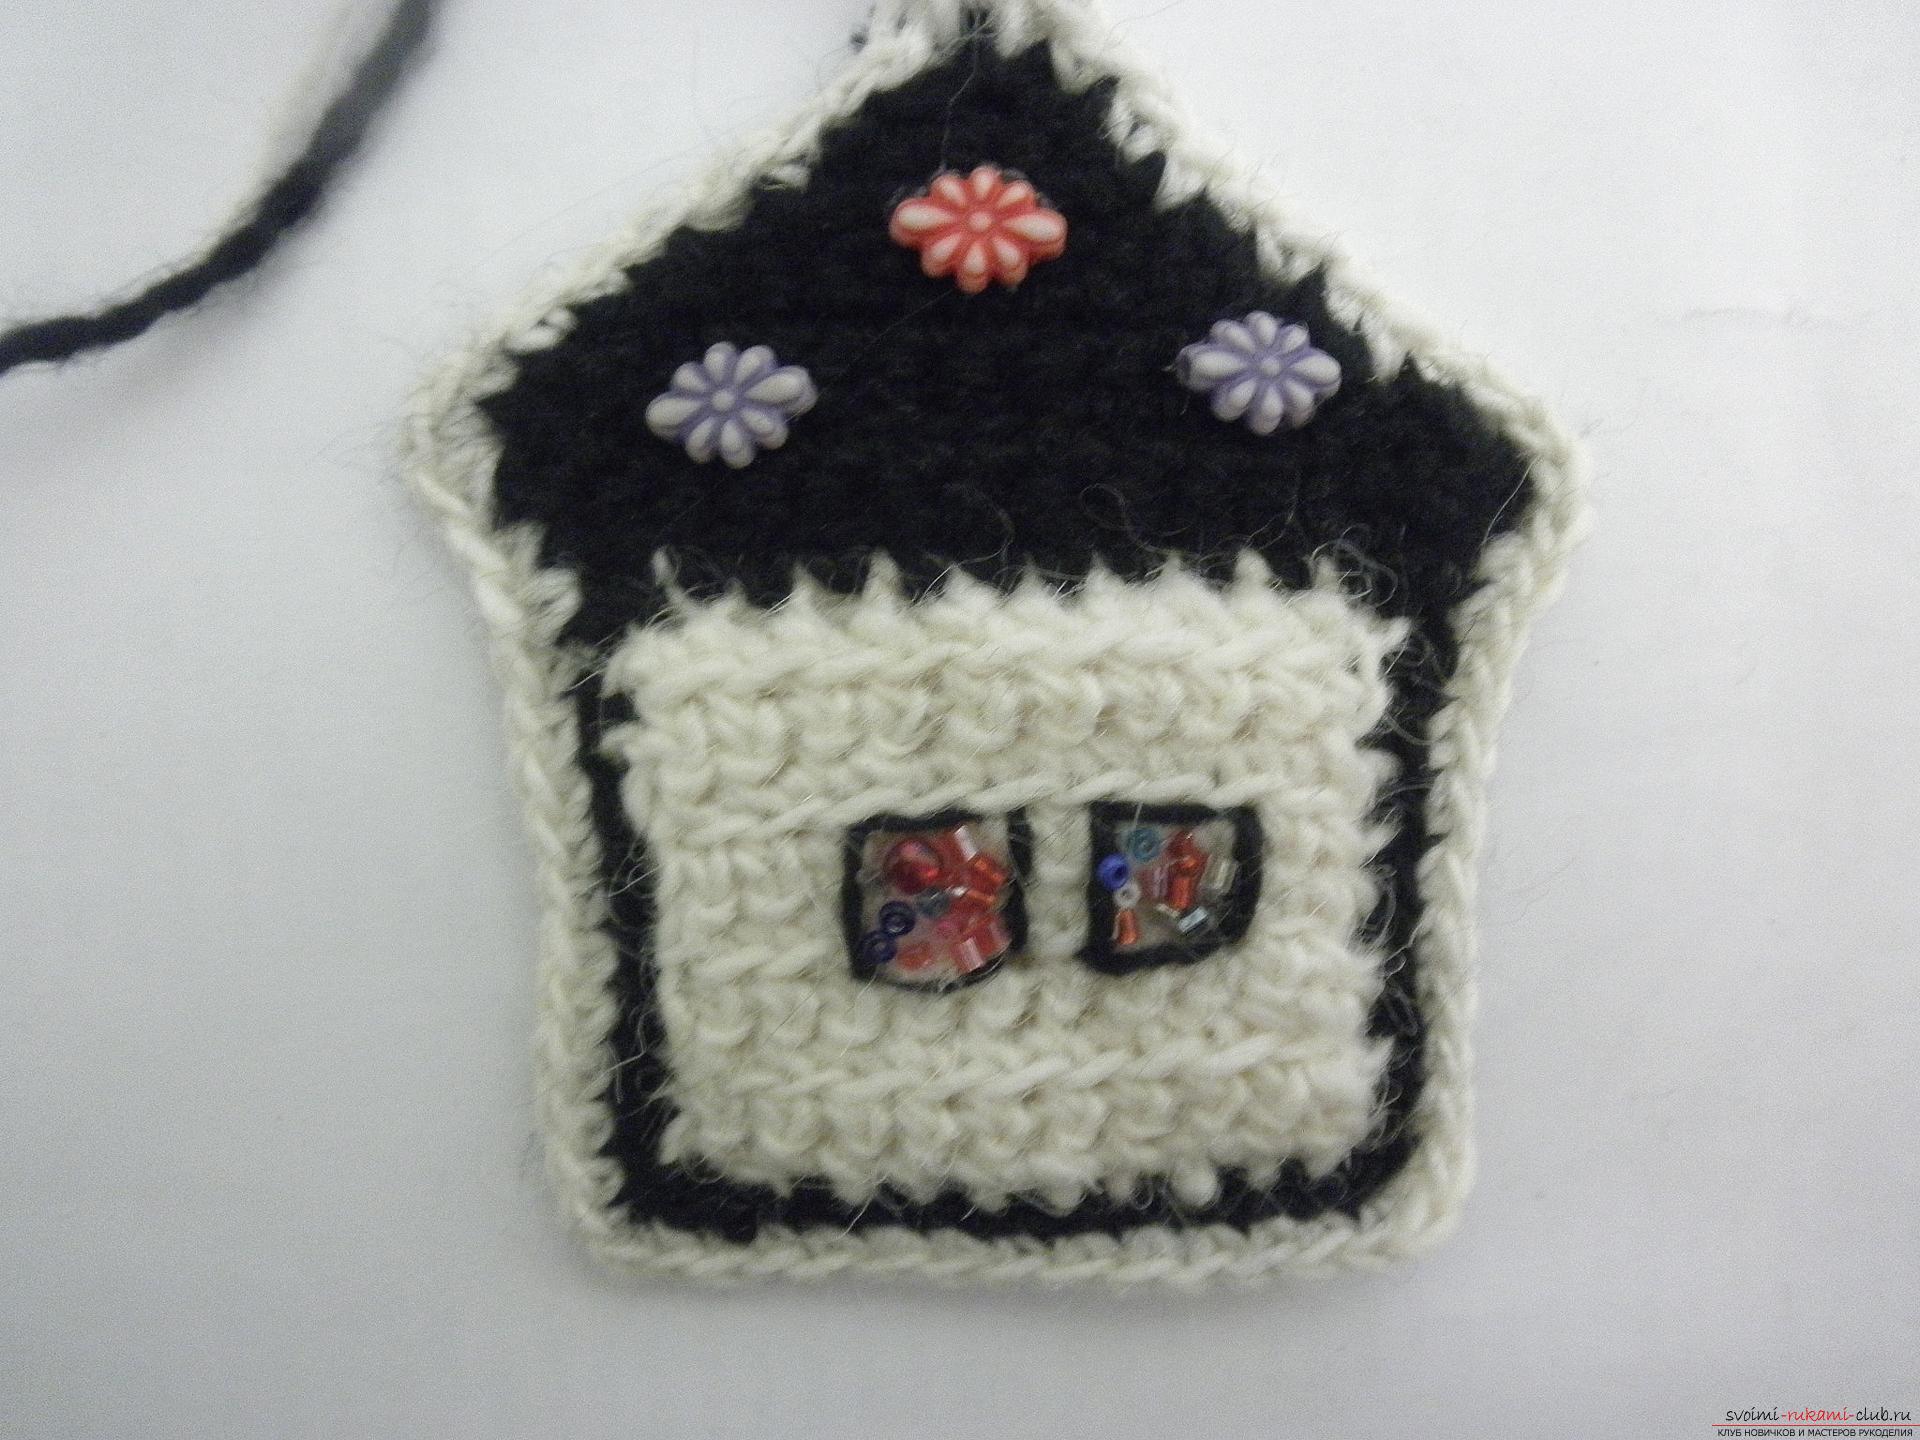
 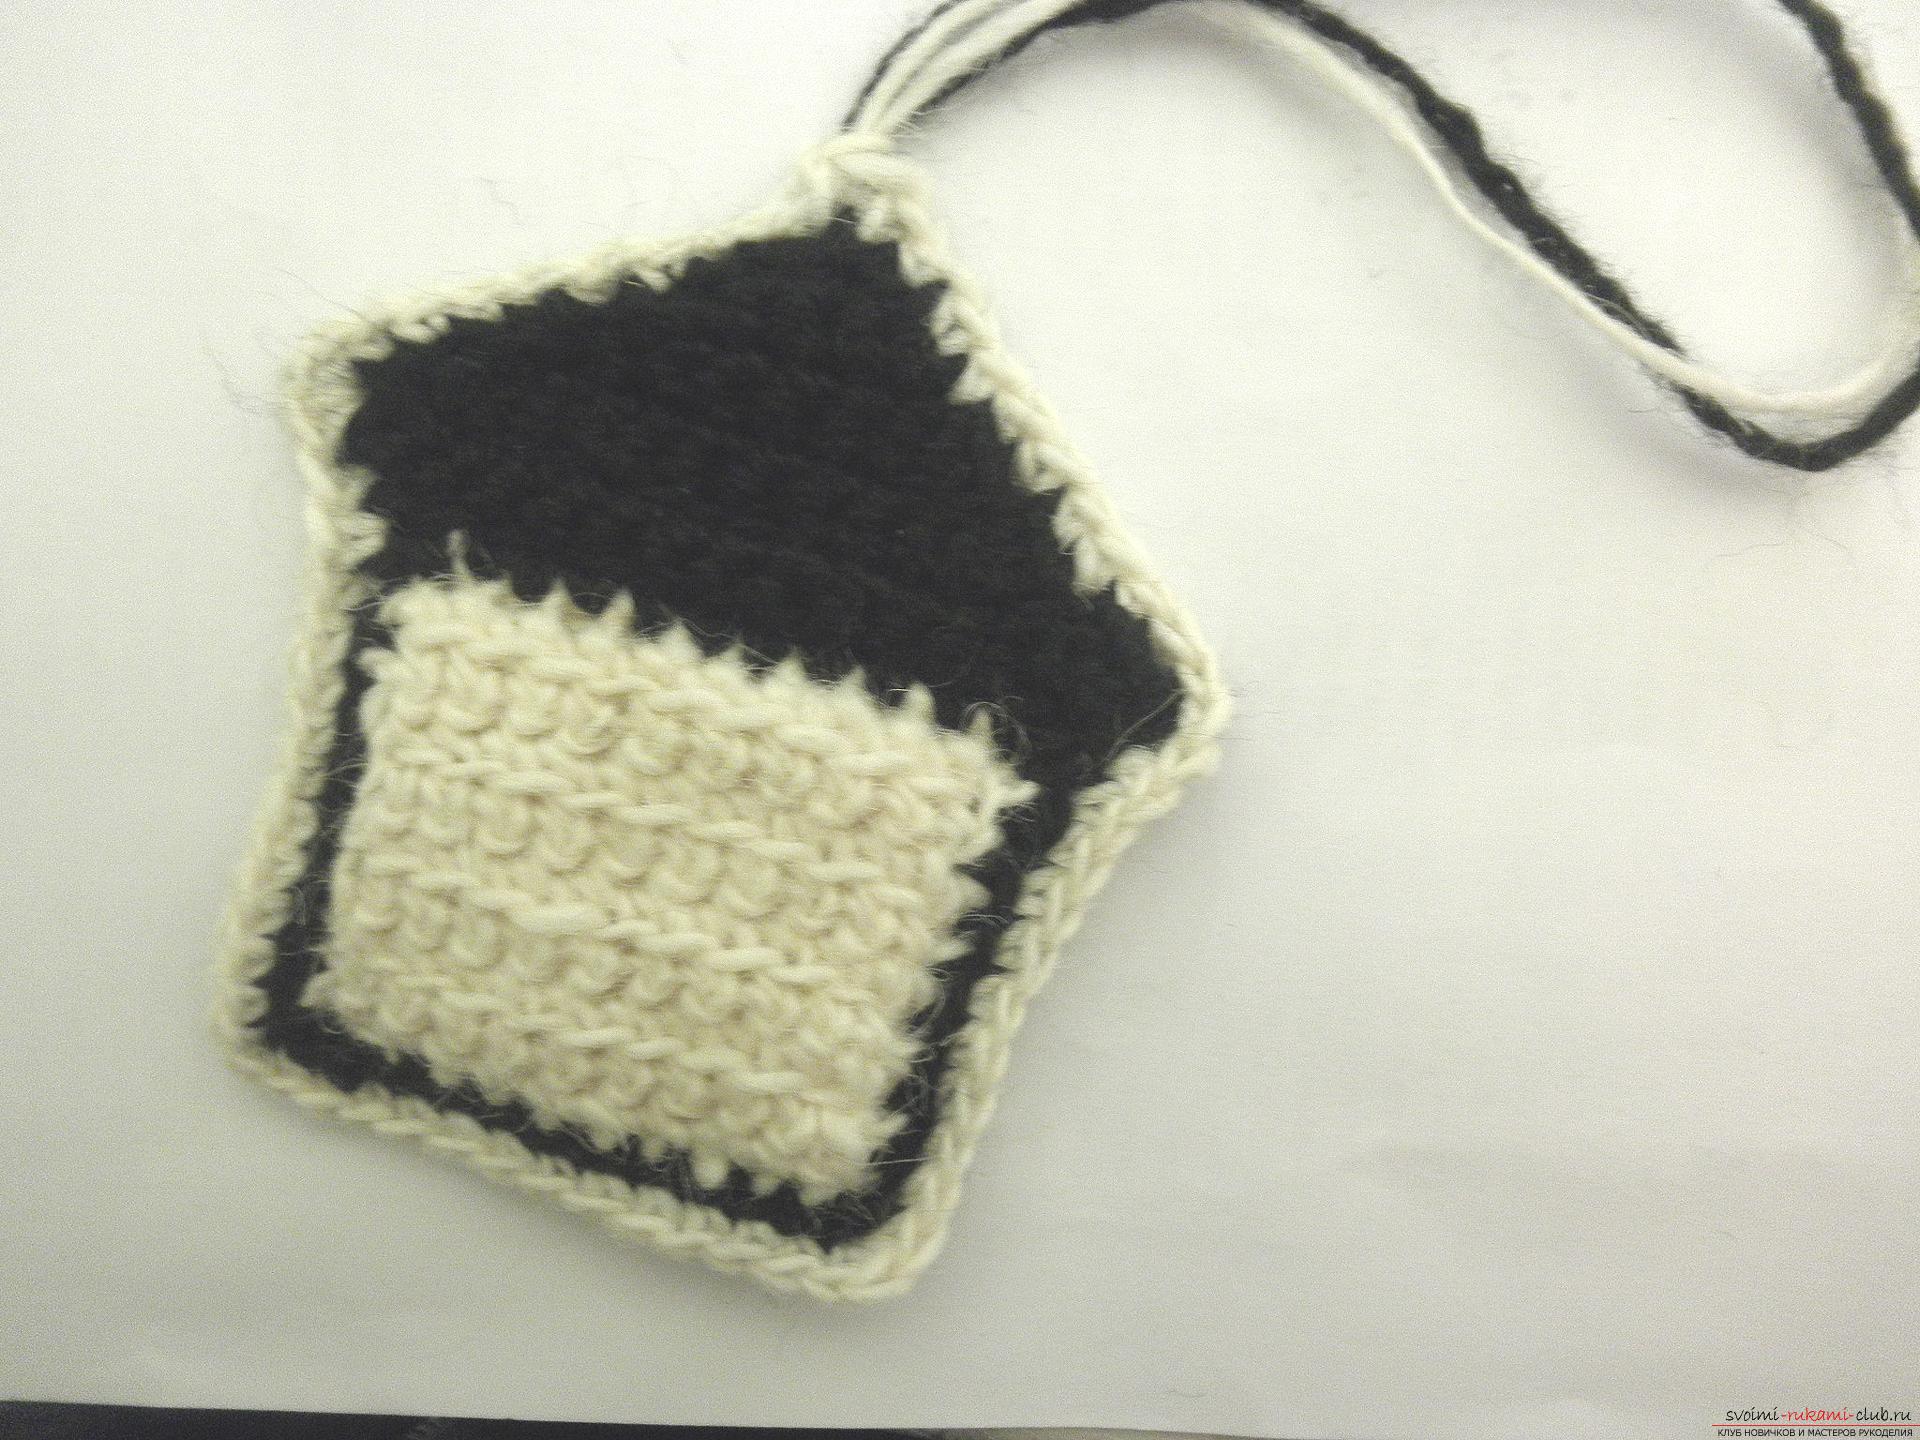 Our windows.
  We decorate the house with embroidery or beads, so that it becomes elegant. Beads can be simply glued using hot glue or a super glue.
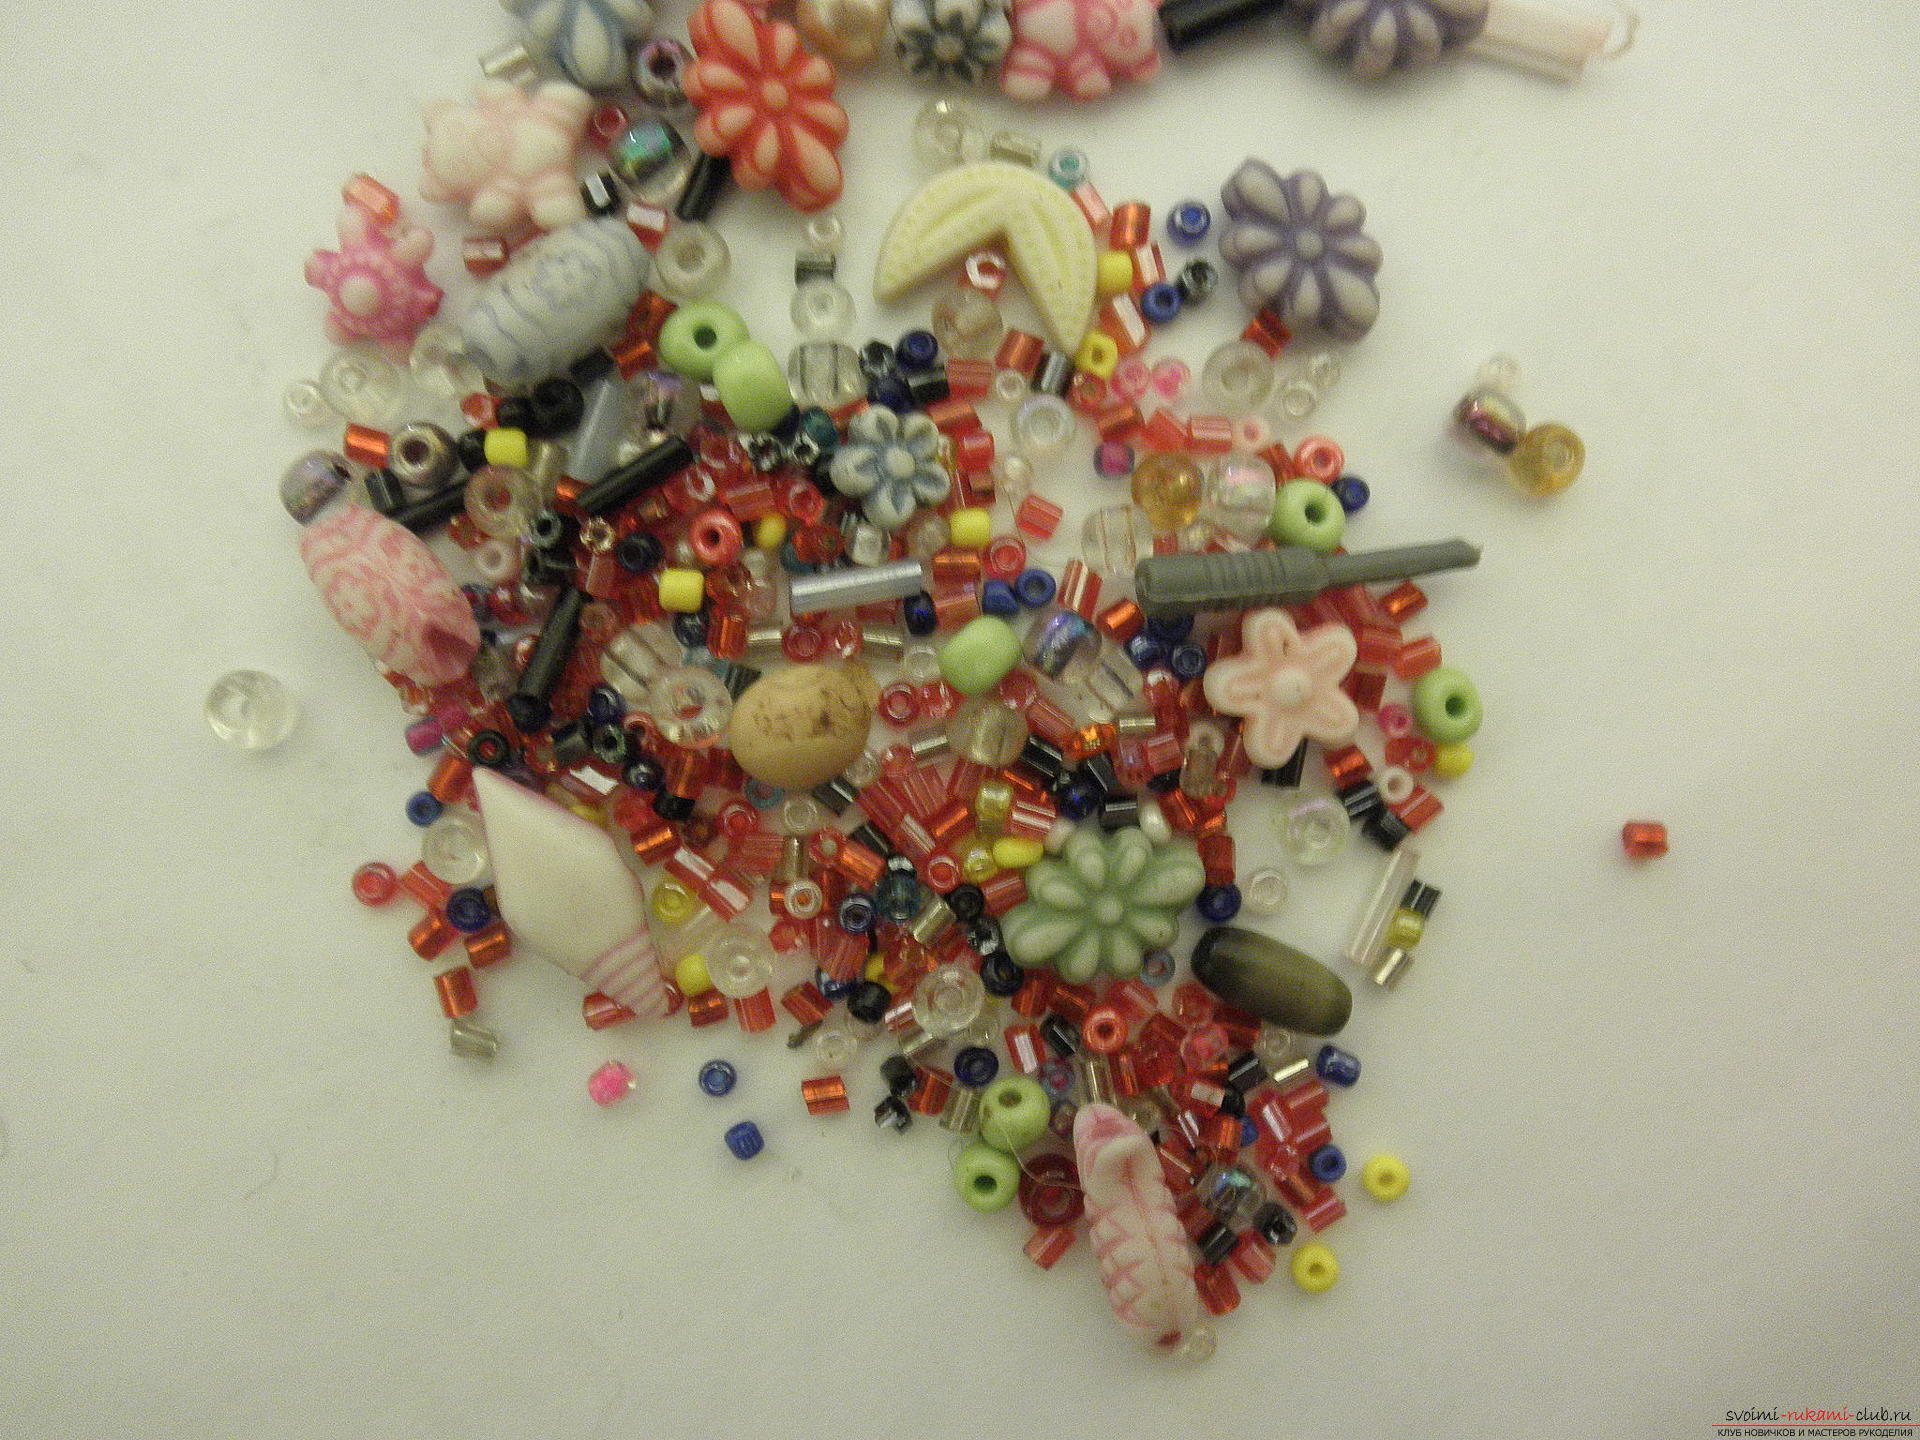
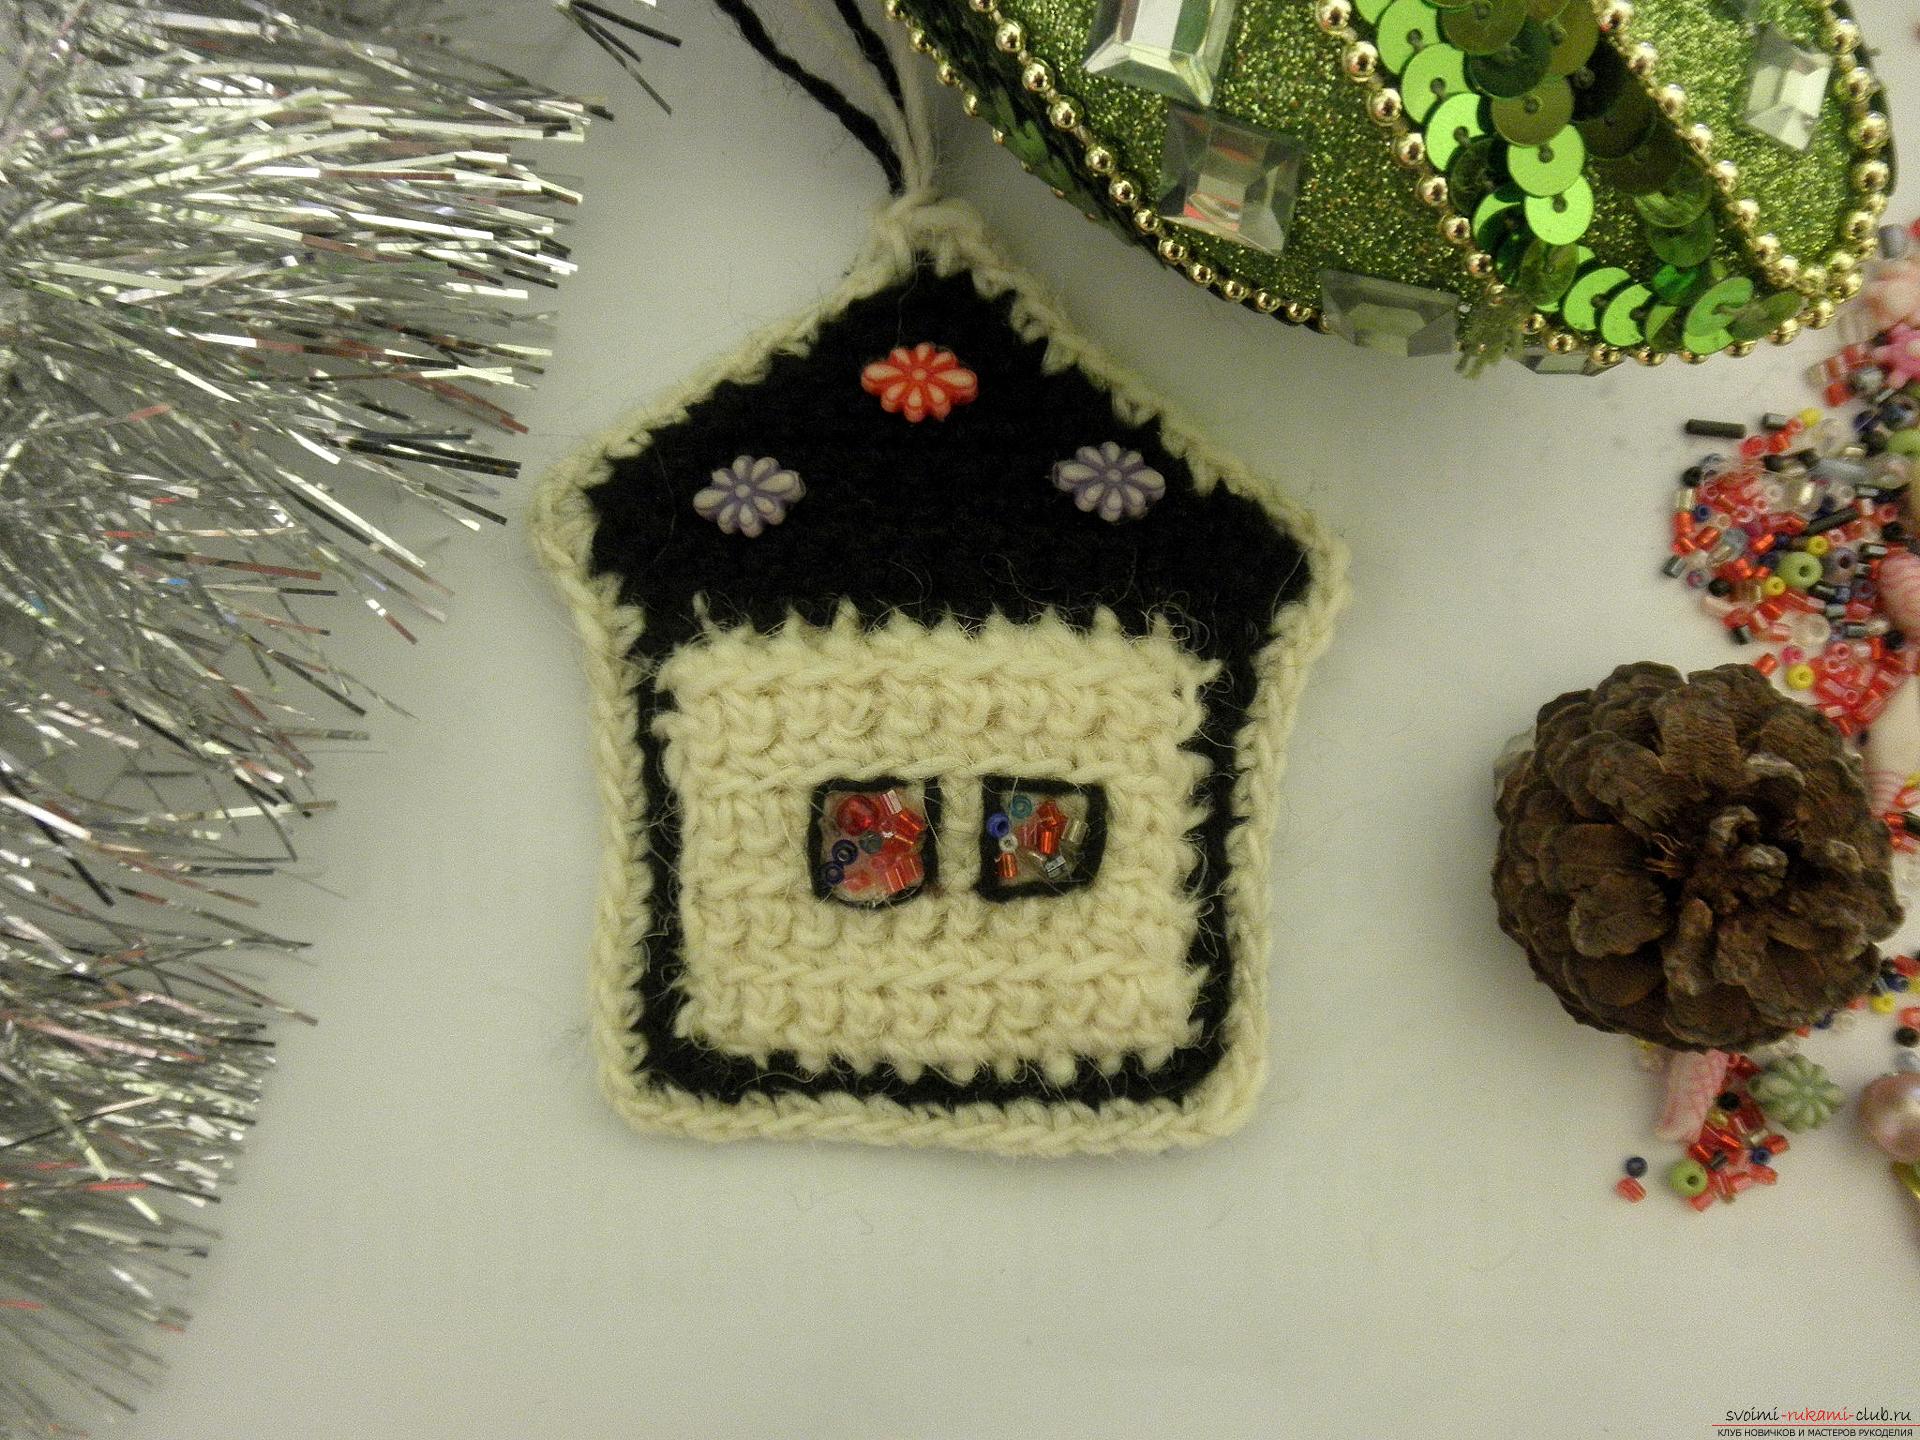
 That's all. Our toy is ready and can be sent to herringbone.
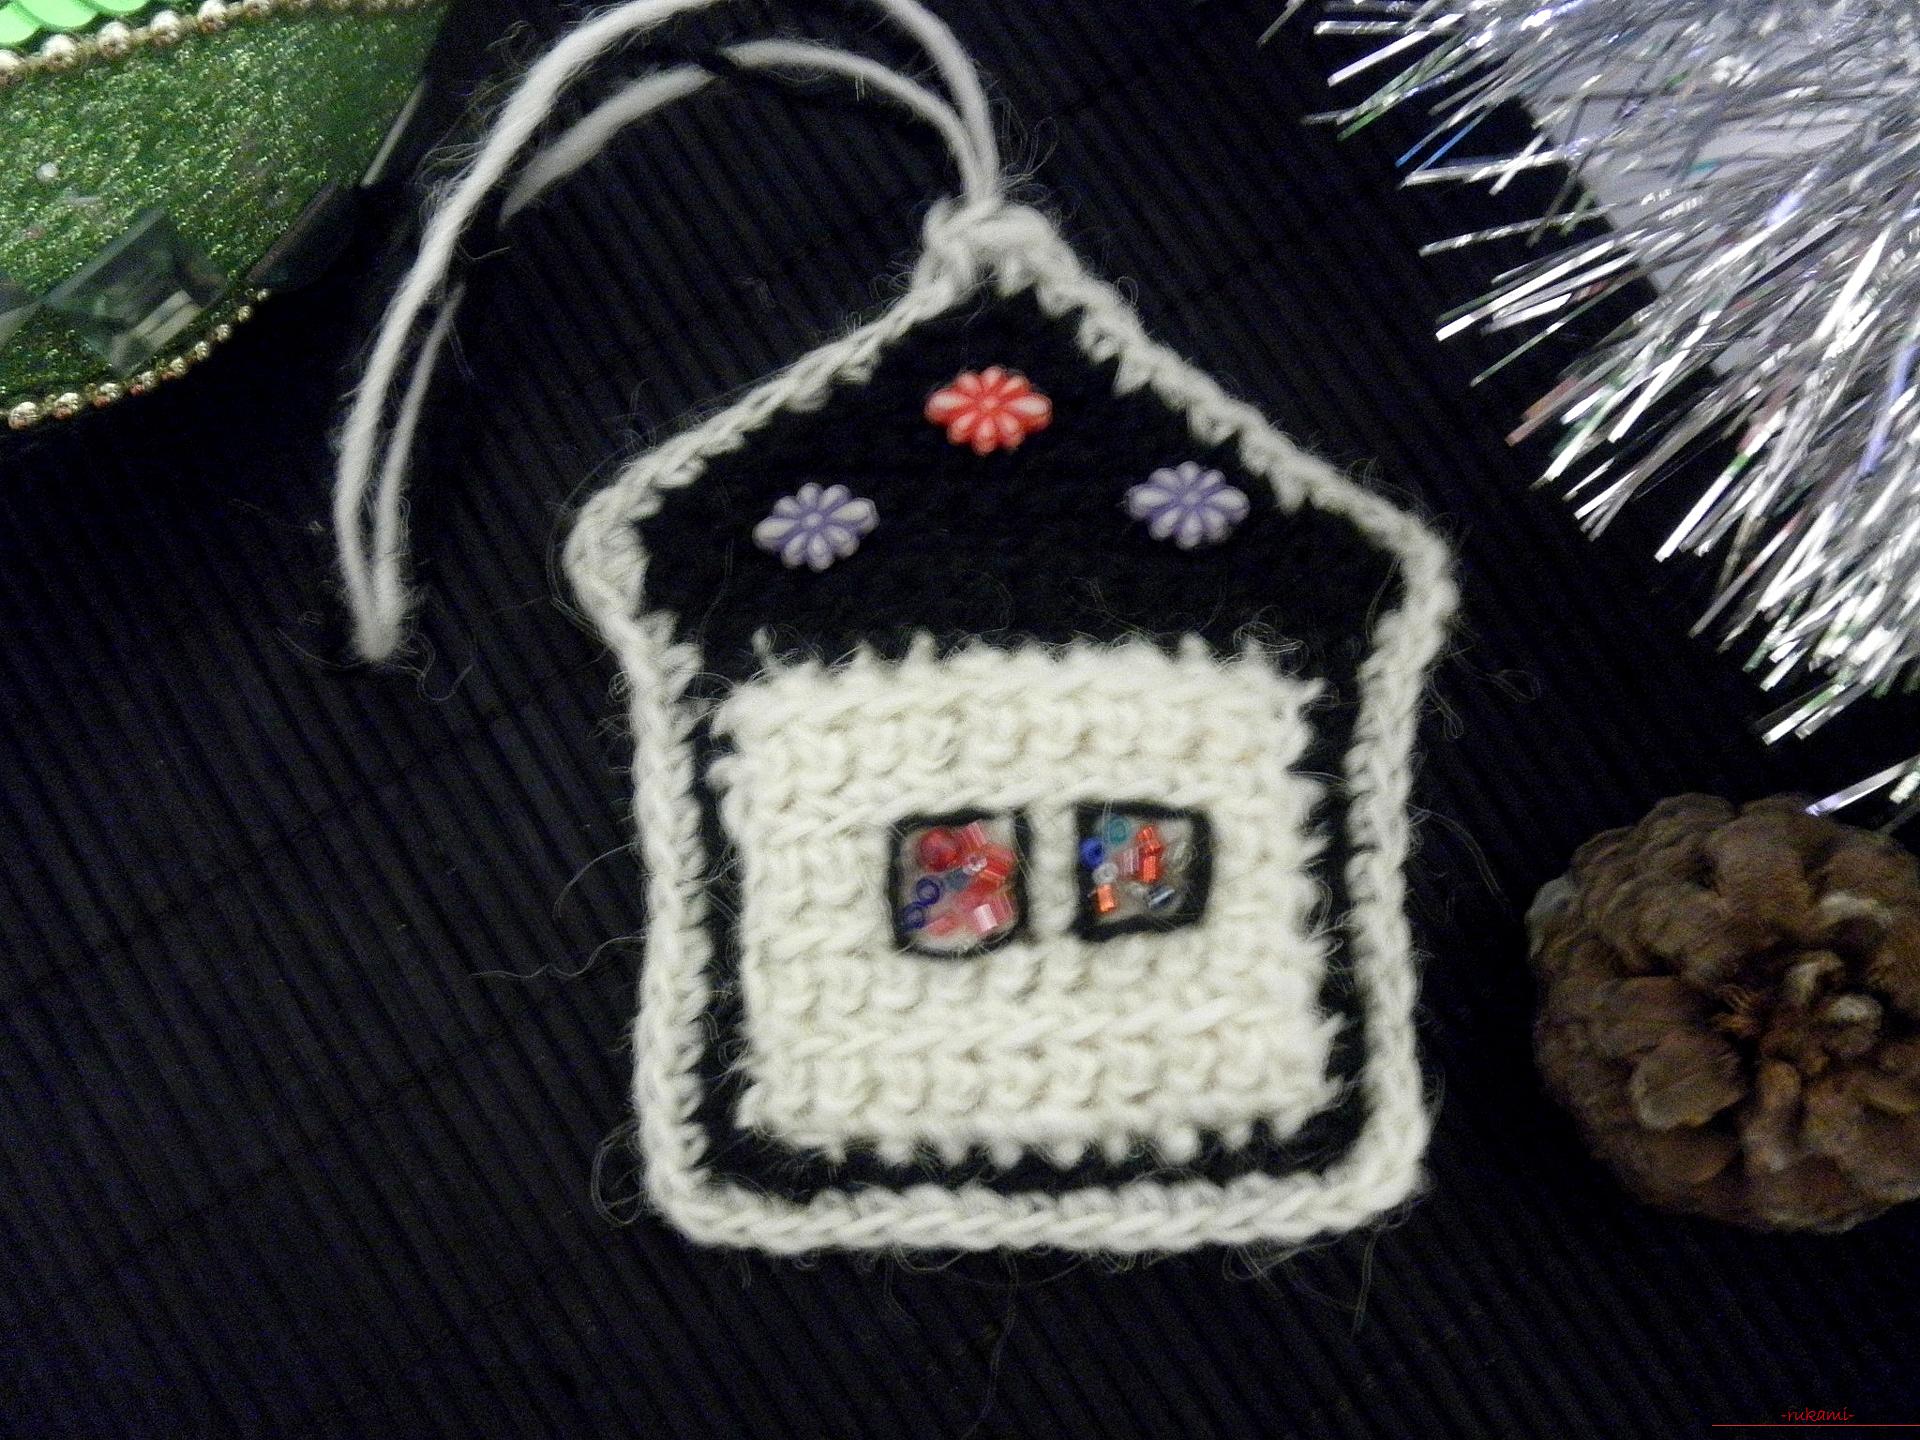
Comments
Related posts:
 This master class New Year crafts with their own hands with a photo and description will teach how to tie a Christmas tree crochet
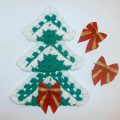 How to tie a Christmas tree crochet? Crochet crochet lesson with detailed instructions and photo
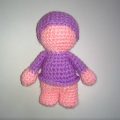 Master class with photo and step-by-step description will teach how to tie an amigurumi crochet toy
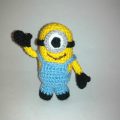 Master-class with detailed photos and step-by-step description will teach how to crochet a toy minion
 A master class with a detailed description and photo will show how to crochet a toy-symbol of the year - a monkey on a Christmas tree