
How to make a foil spider with your own hands: master class
 In the house where creative people live, alwaysa huge problem - throwing away something that might come in handy. For example, chocolate foil. So you do not need to throw it away, but what to do with it - you will now see in our master class. Today we offer do-it-yourself foil spider. On the eve of Halloween - this is a very timely hack. I made such spiders of foil from school as I can remember. And then she loved to leave them everywhere: in the supermarket, trolleybus, train, on the shelf in the library. I think children will like this craft.
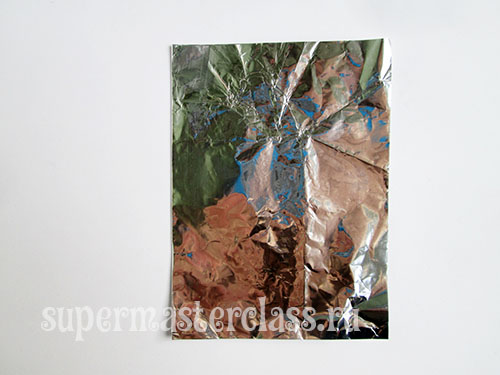
So, to make a foil spider, you will need:
rectangular sheet of foil - from chocolate or for baking; scissors - but you can do without them. 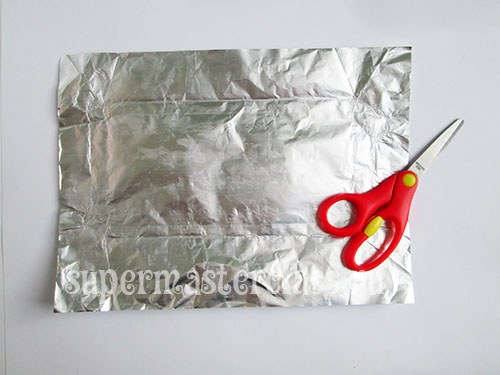
DIY Foil Spider: Job Description
If necessary - the entire sheet of foil beforework well with a fingertip to remove creases and folds and generally flatten it. Bend the sheet in half and place the fold down. All bends (this and subsequent) well ironed.  Bend the sheet again in half, combining the right and left side of the rectangle.
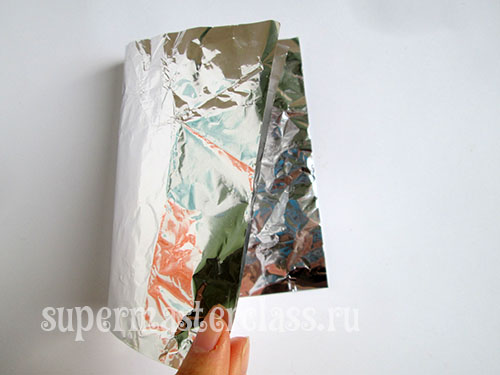
 Repeat the same action: bend the rectangle in half, combining the right and left sides.
  Fold the bottom of the resulting rectangle upwards - about a third of the height of the rectangle.
 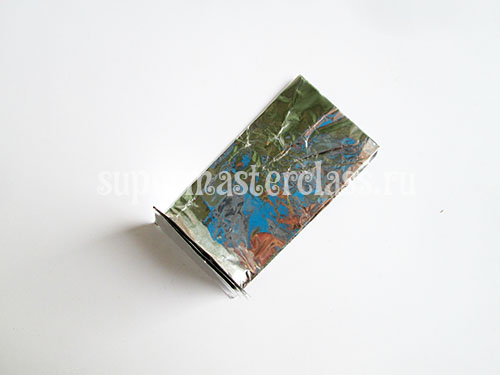 Fully deploy our workpiece.
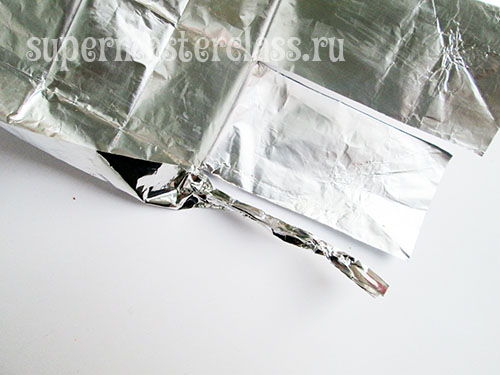
 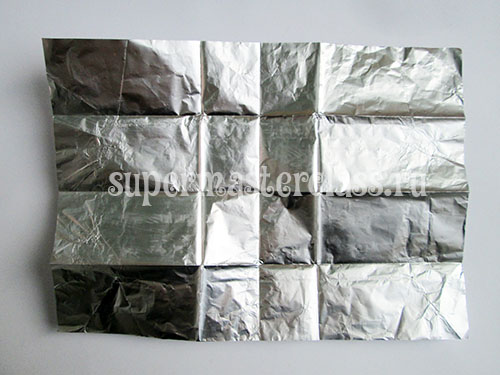 Cut with scissors on the folds to the last fold. In the photo, the cut lines are marked in red. If there are no scissors - it doesn’t matter, gently tear along the folds; foil easily and evenly torn.
 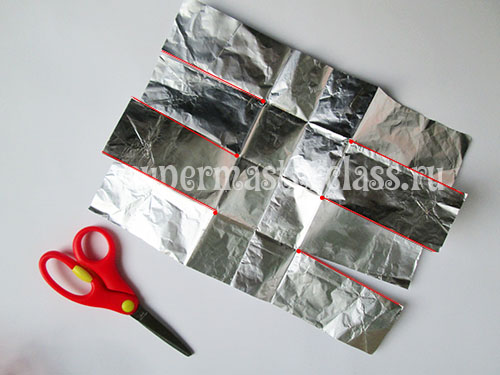 Begin to shape the legs of the foil spider. To make them, fold them in half and once again in half, lightly punching fingers. This is a rough job, and finally we will form the legs in the next stage.
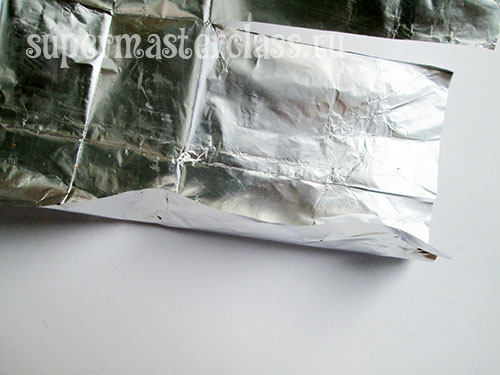
 Do the same thing from the other side.
 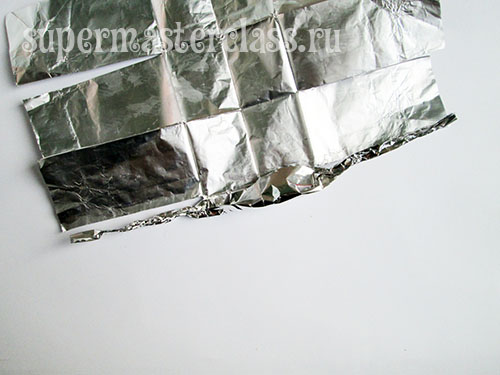 And for all the other legs.
 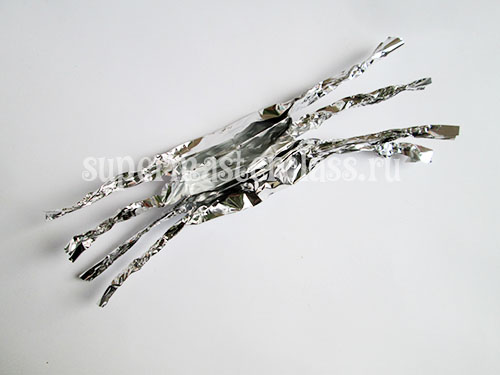 The main thing is that the legs do not come off the sheet,so we work carefully. Now it will be easy to complete the legs. If the foil is soft enough, simply roll each leg between two fingers, forming a thin tight harness. If the foil is hard, just crush it with your fingers until you get the same.
 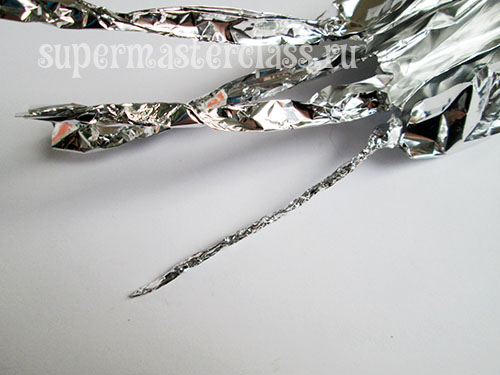 So we form all the legs.
  The bases of the legs on each side are compressed into a “bouquet”.
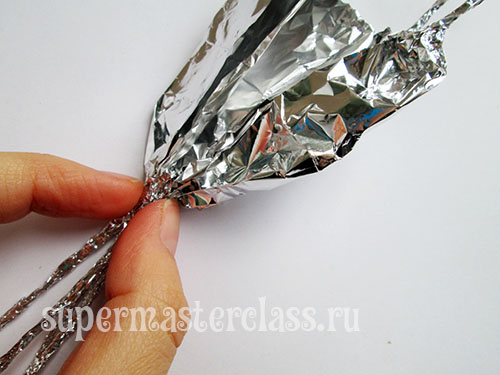
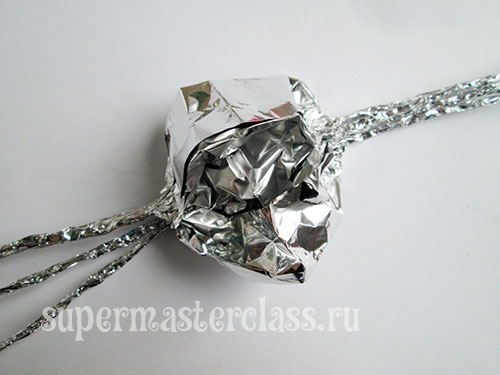 To make a body, we undertake these bases of paws from two parties and we reduce them to the center. Then we crush the body with our fingers, forming a ball.
 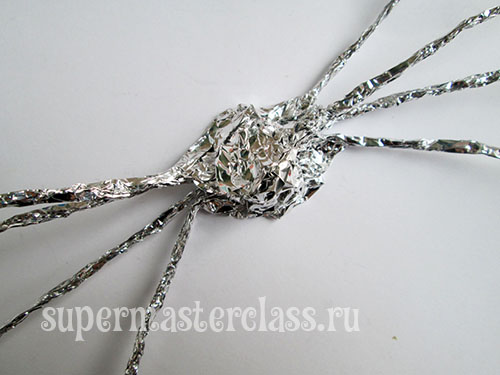 Now take each foot at the base and knead (the base, not the foot!) Into the ball.
  The blank for our spider foil is ready.
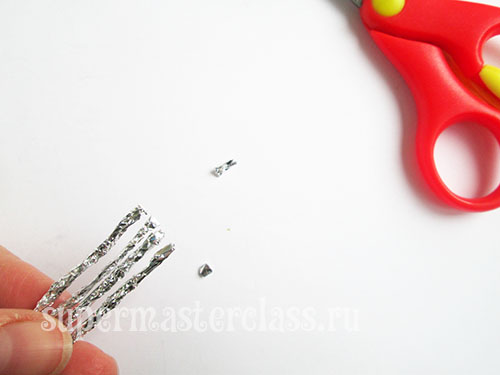
 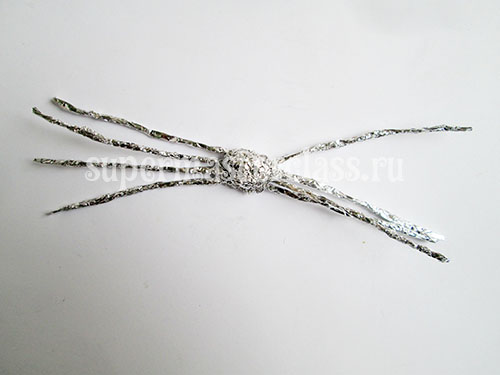 Theoretically, the feet should be of the same length. But since Foil is too plastic material, errors are possible. You can trim the length of the legs with scissors.
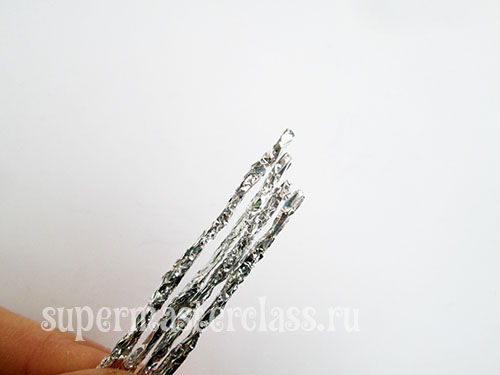
 It remains to bend the legs. I prefer to bend them not in half, and so that the upper part was shorter. Then the torso will not lie on the table, but will be raised.
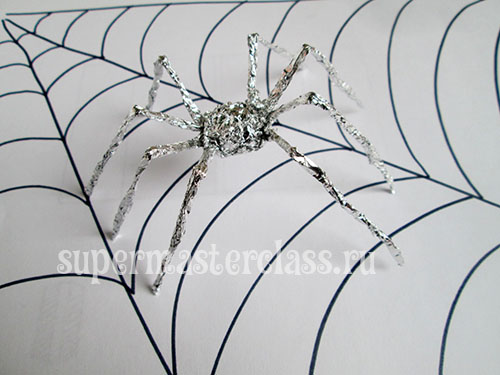
  Spider foil ready.
 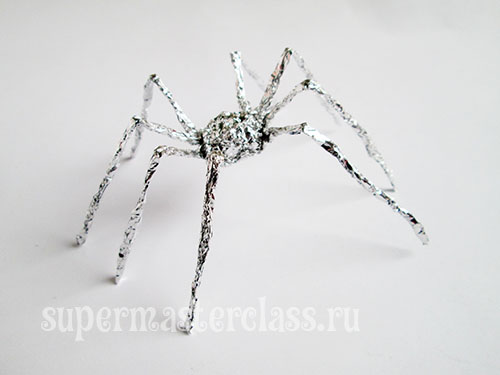 Let him walk on the web.
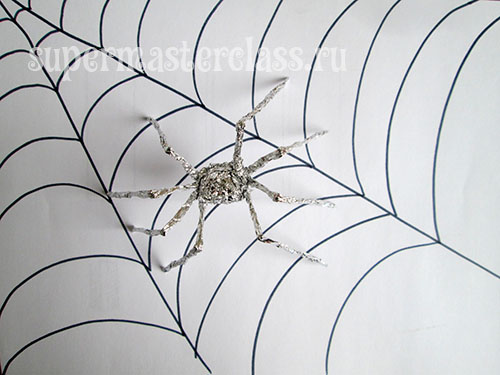
What to add and how to use
- such foil spiders look good on postcards, as an element for scrapbooking; they can decorate the box with a gift or halloween paraphernalia - from to the hat;
- You can burn a spider with a flame of a match - it will turn black and become surprisingly similar to the present (but if you take it in your hands after firing, it will get dirty);
- You can hang the spiders on thin threads or fishing line on the window - they will look very impressive;
- it’s good to make a picture with children: draw a spider web on a sheet of drawing paper, and glue or pin our silver spiders onto it.
Eva Casio specifically for the site Workshops on needlework Previous article: Next article:
Comments
Related posts:
 How to make a bead from a bead, a master class, a plait bracelet / Toys yourself, patterns, video, MK
 This master class will teach you how to make a hare from your toe with your own hands.
 Step-by-step master class will teach you how to make a herringbone of salty dough with your own hands
 This master class with the description will teach you how to make your own heart-postcard.
 New Year's toys from a foil by own hands: ideas of a candle and snowflakes - a master class