
How to make a gift on the day of the teacher with their own hands: a photo and a master class
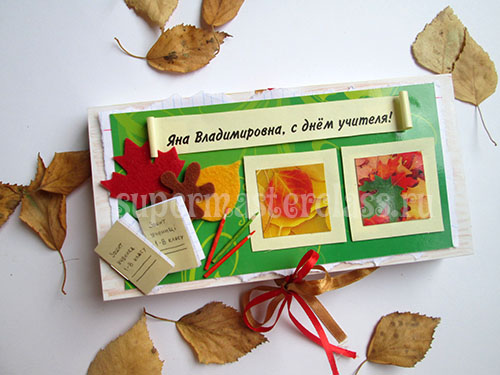 What a gift with your own hands can be made on the dayteachers? Parents decided to donate money: first class, the preferences of our best teacher in the world are not completely clear, so let her please herself. But, of course, it will not be money in an envelope or in a purchased postcard. Banknotes we put in made with tea bags and congratulations on the back. In our master class we will describe in detail and show how to make the same birthday gift for a teacher, starting from a template and ending with decorative elements.
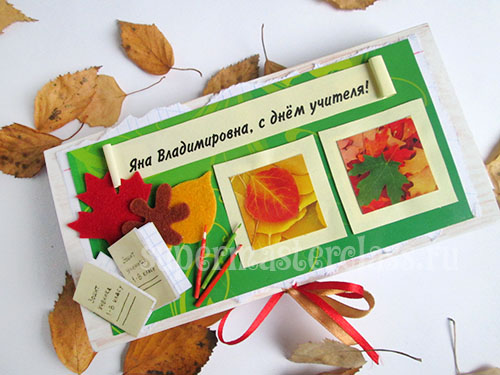
To make a birthday gift for a teacher, as in our photo, you will need:
2 sheets of white A4 paper; sheet of colored cardboardin yellow-green or any autumn colors; 2 pieces of satin ribbon of different colors and can be of different widths (I have a ribbon of 1 cm and 0.5 cm of brown and red colors, respectively) for ties; leaflet double-sided paper for origami autumn color (I have light yellow); sheet from notebook to cage to create notebooks; double sheet from notebook to oblique for registration of the inside of the box and congratulations; felt-tip pens of any autumn colors; wooden toothpicks; brown color pencil; scissors; stationery knife; cutting mat; stapler with staples; glue stick; PVA glue; Super glue.
An original gift for the day of the teacher with his own hands: a master class
Our master class in creating a gift to the teacherwill consist of several parts. In the first, we will look at how to make a base-box, in which the chocolate and tea bags will then be placed. For many, this is the only important part in the article, as craftswomen prefer to decorate chocolate maker at their discretion. And someone, on the contrary, will be interested in how to create a miniature box decor: colored pencils and notebooks. How to make a gift for the day of the teacher with your own hands: the basis of the box Let's take a white sheet of A4 cardboard and see if the chocolate bought for the teacher will fit into it. If the long part of the chocolate does not exceed the narrow part of the cardboard - everything will turn out. If not, you will have to make the basis of a box of two sheets of cardboard. Here is the template.  We make markup according to this template: a - narrow part of the chocolate plus (if possible) 0.5-1 cm for free accommodation (in our case - 10 cm); b - the height of the chocolate bar (we have - 9 mm); c - the width of the pocket (how many leaves will remain). We make marks like this: a - 2 x b - a - b - c. Those. we put off the narrow part of the chocolate bar, double the height of the chocolate bar, again the narrow part of the chocolate bar, the height of the chocolate bar plus the remaining part of the cardboard goes to the pocket for the chocolate bar. We outline the bends using knitting needles or a toothpick under the ruler.
 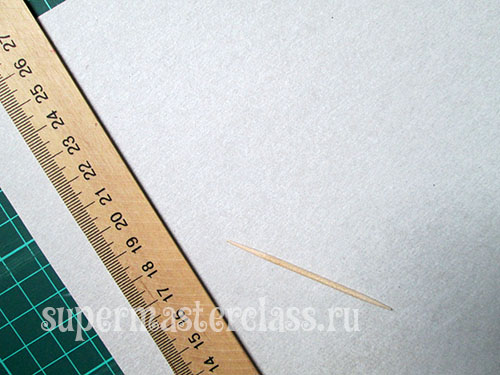 Bend. It turned out like this:
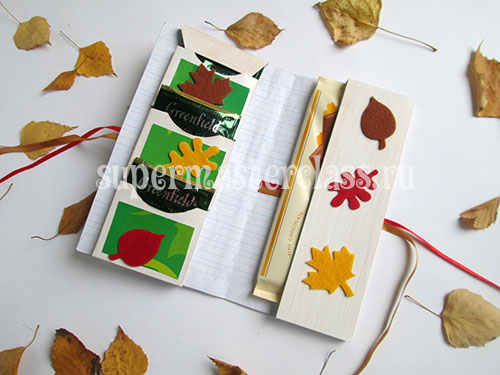
  This will be the basis of our box. A gift to the teacher on the day of the teacher with their own hands: interior decoration and filling of the box. The inside of the white cardboard we had an ugly gray-brown color, we glue it. To do this, you can use a tetrad sheet, squared or oblique. For first-graders, a skew ruler is, of course, more relevant. It is important to close with a tetrad sheet the part that goes under the tea, and the part under the chocolate. The wrong side of the pocket will not be visible, you do not need to glue it.
  I advise you to glue the sheet first, and then cutin size chocolate. It is better to glue with glue-pencil, at the same time use such a trick: spread glue on the part of the cardboard that goes under the tea; glue a sheet from a notebook to this place. Then mark the fold under the ruler with a needle or a toothpick, glue the next part, etc. Then the sheet will lie neatly, without folds, creases.
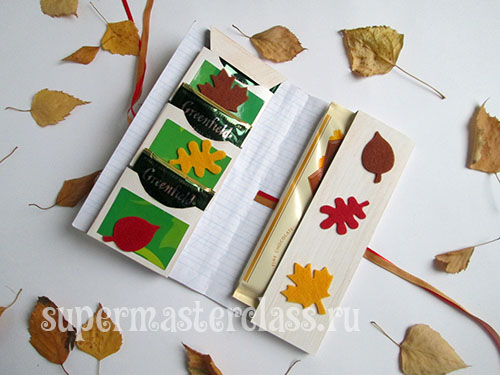
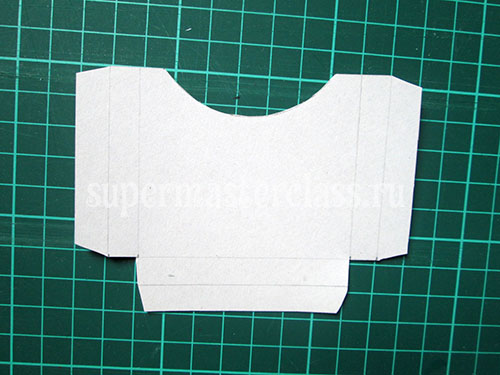
  Making pockets for tea. We measure the bag itself - it must freely enter the narrow part into the pocket. Those. if the bag width is 6 cm, then the width of the pocket will be 6.5-7 cm. In height - it should not be high, otherwise the tea will be inconvenient to fold (as it happened in my case). But plus the high pockets that they are more convenient to decorate. So, if the height of a chocolate girl is 20 cm, let the height of each pocket not exceed 4-5 cm. Look at this pocket template.
 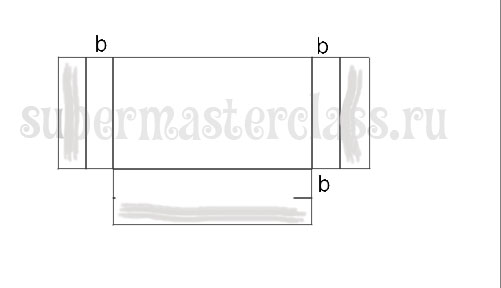 Gray marked parts that the pocket will beglued to the body chocolate. We cut out three such pockets. Optionally - in the center you can make a rounded neckline. For this, I used a cylindrical box with pencils.
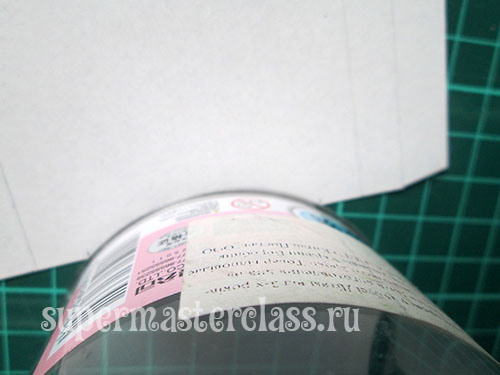
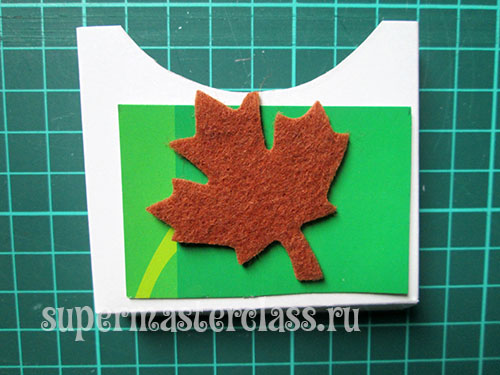
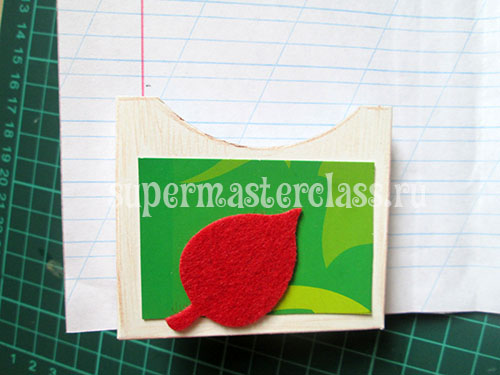
 Immediately, before gluing, the pockets need to be decorated. I each decorated a green rectangle and a felt leaf-shaped sticker.
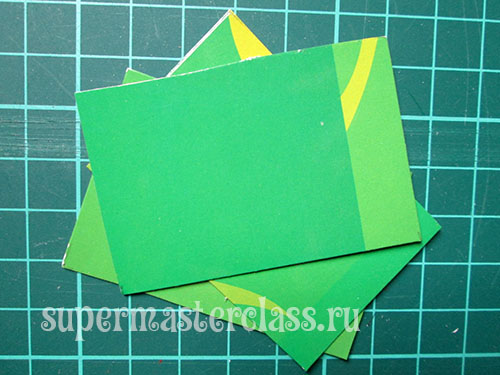
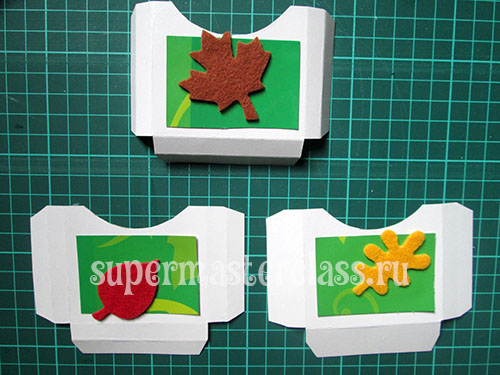 Immediately I decided to turn the white cardboard into a “tree” and painted it with a brown colored pencil.
 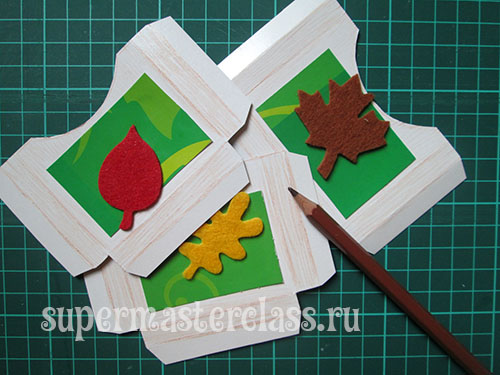 Similarly, I have shaded all externalsurface gift for the teacher. Attach pieces of double-sided tape to the parts that are intended for gluing. And then glue the pockets themselves to their allotted places.
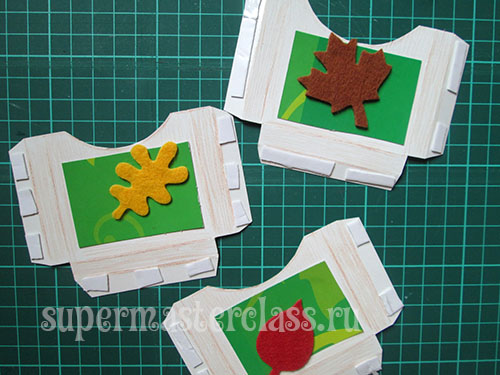
 I further cut out such a valve,which would not let the top bag of chocolate tea fall out. However, in the future I put 2 bags in each pocket, it turned out pretty tight, and they would not fall out anyway.
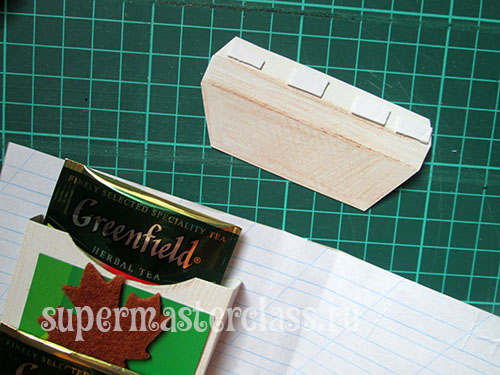
 Before sealing the chocolate pocket you need to doa tie I used 2 different color tapes. To do this, we add the width of both ribbons, my total width is 1.5 cm. From the height of the chocolate we subtract the total width of the ribbons and divide the resulting number by two. If we have a chocolate height - 20 cm, then (20-1,5): 2 = 9.25 cm. This means that from a point at a height of 9.25 cm we make a slot 1.5 cm down under the ruler using office knife on both sides of the substrate under the chocolate bar. We pass in her tape.
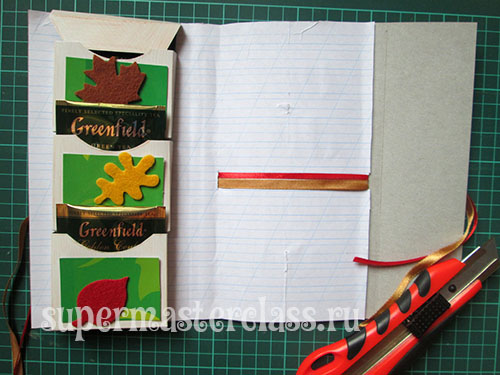
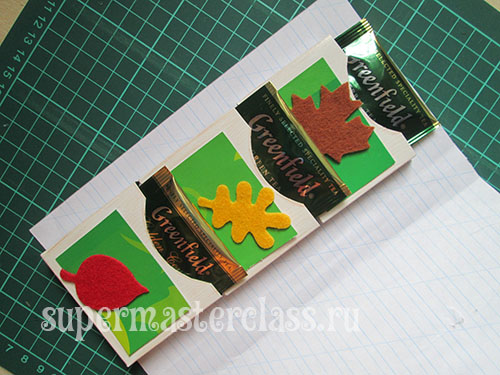
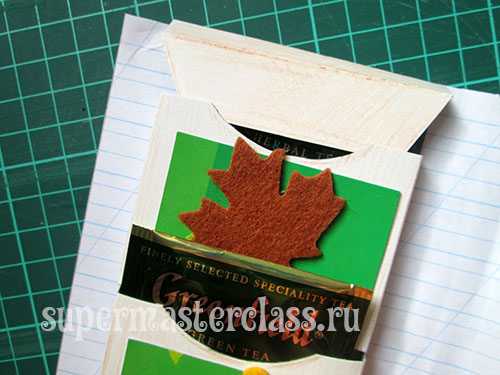
 We return to the pocket for chocolates. We paint it with a pencil "under the tree" and also decorate it with leaves of felt.
 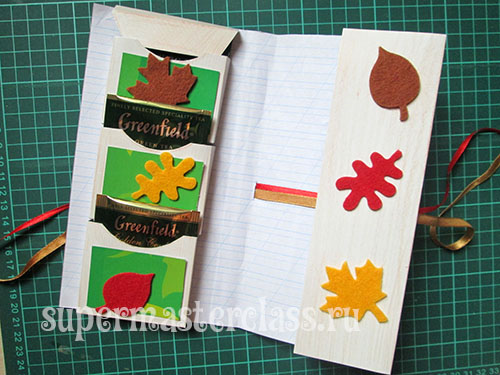 The ends of the pocket do this: draw a rectangle with a narrow part equal to the height of the chocolate bar (ie, b), and wide - equal to the remaining length of the valve (ie, c). We attach wings for gluing to the rectangle, and we will need 2 of these ends.
 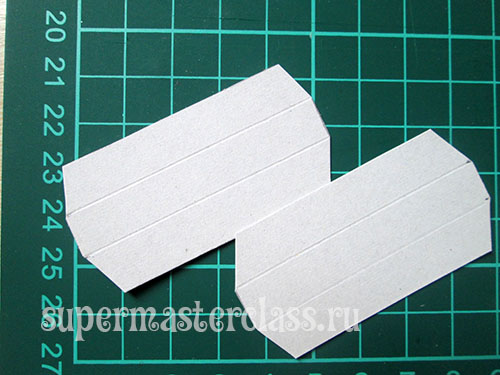 Paint them with a pencil before gluing.
  The most convenient way to stick them on double-sided tape.
 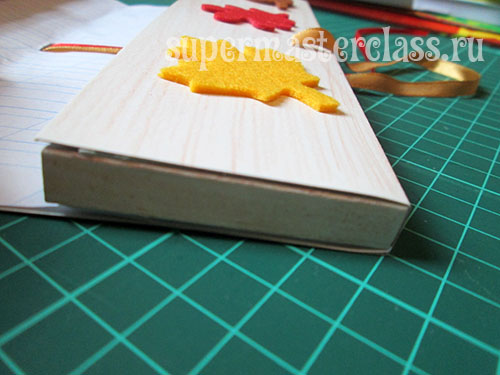 The interior of the do-it-yourself gift for the teacher is ready. We make out beautifully: a birthday present for the teacher with his own hands (the outer part of the box) We paint the entire surface with a pencil.
 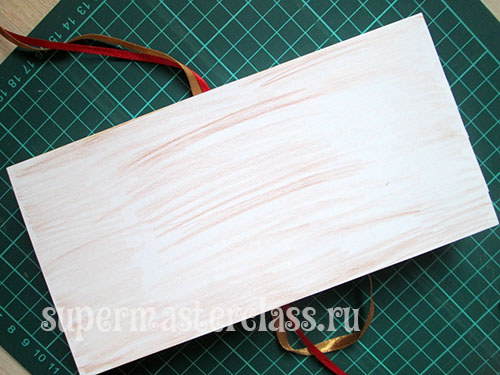 Tetrad sheet in a slanting line cut to sizechocolates, and then gently tear off the edges with your hands - the edge should be torn. Another option (unfortunately, it was too late to guess, it was impossible to redo it) is to carefully scorch the edge of the paper. Glue it on the front of the glue stick.
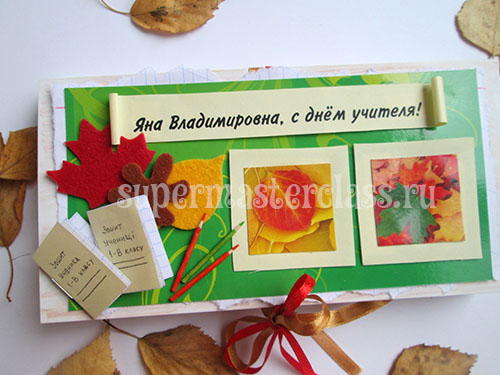
 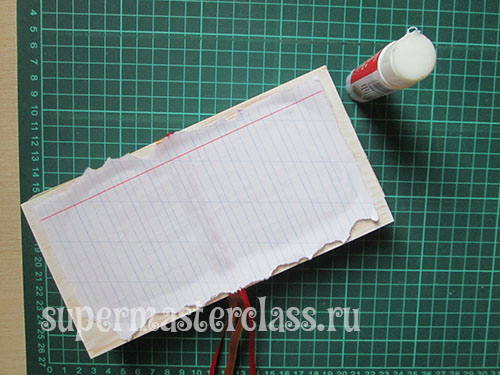 You can also cut the sheet into a slant and write onwishes him a teacher, and the sheet itself glued to the back of the gift box. The format is smaller than a tattered notebook sheet, we cut a rectangle out of motley yellow-green cardboard and glue it on top. Both PVA and double-sided tape will be suitable for this. We make “autumn pictures”: we glue square images (photos) of leaves onto light yellow squares of colored paper.
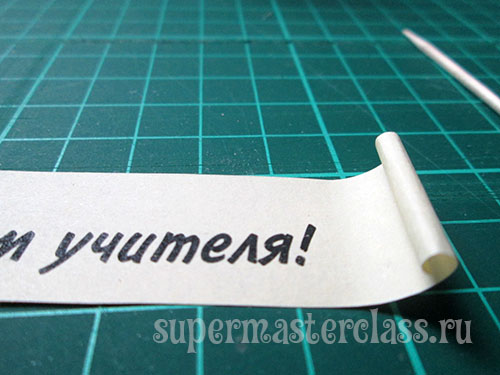
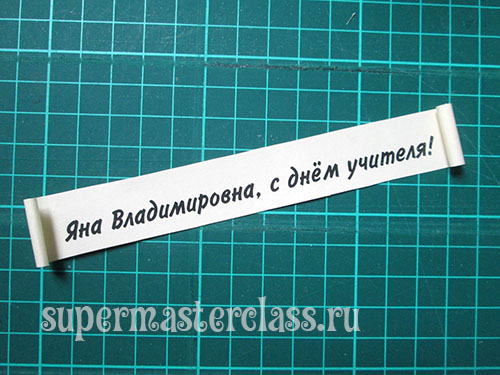
 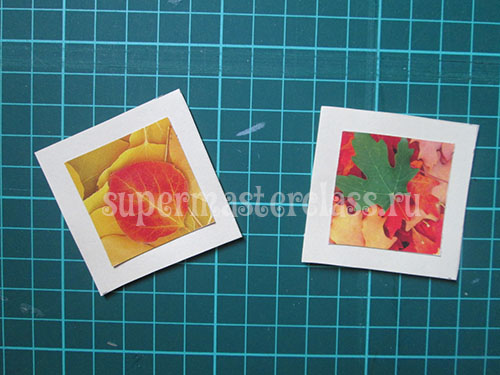 Making a “scroll. You can cut it immediately and write a greeting inscription by hand. We used the printer: the corners of a sheet of paper were glued to a glue stick to a sheet of office paper and in this form passed through the printer. Then the office paper was detached, and the inscription was cut out. The inscribed rectangle must be longer than the inscription itself. The free ends are twisted on a toothpick.
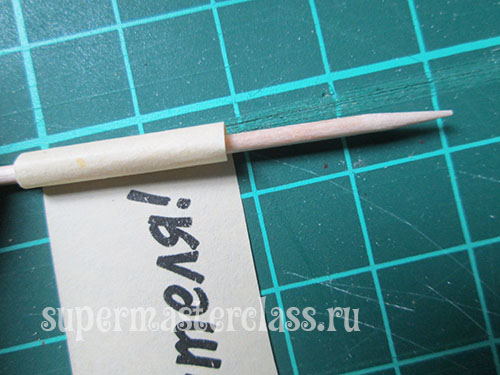
 We have on chocolate elements: inscription and "pictures". Glue them on the double sided tape.
 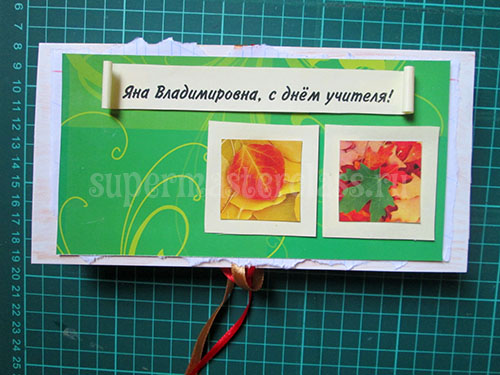 We still have an empty area, I want itmake the most saturated. To do this, we make pencils and notebooks. Pencils will need toothpicks. Cut them with a stationery knife on the carpet to cut to the desired length.
 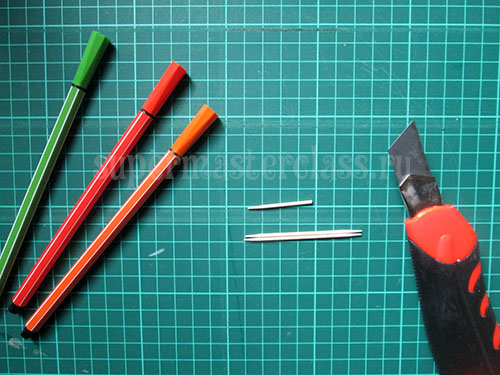 Felt-tip pen paint blanks under the "pencils".
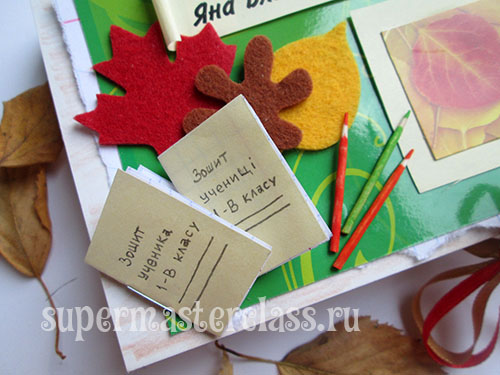
 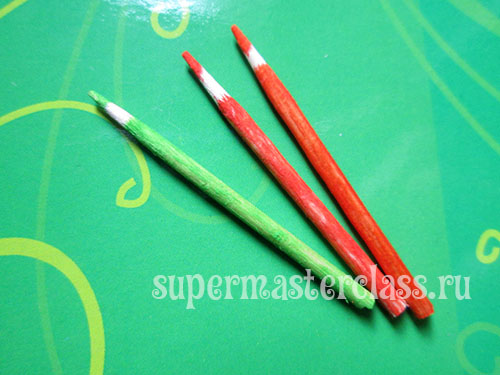 Now notebooks. Miniature - like a notebook for dolls. From light yellow double-sided paper for origami we cut out two rectangles of 3.5x5 cm.
 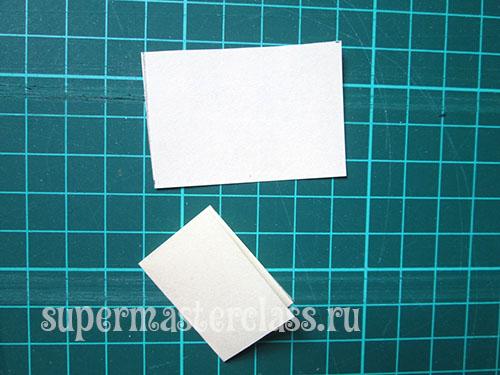 Both fold in half. We expand one of them back and apply to the checkered paper so as to leave one cell with the fields. Let the notebook be "real"! For each notebook, cut out two rectangles into a cell with a size of 3.5x5 cm.
  Assembly: on sheets in a cell (part with a field, let it be on the right), we impose "covers" and put a staple on the bend.
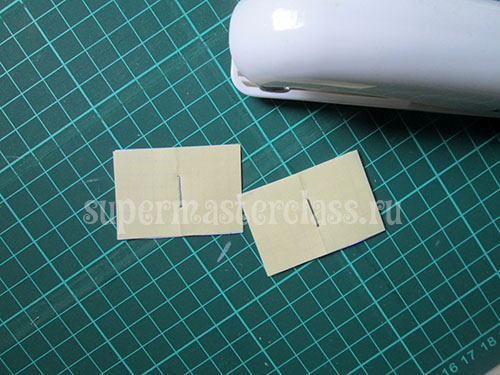
 Sign - a sharply sharpened simple pencil for this purpose went perfectly.
 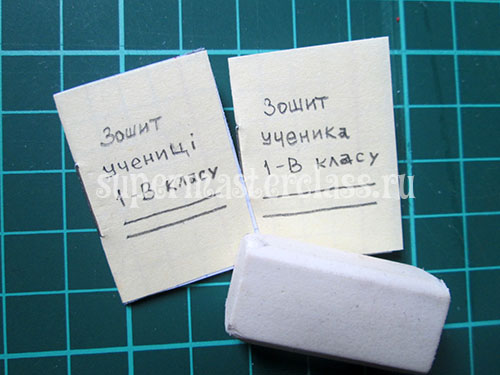 From the felt leaves collect composition.
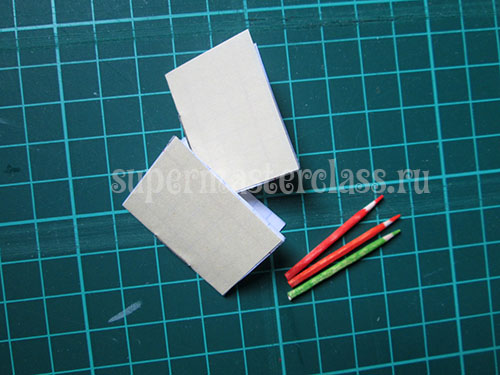
 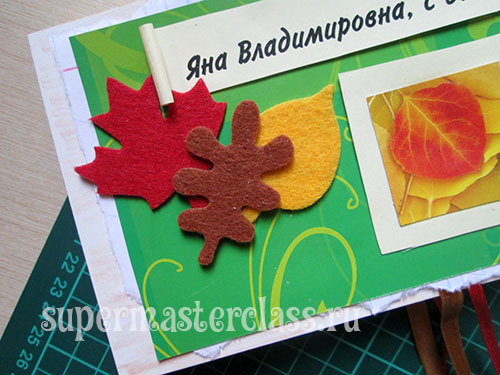 From above on the double-sided tape we glue notebooks and (on super-glue) - pencils.
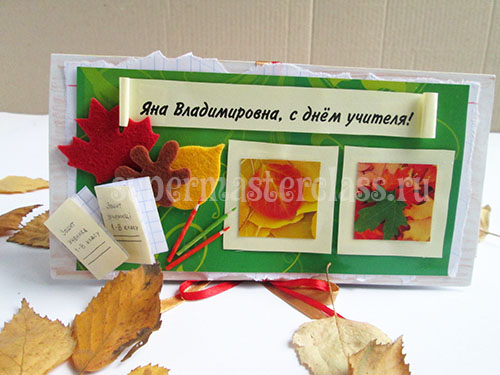
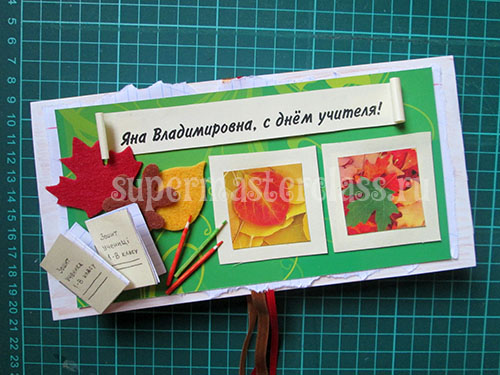 An original gift for the teacher's day, made with your own hands, is ready.
 See also the master class ““. Eva Casio specifically for the site Previous article: Next article:
Comments
Related posts:
 This detailed master class will teach you how to make your own calendar - a gift for Valentine's Day
 How to make a gift to mom with their own hands. Ideas for crafts for mother's day.
 How to make quilling and appliqué for teacher's day? quilling master class
 How to make an original gift with your own hands for a teacher on September 1.
 A hand-crafted gift for the teacher's day. Photos and tips for creating crafts.