How to make an origami star out of paper: scheme and master class
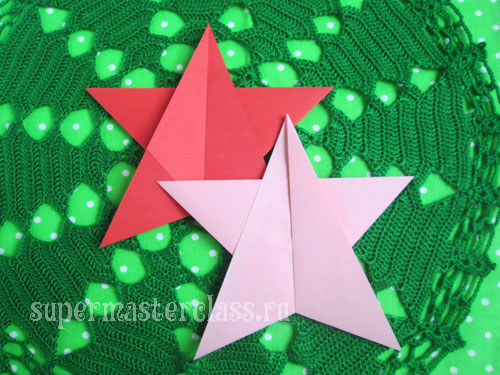 Simple origami asterisks - handicraft, whichcan be made together with children of younger or middle age. These stars are made very quickly, and if you make a lot of them, you can find a worthy use: make a garland or use as an element of homemade greeting cards, decorate the interior or even a Christmas tree. The size of the finished star is a little smaller than each square it is made of. Judge for yourself:
 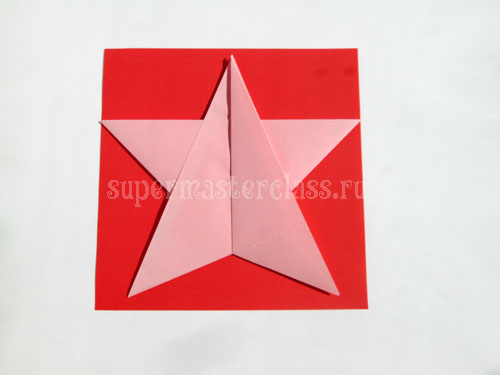 Therefore, to work take leaves of that size,what want to get ready asterisks. These may be special sheets for origami, and may be small square leaflets for notes. Imagine!
To make one origami star out of paper, you will need:
2 square sheets of paper; glue stick or any other glue for paper. 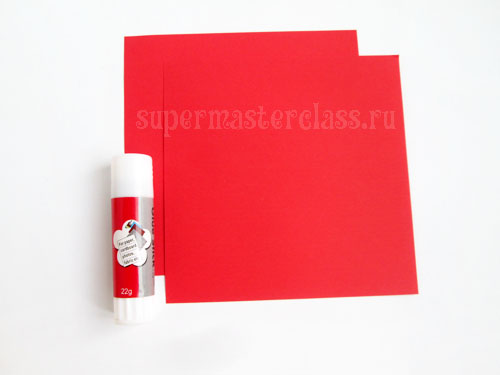
Origami asterisk: scheme
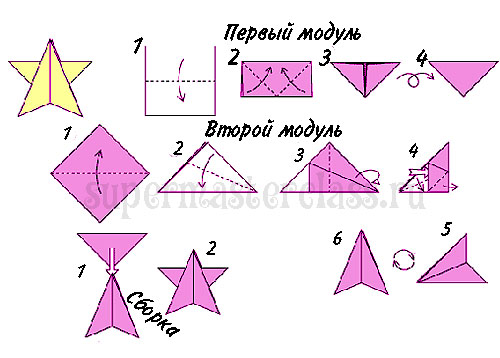
How to make an origami star: a step-by-step master class
Making the first module. Put a sheet of paper in front of us and fold it in half (the fold should be horizontal, at the top). 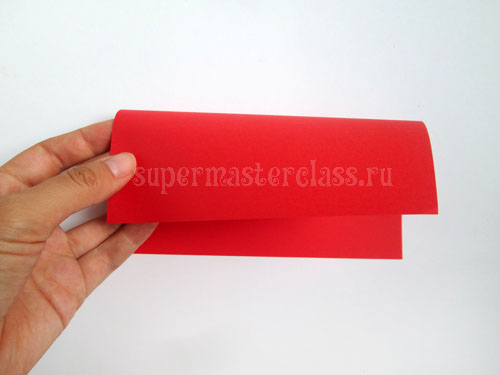
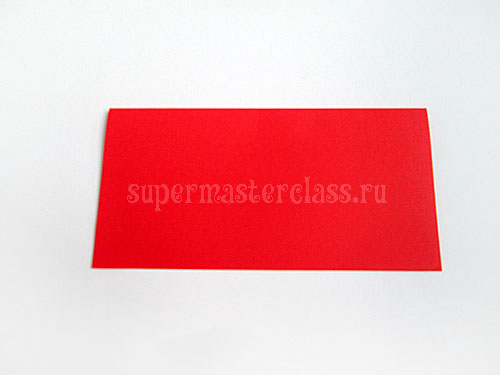 The right and left lower corners are brought to the center of the fold (see photo). Well iron the bends.
  We turn over our module and put it aside: it is ready.
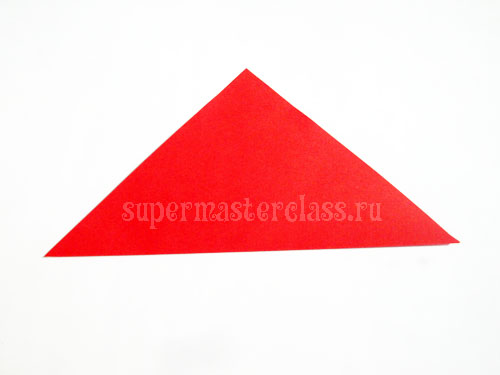
 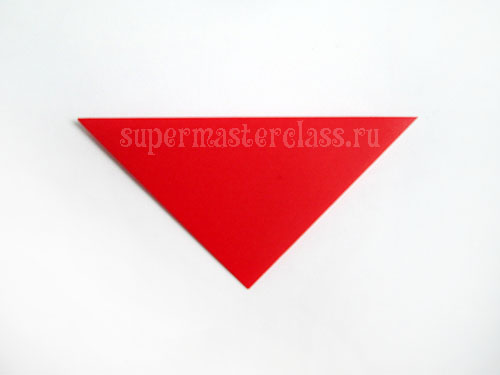 The second module. Take the next sheet of paper and put in front of you so that one of the corners is facing you. We fold the sheet in half diagonally, leading the lower corner to the upper one. We iron the fold (it is located horizontally).
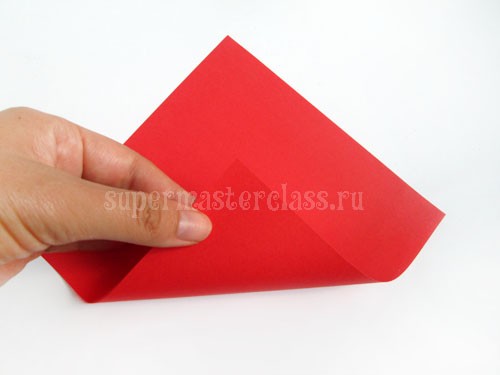
 Take the upper corner of the upper layer of the triangle and lay it to the original bend. Fold iron.
 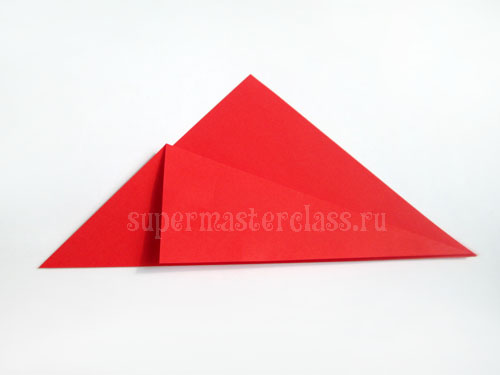 We turn the right corner back and combine it with the left, so we fold the workpiece in half.
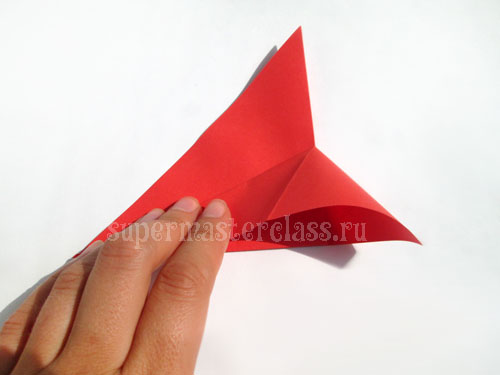
 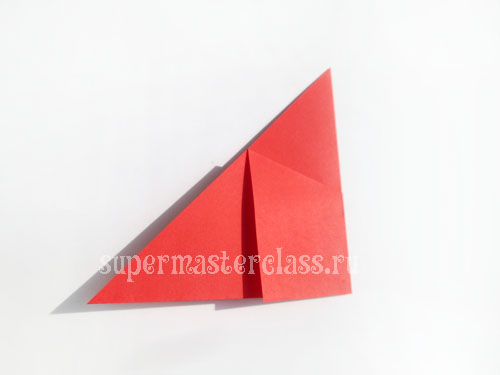 We take the fold on the front of the workpiece, straighten it and move it down, flashing folds.
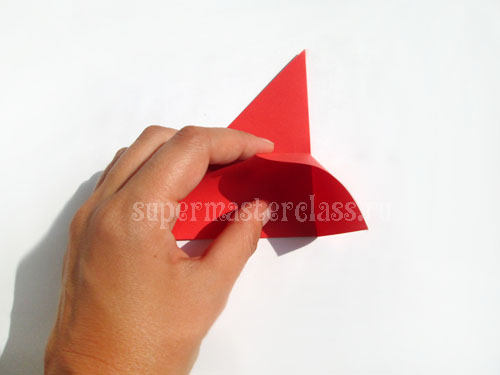
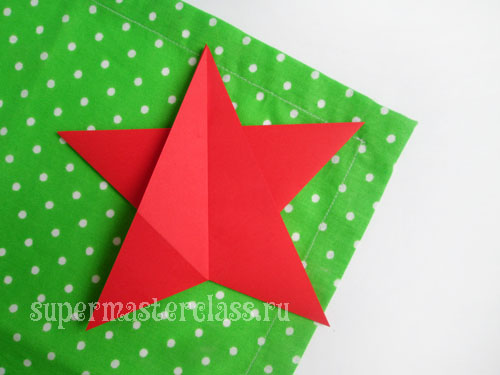
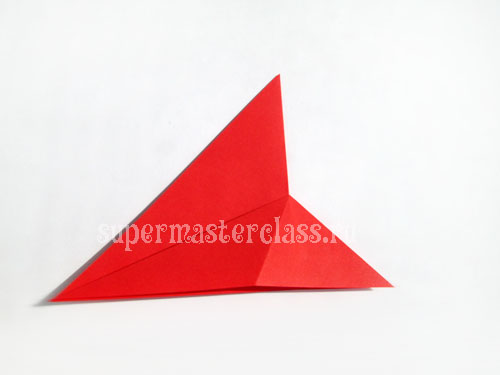 In the last photo, we see the finished second module. It remains to deploy it so that the long corner looked up. We return to the first module and coat its center with glue (and you can spread it on both sides).
 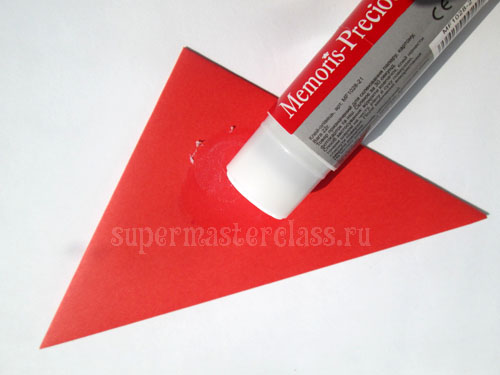 On the second module, the upper layer of the long corner is slightly turned away and the first module is inserted there so that the asterisk we are used to turn out.
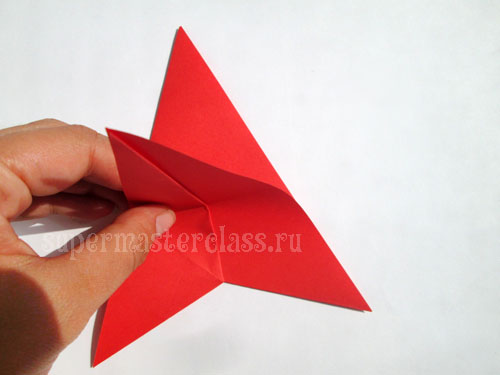
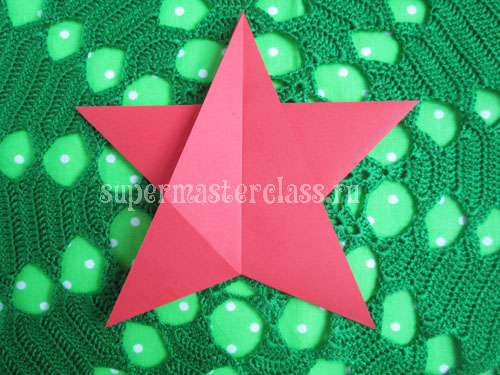
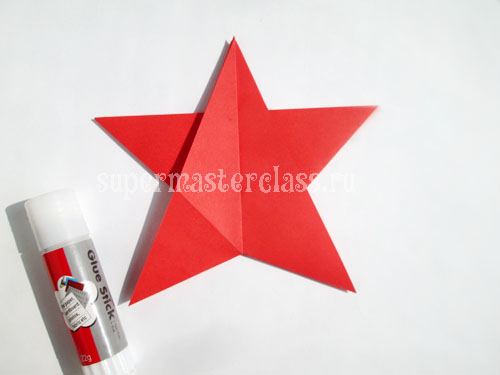 Origami star is ready.
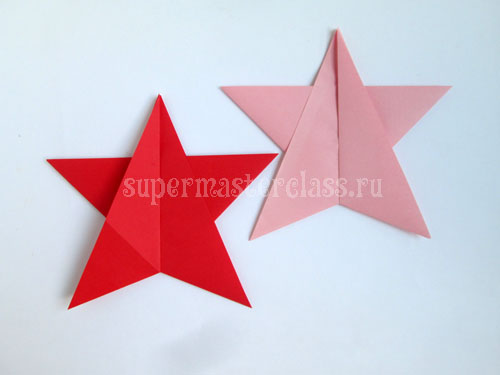
 Perhaps you will be interested in a master class on the link provided. Eva Casio specifically for the site Previous article: Next article:
Comments
Related posts:
 This detailed master-class origami for children of 8 years will teach how to make an origami snake made of paper.
 This detailed workshop of origami for children of 8 years will teach how to make an origami-mushroom from paper.
 This detailed master-class origami for children of 8 years will teach how to make origami-pigeons from paper.
 This detailed master class with a photo and description will teach you how to make origami for beginners - origami-crow from paper.
 This detailed master class with a photo and description will teach you how to make origami for beginners - an origami-crown made of paper.