
How to make birthday flags with your own hands: a master class
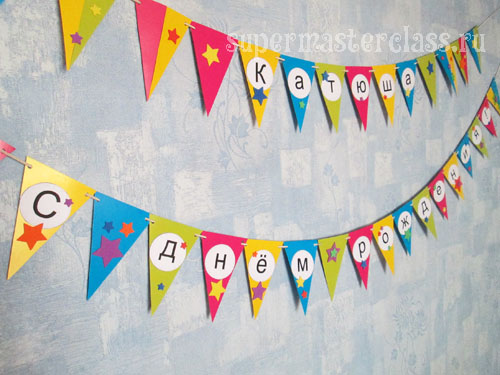 Turns out to do it yourself for the dayBirthday paper and cardboard - easy. Maximum hour of work - and elegant decoration for the holiday is ready. In our master class you will learn how to make such flags with minimal time and materials.
To make your own birthday boxes, you will need:
color cardboard A4; printed lettersfor the inscription (you can draw by hand); any bright stickers, in our case, are glue-based foamiran stars; soutache or any tape of suitable length for the suspension of flags (we have twice 3 meters of soutache); scissors; glue stick; hole puncher; ruler; pencil; Scotch. 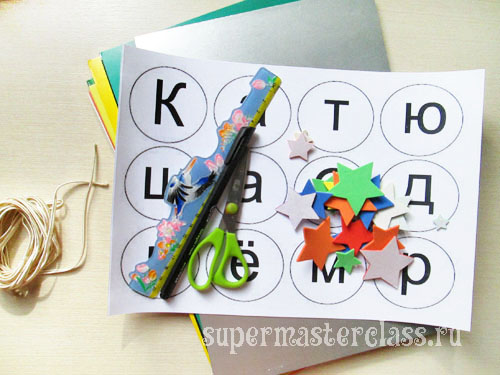
How to make birthday checkboxes: job description
Calculating the amount of cardboard To start, I cut outseveral circles with letters to determine what size flags I need. The diameter of the circle is 6.5 cm. Accordingly, such a circle fits into a triangular flag (an isosceles triangle with a base of 10 cm). The height of the box is half the long part of A4 paper. I rechecked the theory on a piece of A5-sized cardboard, and at the same time I found out that there were three flags in such a sheet. 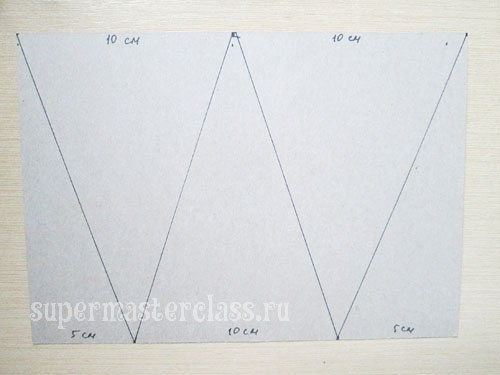 Consequently, on sheet A4 there will be as many as 6.
 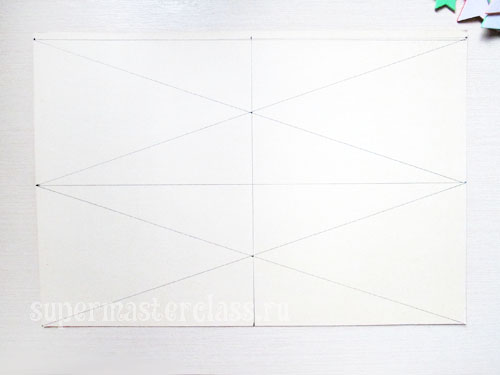 Flags I made one-sided, so that the garlandhang on the wall. If you want to hang the flags under the ceiling, then the flags must be two-sided. There are two options: either use two-sided colored cardboard, or glue the flags in pairs. So, let's calculate how many checkboxes we need in order to place the intended inscription. We consider spaces between words. So, I have: KATYUSHA = 6 flags; HAPPY BIRTHDAY! = 16 checkboxes. Those. all you need is 22 flags, plus a few extra ones - as much as it will turn out - to hang them around the inscriptions. So, we consider. On one sheet - 6 flags. 22 is not divisible by 6, but divisible by 24 (rounded to the nearest larger number, which is divisible by 6). Total: 24: 6 = 4. We will need 4 sheets of A4 paper. I took 4 different colors: yellow, blue, green and pink. They are quite bright and festive - and combine well with each other. How to draw a sheet of cardboard under the flags for a birthday We put a sheet of cardboard A4 vertically. On the upper part we make two marks: at a distance of 10 and 20 cm from the upper left corner. From the bottom left corner we also postpone twice by 10 and set marks. We connect our marks, as shown in the following photo.
 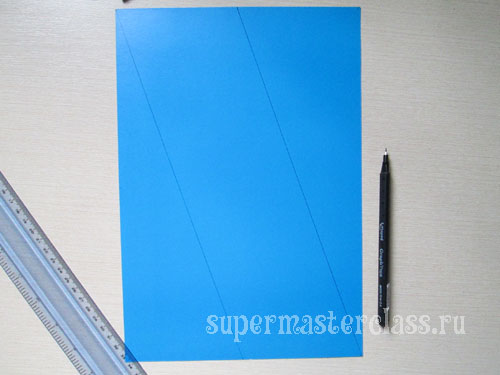 Connect pairwise mark in another direction.
 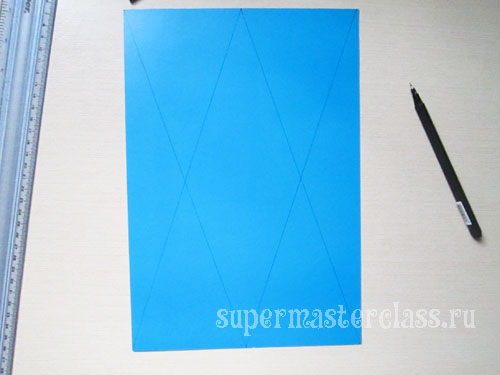 Connecting the place of the cross lines.
 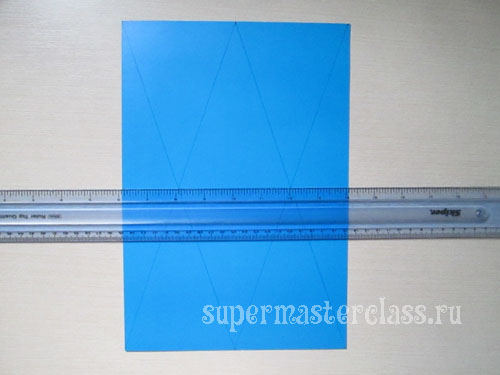 We also connect the top and bottom marks of 20 cm fromthe left corner, i.e. the line will run parallel to the long part of the sheet. Thus we draw all the prepared sheets, and then we cut the cardboard along the lines drawn.
  Pay attention to the "trim."
 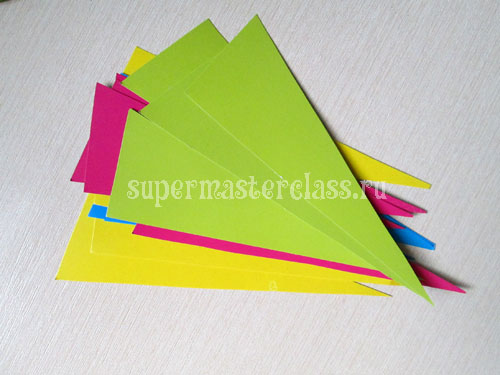 If you add them in two, we get a few more colored flags.
 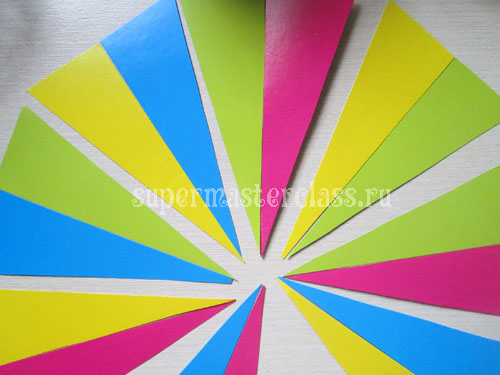 Connect the halves of the flags on the back of a piece of tape.
 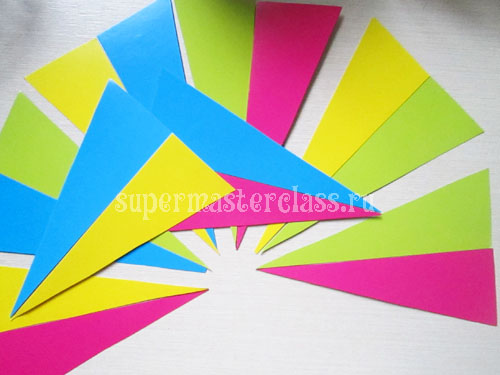 Flags are ready. We put them in order, as expected to be used. I kept the order, the colors laid out strictly in turn: yellow, blue, green, pink. So she took them in order to stick the letters of the inscriptions. Cut out circles with letters, smear each glue stick with pencil, abundantly and evenly, without lumps, and glue on the flag.
 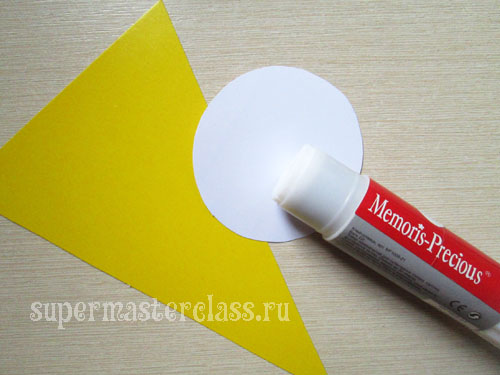 We press.
 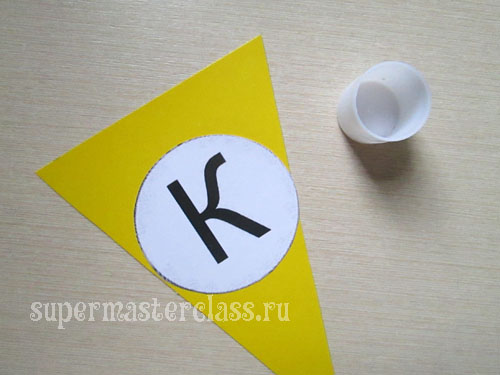 Punch hole make two holes.
 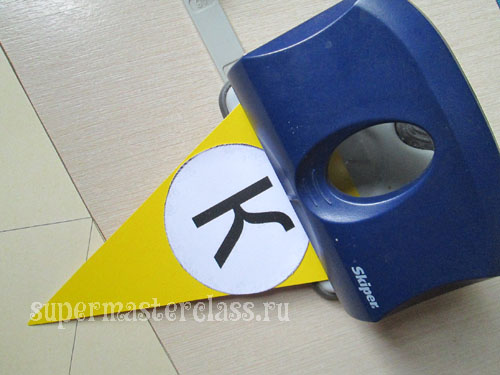 The checkbox is almost ready.
 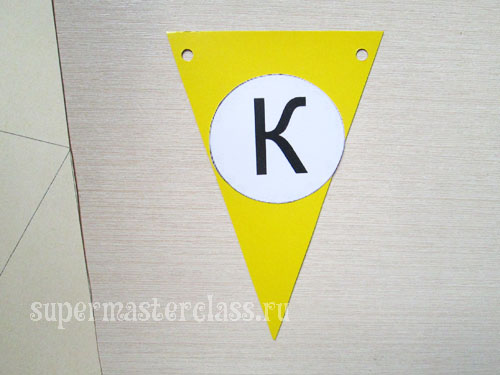 Similarly, we do the rest of the checkboxes, not forgetting to leave the checkbox for spaces between words. Lay out the inscriptions in front of you and decorate.
  If you have ready-made stickers, then decorating will take just a few minutes.
  Build a garland of birthday flagswith your hands To distribute the flags on the garland evenly, leaving tails for fastening equal to the length, it is best to fold the hanger in half, and also write the inscription in half, defining the middle. Shift the first from the middle of the label box to the center of the tape or soutazh and string the entire half of the label. We do the same with the second part of the garland.
 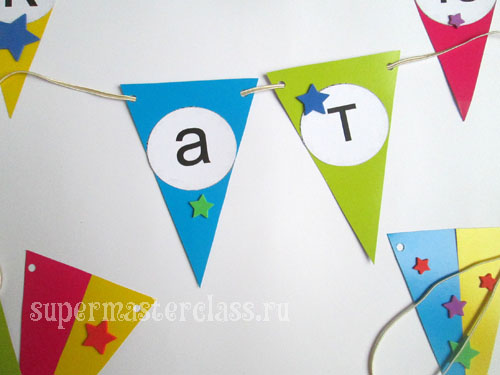 Do not forget to use our "half" flags.
 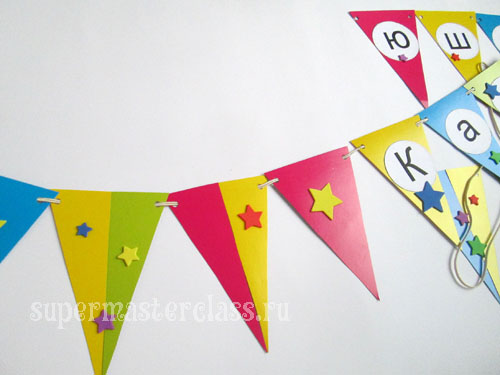 Before the holiday it is convenient to store the garlands in folded form, like this.
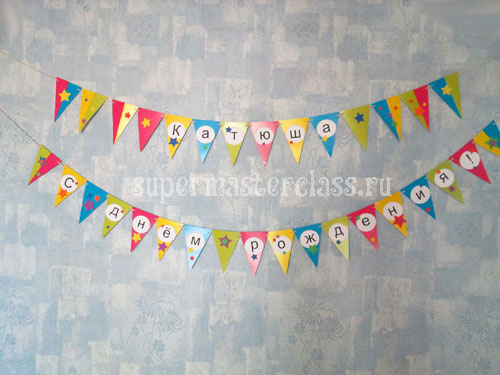
 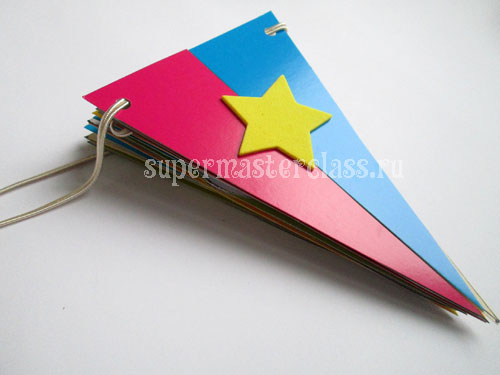 A fancy garland made from the flags on the birthday flags is ready!
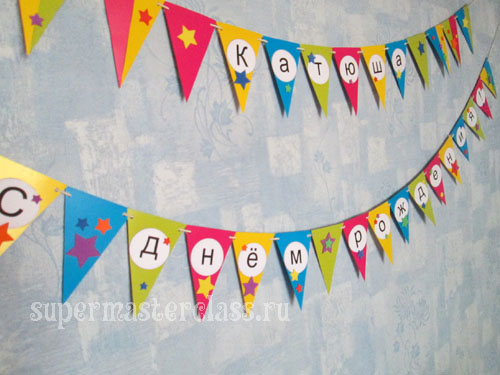
What else can you do?
- the letters from the circles can be neatly cut with a clerical knife, leaving the circle itself whole, and in this form stick it onto the base of the flag; letters will be colored;
- letters can be cut straight out of the box, then the wall will shine through it;
- such garlands are appropriate even for the 18th anniversary: instead of letters, you can stick photos of the birthday boy by year.
Eva Casio specifically for the site Previous article: Next article:
Comments
Related posts:
 We make paper flags for the birthday. Master Class. Video / Toys with own hands, patterns, video, MK
 Postcards with your own hands on your girlfriend's birthday.
 How to make a birthday cake-cake: a master class
 This master class will tell you how to make a birthday card with your own hands.
 How to make a gift on the day of the teacher with their own hands: a photo and a master class