How to make snowflakes from PVA glue
 The idea to make PVA glue on the windows quicklyspread and pushed many to experiment. However, as my experience has shown, the laudatory odes in honor of these supposedly universal stickers are not quite true. How to make snowflakes from PVA and what will have to face - our article will tell.
To make PVA snowflakes, you will need:
transparent files; PVA glue in tubes with a spout -they are the most convenient to draw; stencil mesh for drawing snowflakes; cardboard tabs in files for easy moving and drying; optional - dry glitter (sequins) for nails, scrapbooking or children's creativity.
About stencils for PVA snowflakes
No stencils with snowflake designs on theIn fact, to create labels on the windows will not be needed. What comes in handy is a drawn or printed grid circle with rays coming from the center. A snowflake has six rays. Optionally, you can draw snowflakes with four, eight, etc. rays. I used a quilling set mesh. 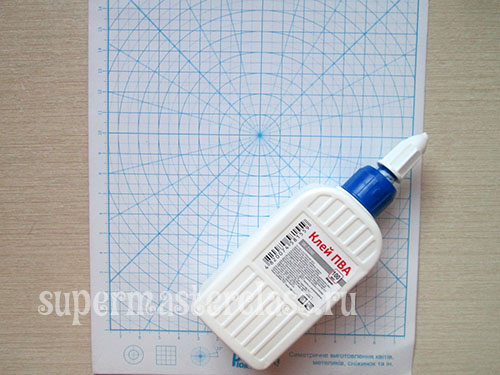 You can draw arbitrarily several circles.different size with one center, and from it - rays. This template will provide an opportunity to draw smooth, beautiful snowflakes from PVA. Just enclose it under a transparent file and ... draw!
How to make snowflakes from PVA glue
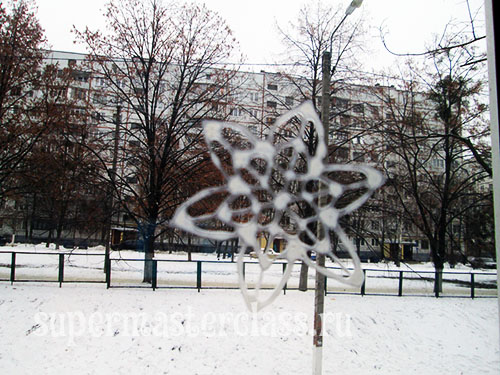
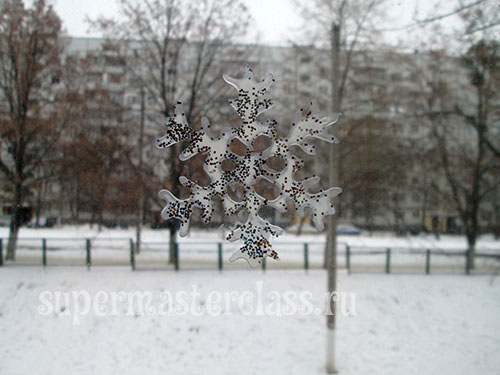
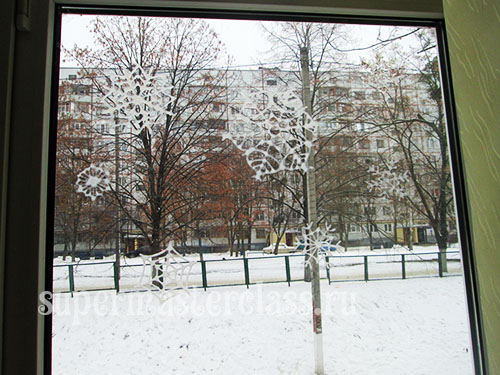
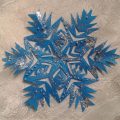
Under the transparent file we enclose a grid pattern. First we draw the rays of the length we need, then we draw the details of the snowflake. At this stage, if desired, add glitter, simply sprinkling them with freshly painted snowflakes. An example of a sticker with glitter you see on the first photo to this article. 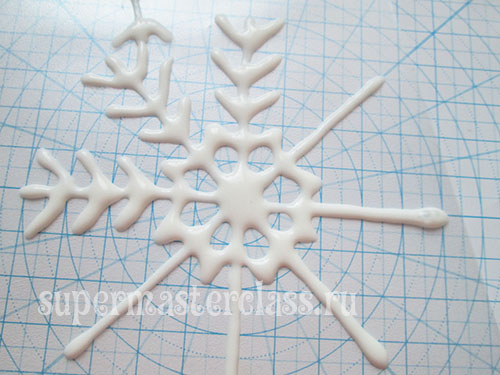 Best for drawing to use glue of PVA intube with a spout: it turns out to put a good line, not thick and not thin, but one that we need. Today they produce glue in tubes of different sizes; the best option is 100 ml. If more, a heavy bottle will interfere with work, and the hand - will quickly tire.
 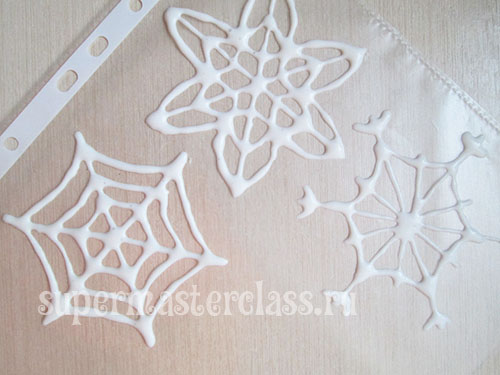 We put cards into files and move sheets toplace for drying. You can be located near the heating battery - it is believed that the PVA is non-toxic. At the radiator, our snowflakes dry out much faster than at room temperature. Dry sheets in a horizontal position! Having dried, the snowflakes become almost transparent. And ready to use.
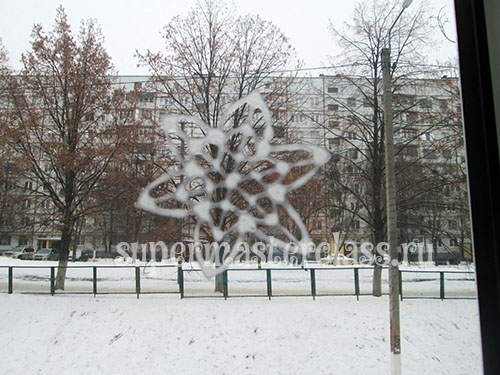
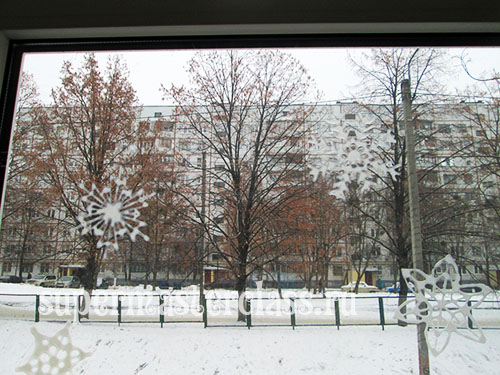
How and when to stick PVA snowflakes on windows
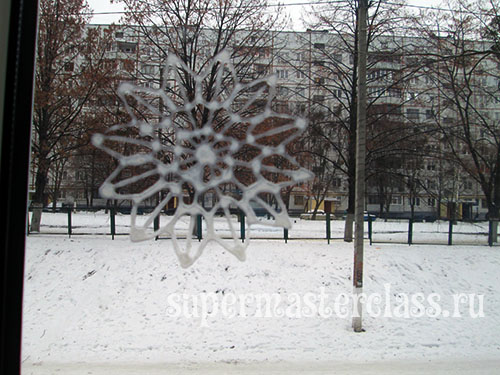
Gently separate the adhesive-drawn stickers fromfile and glue on the glass. This is best done when the snowflakes are “fresh” (drawn in the evening and glued in the morning). Parched snowflakes can refuse to attach to the glass. In this case, you can additionally grease their rays with fresh PVA. 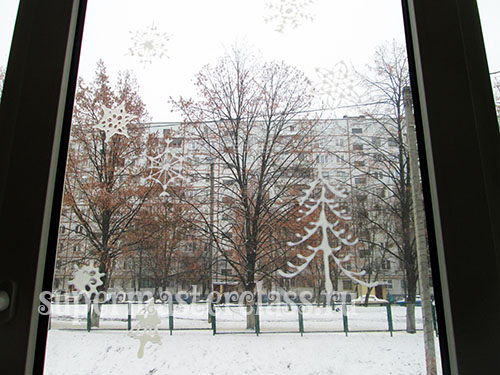
The advantages of creating PVA glue snowflakes
- You can quickly make the necessary decor for windows in any quantities - would be glue and files!
- except for snowflakes, you can draw anything - cats, houses, Christmas trees, bells, Christmas balls ...
- we get a completely unobtrusive decor;
- A good option for the decor of school classes.

The disadvantages of PVA snowflakes on the windows
- snowflakes from the file immediately move to the glass for permanent residence - rumors about the reusability of such stickers are greatly exaggerated;
- This is a one-time decor option;
- snowflakes can be poorly attached to the glass;
- Some snowflakes in the process of sticking from the file can break and deform;
- Yes, and more: do not paint the PVA directly on the window glass: the result will not please you (even the thinnest layer of glue will flow, the picture will deform; unlike the finished PVA sticker, the drawing on the glass will not be removed, you will have to wash it off).
 Eva Casio specifically for the site Workshops on needlework Previous article: Next article:
Comments
Related posts:
 Master-class with a photo will teach you how to make your own hands earrings-snowflakes - decoration of beads
 How to make a snowflake from paper for the New Year? Lesson on making snowflakes from paper with detailed recommendations and photos
 Beautiful snowflakes from paper can make even children. In our master class you will see a photo of a snowflake with a step-by-step description.
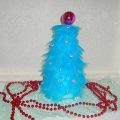 How to make a Christmas tree with your own hands from organza? this New Year's craft is easily created from easily material with the help of a stapler and glue, it will perfectly suit the gift of 2016 year.
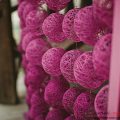 How to make Christmas balls from threads, step by step photos and a detailed description of the creation of balls of thread, using glue and balloons