
How to update the old dining table with your own hands: painting and a new tabletop
Many have old dinner houses left orkitchen tables, usually they are polished or wooden and have a completely out of fashion look. Want to throw it away? Not worth it! Why it is spent on a new table, especially old tables are much better than modern ones and can last for many more years. In this article we will show 4 universal ways how to update the old dining table with our own hands, without spending much on the family budget!  The content of the article:
Core technology
The main methods of the restaurant include the following work:
- Painting the table (usually apply a special paint for wooden surfaces, it can be either on acrylic basis or enameling)
- Replacing the tabletop (tabletop can be ordered ready to fit, or you can do it yourself, as shown in the workshops below)
They can be used individually or combined depending on the damage and the condition of your furniture.
We update the kitchen table top
Look at your dinner table. If his general condition more or less satisfies you with his appearance, but the tabletop is completely worn out or the tabletop simply cannot be removed without damaging the whole structure, this workshop is exactly for you. 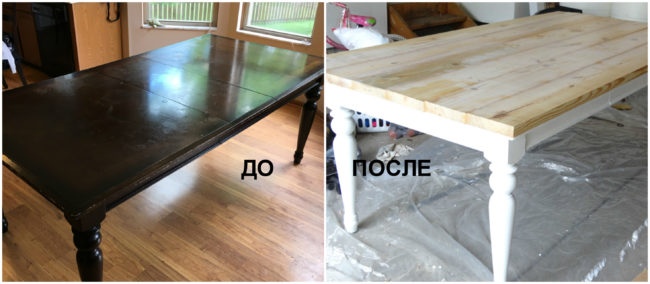
Materials:
- White enamel paint for wood;
- Deglosser;
- A polyurethane varnish on a water basis opaque (you can use glossy on your discretion);
- Boards;
- Liquid Nails;
- Putty for wood;
- Fine sandpaper;
- Brush, cloth, water.
Restoration Instructions Step 1: Remove Old Paint
- Treat the legs of the table with a deglosser.
- Thanks to this tool you do not need to skin and peel off the old paint, but simply put it on top, wait for drying and paint in the desired color.
- Apply 3 coats of enamel paint and wait until it is completely dry.
 Step 2
- Turn the table upside down. If you removed the legs for painting, then it would be more convenient for you to paint the bottom of the tabletop and the side wooden mounts.
- Apply deglosser and paint as well as on the feet.
 After drying, turn the table back and paint the tabletop around the edges, grabbing 10 centimeters, it is not necessary to paint all over. Step 3: We lay out a new countertop of the boards
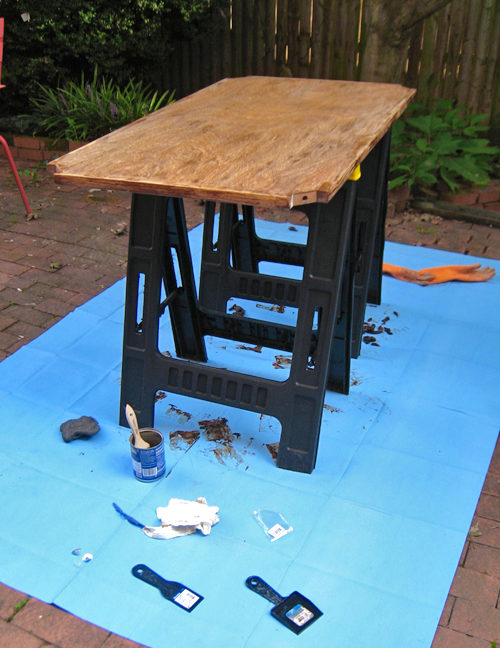
 Glue the middle, glue the remaining boards on the sides. Leave the table to dry for 12 hours or 24 hours, depending on the glue. Step 4: Putty

 TIP: Let the putty dry out for a couple of hours, and then sand all the boards with fine emery cloth.
 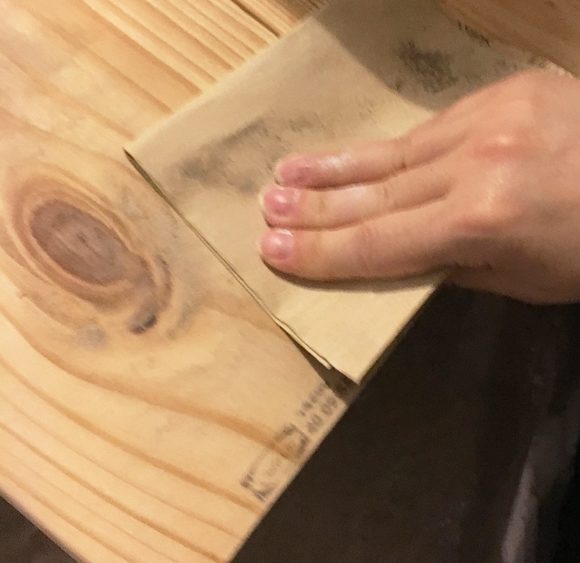 Step 5: Polish
- Wipe the boards well, leaving no dust or debris on them. Take a polyurethane varnish, stir it and begin to apply with long strokes on the boards. Try to make the first layer thin.
- Leave to dry the tabletop for a day, then gently sand the surface with emery paper, wipe off the dust and apply a second coat of varnish.
You can, after drying, apply a thirdlayer, but no more. Step 6: Whitewashing As soon as the varnish dries out after the last painting, start preparing the paint. In this case, a whitening effect is planned, to achieve it, mix 1 part of the paint with 4 parts of water. 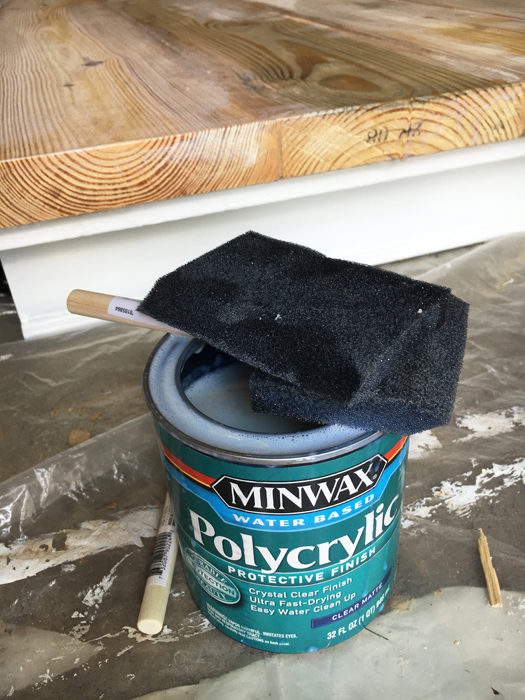 Brush paint over the area of the board, and then immediately wipe with a cloth. Paint the whole tabletop like this, then add some more water to the paint and go again.
 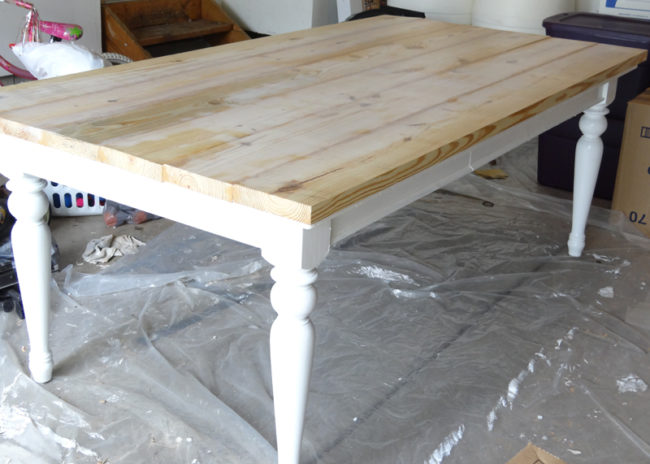 After complete drying the table is ready for use.
How to upgrade a polished table
If you have been gathering dust in a corner for a thousand yearsa polished table, which has long been time to send to a landfill, but the hand does not rise, then it is worth picking up magic tools and become for him a fairy fairy.  Materials and tools:
- Sander;
- Sandpaper;
- Stain;
- Gel remover paint;
- Plastic scraper;
- Brush;
- Water based polyurethane varnish;
- Dark enamel paint;
- Handles for the box.
The order of work Step 1: Remove the old varnish 
- Put on closed clothes and shoes. If the legs are removed, then for ease of grinding, separate them from the tabletop.
- Well grind all parts of the table, getting rid of all dents and scratches.
- Small parts, as well as places where you can damage the table, grind with emery paper.

 Step 2: Apply the stain Apply the stain you like on the prepared parts of the table, following the instructions. Depending on the chosen stain, wait for the time to dry.
 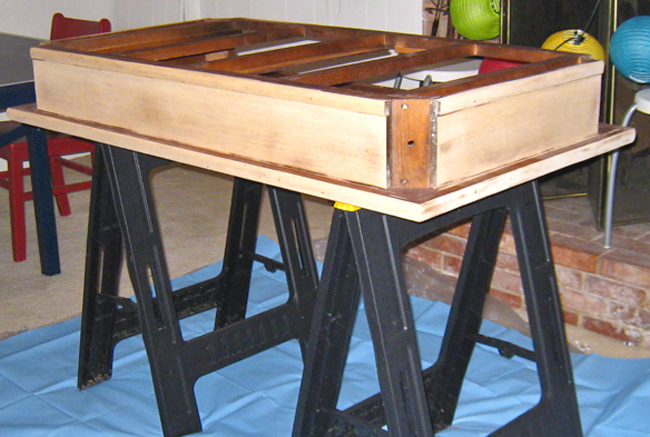 Step 3: Process the table shelf
- To clean the shelf table, use the gel to remove paint.
- After applying it, wait 4 minutes (depending on the gel) and gently, with a plastic scraper, clean the shelf, taking care not to scrape the wood.
- After apply the stain.
Step 4: Varnish the surface
- Wipe all parts of the table well, leaving no dust or debris on them. Take a polyurethane varnish, stir it and begin to apply long strokes.
- Try to make the first layer thin. Leave everything to dry for a day, then carefully polish the surface with emery paper, wipe off the dust and apply a second coat of varnish.
- You can, after drying, apply a third layer, but no more.
 Step 5: Coloring the table
- Paint the table in the color of your choice, wait until it dries out, and assemble it.
- Screw the handle in the drawer of the table.
Agree that the result of the work done is impressive! 
How to paint a wooden table in white
One evening you realized that you looked aroundare among monophonic gloomy things? Want to freshen up the room and do not know where to start? White wooden furniture always looks very impressive and expands the space. You can make a white table from any color. In this master class, we will show how to paint from a black table into white. 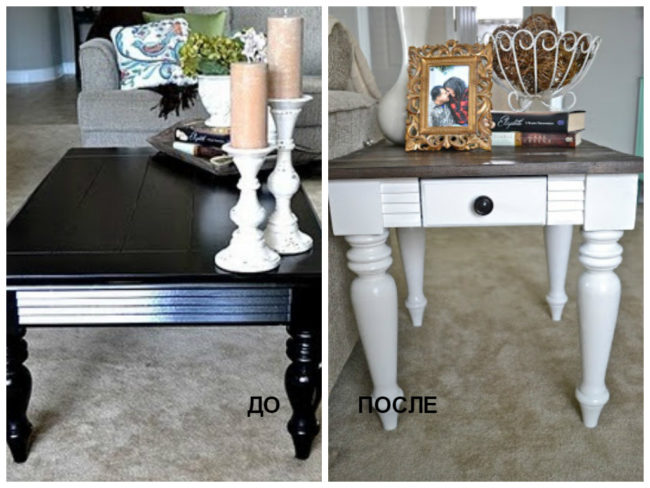 Prepare the following:
- Means for removing paint and varnish products;
- Degreasing agent;
- Plastic scraper;
- Fine sandpaper;
- Brush;
- Polyurethane varnish;
- Enamel paint.
Work order: 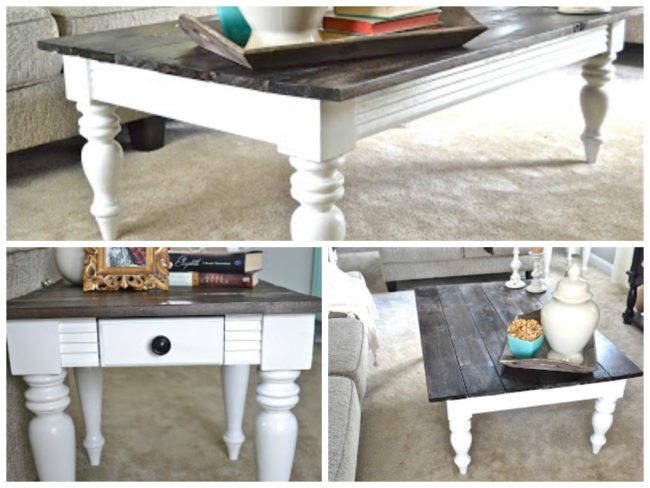 Step 1: Remove Old Paint
Step 2: Sand and Lacquer
Step 3: Painting the table Wait until the varnish has completely dried and start applying paint. Paint in 3 layers and leave to dry for a day. After you can arrange tables and please the eye with a new thing.
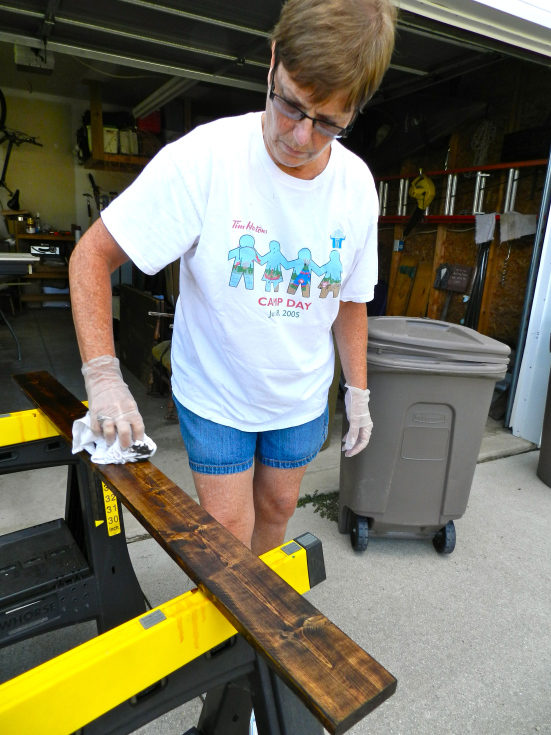
Wooden Loft Style Dining Table
Now very fashionable wood countertops onlegs of a contrasting color. These tables came to us from the Loft style - it is notable for its simplicity and a little roughness. But such wooden tables really suit any interior. We look at the master class of how to make a stylish Loft from the old table.  Instruments:
- Saw;
- Boards;
- Polyurethane varnish;
- Brush;
- Enamel paint;
- Liquid Nails;
Installation technology Step 1: Cut the boards Measure the dimensions of the table top, its length and width. Planks should be slightly larger, centimeters by 5 exceeding the future base - tabletop 

 Step 2: Mounting the worktop


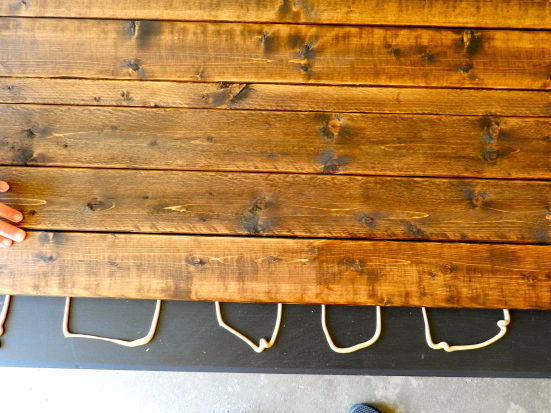

 The result was a great little Loft-style dining table!
  You can freshen up the interior, even slightly updatingold thing. It is not worth spending huge money on the purchase of a new dining or coffee table, when if the opportunity to do everything with your own hands. Having added a little imagination you can use the stencils to decorate the table just amazing. And if you are at the company with a table, you will envy your guests - after all, you will have an original, unique collection of furniture that can even be called designer if you try and decorate it. Be creative to amaze!
Comments
Related posts:
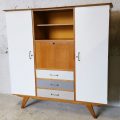 How to update and paint the old cabinet do it yourself photo
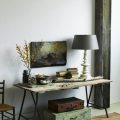 A large table from an old door with your own hands
 How to make a table and chairs for dolls with their own hands, master class / Toys with their own hands, patterns, video, MK
 Tablecloth on the dining table crocheted. Work of Elena Shevchuk
 Tabletop concrete with their own hands: photos and instructions