Hyacinth of beads: a garden flower with your own hands (video)
Content
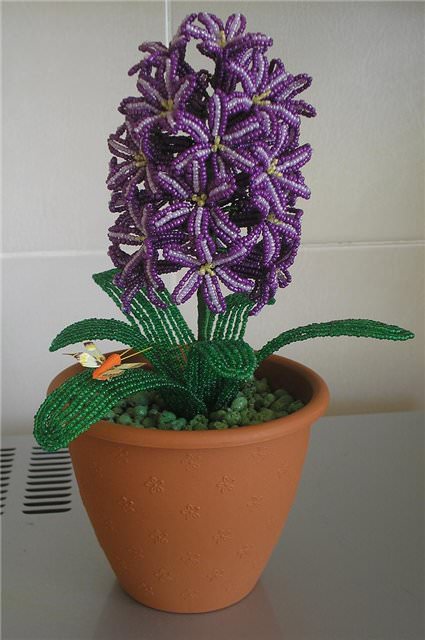
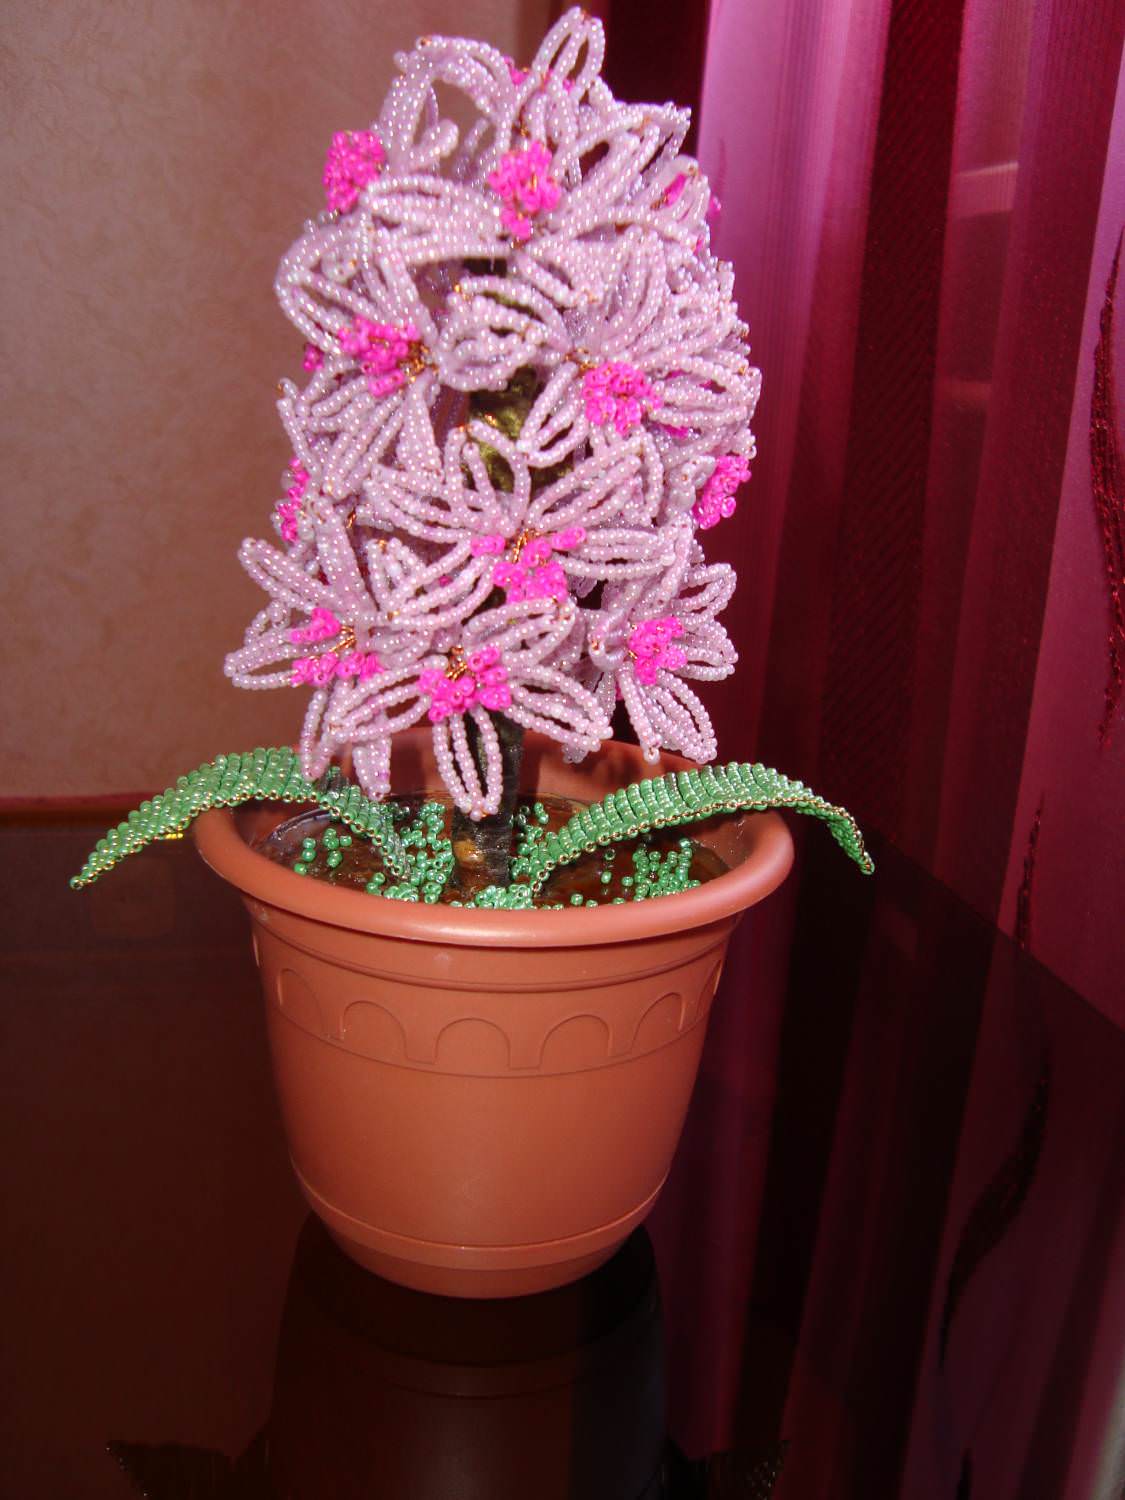
Flowers from beads can be an excellent decorationInterior. Therefore, many seek to master this art. Spring is coming soon and you can learn how to weave spring flowers from beads yourself. To the spring flowers, which blossom one of the first, refers to hyacinth. It can be of different colors - lilac, pink, beige, blue, yellow. Hyacinth of beads is obtained as a real one and will be able to replace a real one, until these wonderful plants are dissolved in the garden.
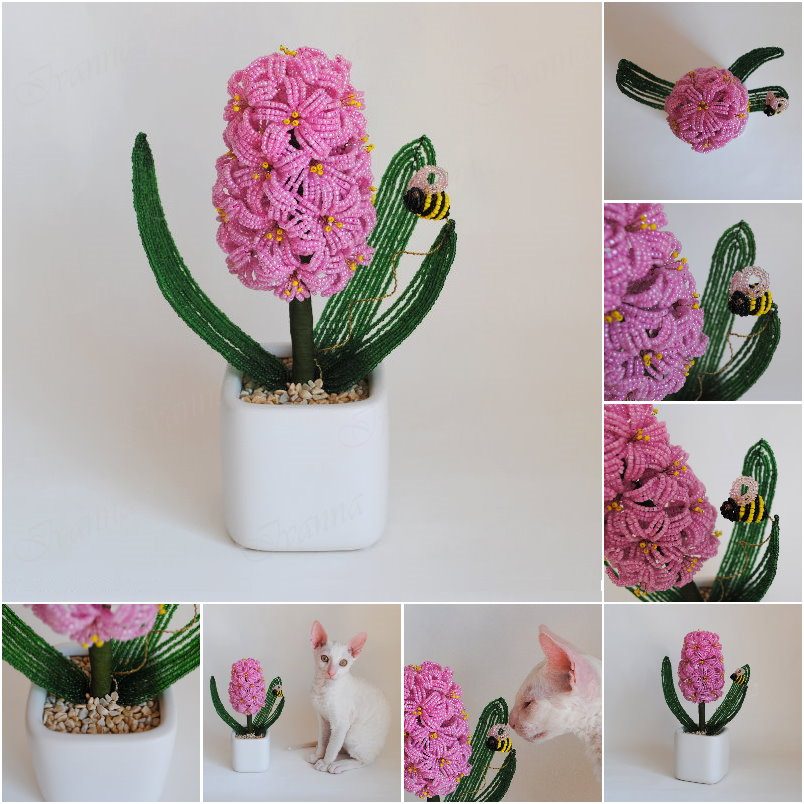
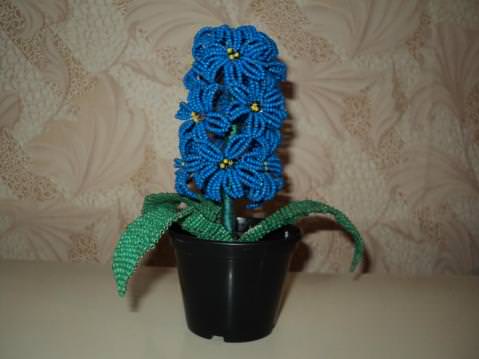
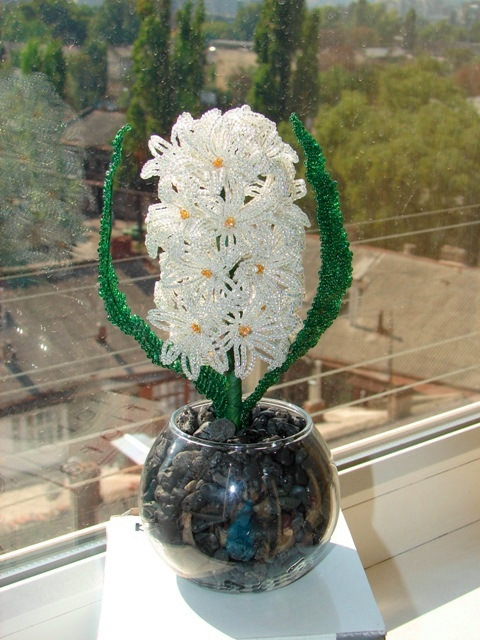
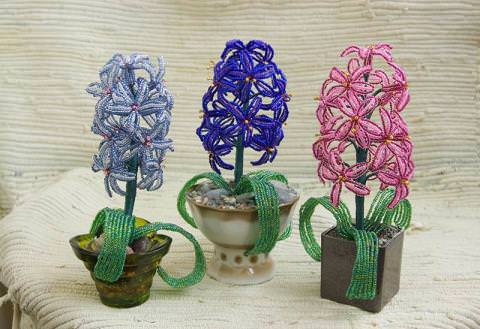
Necessary materials
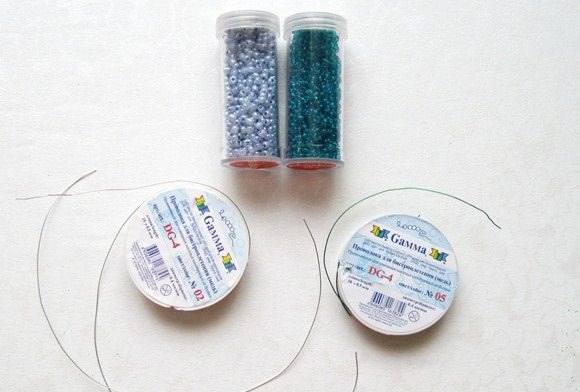
This master class will tell you how to weave outBeads tender hyacinth and "plant" it in a pot. For a more illustrative example in the article, detailed video lessons on weaving the assembly of such a flower are presented. So, in order to weave this flower with our own hands, we will need the following materials and tools:
Having prepared everything you need, you can start weaving the hyacinth from the beads.
Master class beading hyacinth
Doing petals Before you startBeadwork of a hyacinth, it would be nice to find a photo and see it well. You can also watch a video of how the hyacinth wobbles to make it clearer how it's done. If you take beadwork of flowers, then hyacinth can be attributed to the average level of complexity.
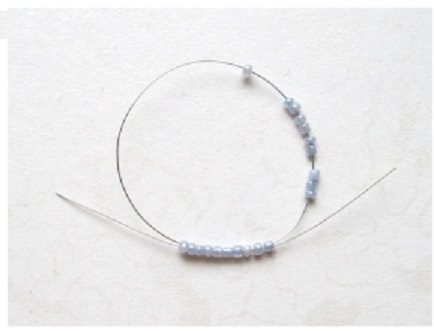
So, let's start our master class on manufacturingHyacinth with weaving petals. A feature of the manufacture is the weaving of each petal separately, followed by their assembly into flowers. One flower consists of six petals. The scheme of the netting is as follows: cut off a piece of wire about 30 cm long from the coil of wire, thread 20 beads onto it. Then we count out half of the beads, we separate them. Through such a series in the opposite direction, you need to pass the other end of the wire, tightening it.
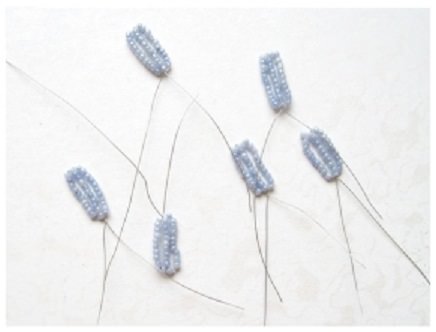
Now one of the ends is threaded 14 moreBeads. Low beads are lowered so that it lies on the center of the resulting ring. All the beads must lie down to fill the middle of this ring. After this, the wire must be secured, making a few turns and tightening it.
Middle of the hyacinth For the middle on the wireLength of 22 cm you need to string one bead of yellow color and, having folded the wire in half, make the bead stay on top. Then it is twisted, the twisted segment should be about 1 cm long. Now the same thing needs to be done with both ends of the wire. Also string each one with a yellow bead and twist them 1 cm. You should get 5 stamens for one flower.
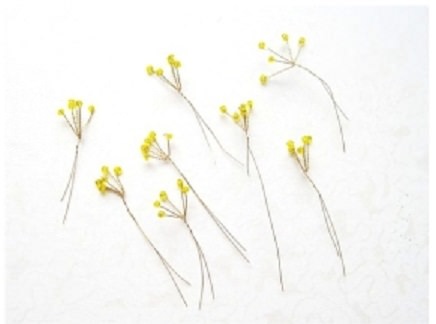
Form flower Flower consists of sixPetals, they need to be put together. To do this, take a petal and on the free end thread 5 beads. And now take the second petal, and let the free end through 5 beads of the first petal. At the other end, free, the end of the second petal is already stringing 5 beads and letting through them one of the ends of the third petal. At the free end of the third petal, 5 beads are again collected and the end of the fourth lobe wire is passed and so on until all six petals are collected and connected.
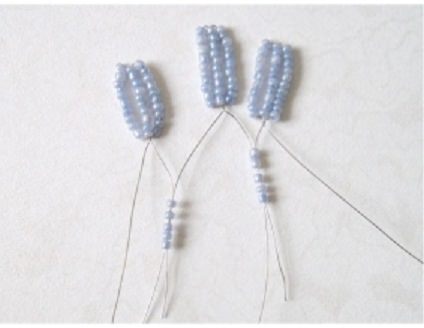
In order to get a flower, at the endThe wire of the first petal is passed through the beads of the sixth petal, thus ending the tying of one flower of the hyacinth. For this, we compact the beads, twist it under the flower for several turns. Then take the stamens, place them in the middle of the flower. Again we twist the wire into several turns. At the end, the flower is given the appropriate shape, bending the petals. It is necessary to collect about 20 such flowers.
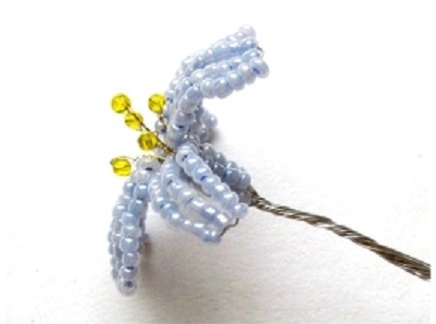
Assembling the beaded hyacinth Our master class is smoothGoes to the most responsible stage - the assembly of flowers. We take a flower, assign it to the center, five more flowers will be attached to it in a circle. Before fixing another flower, it needs to be slightly bent at the base.
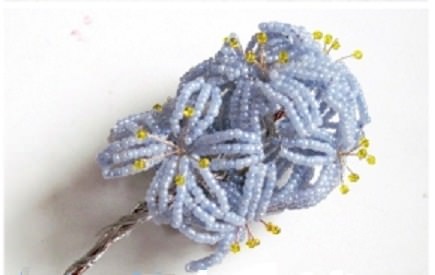
When all the flowers are gathered together,The trunk of the hyacinth is formed. Wrap the green floral tape or threads. To ensure that the materials are better kept, they need to be fixed to the PVA glue. After a couple of centimeters to the trunk, another 5 flowers are tied up in a circle. Pay attention to the fact that the flowers of the next row are placed between the flowers of the previous one. Do not forget to wind the thread with thread or tape.
So, gradually you will attach all the flowers of the hyacinth. If they were woven twenty, then you should get four rows of 5 flowers, check.
If you are not comfortable with a too short trunkHyacinth, then when working with the fourth row, it can be made longer. Simply tap the florent or thread of an additional rod, this will lengthen the trunk of the hyacinth, it will appear higher.
Weaving of leaves 
To make beadwork of leaves, you canUse a thicker wire to create an axis, but if you do not have it, then take the usual one and just fold it down twice, and then string down on it the central bead string. The axis should have a length of about 20 cm, of which 12-13 cm will be used. In this case, you need to dial only 9 cm of this wire. A length of 80 cm is attached to the axis, a bead is wound on it to wind the axis.
For leaflets in this master class,Reception of arc braided. The working end should turn around the axis 3 times and as a result you should get 6 arcs. Sometimes, when performing leaves of considerable length, like a hyacinth, you may need to flush the sheet. This will significantly strengthen the sheet, will not allow it to bend under the weight of the beads. In the photo you will see what will eventually turn out to be the leaves.
Leaflets plaid 5 pieces. Then we wrap the hyacinth's trunk with a florent and at the same time fasten the leaves to it.
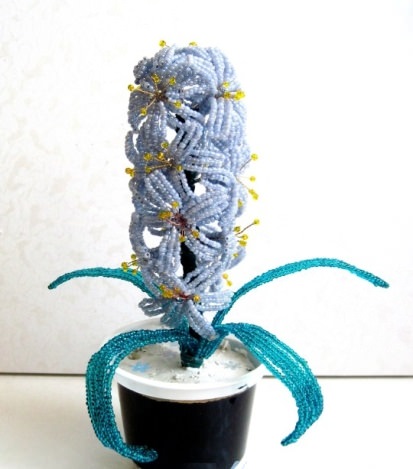
The master class is coming to an end, and we haveJust drop our hyacinth into the chosen pot. To do this, dilute the alabaster with water, place the flower in a pot and fill it with the finished solution. Folded during assembly, the leaves should be spread to your taste. Congratulations, beaded hyacinth is ready!
Video: We learn to weave hyacinth from beads
