The idea of a gift chocolate maker with your own hands is a master class on scrapbooking
Chocolate girl is an excellent gift, which can be useful at any time. Therefore, it is not difficult to make such an option of a chocolatier. Only materials, desire and patience are needed.
The idea of a gift chocolate maker with your own hands is a master class on scrapbooking
- For work you will need paper, watercolor in size of 21 by 30 centimeters
- Scrap Paper
- Adhesive
- Adhesive tape
- Ruler
- Pencil
- Scissors
- Matches
- Decoration
- Sewing machine
- Hole puncher
Working on a chocolate bar 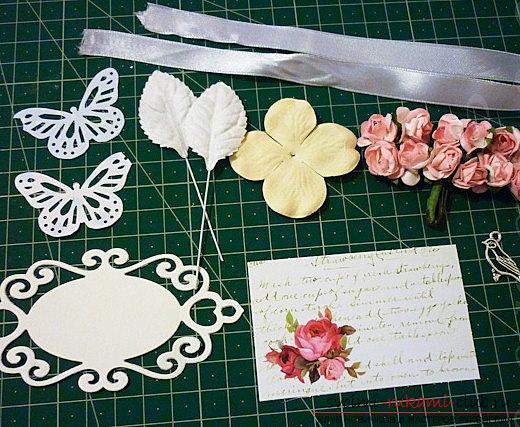 Let's start our work. At the very beginning, we need to form the blanks for the future version of the chocolate bar. It is best to prepare a cardboard template so that you do not have to make measurements in the future. The size of the chocolate bar in our case will reach the values of 16 by 8 centimeters so that the chocolate tile can get through. Depending on the size of the chocolate bar and the capacity, you make your own measurements.
 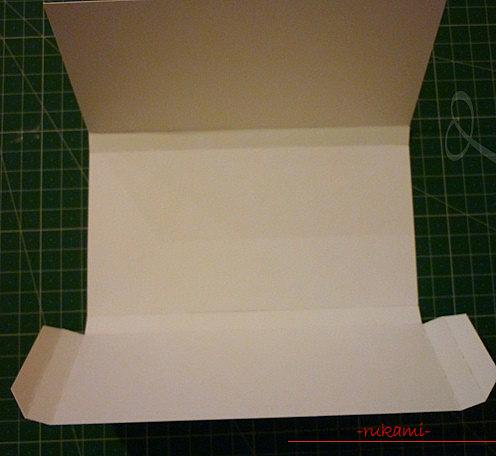 Wings of our chocolate bar, which will needbend inward, and also crop with an angle, do first. Then, the wings will need to be glued. Get the option, as in the picture. Chocolate inside!
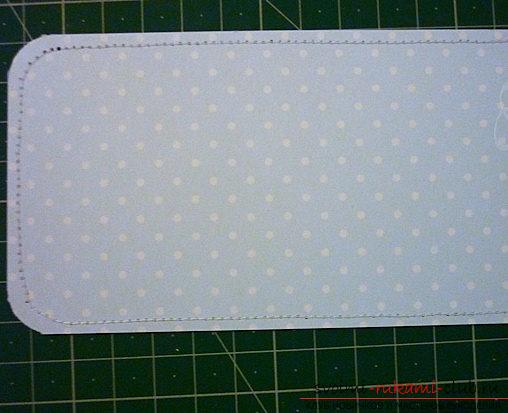
 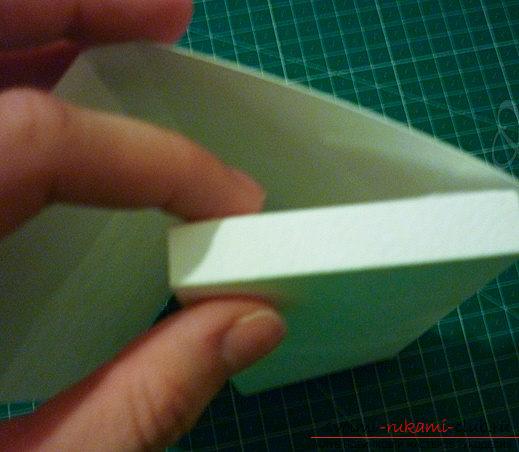 Using the services of a punch, we producerounded corner. You can also do this with scissors, or leave such a design option. Then, the workpiece must be postponed and take paper for scrap. On it we make a mark in the right sizes. Make 2 pieces of paper. Then, we make the rounding of the corners and afterwards, with the help of a sewing machine, we produce perimeter stitching.
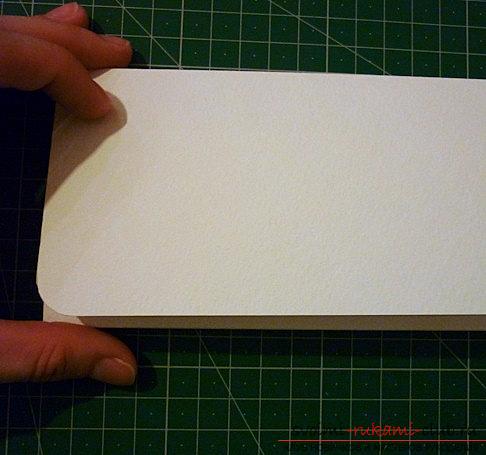
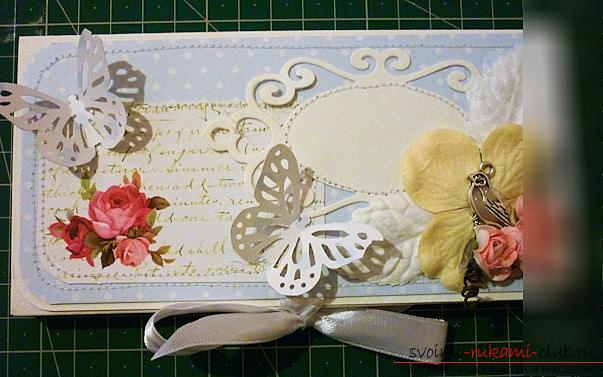
 Decorating a Chocolate Girl Next, you need to decorateour chocolate bar. But, first of all, it is necessary to try each element on the chocolate maker to match the design and fit into the overall background. Using the front of the product, we are sewing paper-type products. Then, we glue the product on two sides with a tape and scorch the product. The next step is to paste the scrap paper. This is done directly into the basis for a chocolate bar. Such a step will close the fastening of the tape, as well as the workpiece. Next, you need to tie a bow of ribbons.
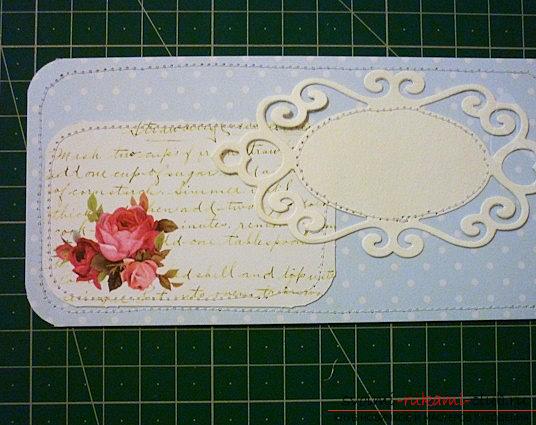
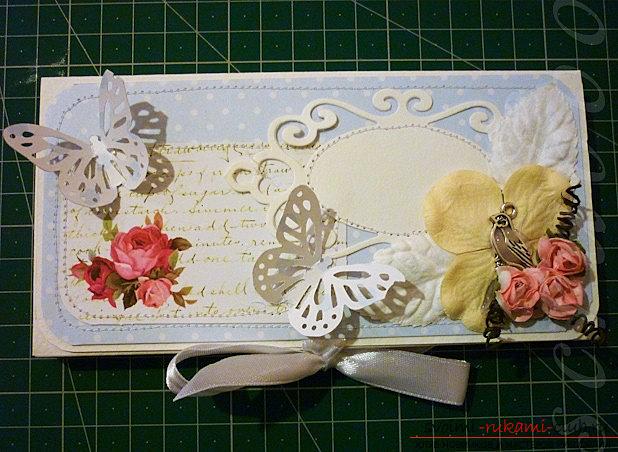
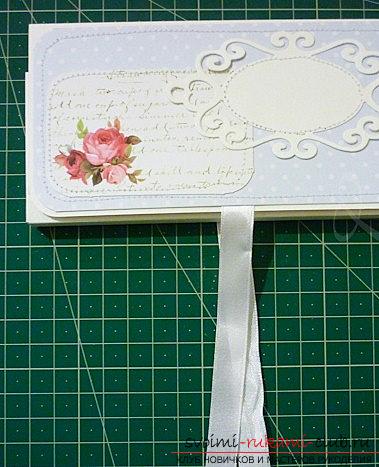 Using roses and stems, it is necessary to wind the stems with the help of knitting needles or toothpicks. Next, we glue these elements in the chocolate bar! The product is completely ready, it can be used!
Comments
Related posts:
 Master class on the scrapbooking of a New Year's card with your own hands - step by step instruction
 How to make quilling chamomile with fringe with your hands - photo and master class
 Decoupage of housekeeper with their own hands - master class and photos for decoupage
 Pearl bead from polymer clay own hands - master class
 Papier mache with his own hands ideas. Master class for children.