If you want to learn how to make your own handiwork of wood and branches, look in our master class.
 Wooden crafts are environmentally friendly and durable, they can not only be placed as an element of decor, but also given to the child for games. For a wooden dog and his hut, you will need:
- wooden branches, logs, twigs;
- glue and nails;
- file (better for metal), hammer;
- varnish.
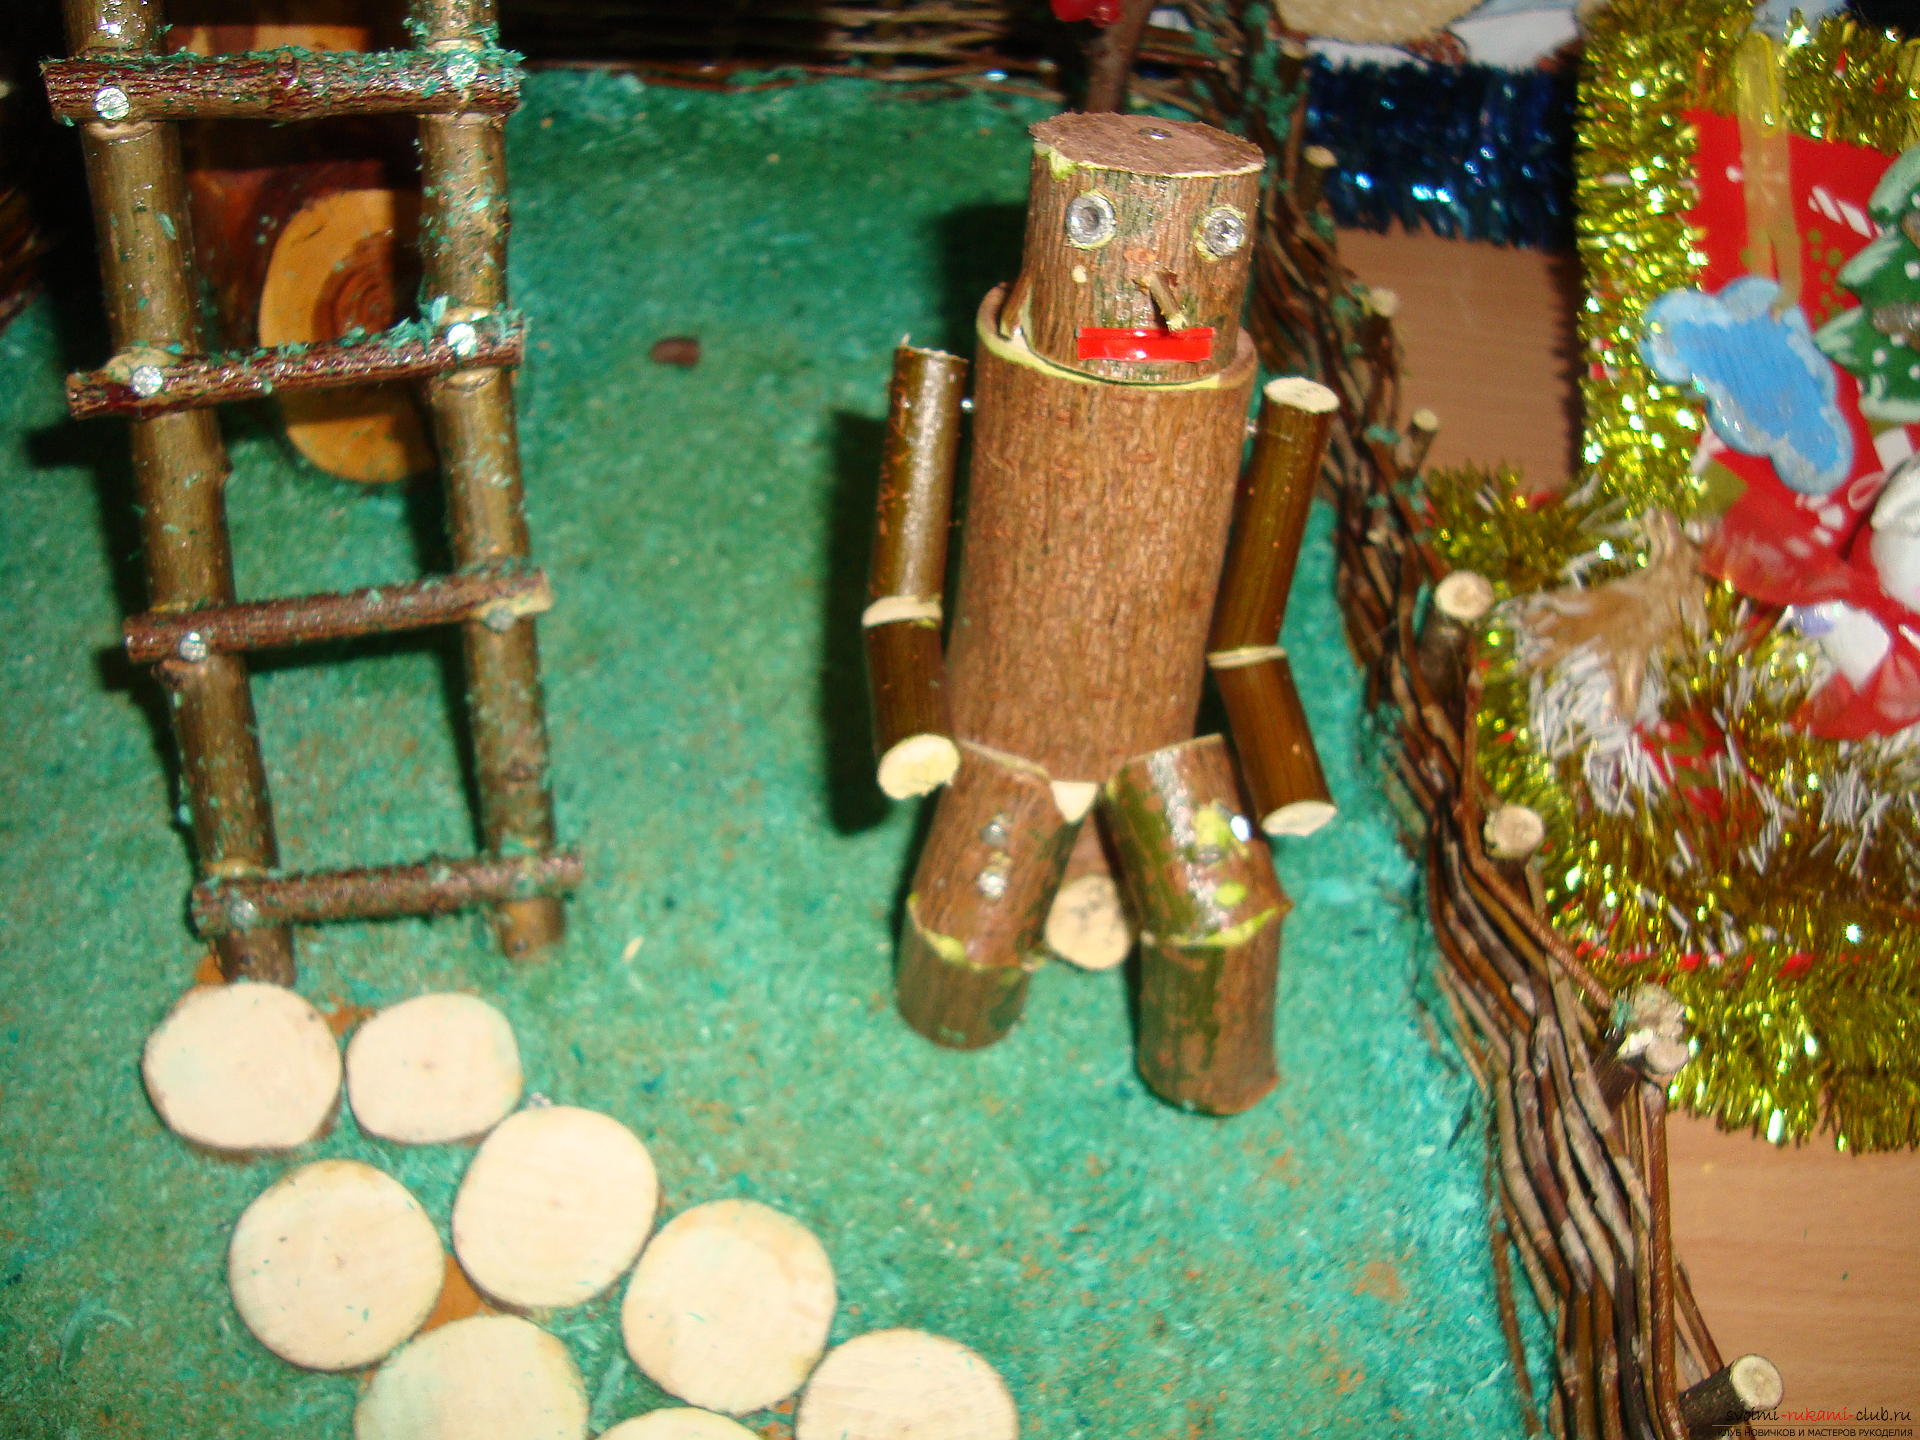 Dredging we collect from round wooden logs -the thickest part goes on the trunk, a little thinner and shorter - for the head. For legs and hands we select pairs of cut off twigs. We collect lefthanders, fastening the details with carnations. In order to make the article more interesting, we form the bows so that it is in motion. We glue the swollen mouth with a red flap and make eye sockets from nails. The nose can be built from a small twig, gluing it with glue in place.
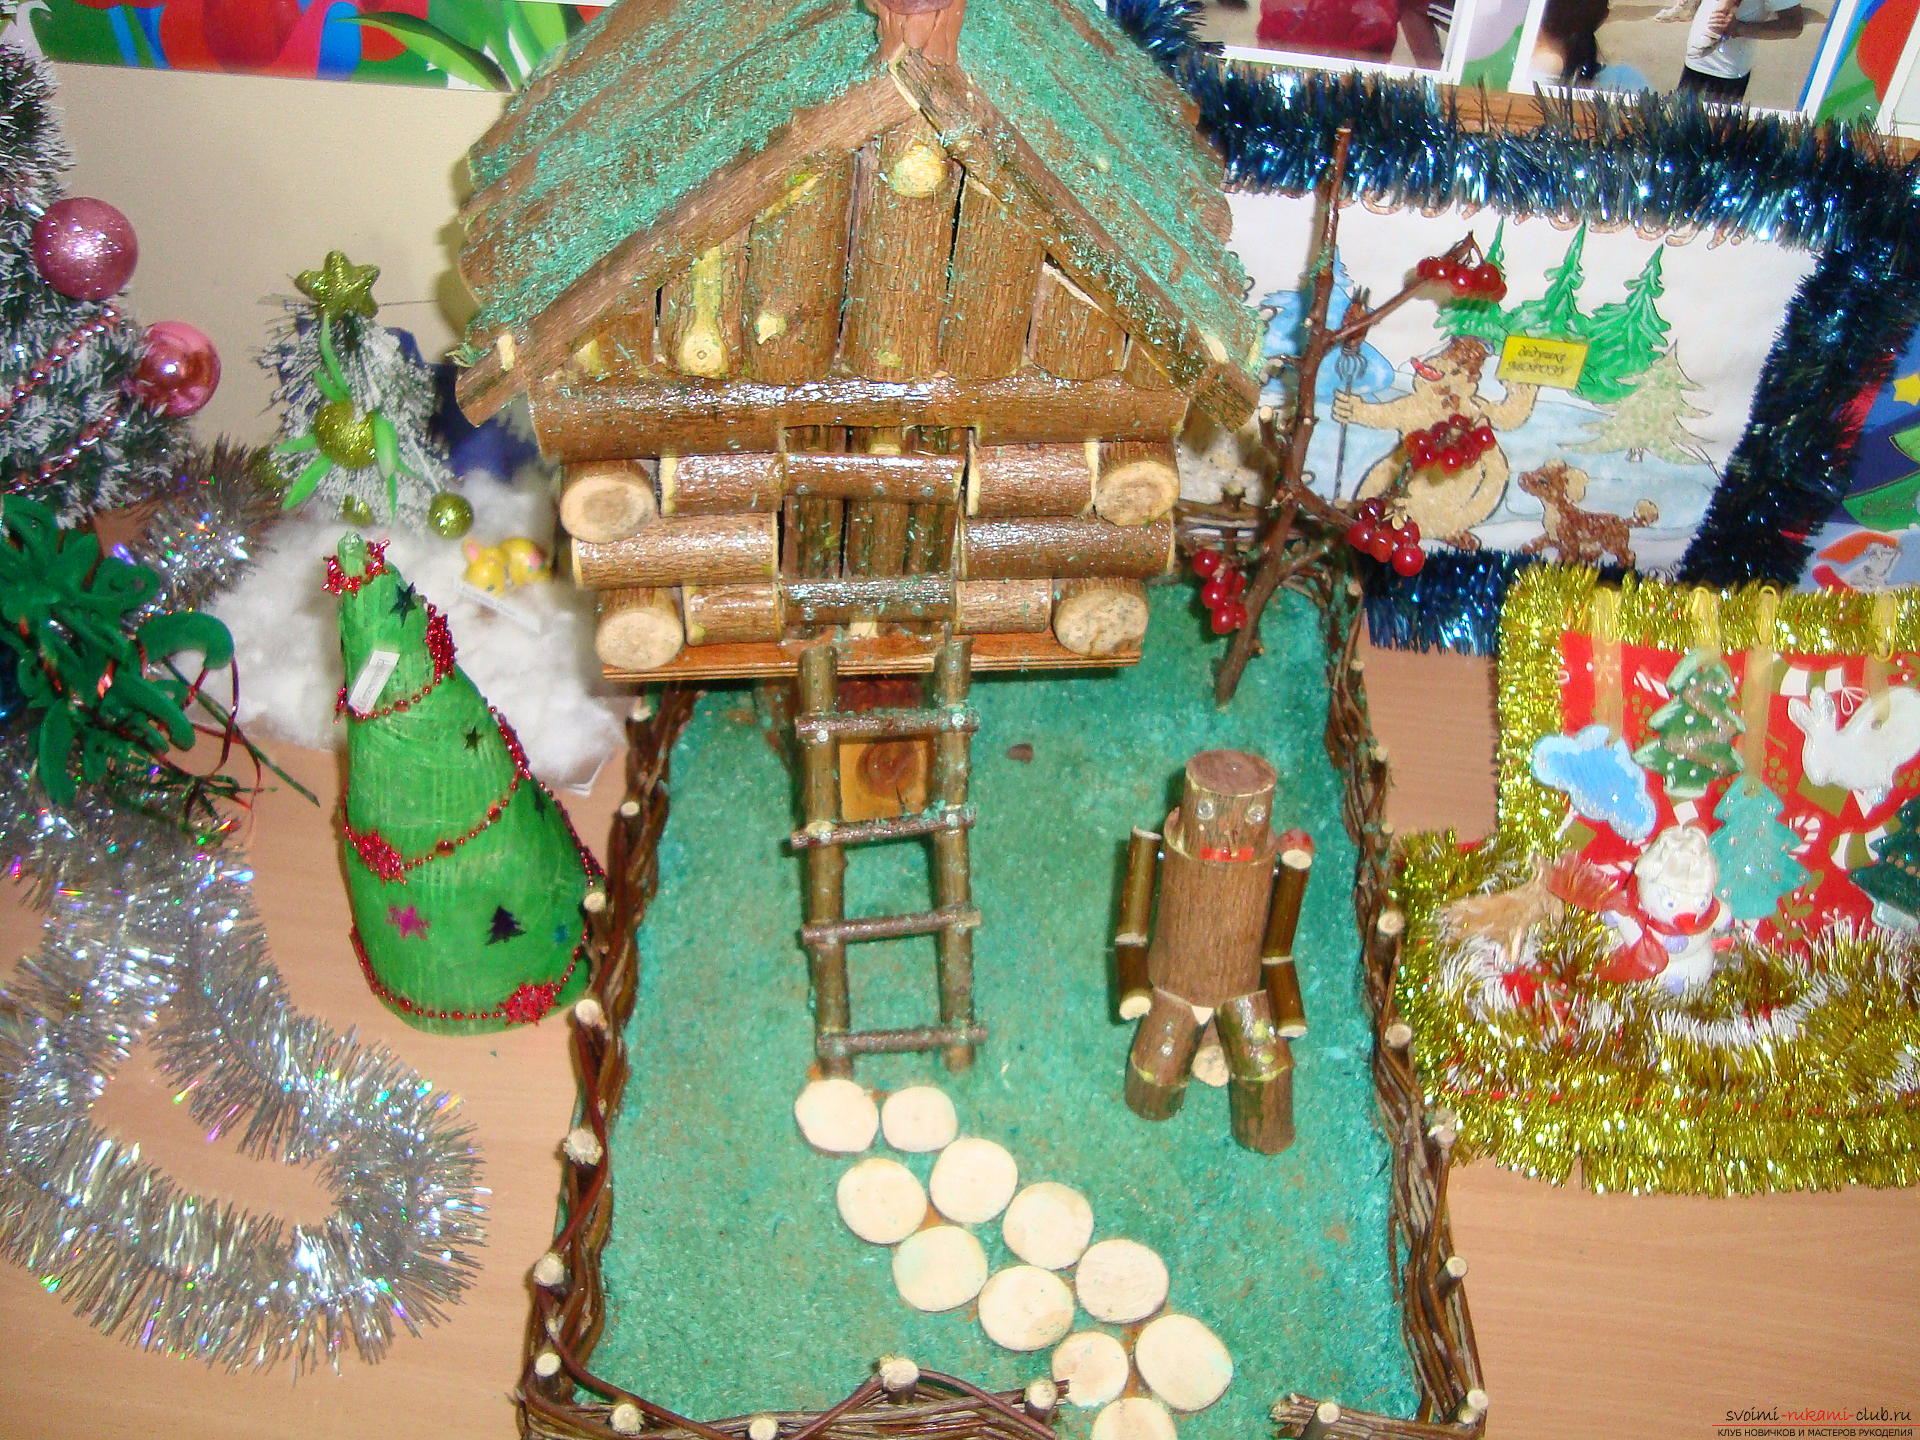
 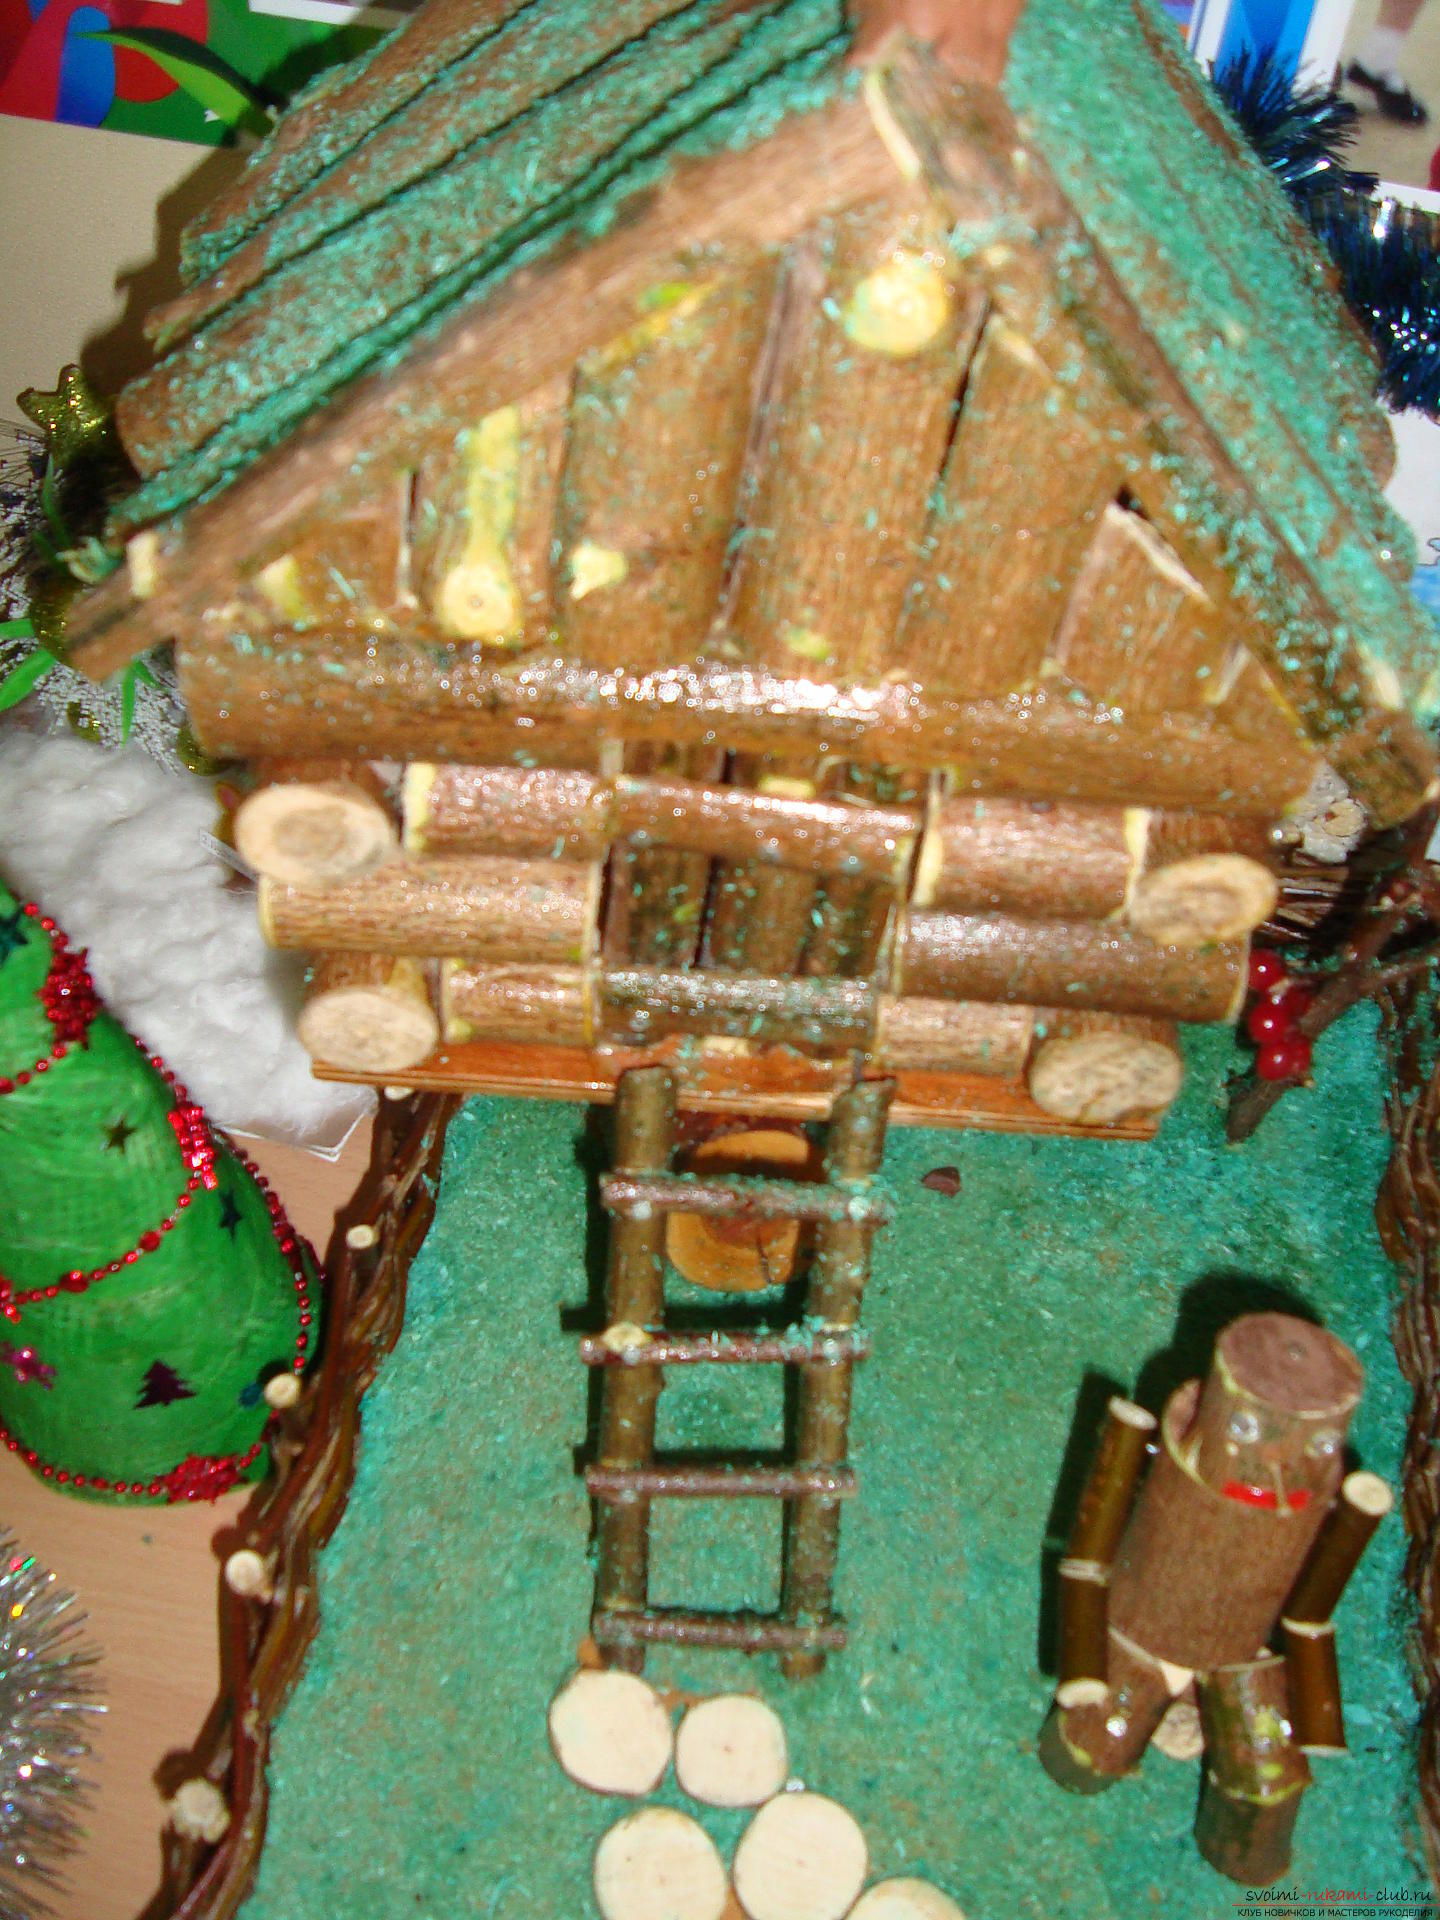 Then we proceed to create the hut. We collect it from wooden scraps with the help of nails and a hammer, making it look like old huts. We put the house on churbach, so that it looks like a hut on chicken legs. To the door we put a ladder, which we make of two long branches and several short branches. We nail the steps with nails. It is very beautiful for such crafts will look fence - wattle. To do it, it is necessary to nail down to the plywood base the short wooden posts on which the wattle fence will roll. Then take thin twigs and braid the bars so that a small fence is formed. In conclusion - finishing. Cover the composition with varnish until it is dry, sprinkle the base and the roof with green threads or paper scraps, after drying, cover the craft with another layer of varnish. From the stairs to the gate, place a path of flat round pieces of wood. The song is ready!
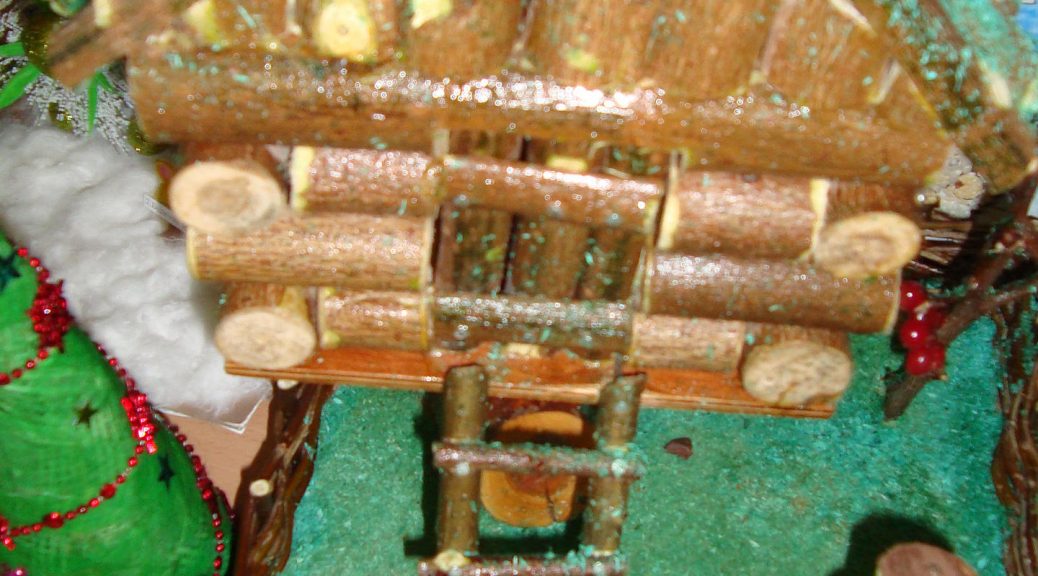
Comments
Related posts:
 If you want to learn how to make a card with your own hands, look into this master class.
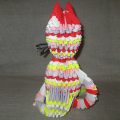 If you want to learn how to make modular origami, look into our master class.
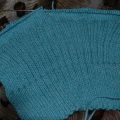 If you want to know how to tie a shirt with knitting needles, look into our master class.
 The master class will teach how to make crafts from unnecessary things, will show how a monkey is sewn from socks with their own hands.
 Do you want to learn how to create crafts from felt by yourself? All here.