
If you want to know how to tie a shirt with knitting needles, look into our master class.
 For shirt-dressing, I like to take yarn Troitskaya "Podmoskovnaya". It produces light, but warm clothes.
 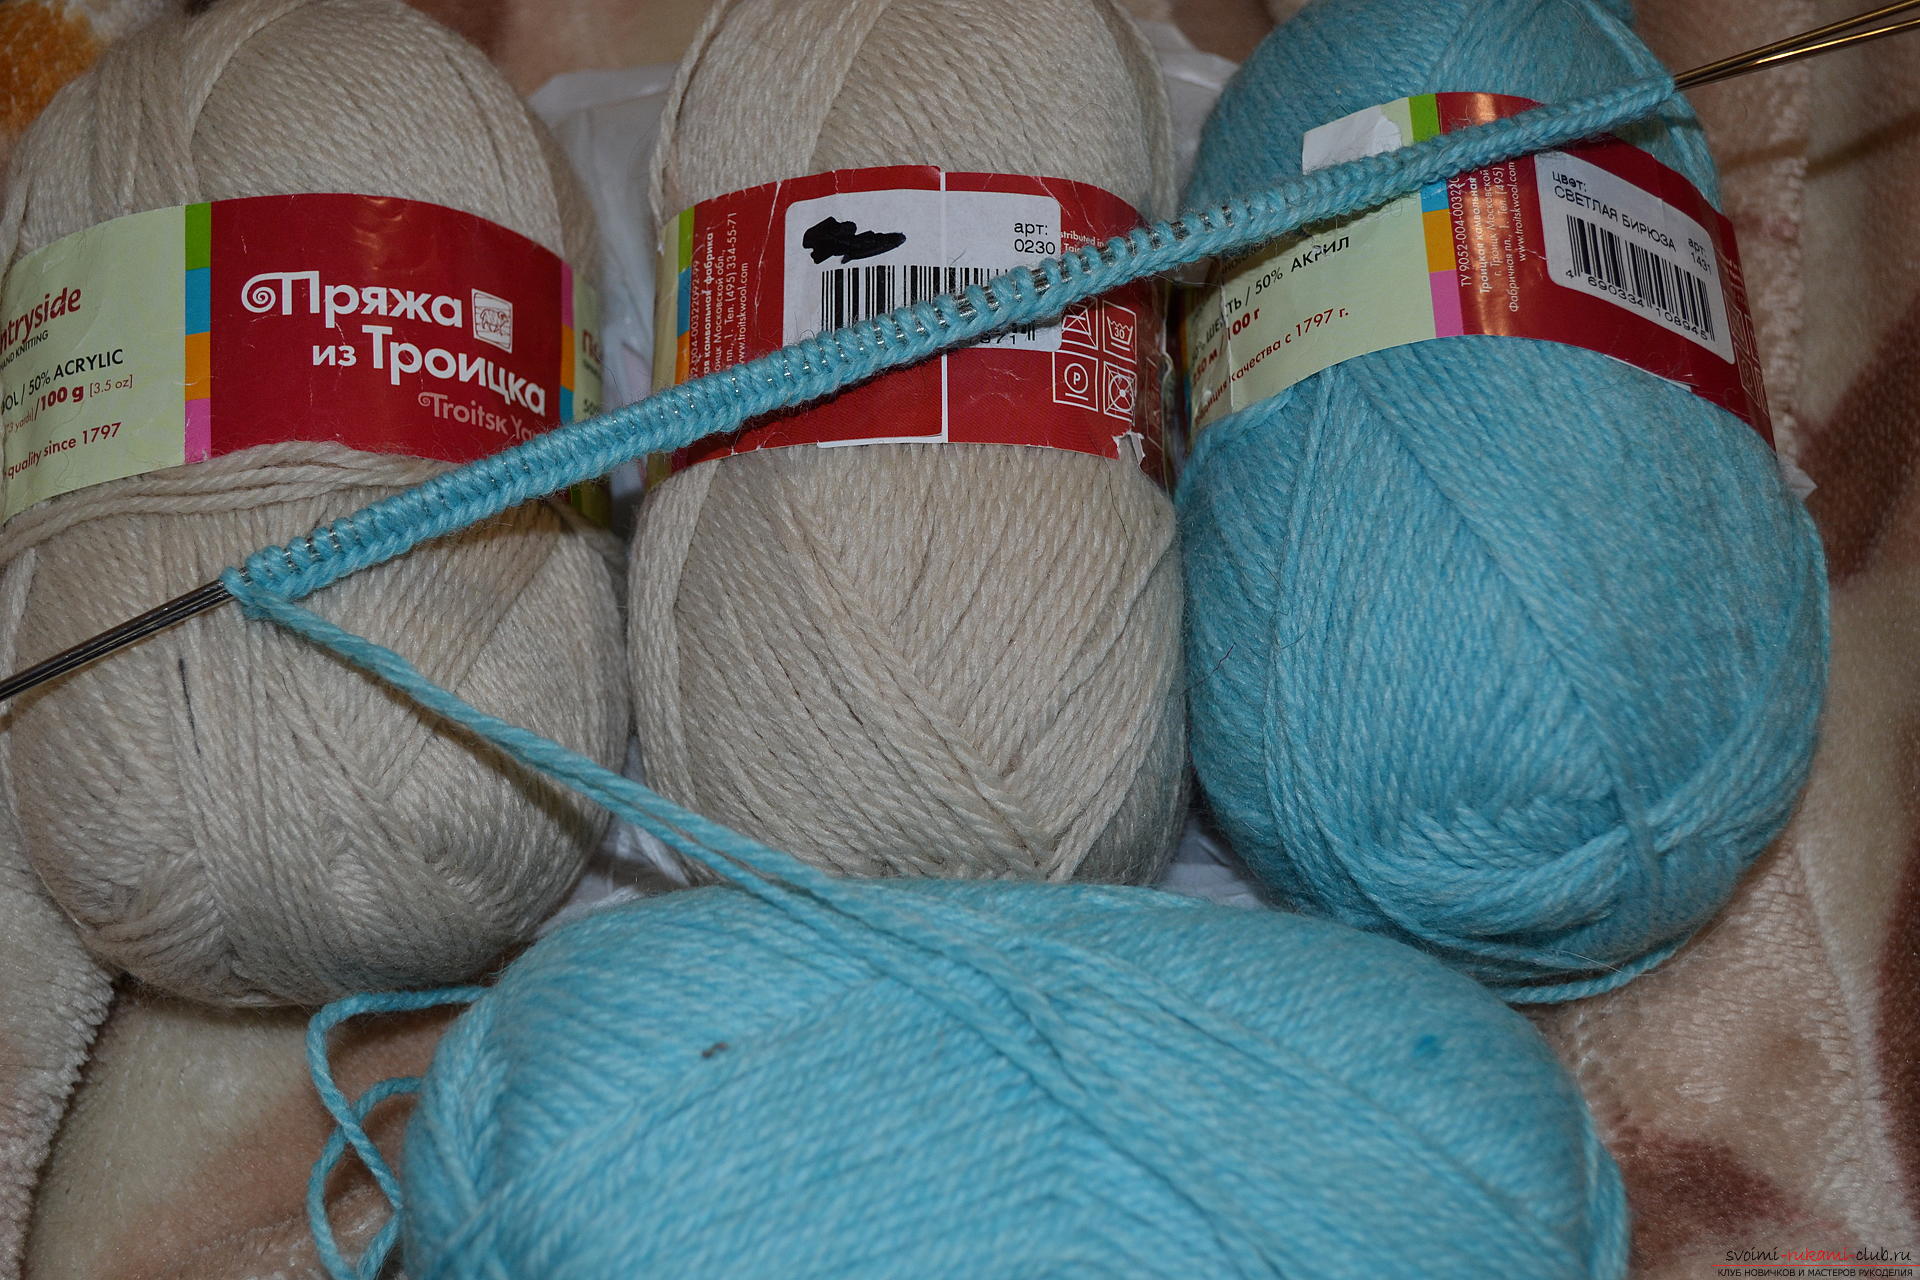 Immediately, I note that you can and even, perhaps, evenIt is necessary to knit a whole cloth on circular knitting needles, without seams. I do not like this way of knitting, although it has its pluses. I like knitting on two simple knitting needles. Having connected, the product is stitched and steamed.
 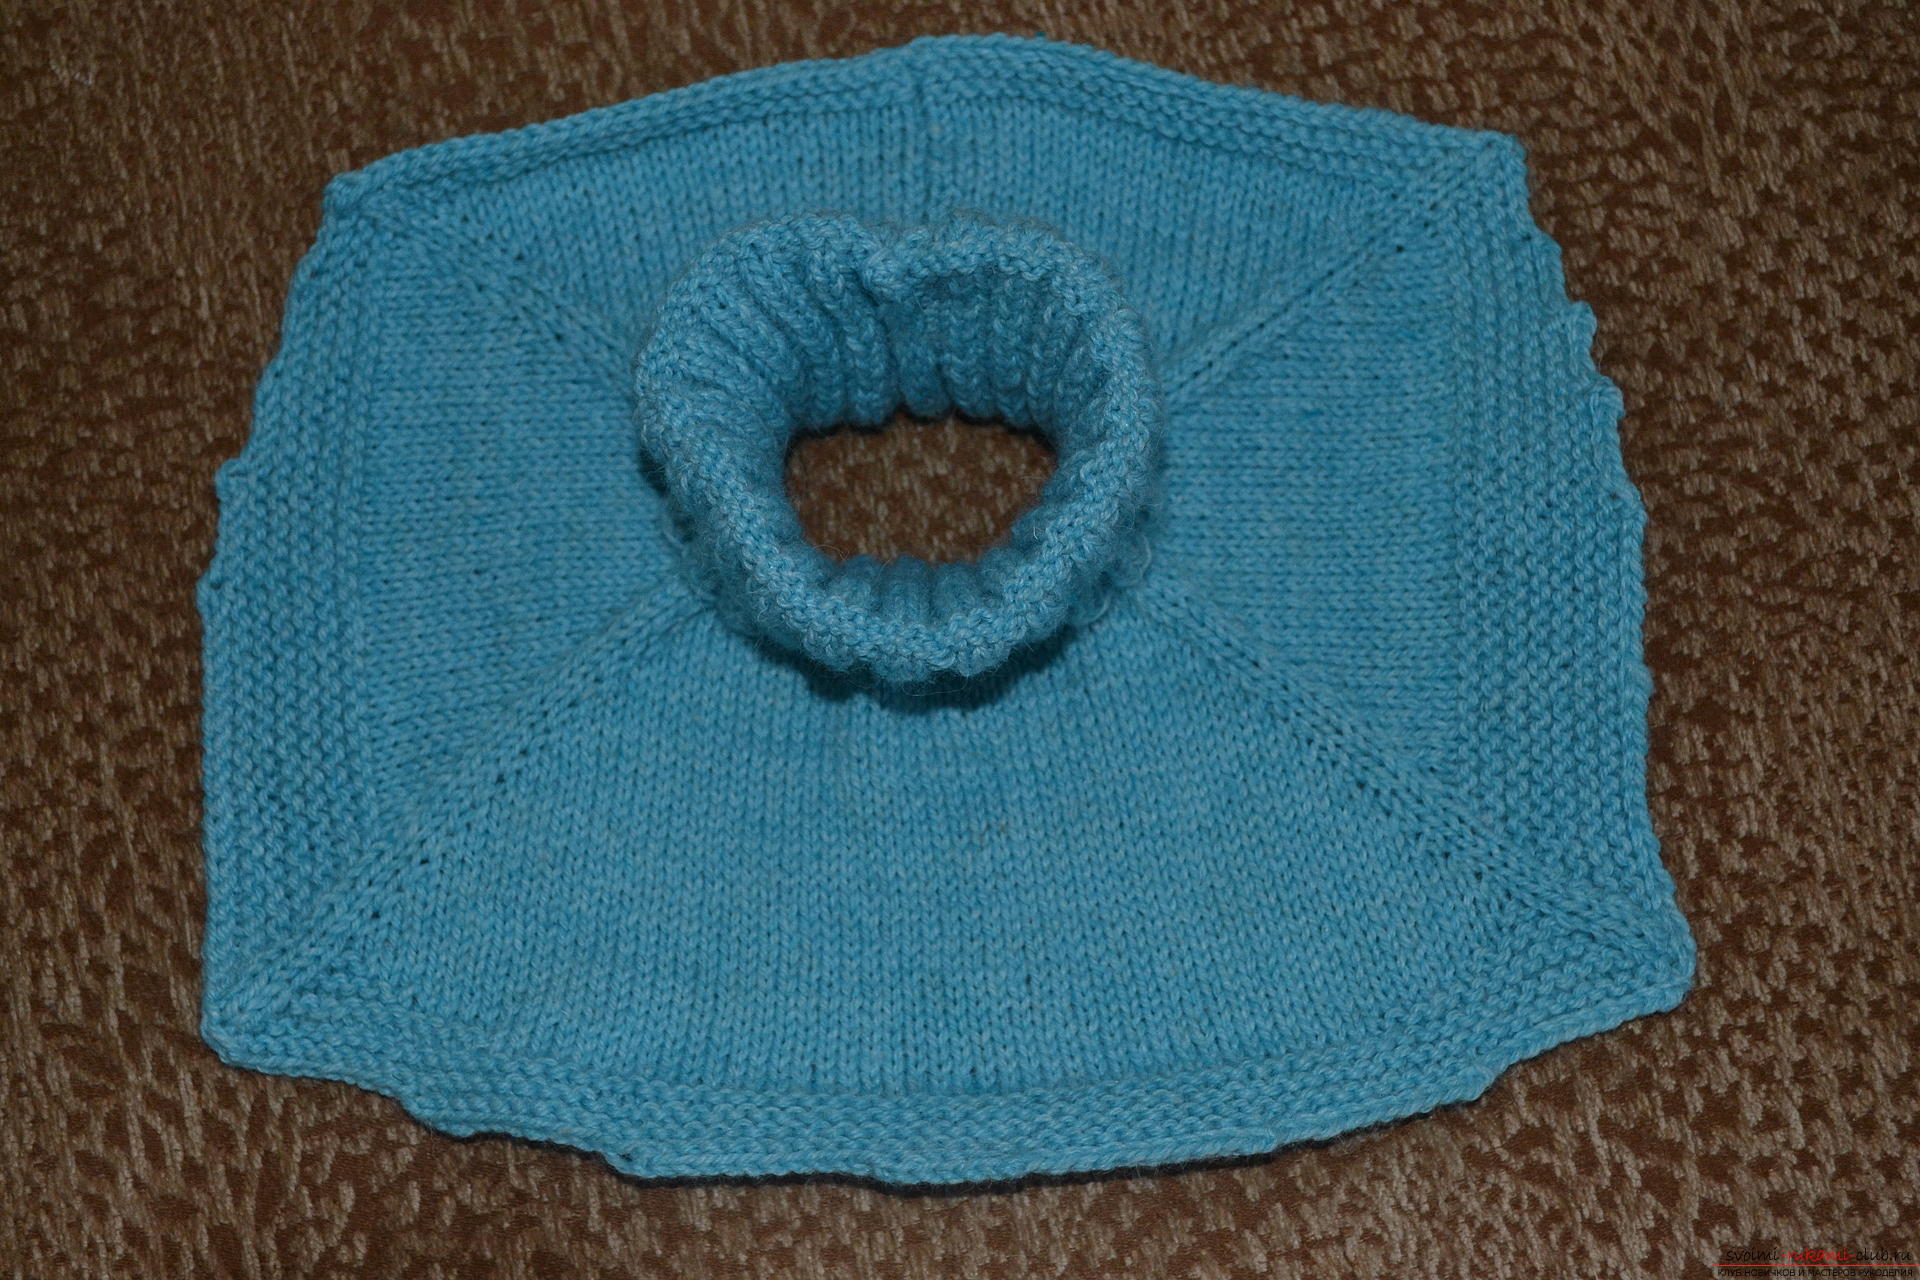 For a girl of 9 years I dial 80 loops and knitrubber band 2x2. The fabric is knitted smoothly, unchanged to the required length (you can measure on the child - along the length of the neck), then I knit 2 rows of purl hair - for folding the gate of the shirt. We continue knitting with an elastic band 2x2 - we knit as many rows as there were before the fold + a couple more rows. Then begins the thoracic part of the shirt-front. Her knitters all knit differently. I love an even surface with additions, as for raglan. For this I conditionally divide the canvas into 4 parts: before and back - a little more, shoulders - a little smaller. So, I divided 80 loops of 30 - for the transfer and backrest and 10 - for the shoulder segments. Now start knitting: 1 row: 1 Chrome., 13 faces. (half back), 1 increase, 2 persons, 1 increase, 8 persons. (shoulder), 1 increase, 2 persons., 1 increase, 28 persons (before), 1 increase, 2 persons., 1 increase, 8 persons. (shoulder), 1 increase, 2 persons., 1 increase, 13 persons. (the second half of the back), 1 protrusion-edge. At the end of the series we check: there must be 88 loops.
 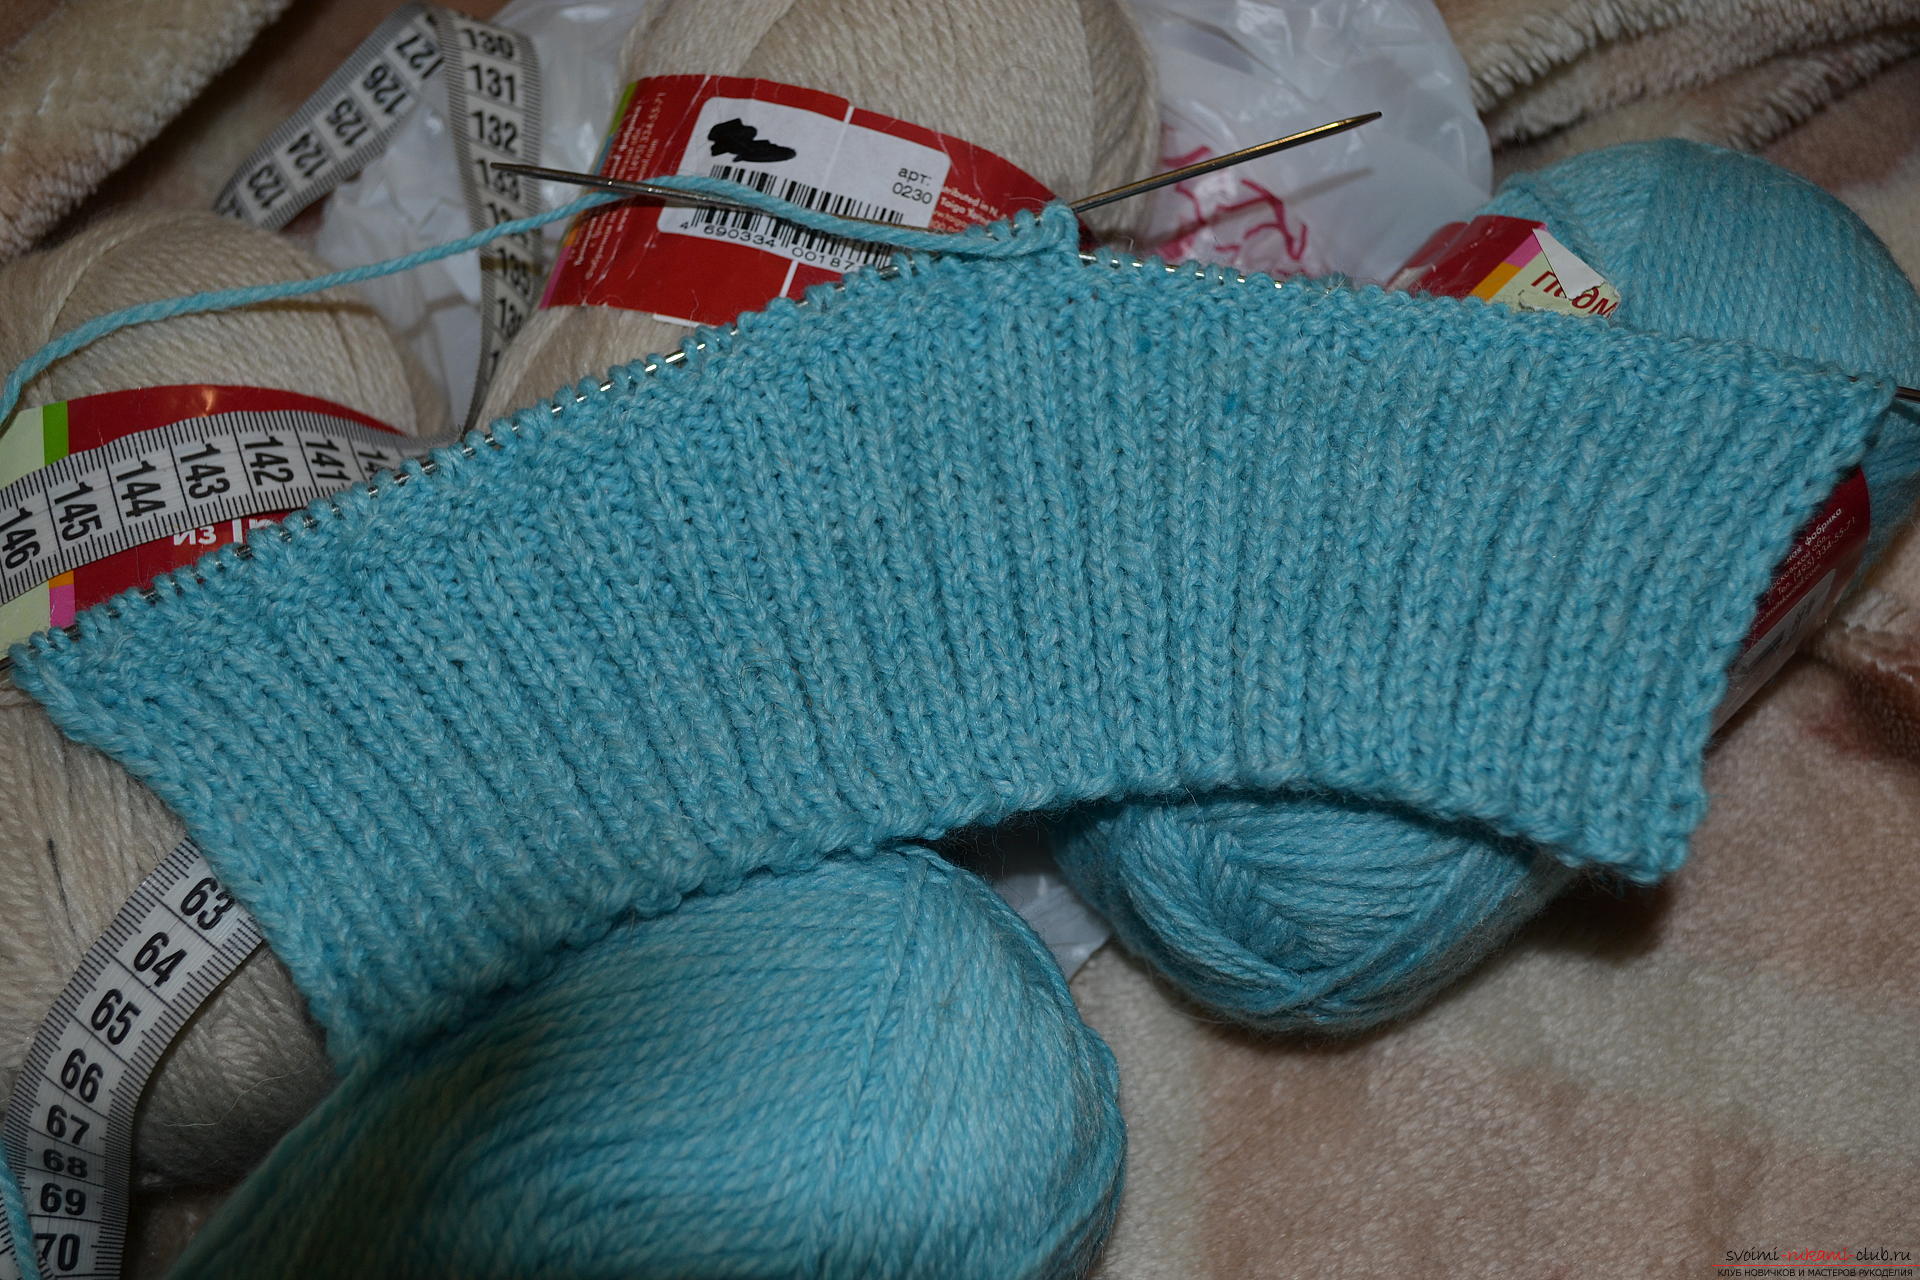 2 rows (purl) and all subsequent even rows - we knit all the wrong loops, without adding.
 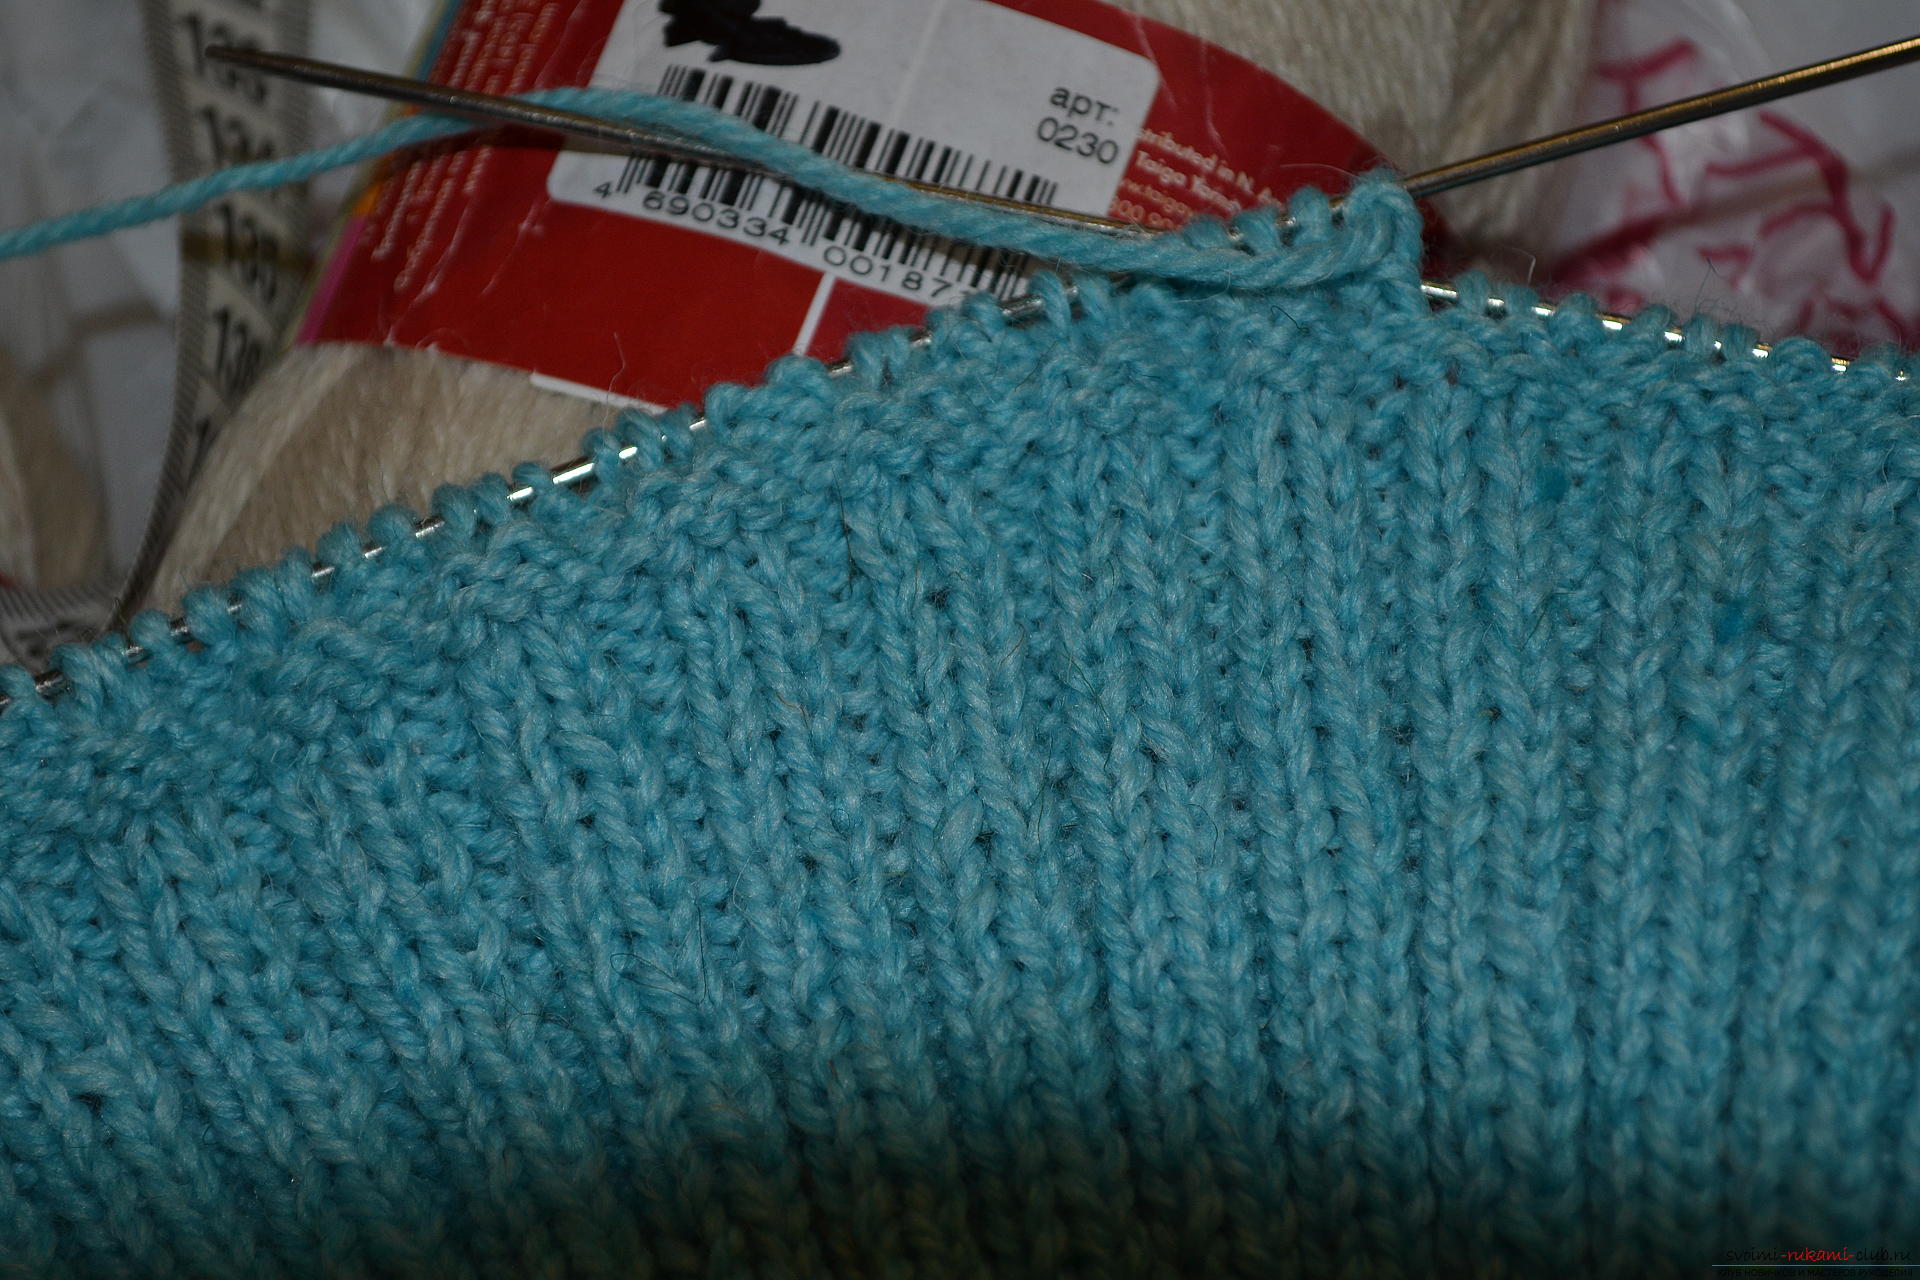 3 and the subsequent odd series are knitted in the same way asand the first. That is, we add 1 loop in the same places, keeping the faces between the added loops of 2 persons. loops - after a couple of rows, this path from the front loops becomes clearly visible.
  We knit, therefore, to the required length (hereso the tastes of all are different) and close all the loops. I knit a little differently. I close the hinges gradually, starting from the back. I subtract 5 loops at the beginning of each new row. Thus, on my back the shirtman turns out to be shorter, on the shoulders gradually lengthens, and on the breast of the child - there will be the longest part.
 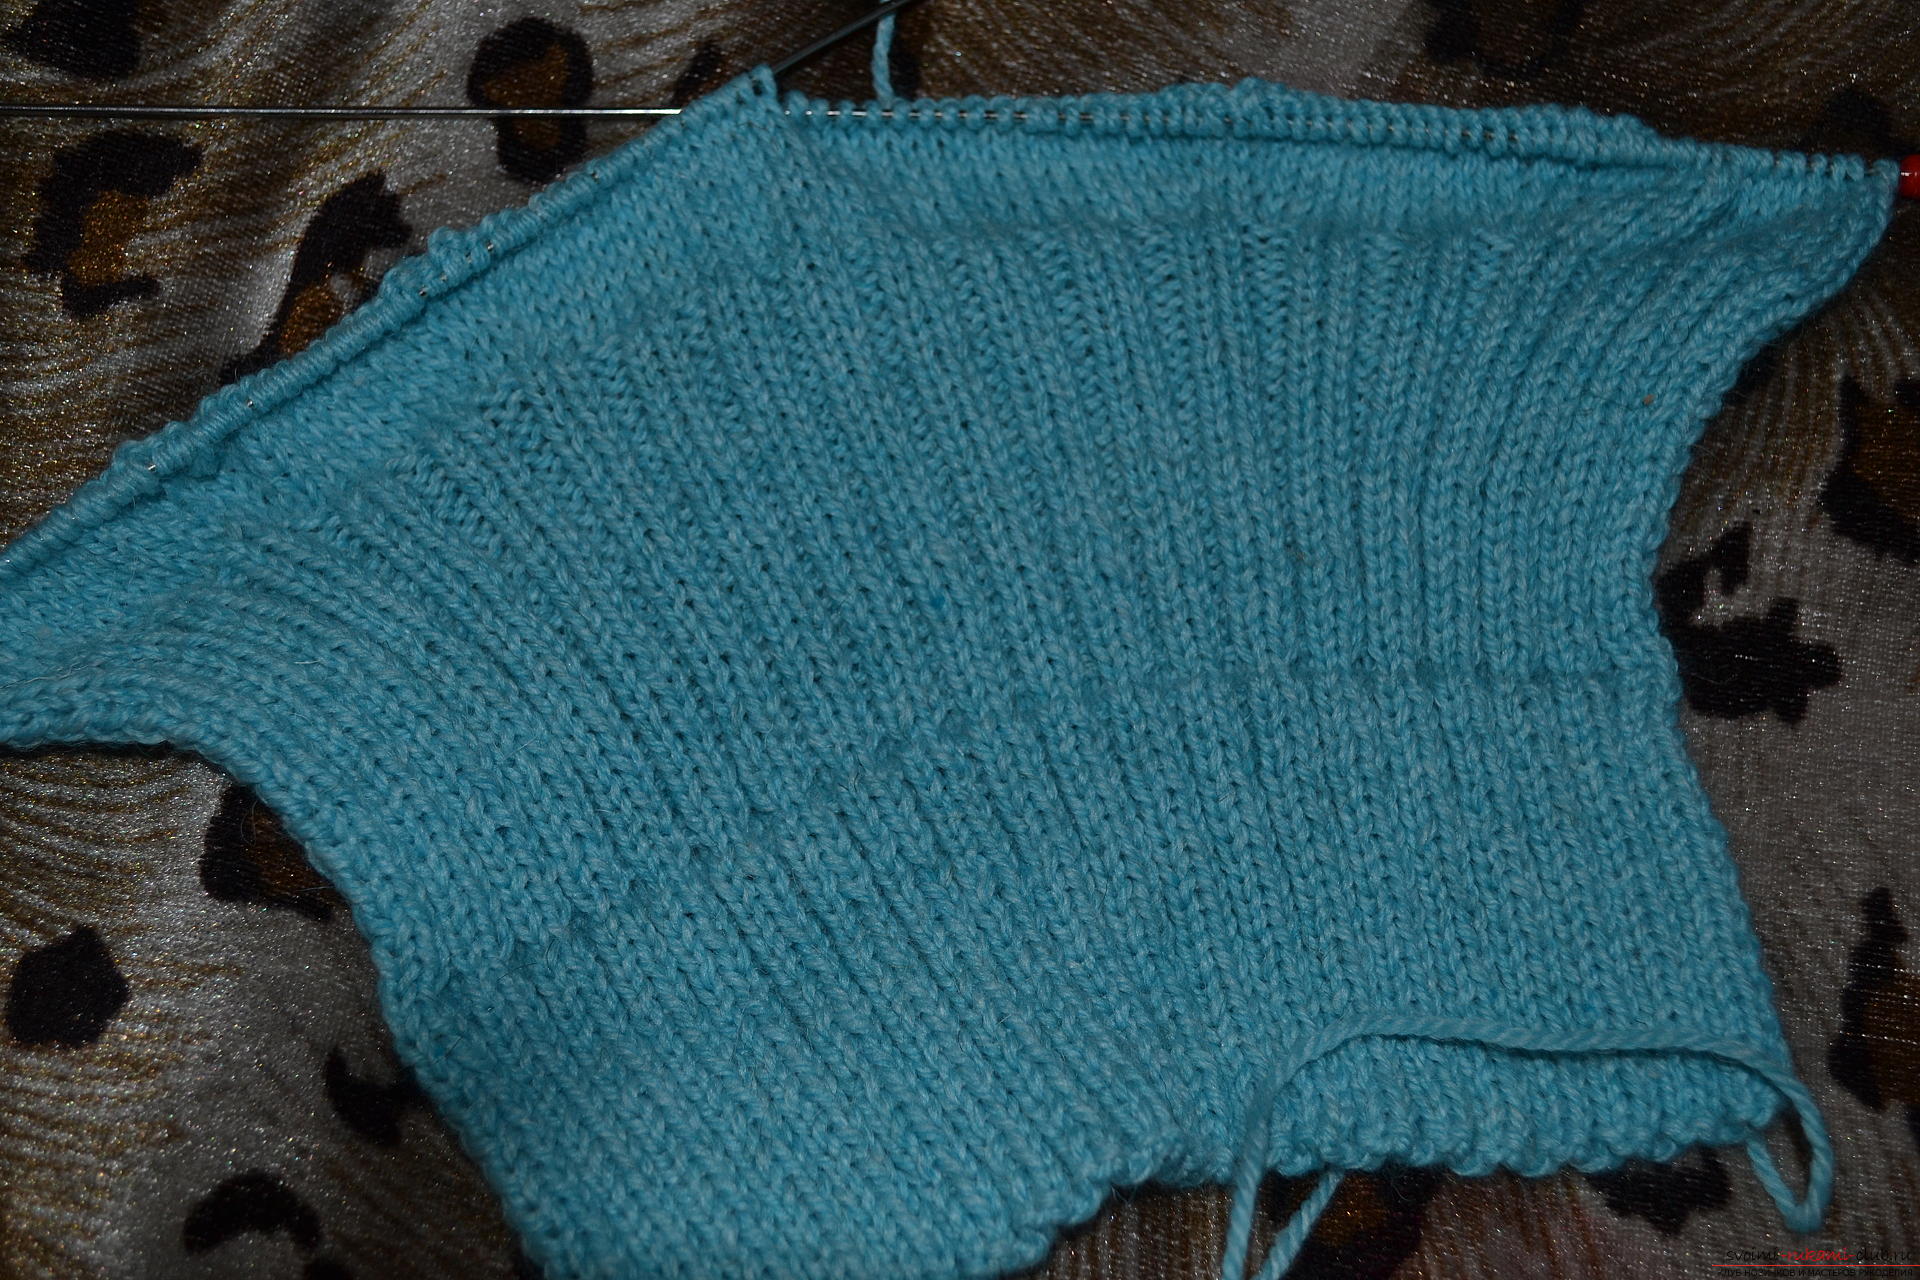 There is another trick. The last few rows before closing I like to knit not with facial smoothness, but with garter stitch. So, the edges of the shirt-front will not twist. The product is ready. It can be sewn, steamed and worn with pleasure!
Comments
Related posts:
 If you want to learn how to make modular origami, look into our master class.
 If you want to learn how to make a card with your own hands, look into this master class.
 If you want to know how to weave a French braid with the help of a Chinese wand, our master class hairstyles with weaving for you.
A master class with a detailed description will teach you how to knit your bib for a child.
If you want to know how to weave a French braid with the help of a Chinese wand, our master class hairstyles with weaving for you.
A master class with a detailed description will teach you how to knit your bib for a child.
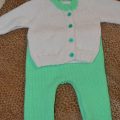 This master class with a knitting pattern will teach you how to tie a suit for a newborn or babe with knitting needles.