
In this master class you will learn how to decorate a wedding album with your own hands in the technique of decoupage.
 In this case, to design the cover of the wedding photo album, several types of usual napkins will be used, only very beautiful and selected by color and pattern.
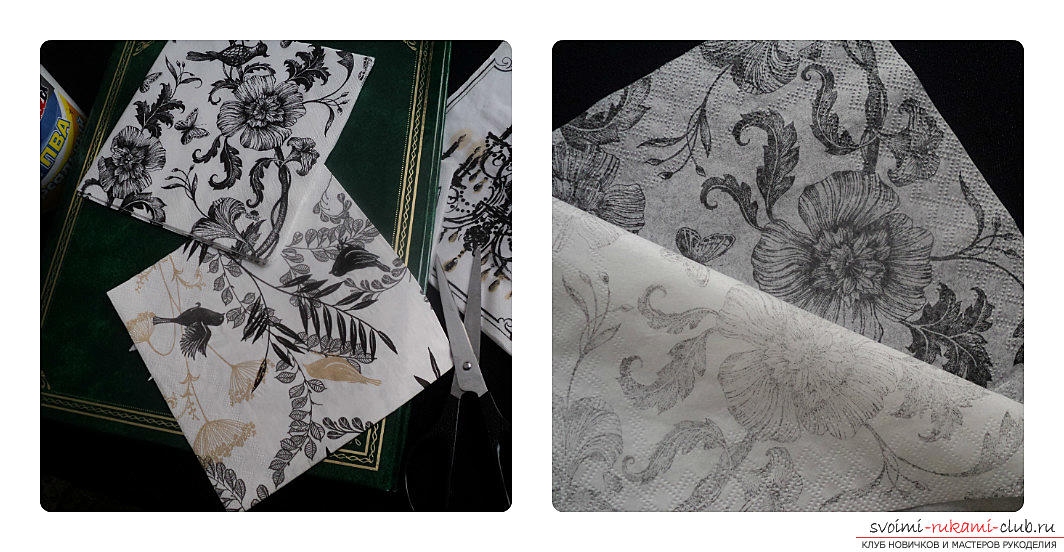
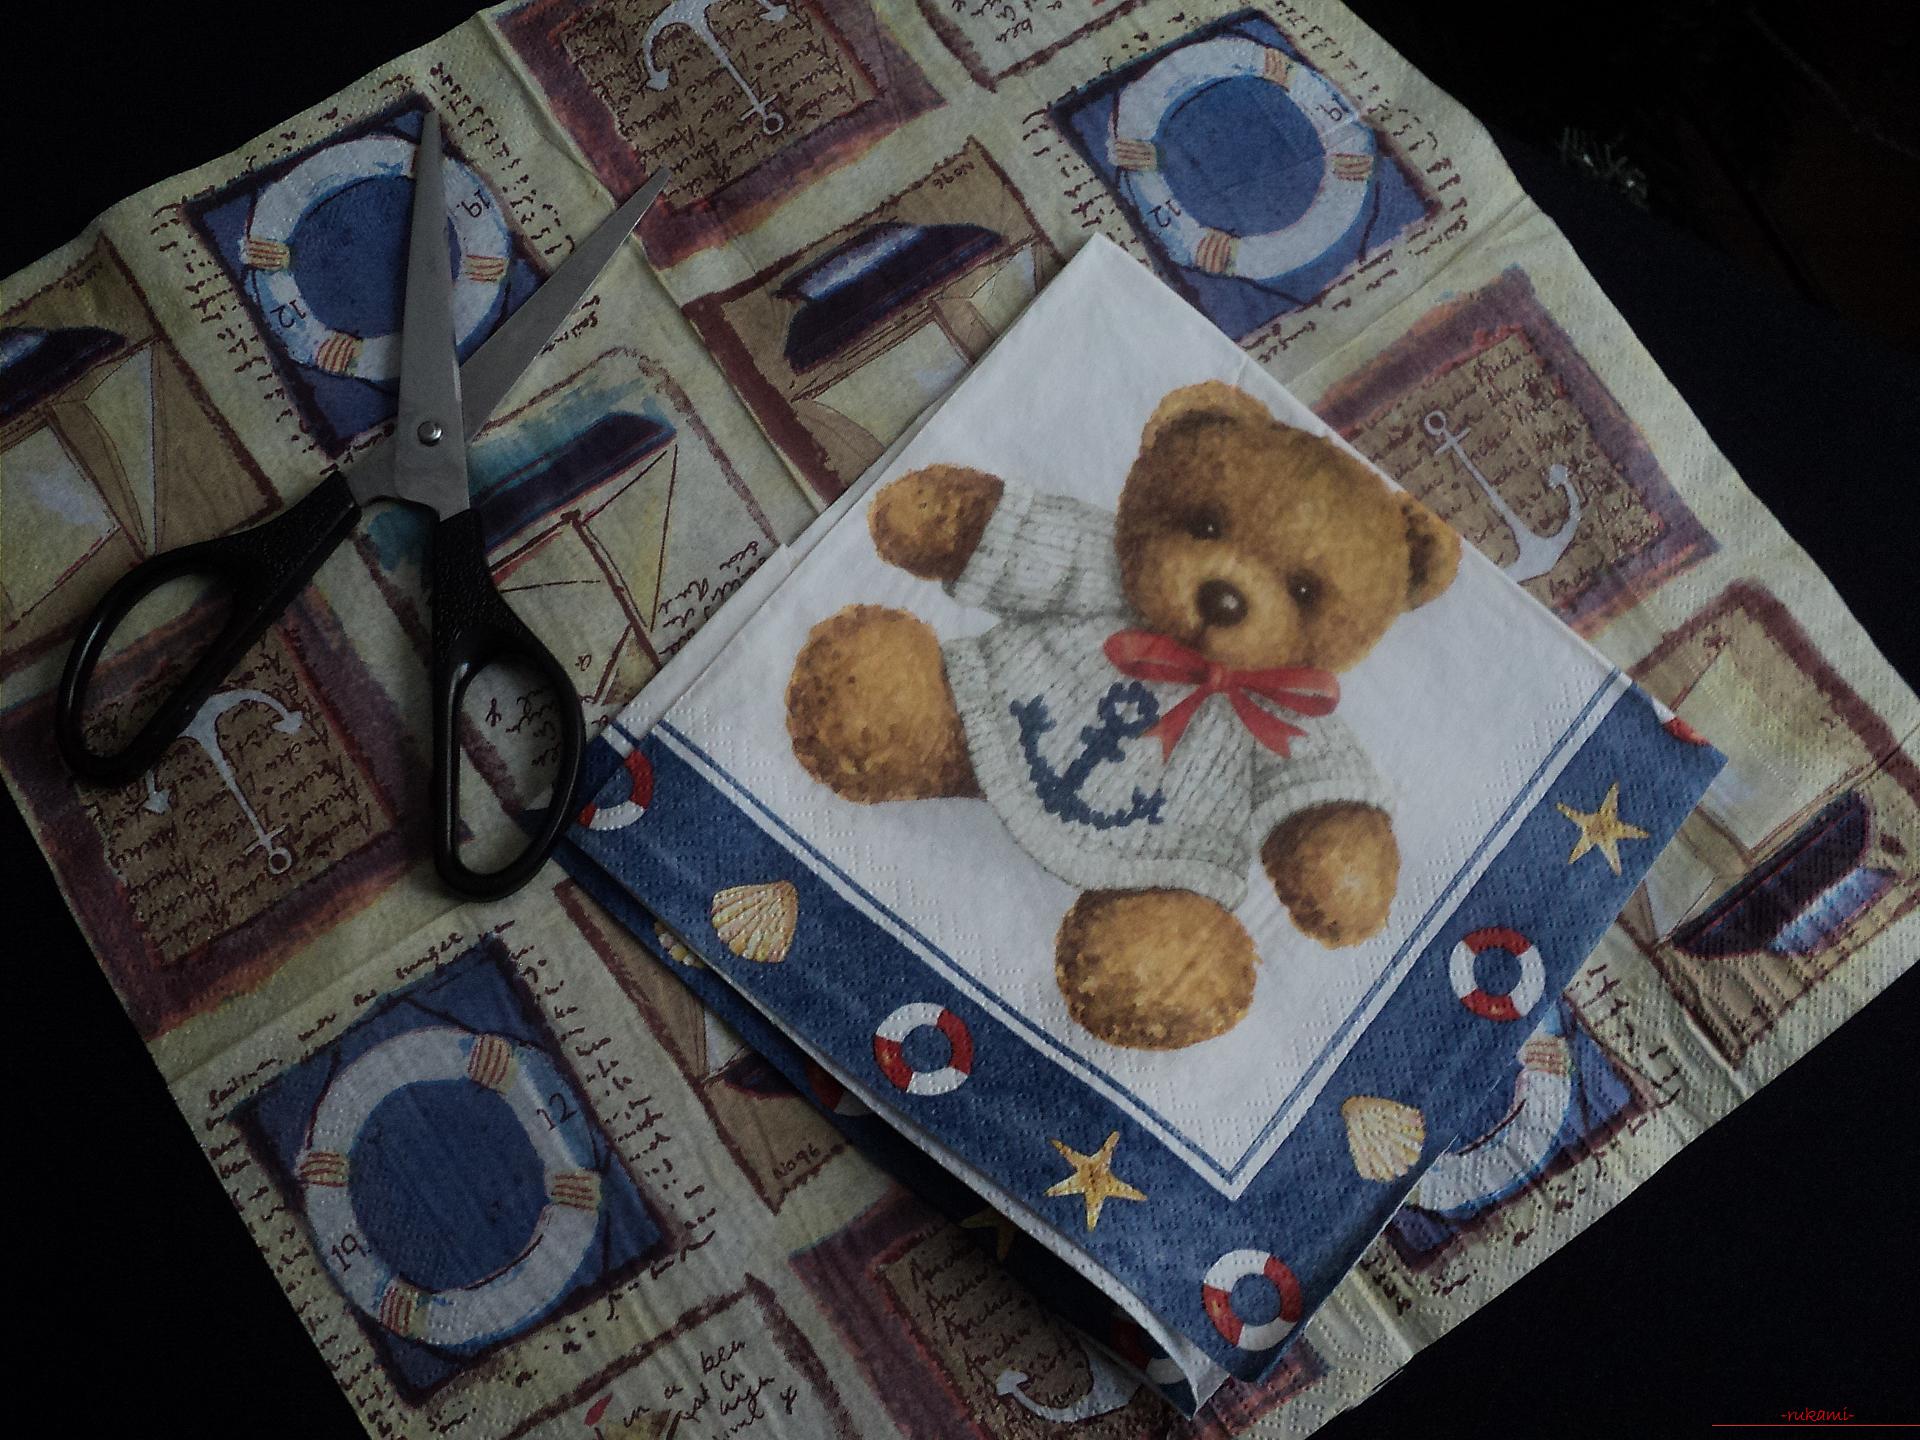
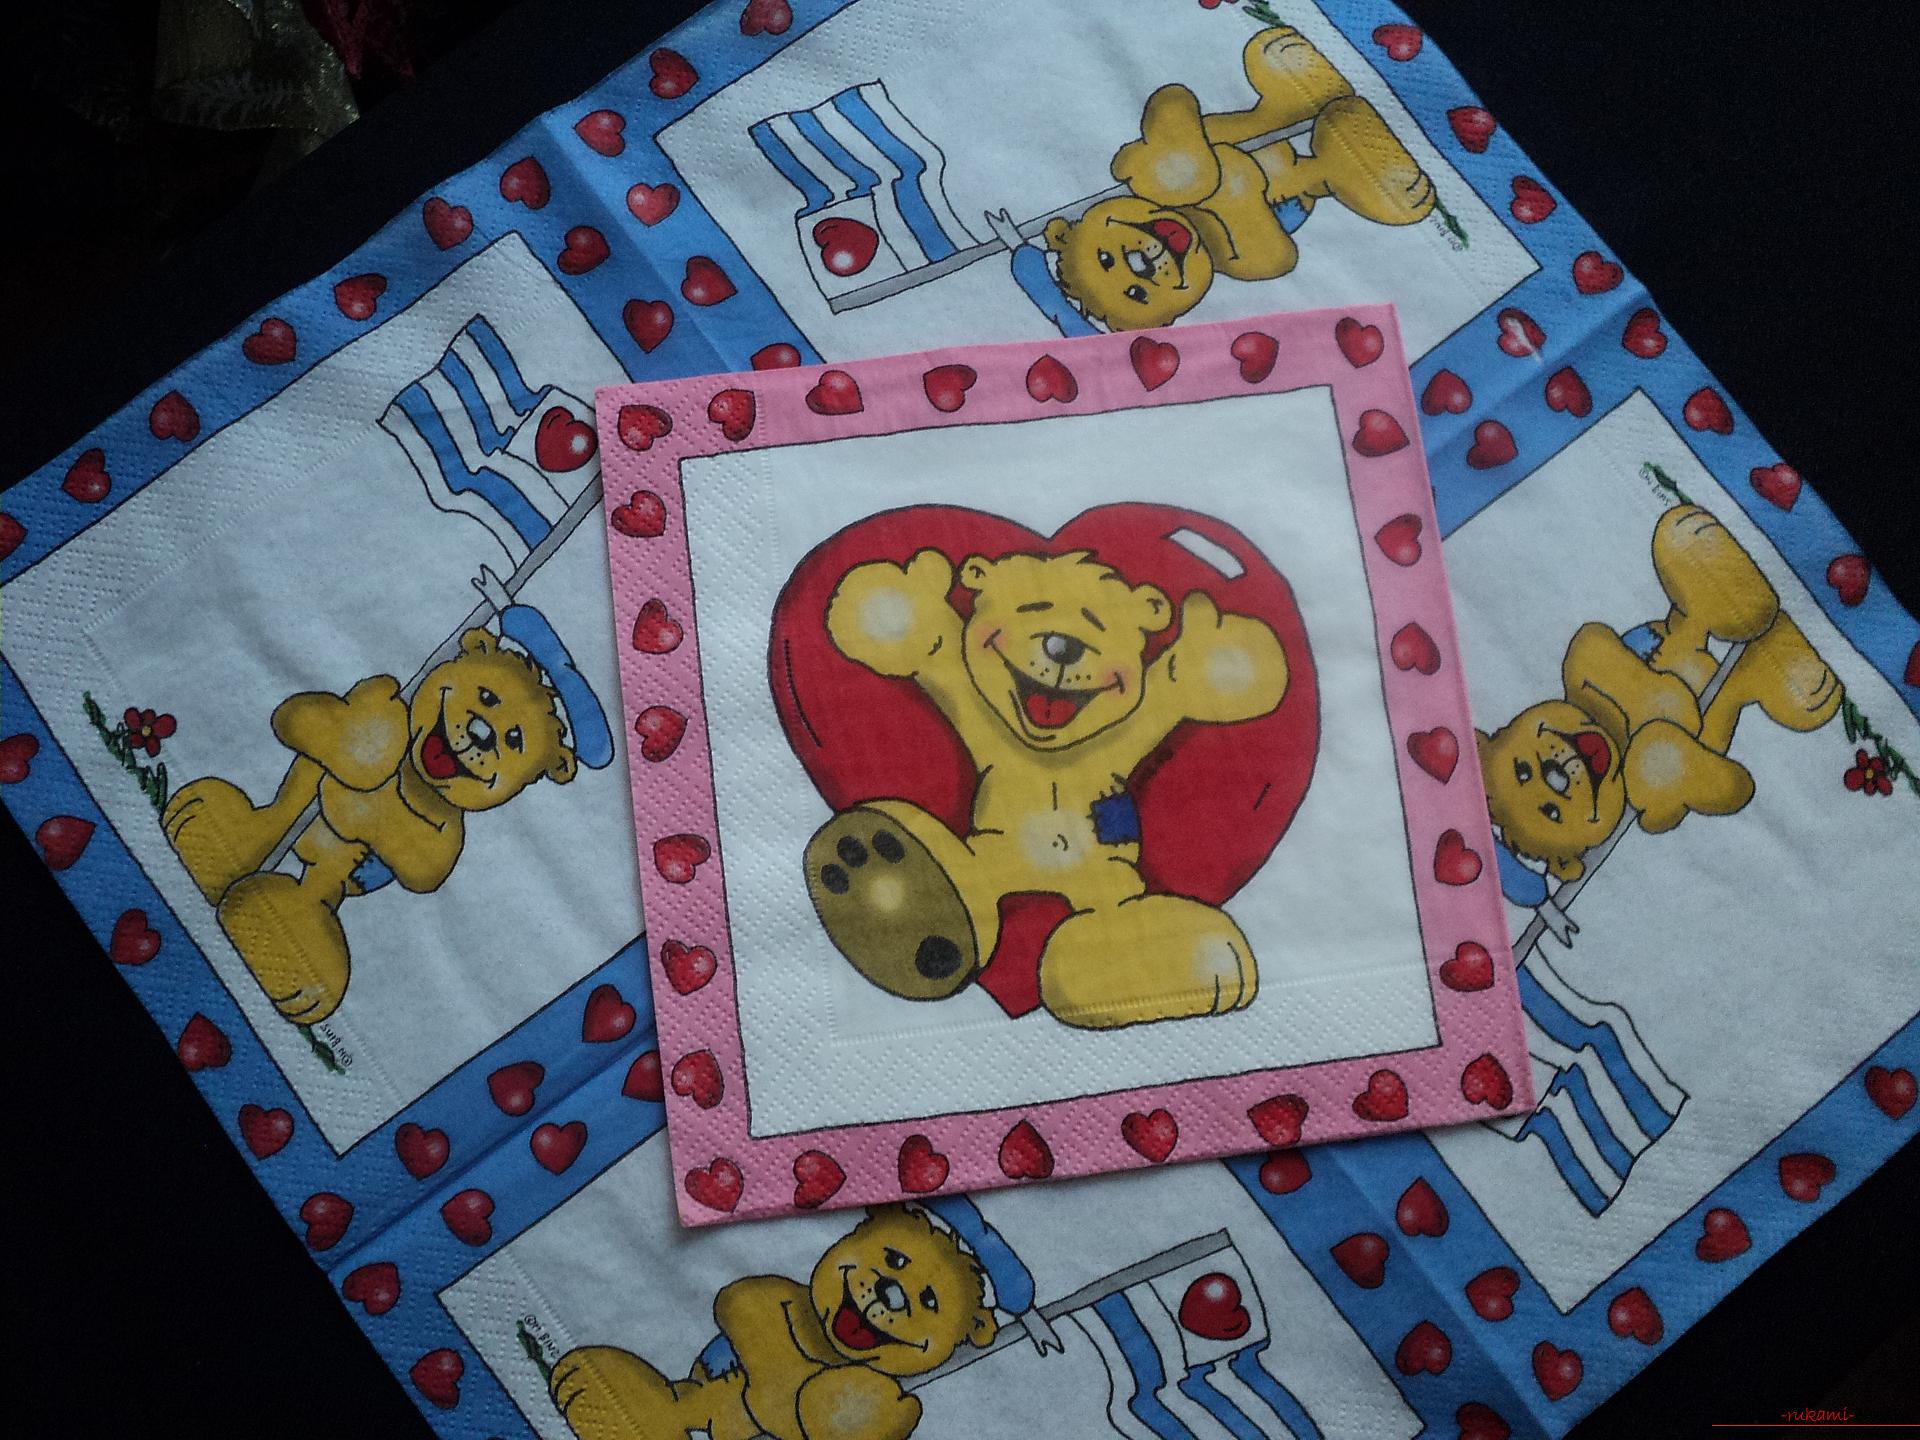
 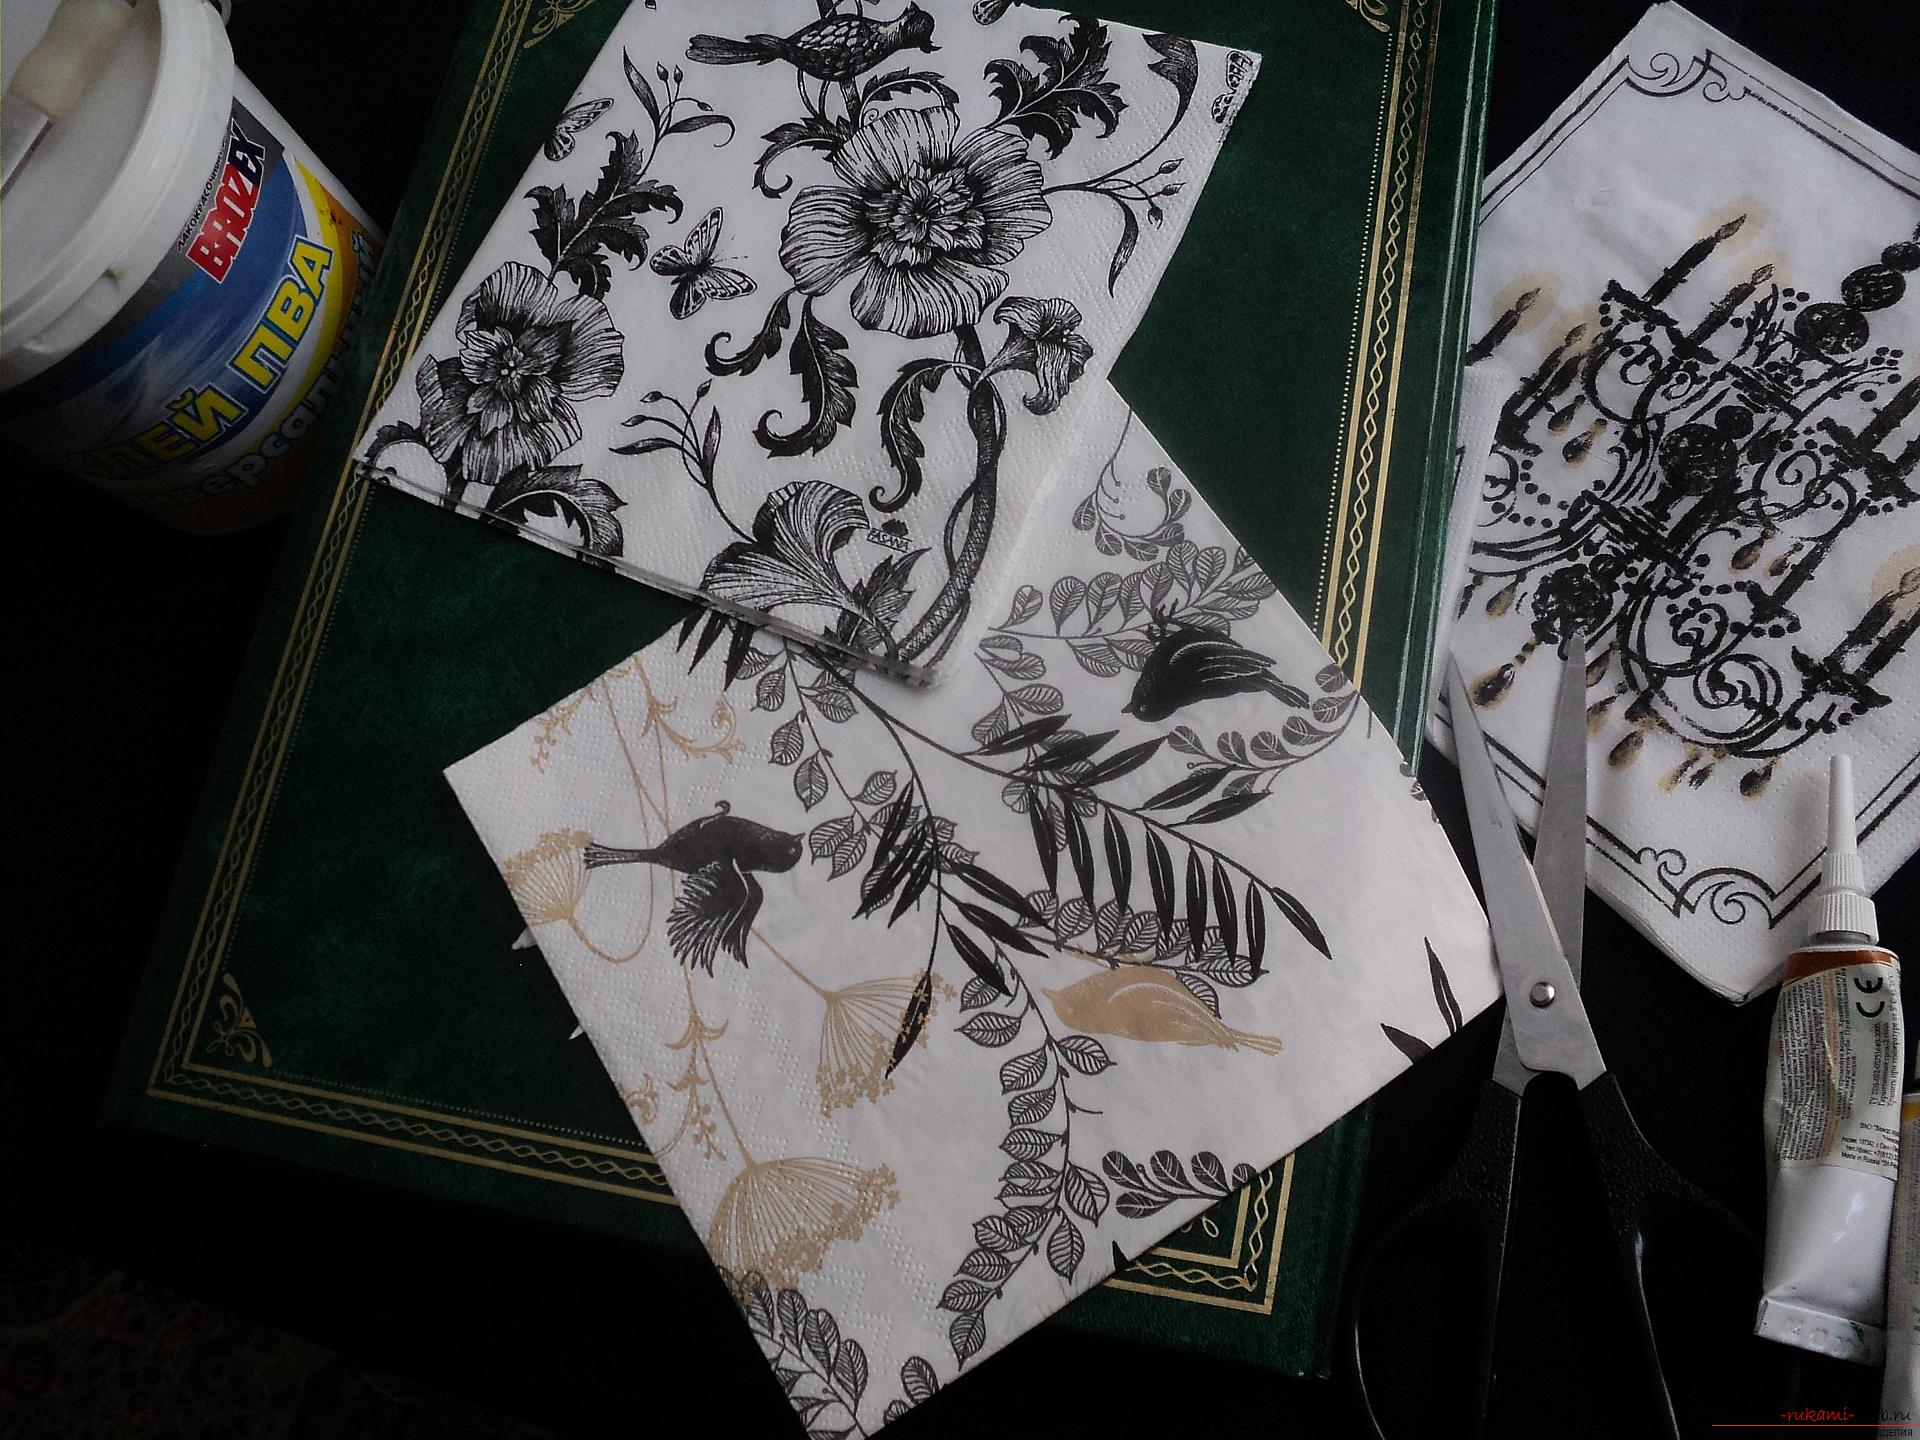 The use of different materials gives space for creativity: a combination of elements of the pattern can be cut and mixed together. Examples of combinations of napkins on different topics can be seen in the photographs.
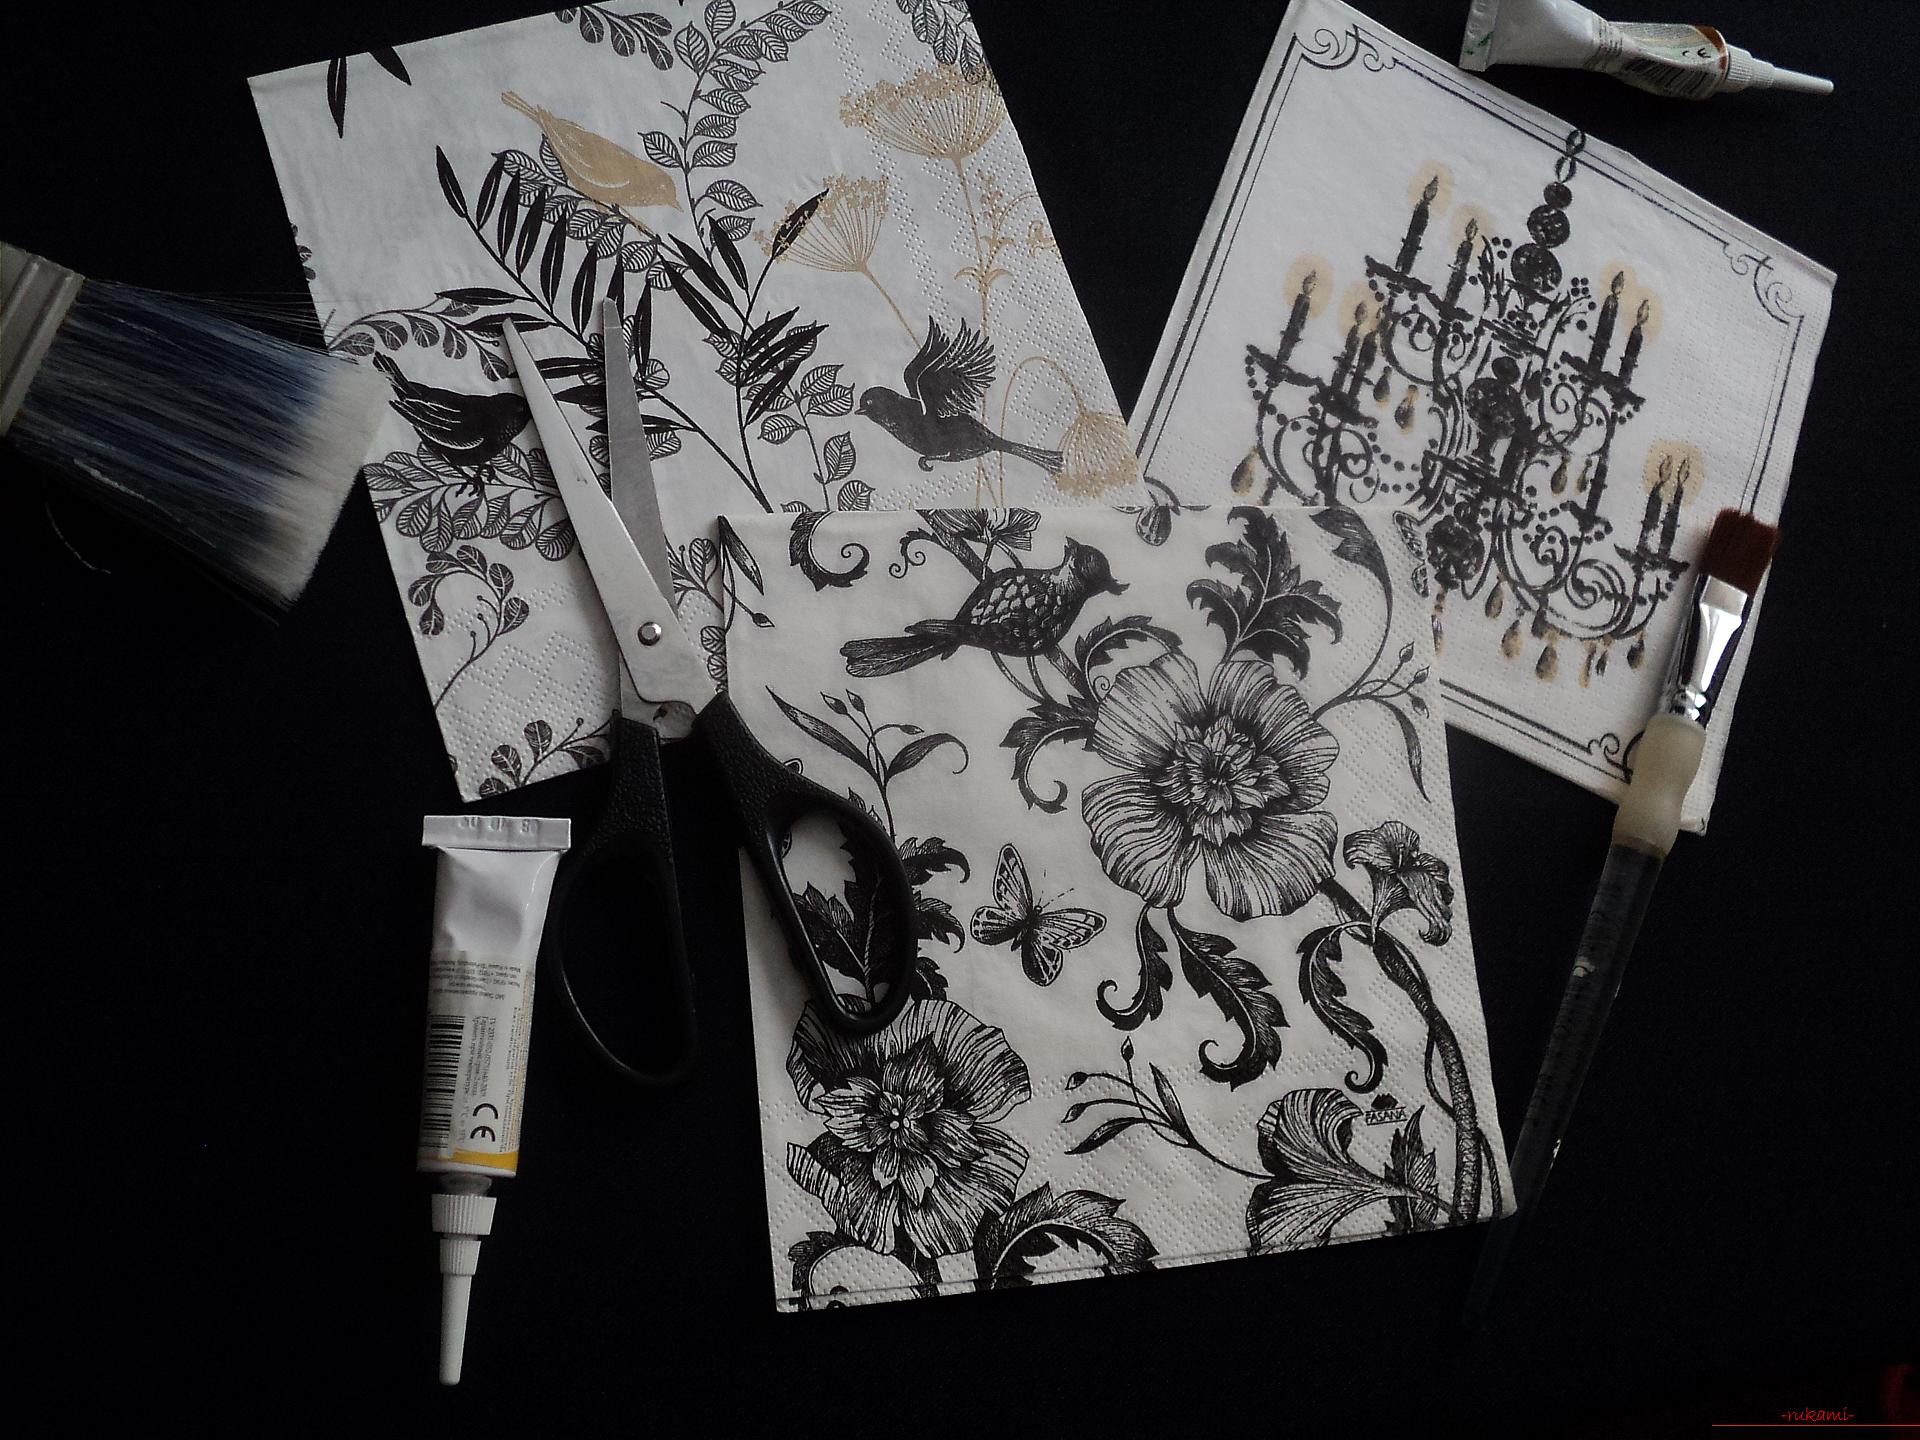
 The following tools are required for the job:
- Cover for a photo album (we use an album on A4 size rings);
- small skin (null);
- PVA glue;
- brushes of different widths;
- White acrylic paint;
- napkins with a beautiful pattern for decoupage;
Sequence of work: 1. A fine sandpaper give a slight roughness to the album cover for better adhesion to the paint. Do not overdo it, you only need to remove the glossy layer from the coating. 2. Wide brush cover the cover with white paint, allow to dry. If necessary, apply a second coat of paint, achieving uniform coverage. 3. While the cover dries, spread out the napkins and come up with a combination of drawings from them. 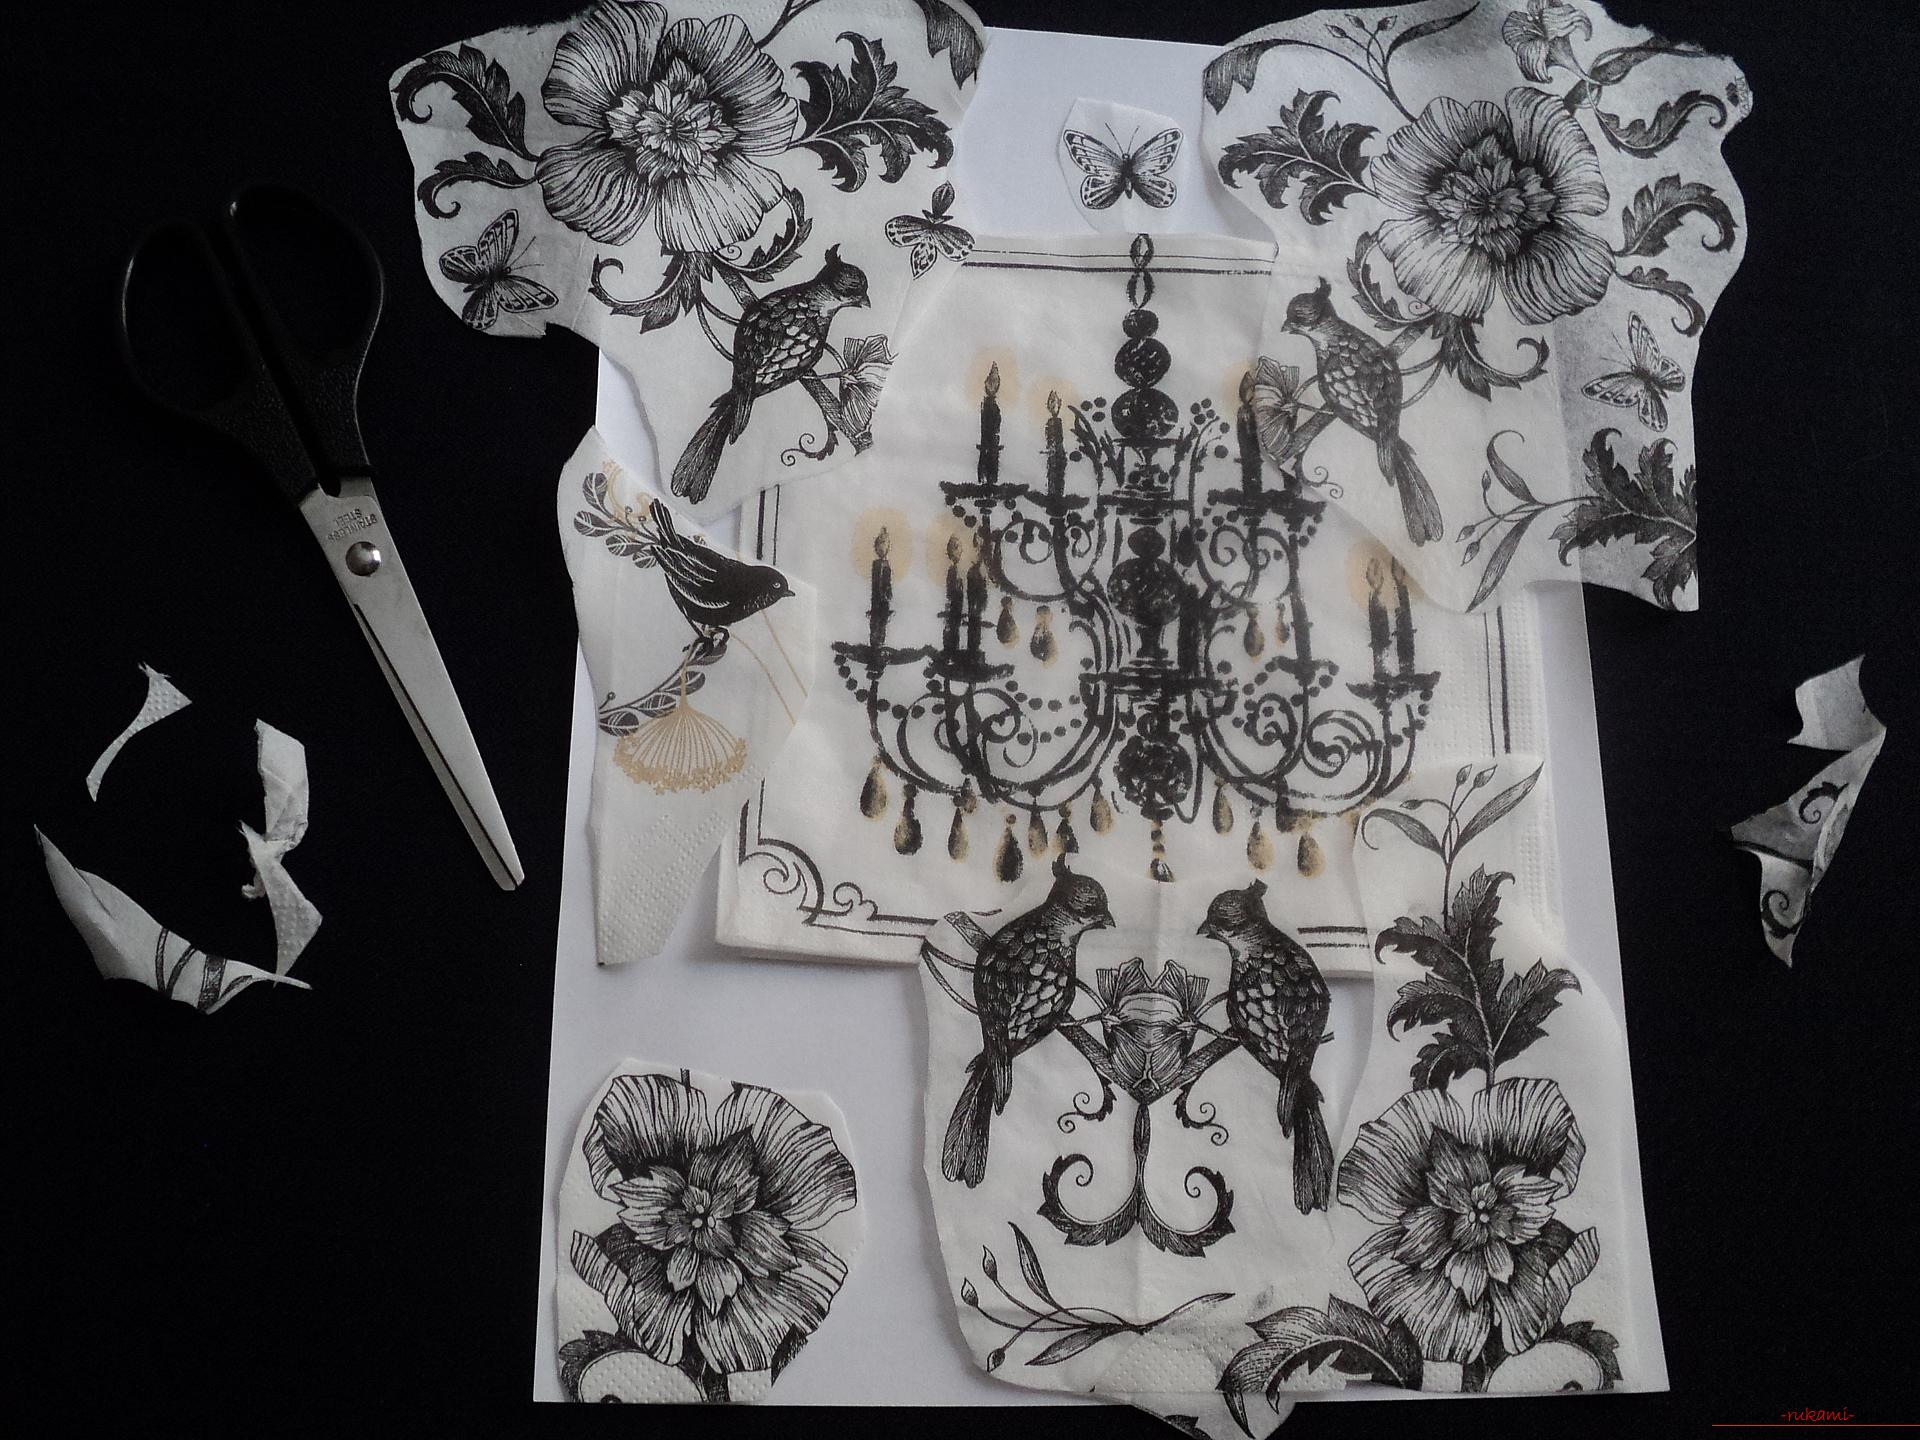
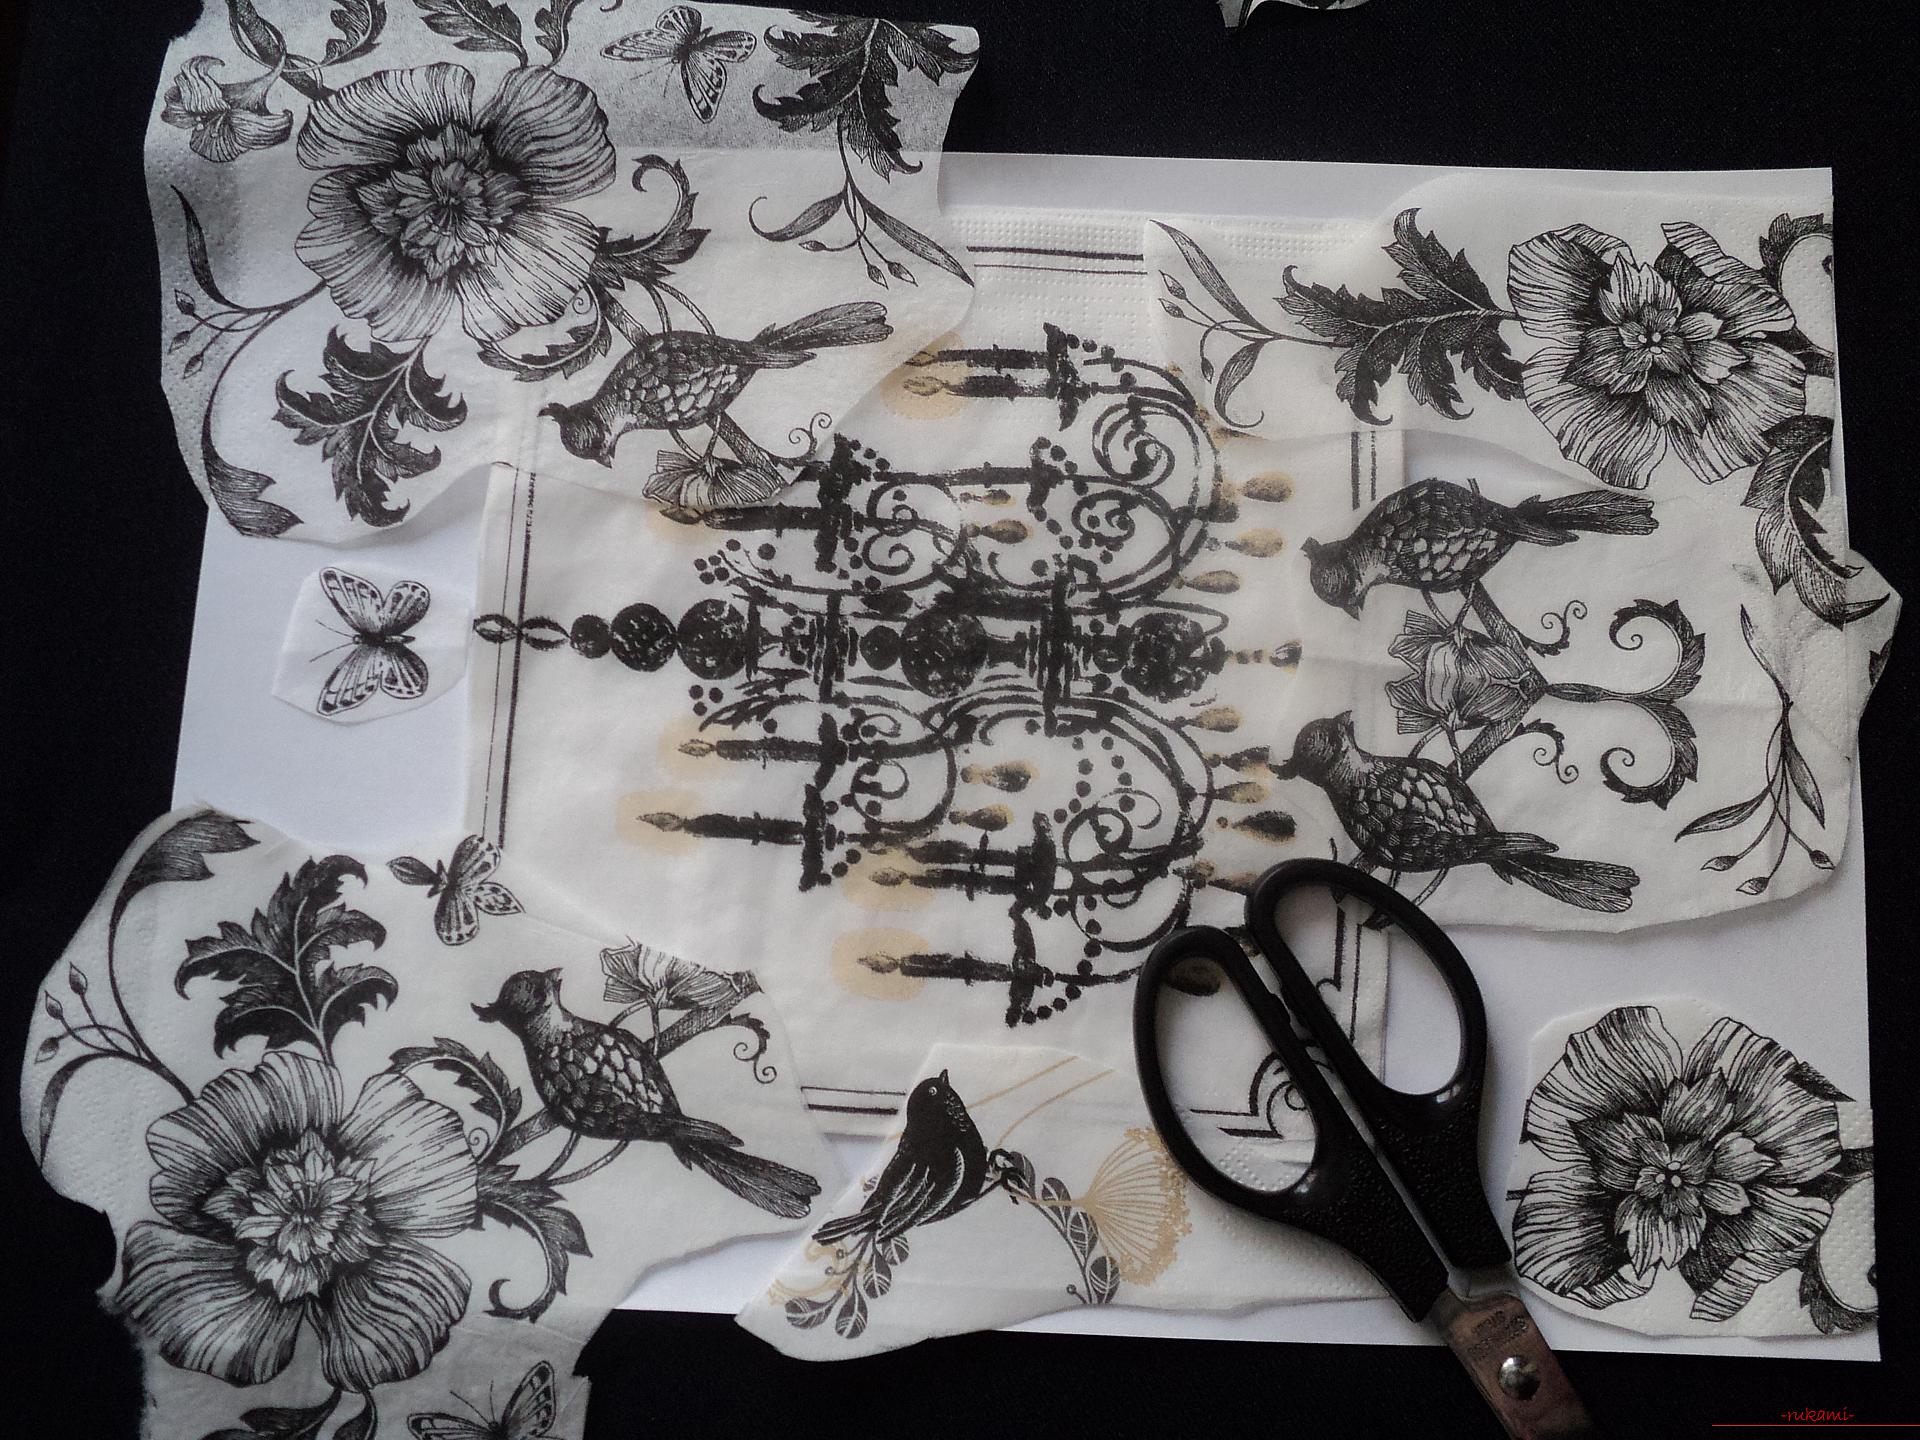 Divide the top layer with the pattern.
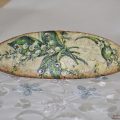
 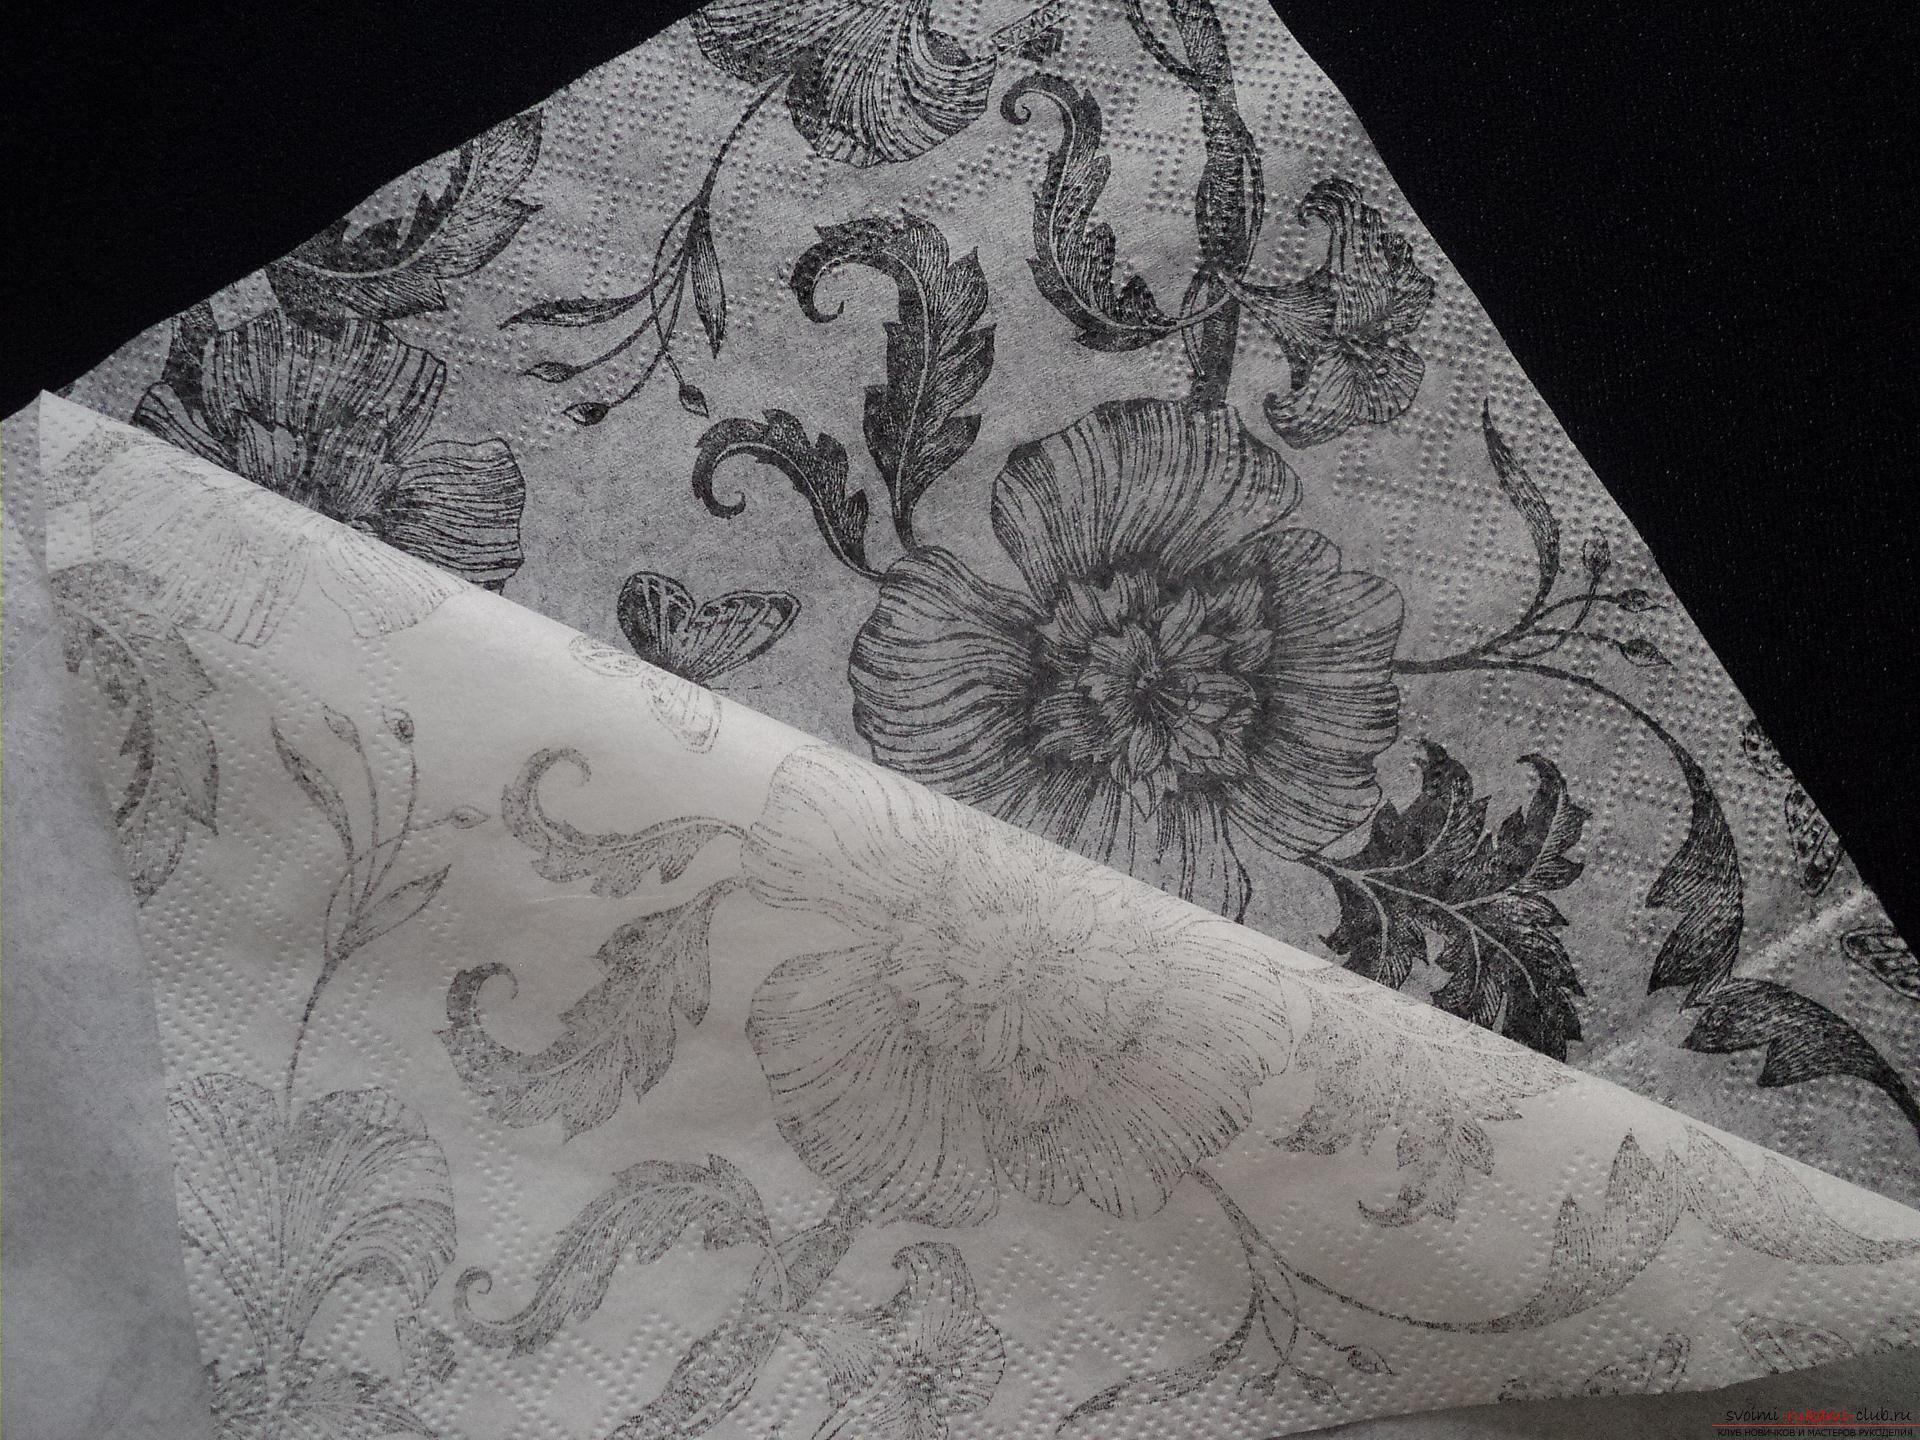 In order that in the future when gluingavoid wrinkles in the picture, sprinkle the napkins from the spray gun and smooth out with a warm iron. In this case, a black and white color scheme with a romantic pattern is chosen: an old chandelier with one napkin surrounded by patterns with magical colors on the other. Important: the background of the drawings on the napkins must match the base cover of the album. 4. Cover the cover with glue PVA. On the wet coating, gently apply the central element of the composition. When it is impregnated with glue, with a broad soft brush "expel" air bubbles and glue the application. Next, arrange the cover on the edges, carving elements of patterns from napkins and gluing them. When wet, the napkins become almost transparent, so you can stick different elements on each other, weaving patterns between each other. 5. Allow the work to dry completely. After evaluating the composition; if necessary, glue or paint the missing elements. 6. Cover the entire cover with a protective coating. You can use a special adhesive for decoupage, or dilute PVA water 1: 2 and this composition to cover the surface 1-2 times. This method can be used for objects that do not come into contact with water in the future. 7. If desired, paste pastes or other decorative elements with a glue gun. 8. Inner sides of the album cover can also be decorated with decoupage, repeating the composition or inventing a new one. 9. Insert pages into the album.
 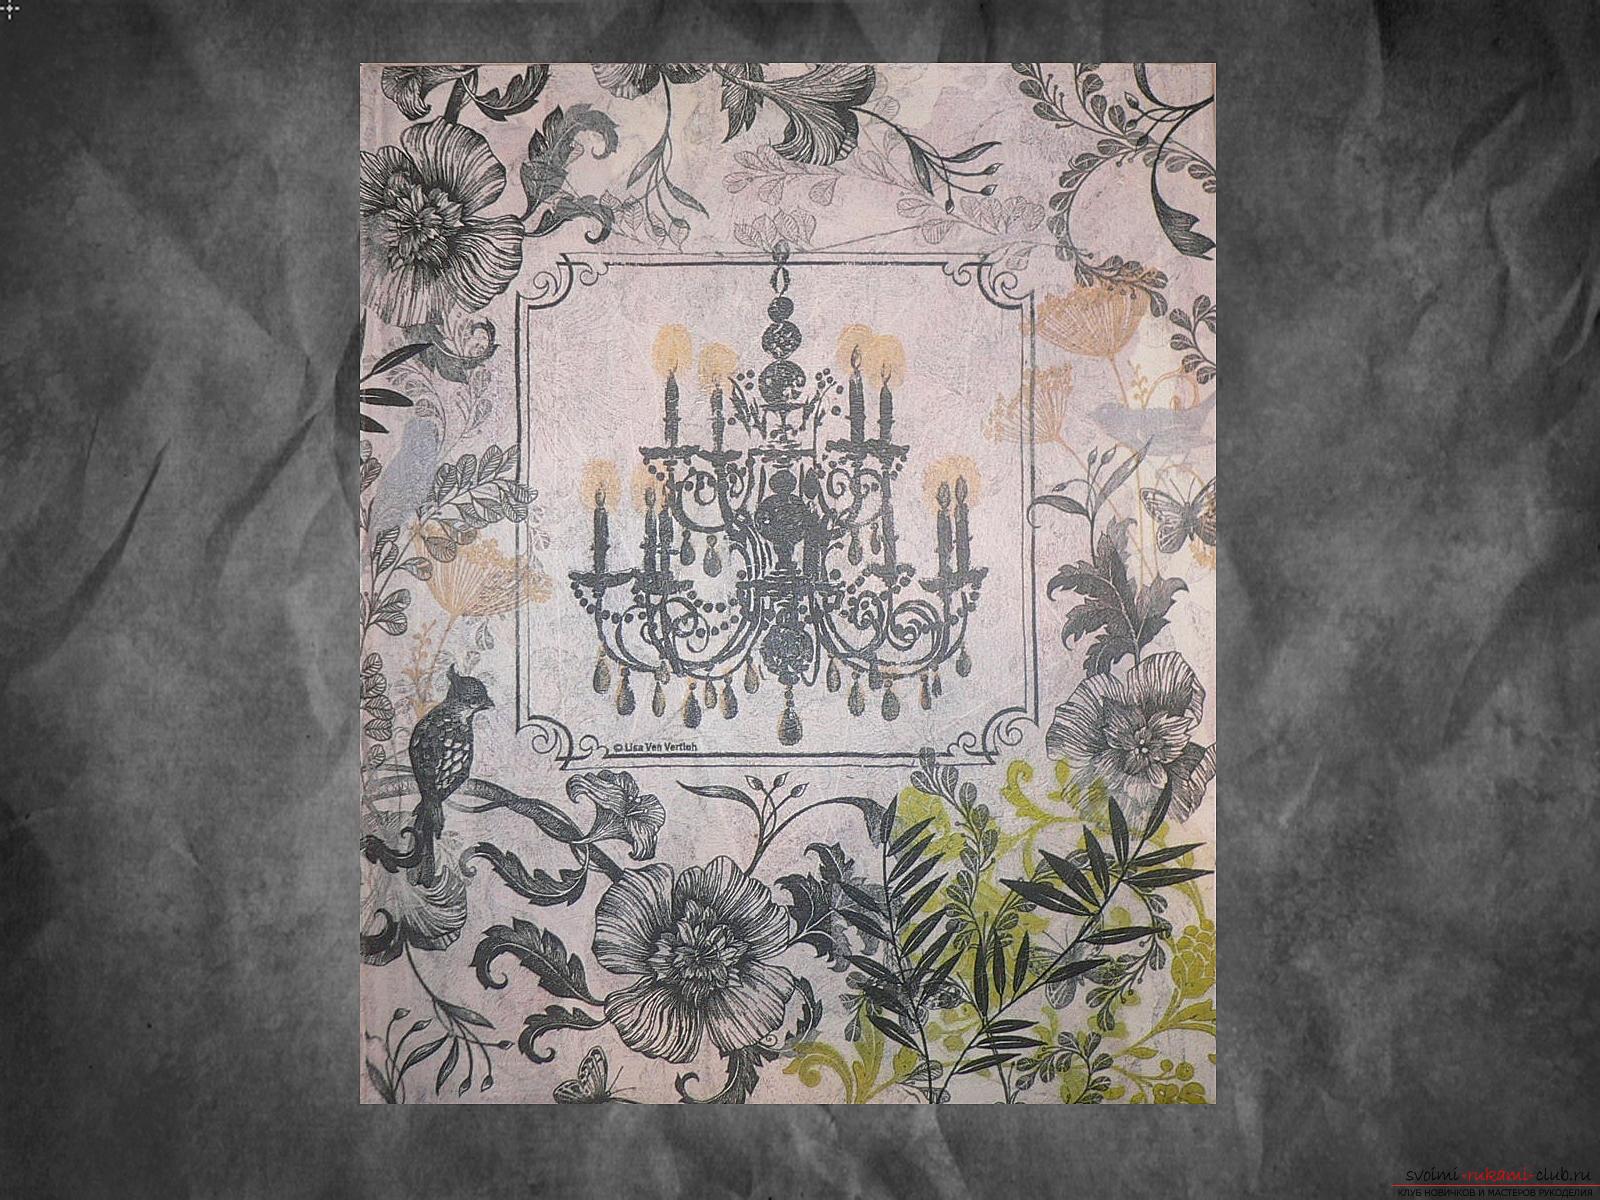 Having done such a great creative work, it is pleasant to have fun not only from viewing family photo albums, but also from a unique cover made by oneself. Gribanova Irina
Comments
Related posts:
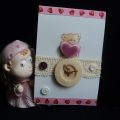 This master class will teach you how to make postcards with Valentine's Day in the technique of decoupage by yourself.
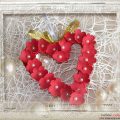 In this master class you will learn how to make an original valentine for February 14
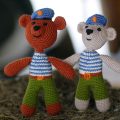 In this master class you will learn how to tie a bear crochet as a gift to the Pope on February 23rd.
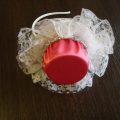
 This master class will teach how to decorate a hairpin in the technique of decoupage using a one-step craquelure.
 New-year suits made with their own hands differ in originality and brightness. in this master class video and photo the sewing of a carnival costume for a girl is presented.