
Installation of an abstract tree in the technique of quilling with flowers - a master class
Autumn is close to its end, and this means,that we have more free time to create and create new, unique crafts. But, what can be more fascinating than creating a real, spring tree, when the leaves on the other side of the window fall off?
Installation of an abstract tree in the technique of quilling with flowers - a master class
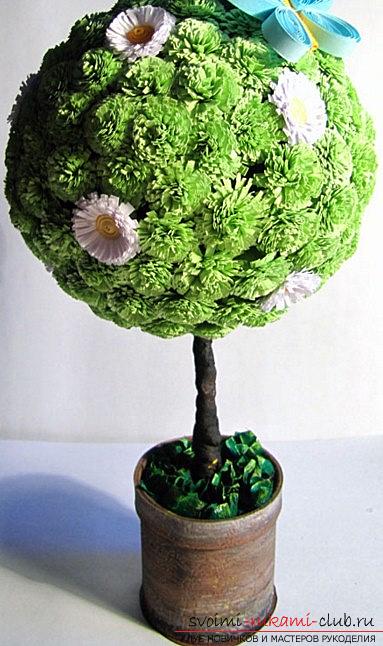 A small installation of wildlife will helpReturn to your house signs of waiting for warm days. And therefore, using the quilling technique to recreate such work is a very successful and interesting idea. In addition, you can use other techniques to diversify the work and add more reliefs to it.
 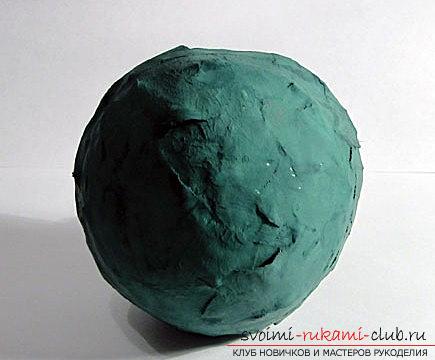 For a change, the work will usea large number of diverse materials, so at first glance, it may seem that the work is very complicated. But, do not despair, the result will be worth your diligence. We suggest you get started! Materials for work
- It is necessary to find scraps of the newspaper in order to additionally work in the technique of "Papier-mache"
- Take the bands for quilling with a width of 5 and 10 millimeters
- Let's take a toothpick
- Prepare a special form for papier-mache
- Also, take the corrugated paper
- Requires a stationery knife to process
- Also, pieces of plasticine for the shape
- Take also food film
- It will take a set of heavy paper
- It is necessary to take a rod and napkins for processing
- Also, prepare PVA glue for work on the installation
- Take the scissors
- Gouache paint for work
When all the materials for the work are collected, andyou only need to staff them and recreate your own work, begin! The first thing to do is take the form for papier-mache, with which we will work. Any object that has the form of a ball can come as a replacement. In this case, it is best to take a form that can be opened. A special form for papier-mache provides two halves of balls, which should be done separately. Then, they will need to be glued together. In case your form can not be opened, you can cut the newspaper installation of papier-mache (it should be done beforehand) and then glue it together. 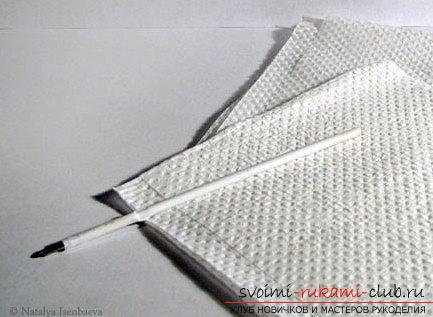 Preparing the shape of the tree Then, the shape is necessarywrap with food film. This is necessary so that it does not get past the newspapers. Next, we dig up the newspapers and muck the pieces of our paper into the water, then - lubricate with glue. After, it is necessary to pick up the newspaper in small pieces. Thus, we form three layers of similar pieces. When the layers are applied in the right amount, the workpiece is put aside until it dries.
 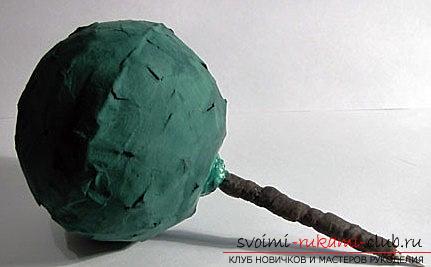 After that, the ball that we can get is to be painted with gouache. That the newspapers are not looked through with flowers and leaves at the crowns of our installation.
 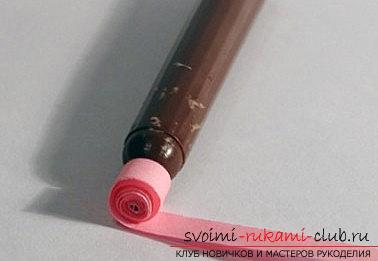 It is also necessary to form a trunk. For this you need to take napkins, as well as some rod. An old version of a scoop may be suitable, or an object of an old handle. For a small tree with small forms, a toothpick can be used.
 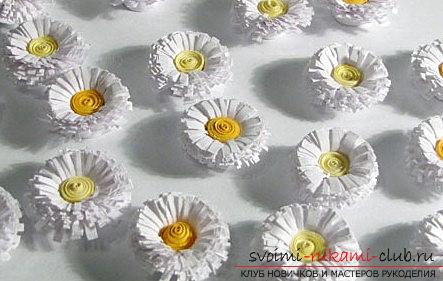 Next, twist half of the napkin in a specialburn, and then, wind it on our rod. After, on the ends of the rod and the plait we make the fastening with the help of glue. Then, you need to connect the crown and stem element using glue. But, before this action in the crown it is necessary to make a small hole, into which the element of the trunk will enter. Then, you'll need strips of quilling. We take one wide with a fringe of 10 millimeters, and also take a narrow one by 5 millimeters.
 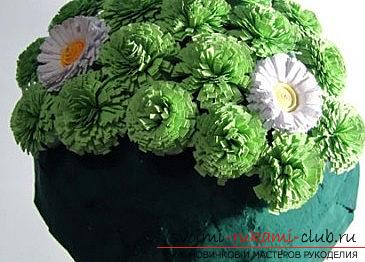 Cooking flowers and leaves To twist the flowers, weit is necessary to glue two strips together. Also, you can prepare your own quilling tool in the form of a cap from a felt-tip pen, as well as needles with blunt ends. Then, we spin the flowers. Use the glue to fix the ends. Be sure to see that the end of the flower roll was as dense as possible. Then, the end is fixed with glue. To get very organic flowers, which we will use in the craft.
 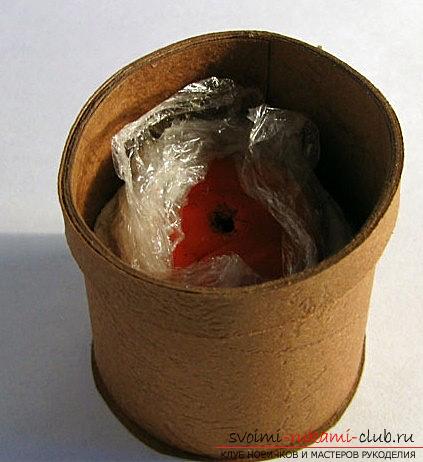 With the help of the same principle, we formleaflets-fuzzy. Using clay, we strengthen the frame of our wood and then, fix the tree with a special clay of plasticine. Then, we attach our leaves and flowers to the tree. To form a pot, you need to take a solid kind of paper and then, twist with its cylindrical shapes. Then, cut the circle in diameter to our cylinder in order to form a bottom for the pot. After that, make two strips with a width of 1 centimeter to produce a thick layer imitation. Then, the pot must be glued together.
 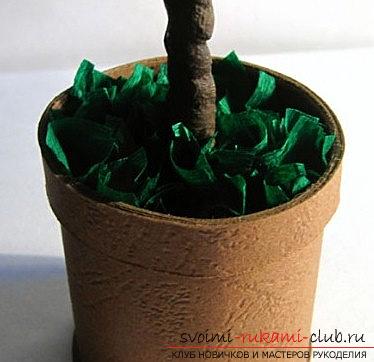 Preparing the pot mold After allaction, plasticine from the tree must be removed. After, wrap it with a film and then put it inside the pot. After, the clay is rammed into the pot. Next, inside the tree trunk is inserted and after, an opening is made inside our plasticine. To successfully fix the trunk, it is necessary to cut a small hole in the circle of dense paper, and then make an incision. After using corrugated paper, we produce decorative elements of grass. To create grass, you need to cut small squares in size by 1.5 centimeters. Next, create an outer shape using the handle bar. The grass is attached to the pot with glue and get your kind of wood. With the help of gouache, we revive the flower and form a butterfly in the quilling technique. Thus, we have formed a beautiful andshaped piece of wood, using the techniques of modeling, papier-mâché and, of course, the most important quilling technique that gives the beauty and elegance of our hand-crafted floral and unique wood.
Comments
Related posts:
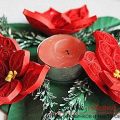 New Year candlestick with the help of quilling technique - master class with own hands
 We make a daisy-quilling with our own hands, a master class with photos in the technique
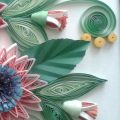 This detailed master-class will acquaint you with quilling technique, teach you how to make quilling flowers and quillings.
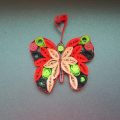 Quilling butterflies - loop quilling and master class with their own hands
 Maple Bead: a master class weaving autumn tree