Interesting author's master class on felting hedgehog with photo and step by step instruction
Author's lesson of dry felting out of wool: weaving a hedgehog. It's quite easy to make wool from a wool of a nice hedgehog. And at the same time this lesson will not take you much time. 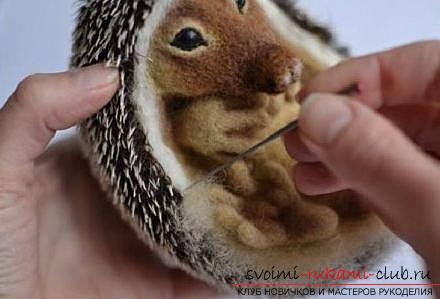 From materials and tools you will need the following: • glue; • brush; • needle number 36, star number 38 and reverse number 40; • Teddy-mohair; • felting brush; • wool of several shades.
 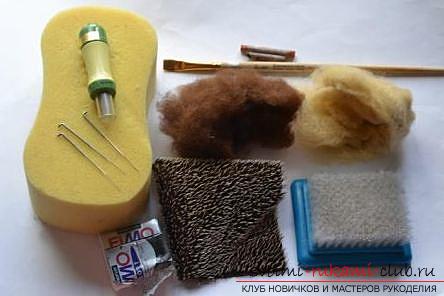 We begin work. Form the hedgehog we will begin with the trunk. We take the needle # 36 and light hair to make a hemisphere. The convex part is the back, the inverse is the tummy. Remembering about the navel, we make a small bump on the stomach of the hedgehog. It is necessary to execute and in from such skirts:
 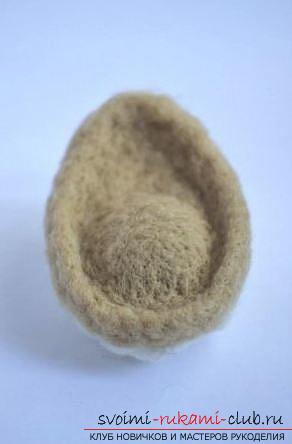 Naturally, the hedgehog will look a little out ofskins. Once you are well piled up the trunk of a hedgehog, proceed to felting the head. Make it a little stretched and lent to the nose. The opposite side of the head should be made fluffy. Since the head is not completely made, it is necessary to map the cavities for the eyes, as shown in the illustration:
  Now take the dark brown coat and roll your nose. After that, we gradually attach the spout to the muzzle. Do not forget to note the nostrils.
 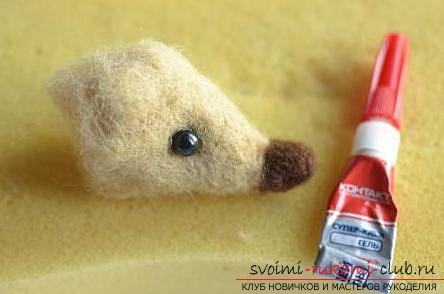 Next, we turn a blind eye (for those who want to speed upprocess, you can buy ready-made eyes). The very eyes can be made from self-hardening clay. To do this, roll out 2 half-beads and glue them with quick-drying glue, as shown in the picture:
  After that, you can make eyelids. Do it best on the brush with a multi-needle device. We take the wool of a light shade and make the flattened rounded blanks, which in diameter will be slightly larger than the eyes. They will be the edge of the upper hedgehog. For this purpose, bend them in half and fix with a needle (see the illustration). Similarly, we form the eyelids below.
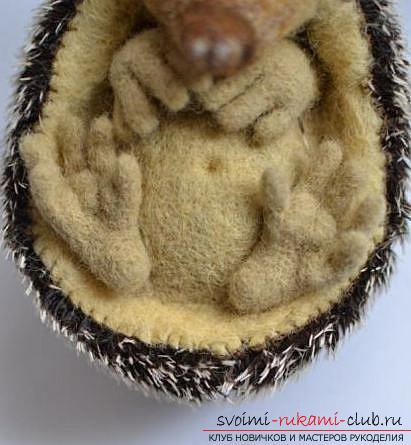
  After that, secure them gently to the eye sockets. The area near the nose and closer to the eyes are darkened with a dark brown hair. You can start to fret paws, consisting of fingers, feet and palms. The palms should be made slightly stretched from the two sides. At the feet we make round heels and convex pads. Perform each finger separately, 5 on each foot. One finger tip leave fluffy and fasten it to the workpiece. The docking area is masked by the fuzziness with the help of a reverse needle. As a result, you should get such paws, as in the picture:
 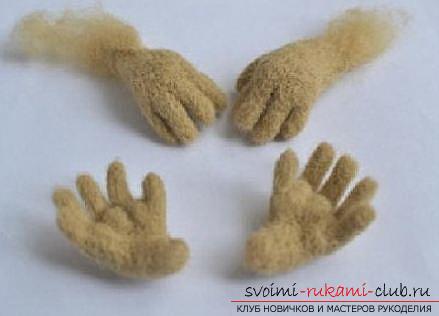 Next, we seal each paw and head to the body. After this, go to the skin. First, we twist the hedgehog's back with material and make grooves. We cut out, we put it on the teddy-mohair, and cut out the skin. It should look something like this:
 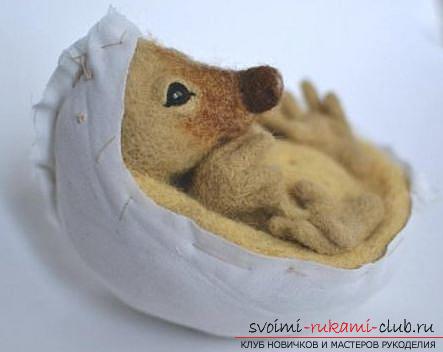 Each element of the skin is sewn together, a hedgehog is put in it, and its body is sewn to the skin. Joints are decorated with fluff with the help of a reverse needle. At the end of work, zatoniruyu grooves on the trunk, paws and face. To this end, we mix brown and black pastel. In the finished form you will have a cute and handsome hedgehog.
Comments
Related posts:
 Master a detailed master class on felting Slippers "Polyanka" with photos and instructions
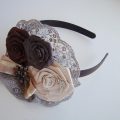 Master-class on creation of an original rim for hair with step by step instruction
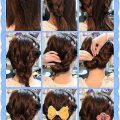 The most interesting hairstyles are their own hands on medium hair with step-by-step instructions and photos.
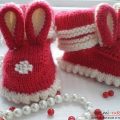 We learn to knit baby booties-slippers in the form of bunnies for children with step-by-step instruction, with photos and diagrams for free
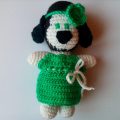 Create a knitted dog with a skirt with your own hands - an interesting master class