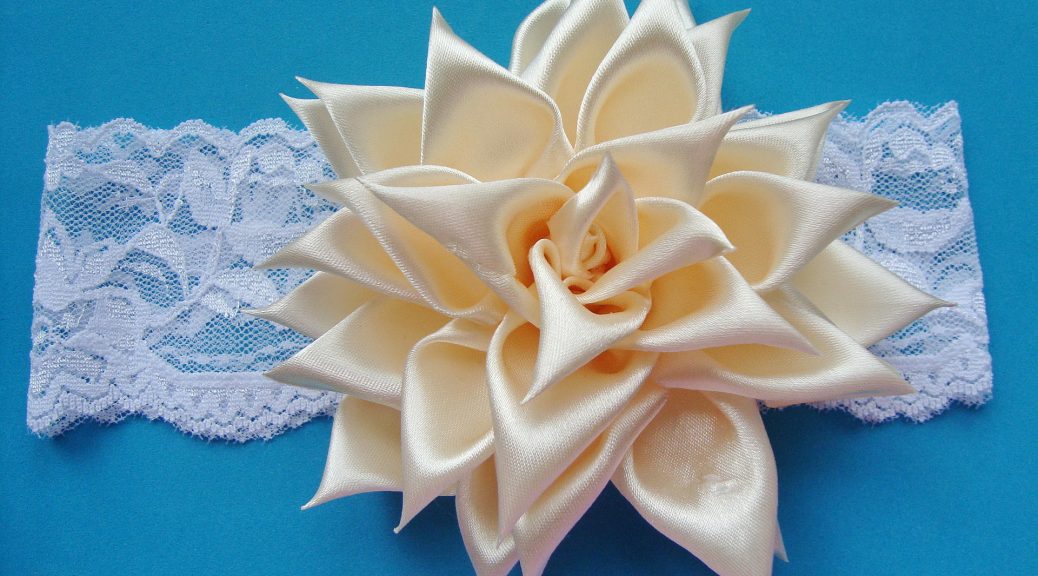
Kanzashi is an amazing technique for creating flowers. In this master class with a photo shows the process of creating a rose from the fabric. more precisely from belts.
Little children are adorable and they createall the best. At a tender age, moms decorate their pupae with huge flowers. The most successful choice is a bandage with a huge rose, which you can make with your hands from a satin ribbon. Such an accessory is not only unique and beautiful, but also keeps mother care and tenderness of tender hands. 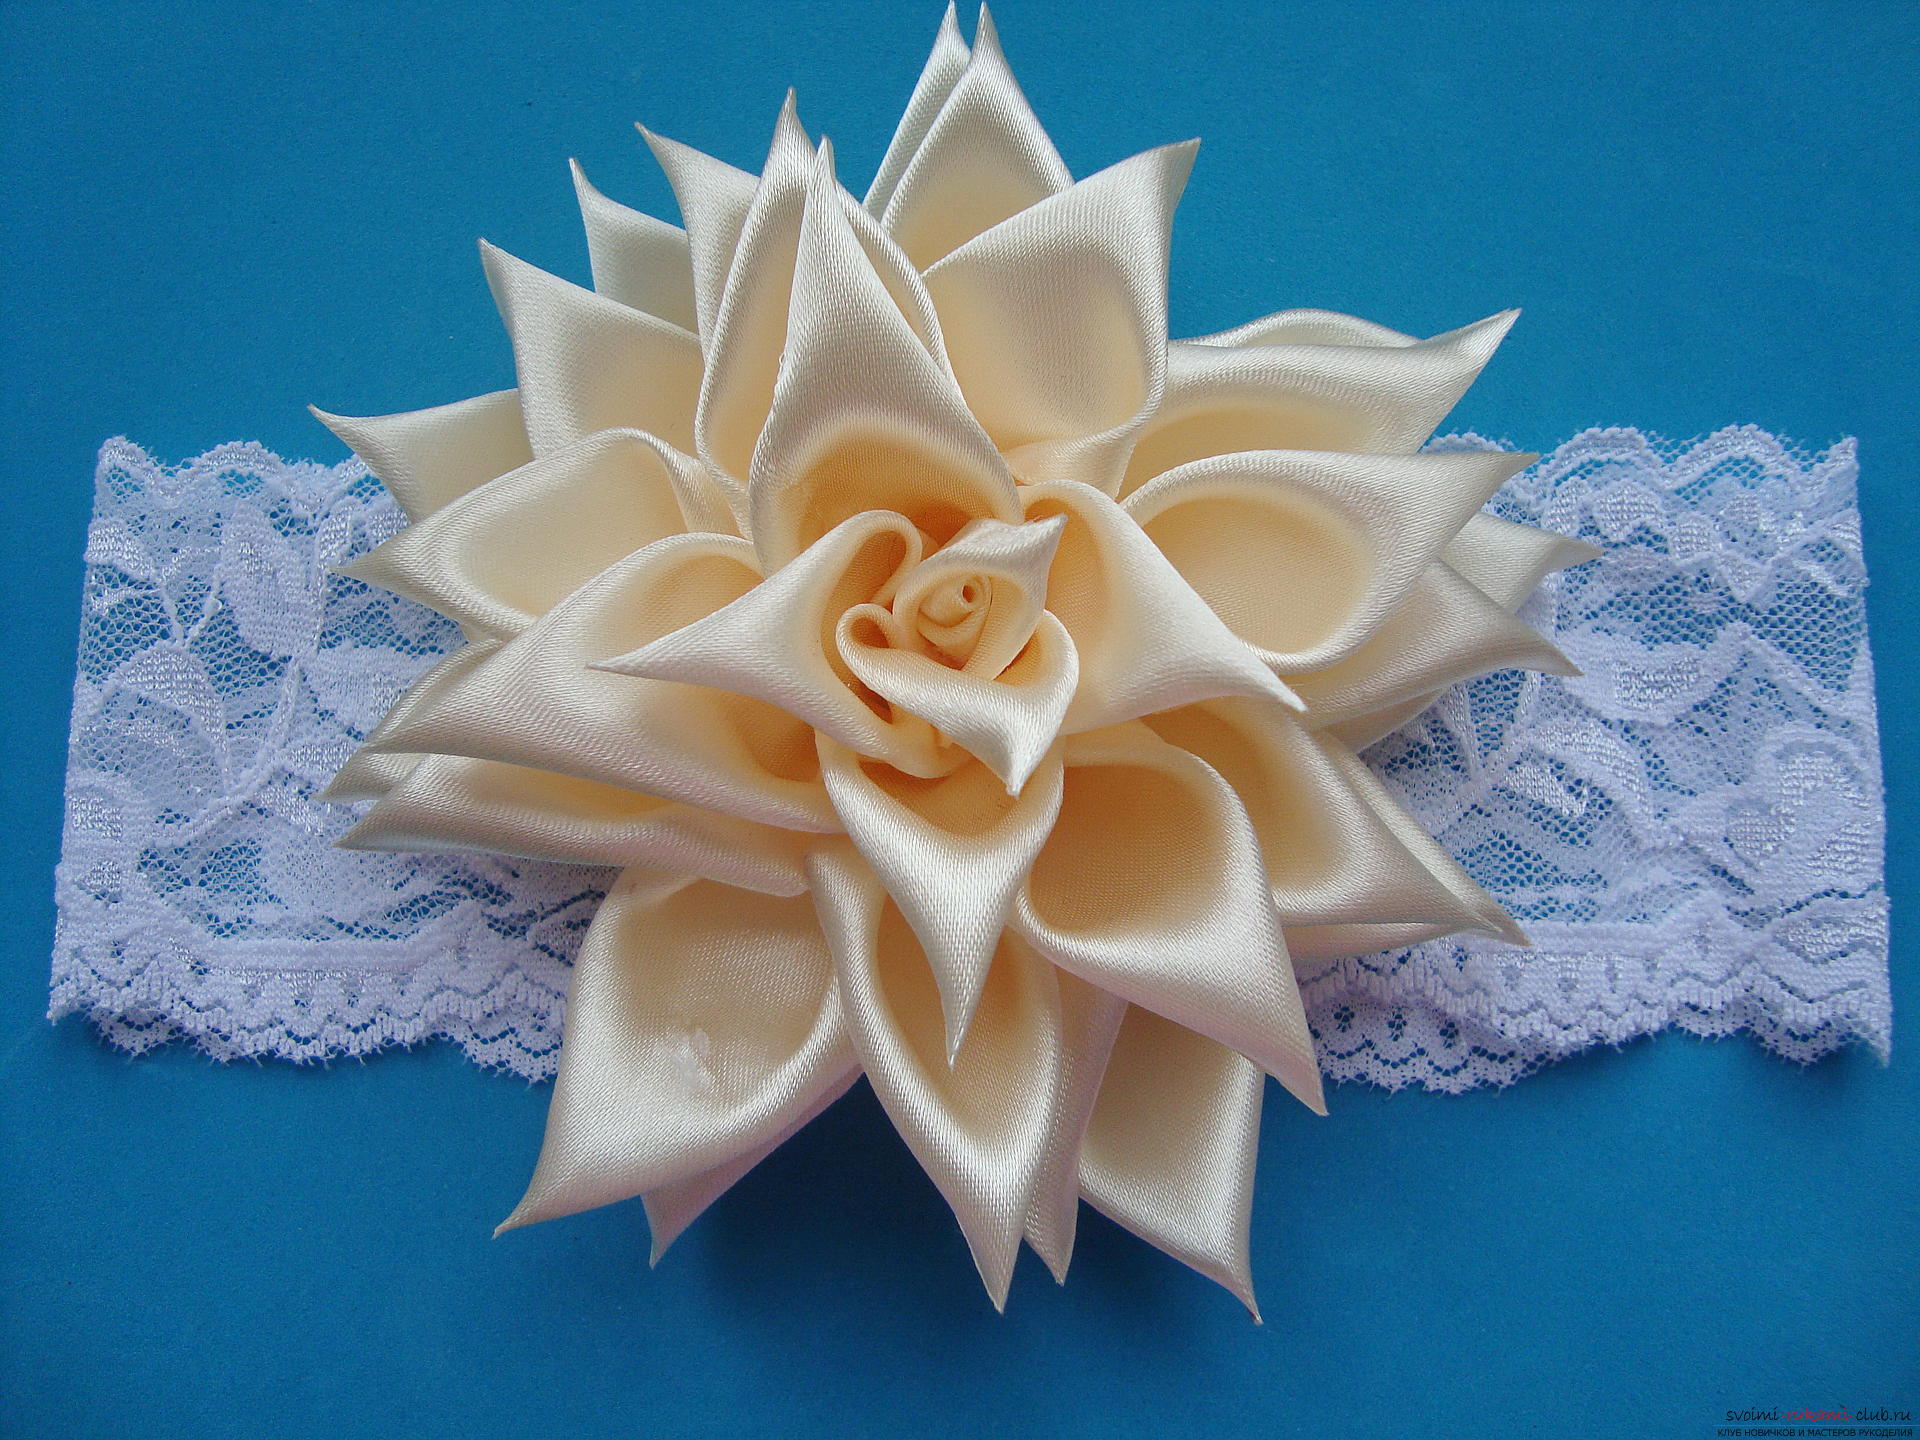 To create a bandage with a rose, prepare:
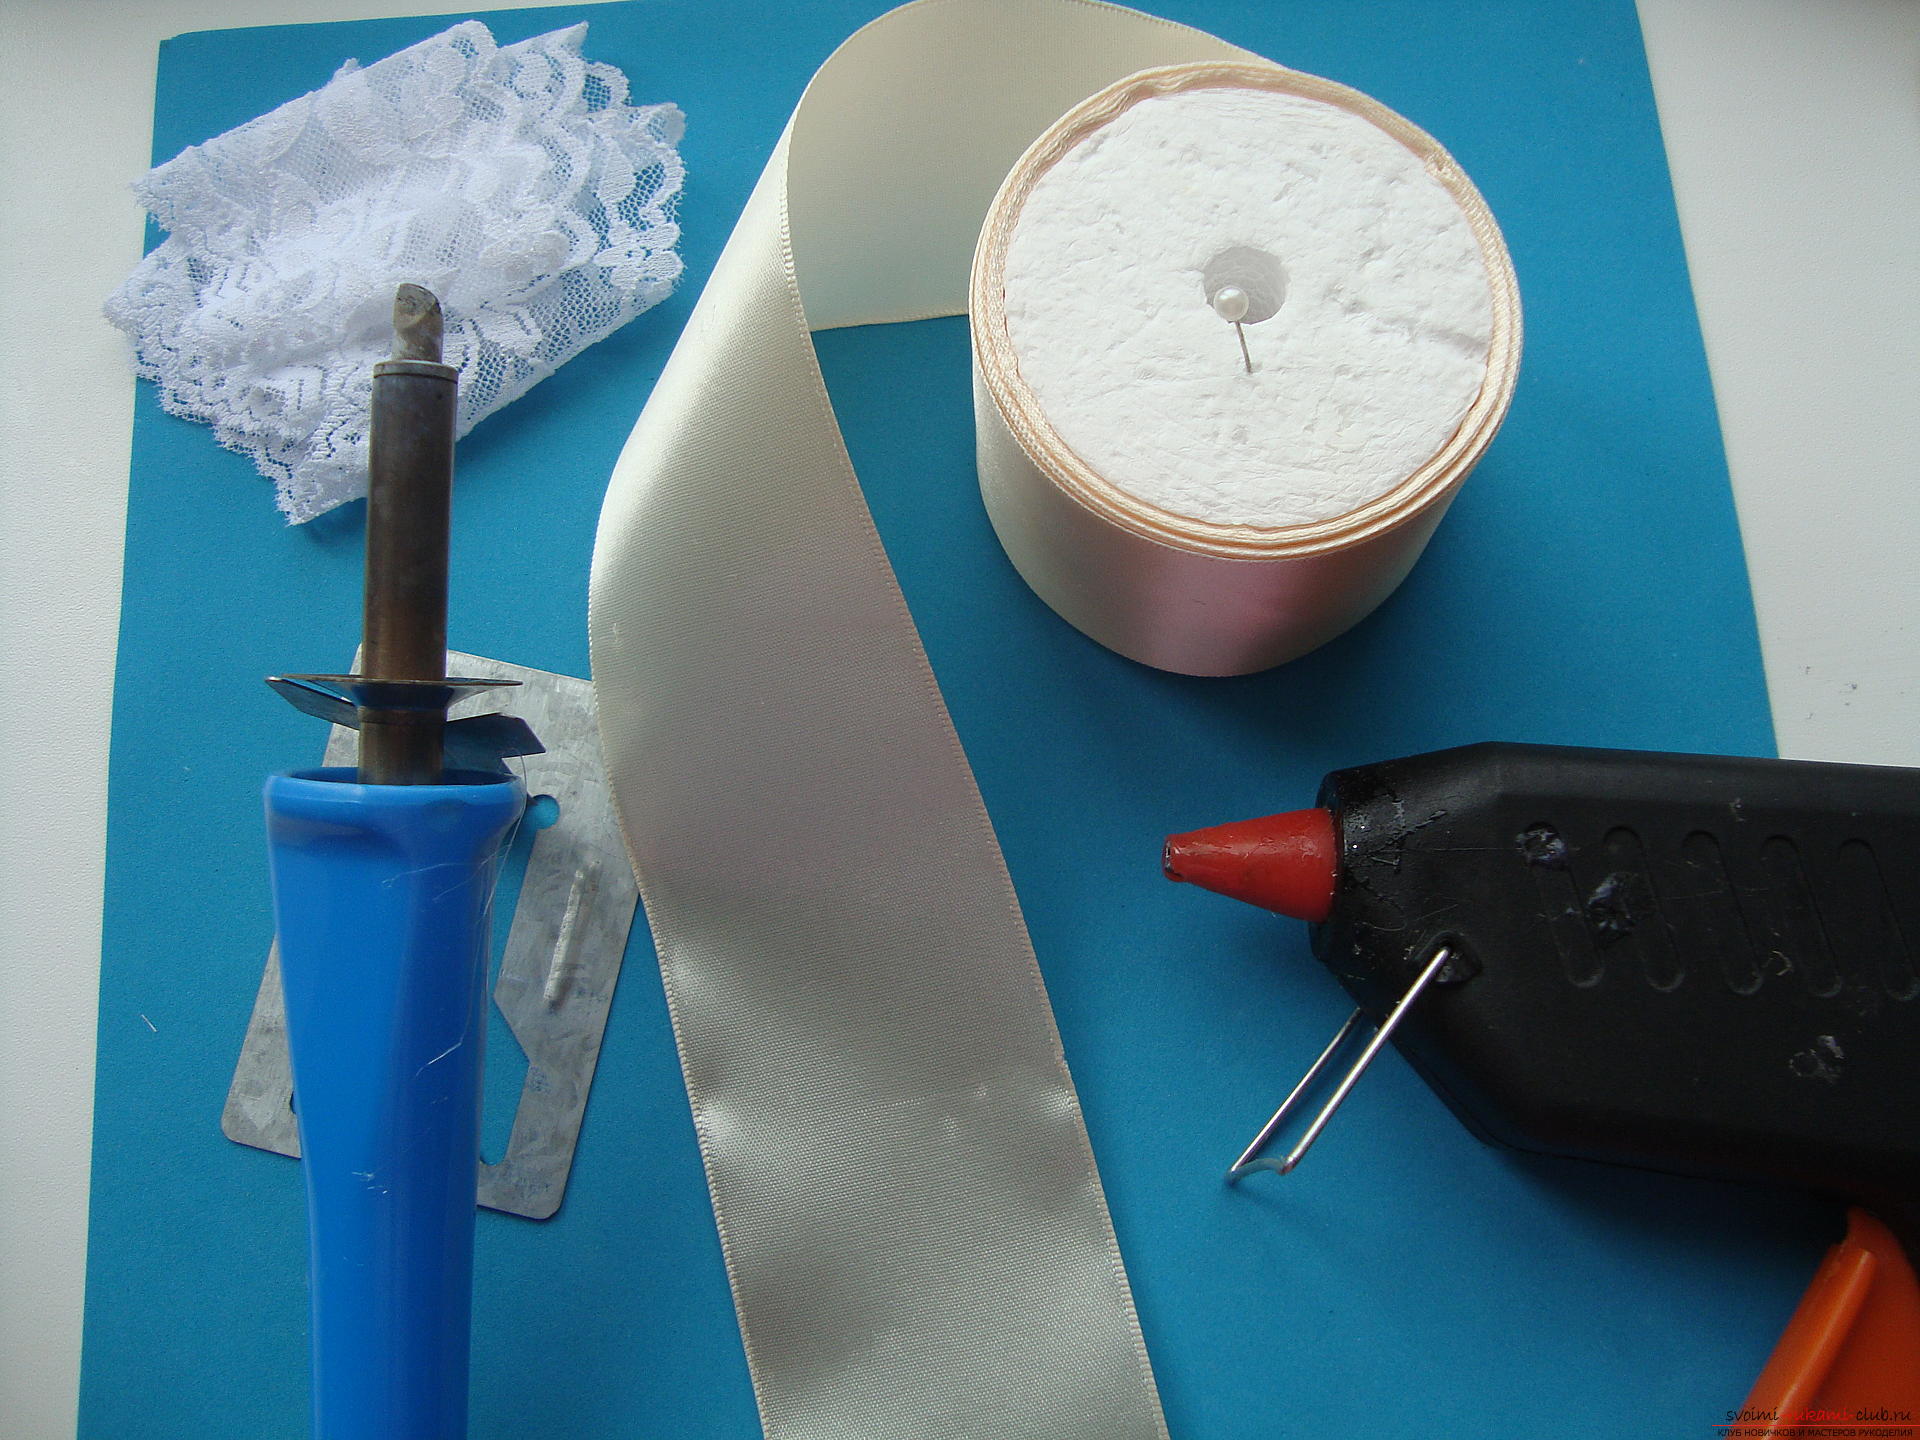 First, ribbons of a squareshape with a size of 5 cm on the side. Cut the tape can be scissors, but then the lighter needs to melt the edges, otherwise they will raspolhmatyatsya and prevent further manipulation. Another option is to put the tape on a glass (tile) surface, measure the ruler with the desired 5 cm and put the measuring tool perpendicular to the tape and burner to draw the line, just slightly pressing it. Still need 4 cut length of 3 cm.
 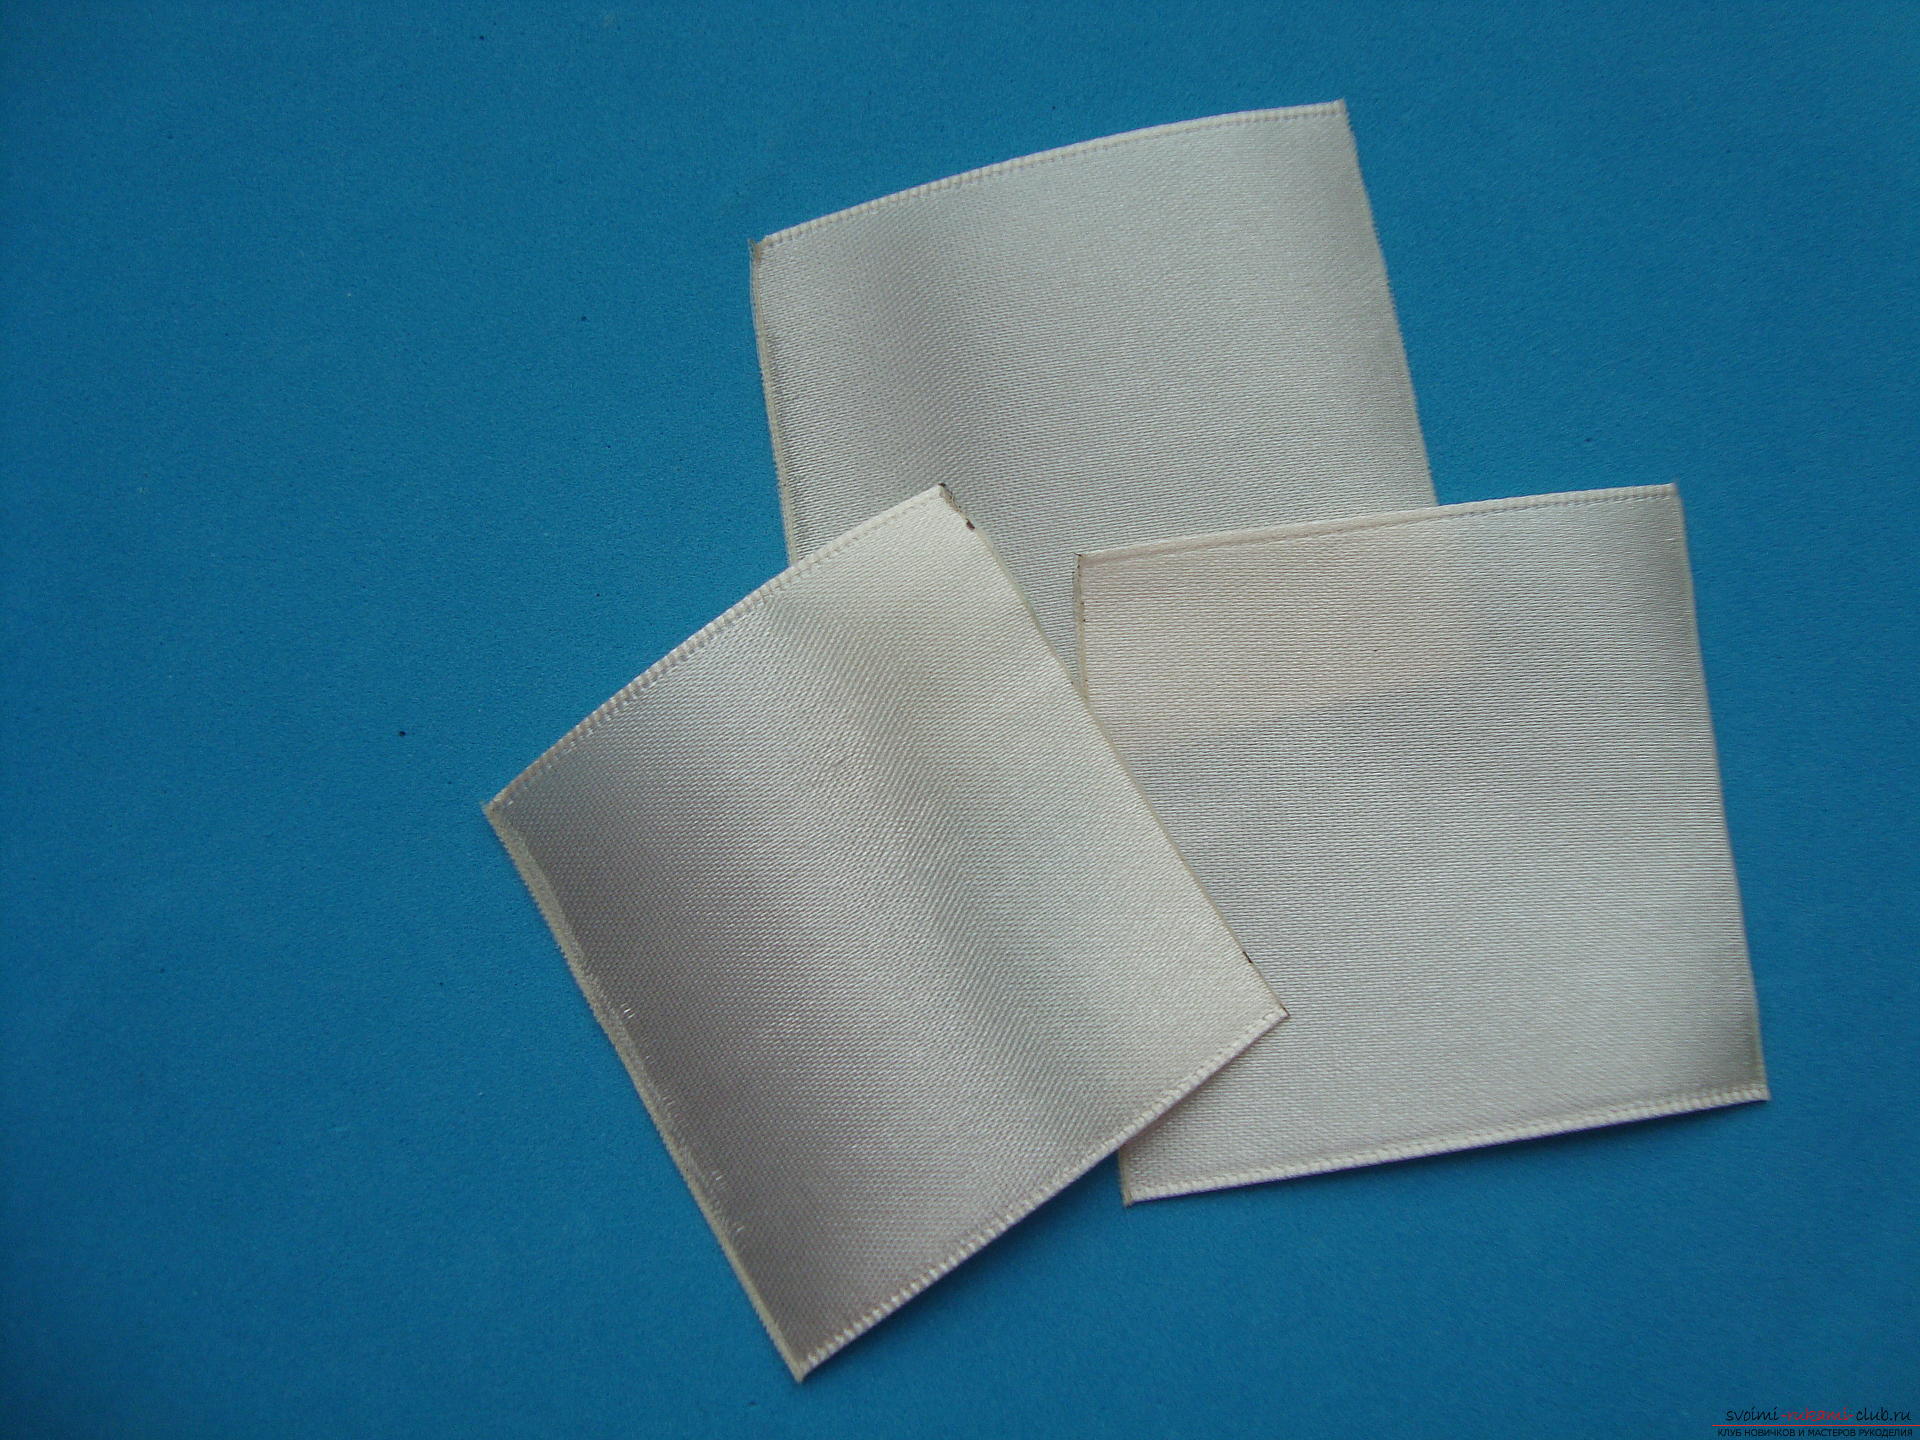 To form a petal, each flap is bentin half a horizontal inflection, that is, the edges of the tape remain at the top, and the right and left are cut lines. On the right side lies the ruler at an angle of about 45 degrees (it is not necessary to use the protractor, you can perform this manipulation "by sight").
 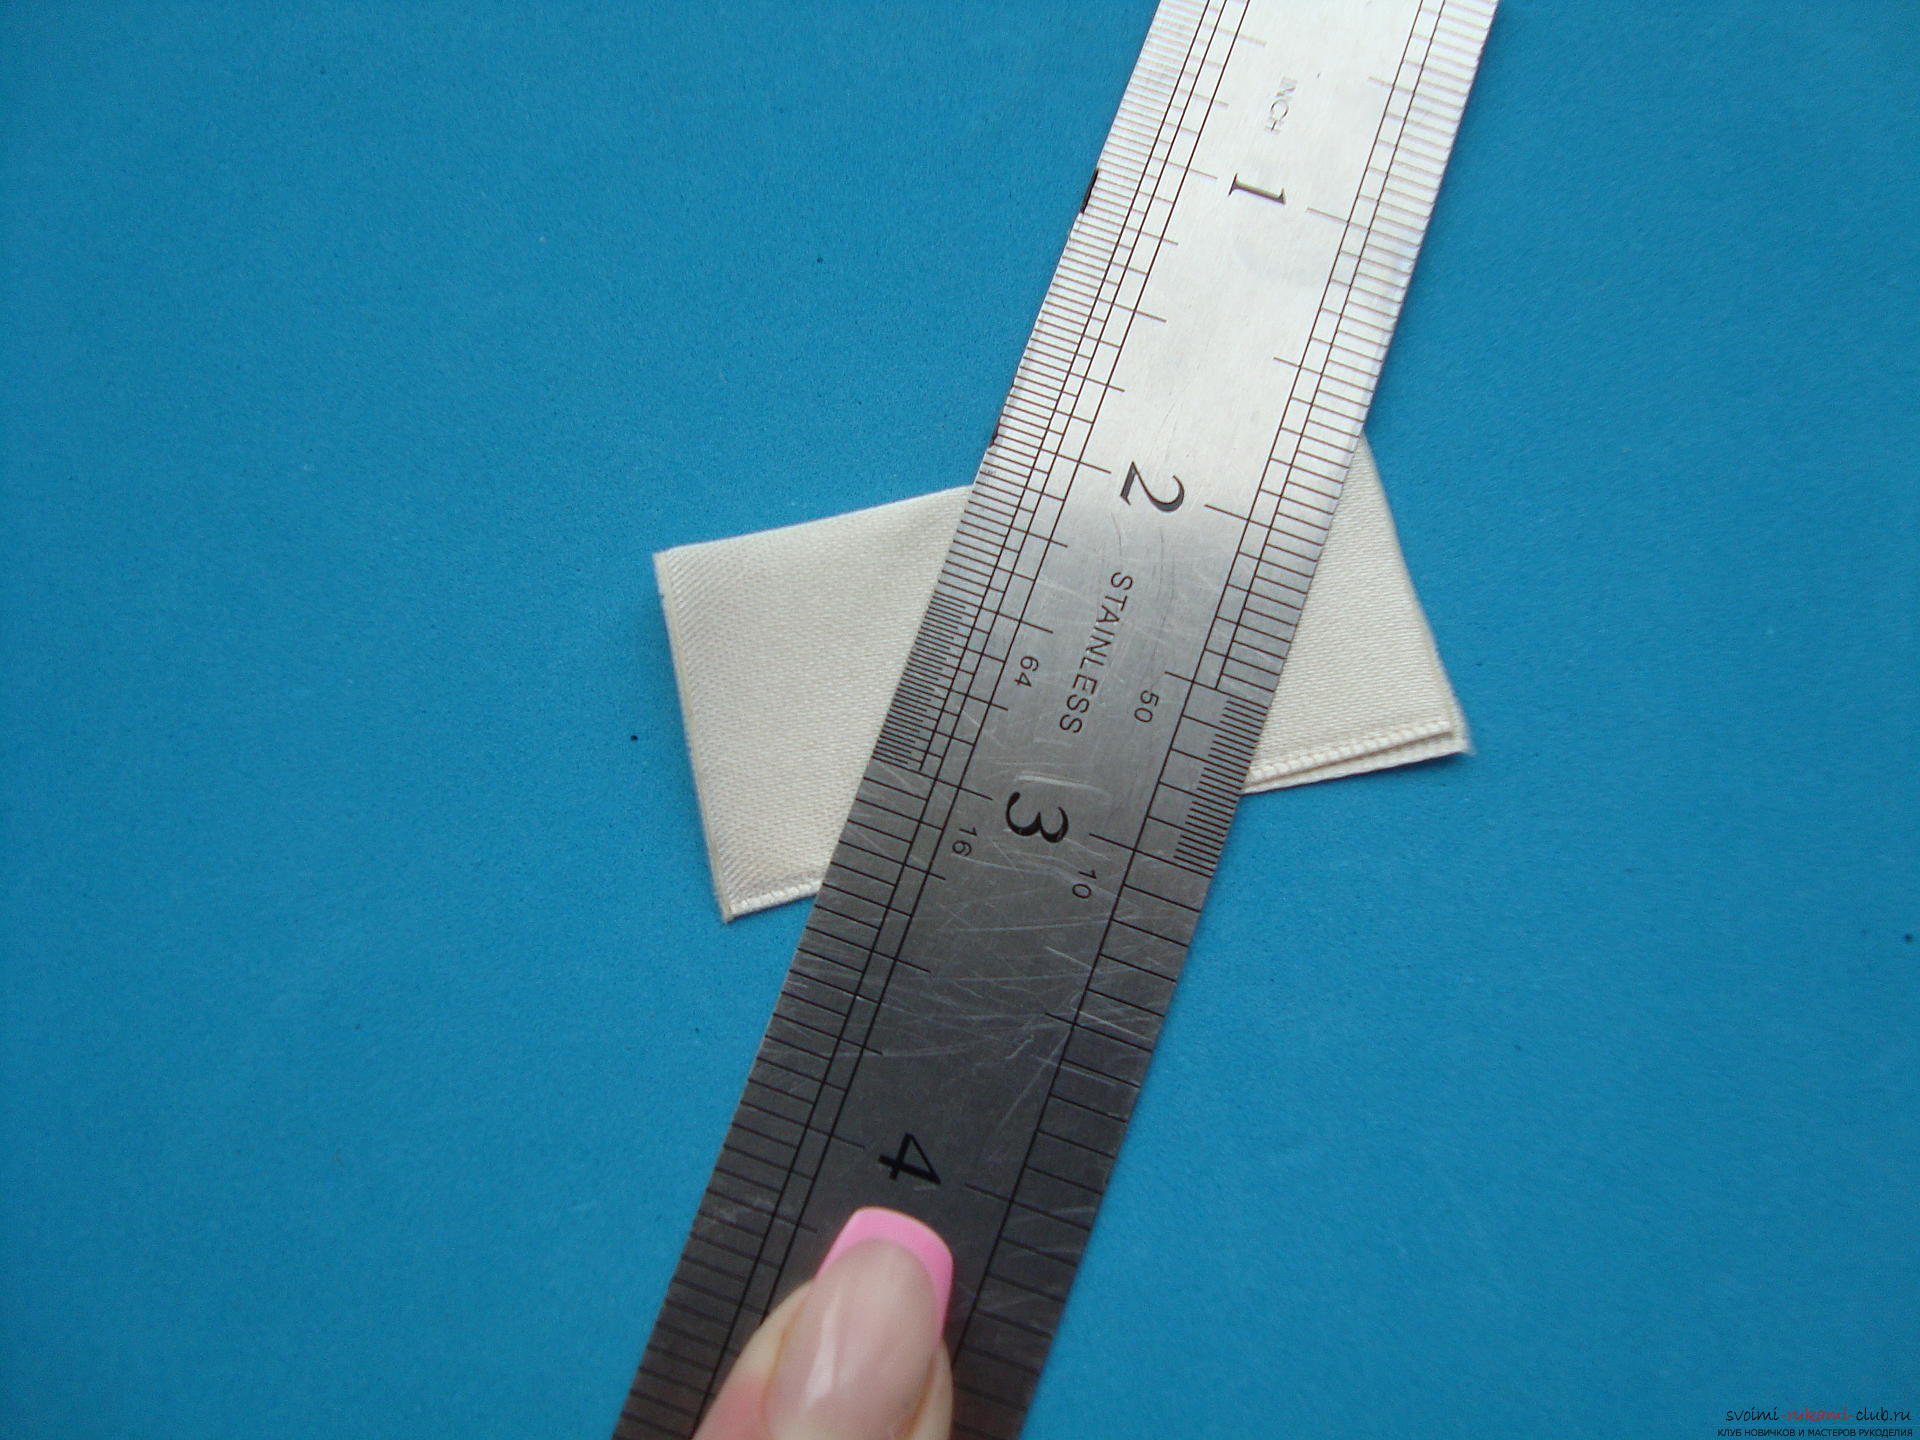 The measured angle of the satin workpiece is cut offburner (of course, on a glass or tiled surface). Expands the lower part of the part, and we get the workpiece of the petal of the pointed rose. Such a flower will be lush and bulky.
 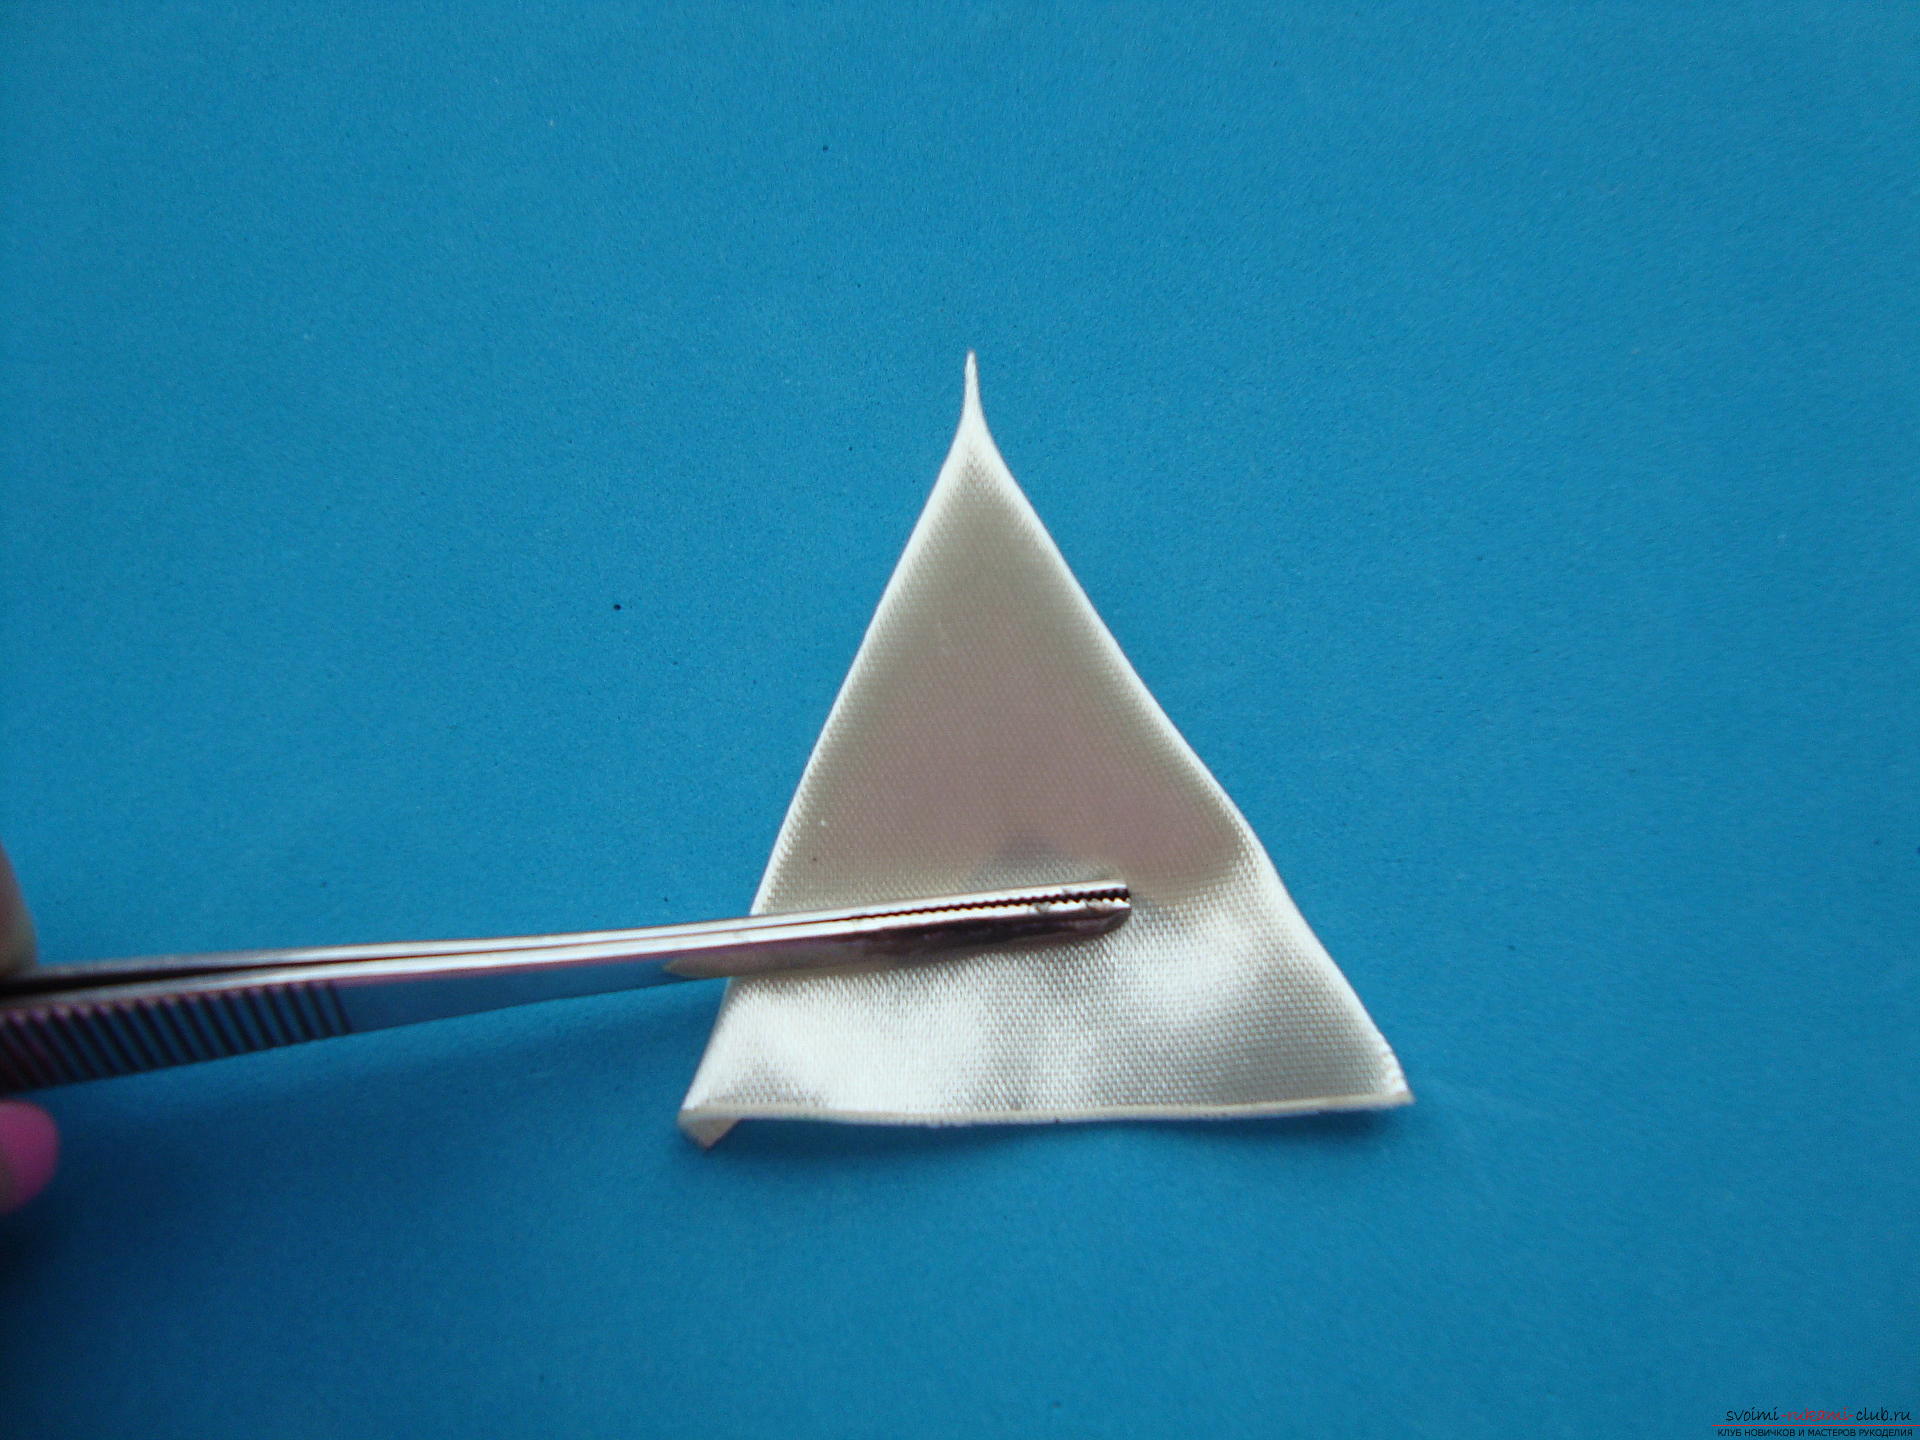 The following action with the element is the formationfolds in the lower edge of the workpiece. It is important to create symmetrical double folds. First visually divide the bottom half and in each half mark the middle, that is, divide as if into 4 parts. We bring to the center of the base the middle of the right part of the base, and the extreme quarter is bent backwards so that the face of the atlas looks at us. We carry out similar actions on the left side of the base.
 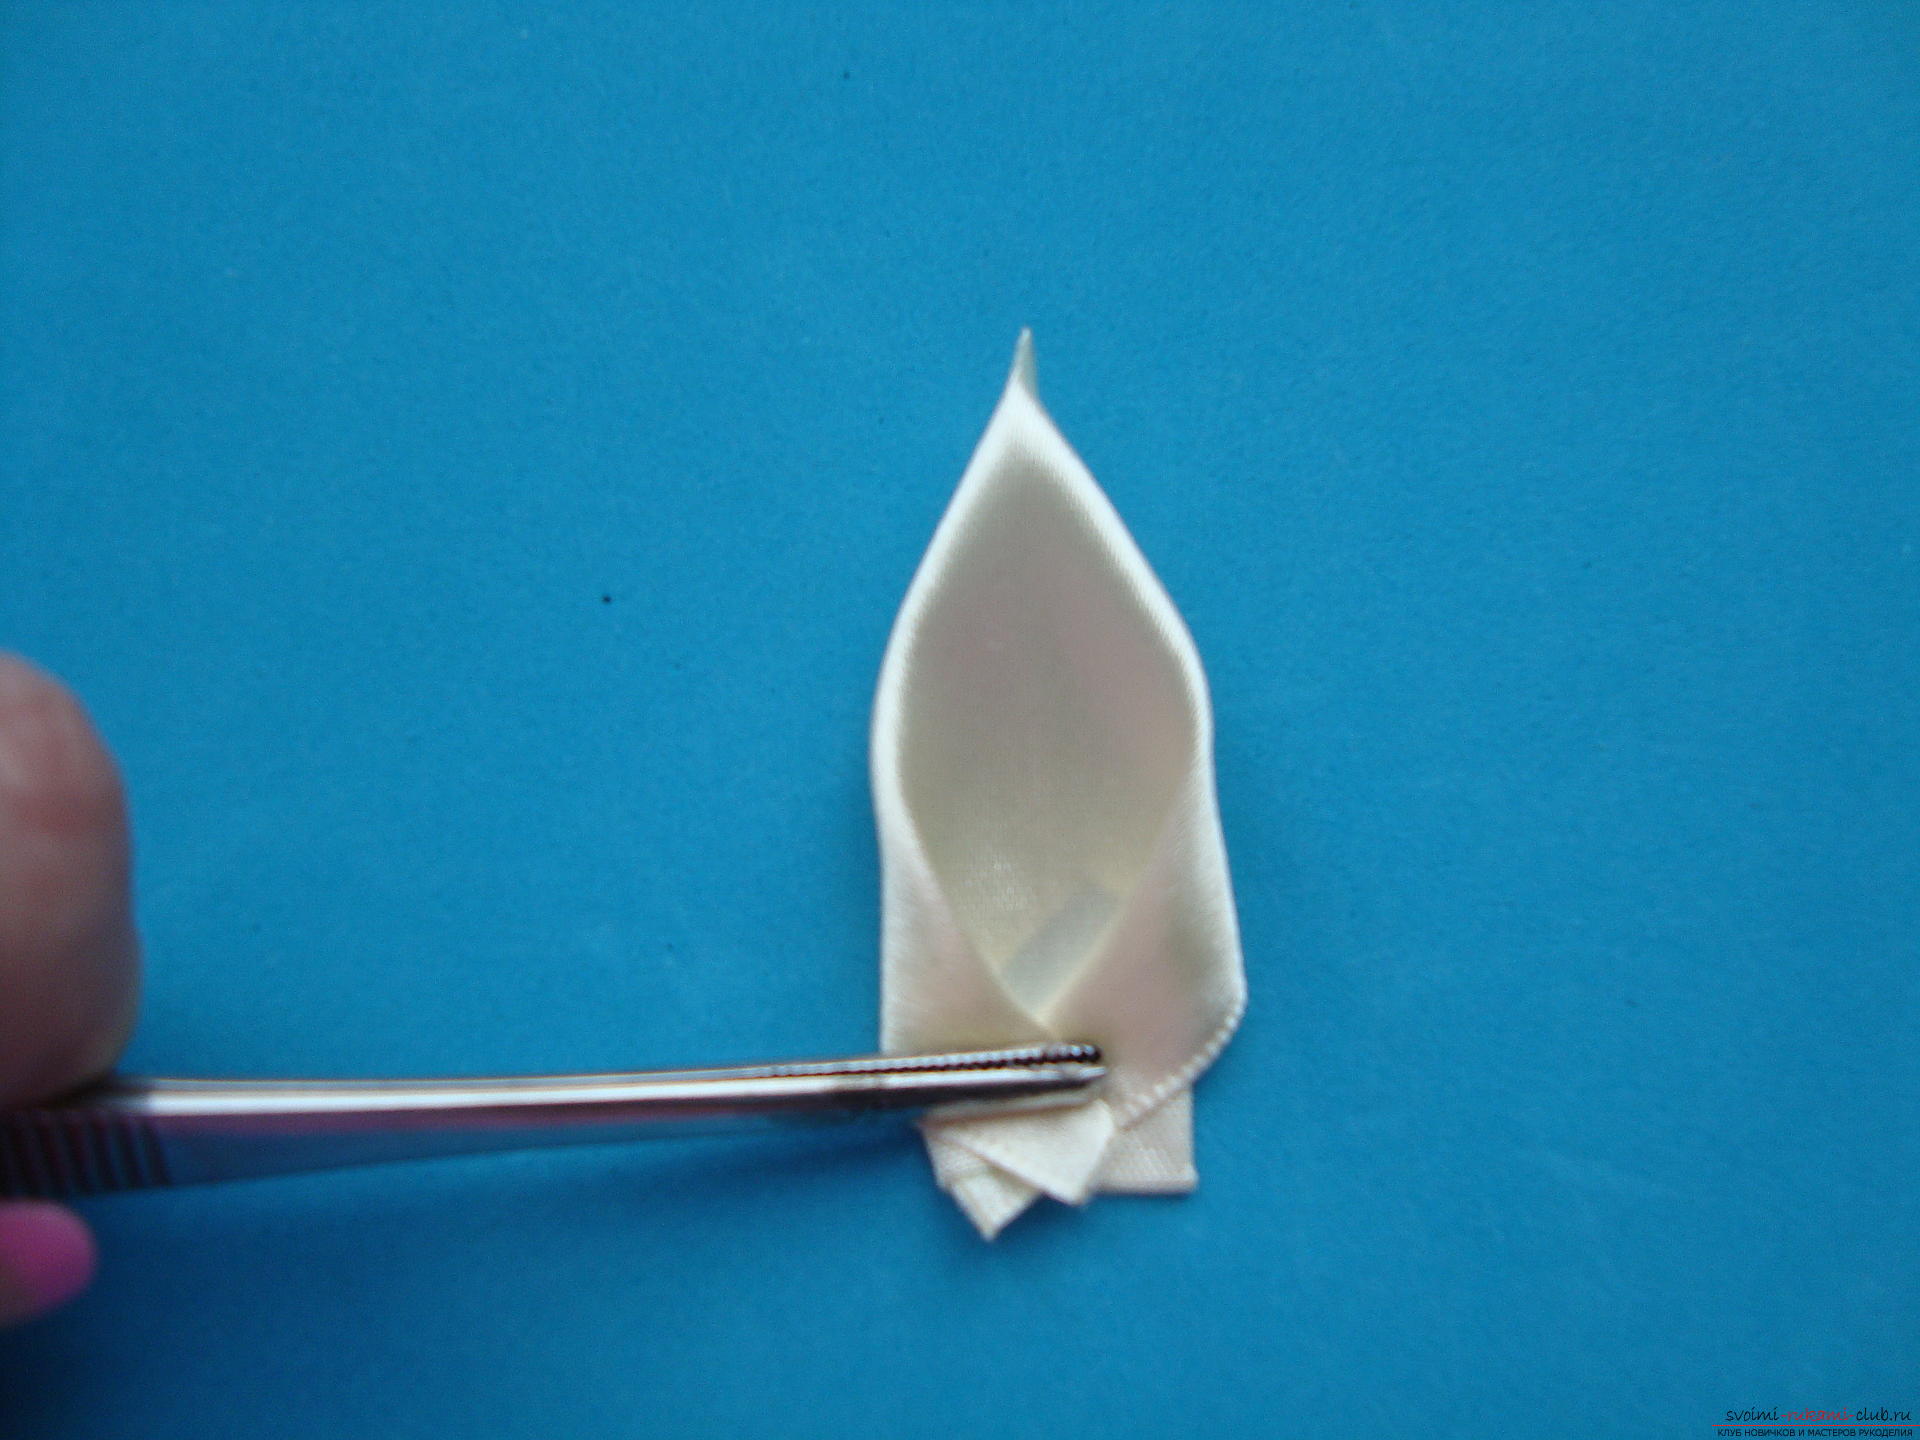 Ruler we press the bottom and cut 2-3 mmheated burner or soldering iron. At this stage, it is important to solder all layers in a single piece, and not to waste tissue. Therefore, the movements of the tool must be confident, with pressure and fairly rapid. If you hold the soldering iron in one place for at least 1-2 seconds, the material around it will melt and a hole will form. When working with a burner on an atlas for the first time - first practice on unnecessary cuts.
  Create at least 40 pieces of such elements. The more petals, the more magnificent and glamorous the rose will look. To create a flower bud, fold a three centimeter piece from the satin along an oblique line and twist the bend with a spiral, the lower part of the part should be glued with glue so that the bud does not fall apart.
 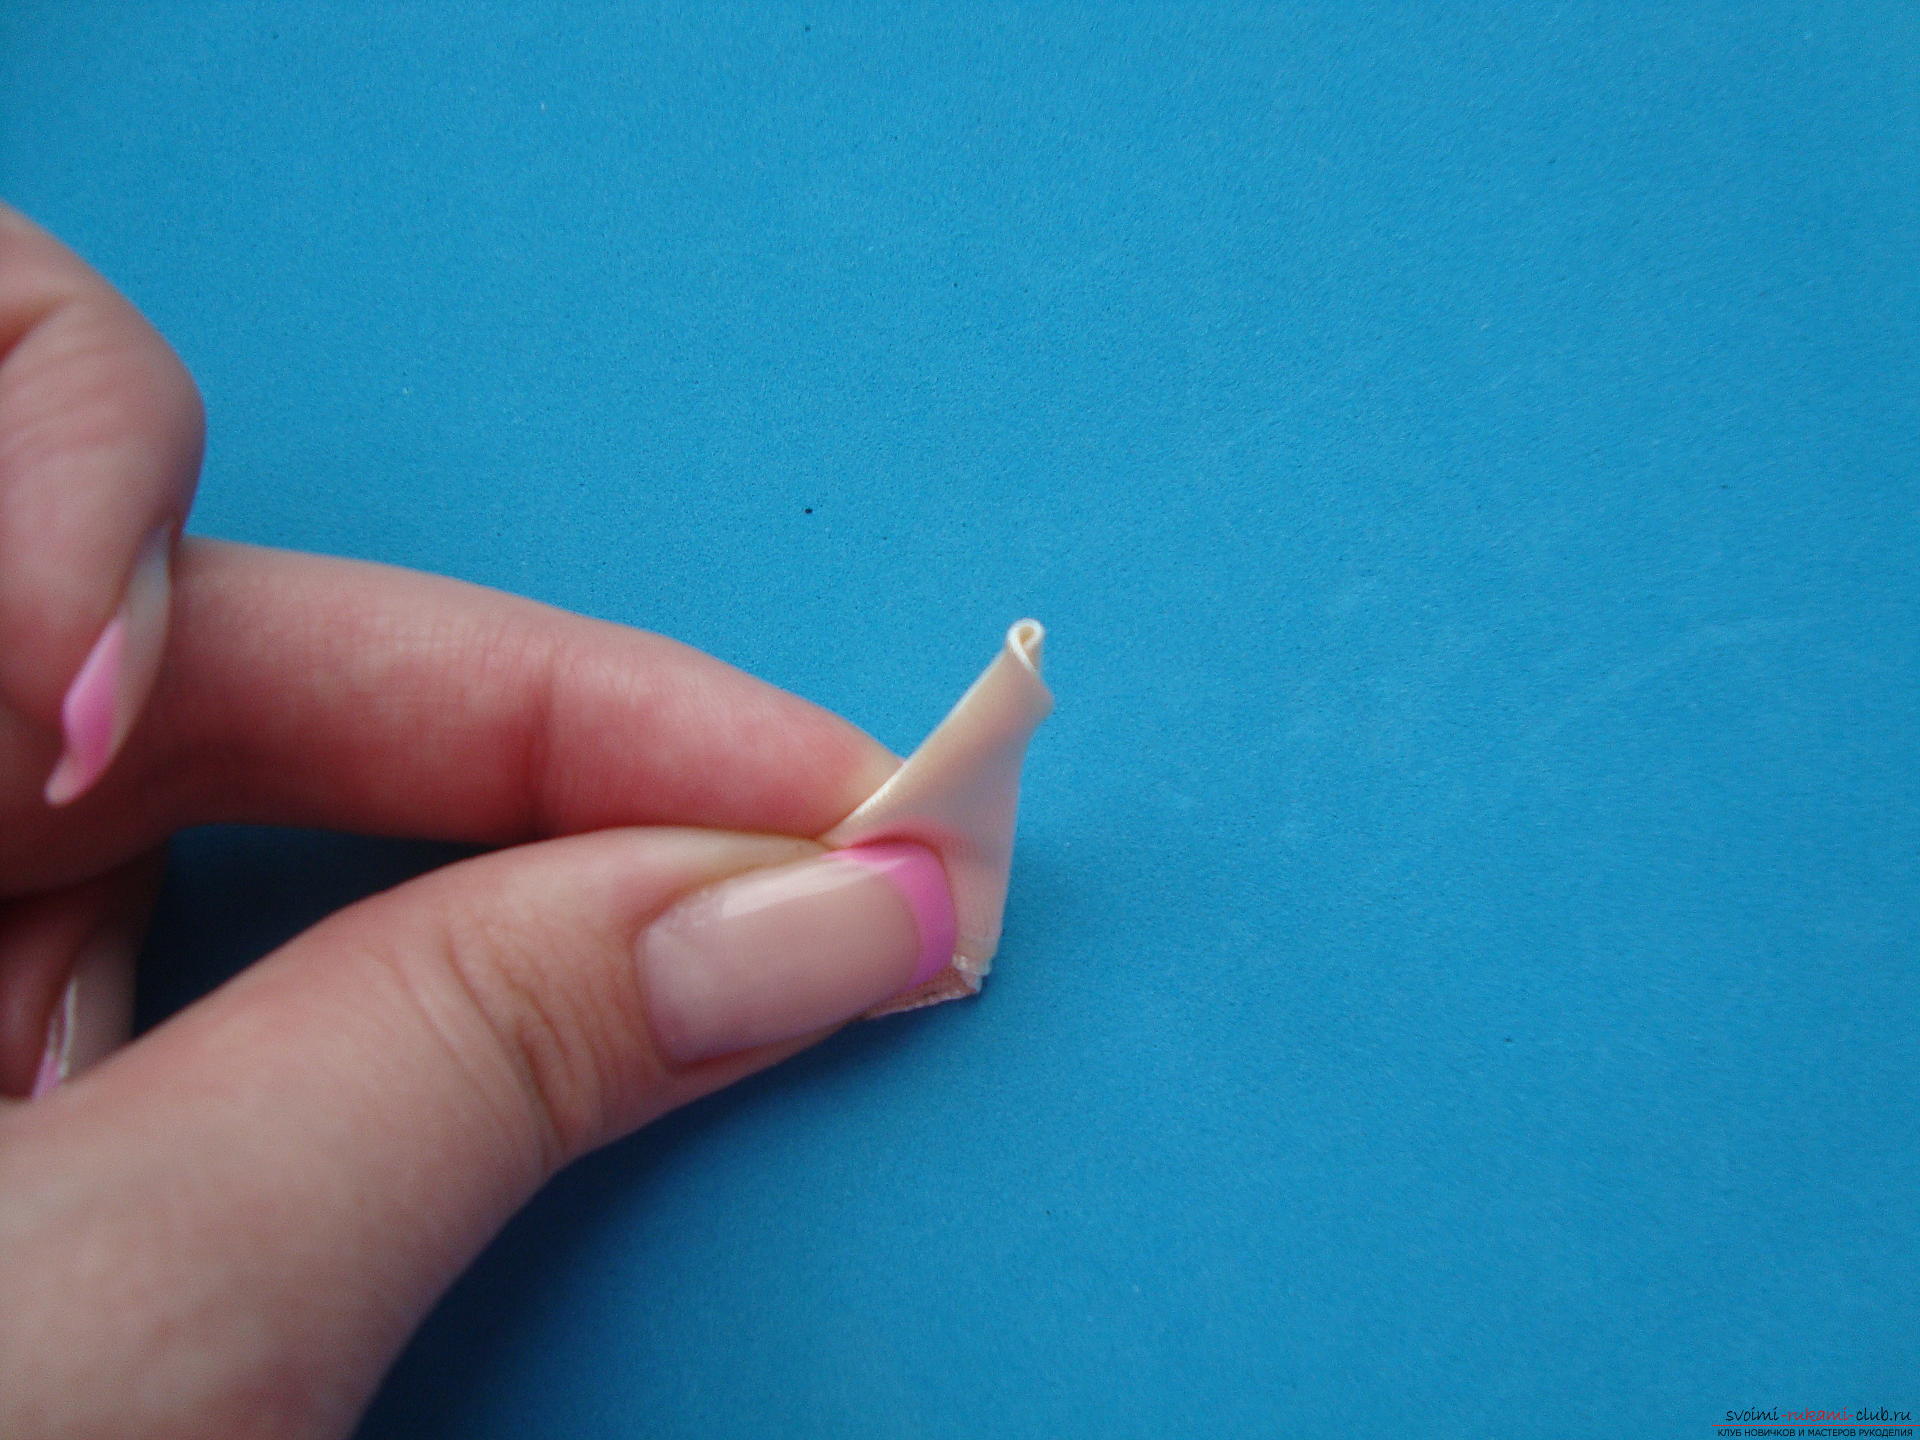 First, the petals are stuck with smaller petals,which were created from the cuts of the tape of 3 cm. Using a toothpick, apply a sticky mass to the very bottom of the petal and wind it around the bud. This glue is quickly fixed, has no color and smell, so at the base of the flower is almost not noticed. The second petal is glued to the first with similar actions. The third petal is glued from either side and, as it were, destroys the symmetry.
 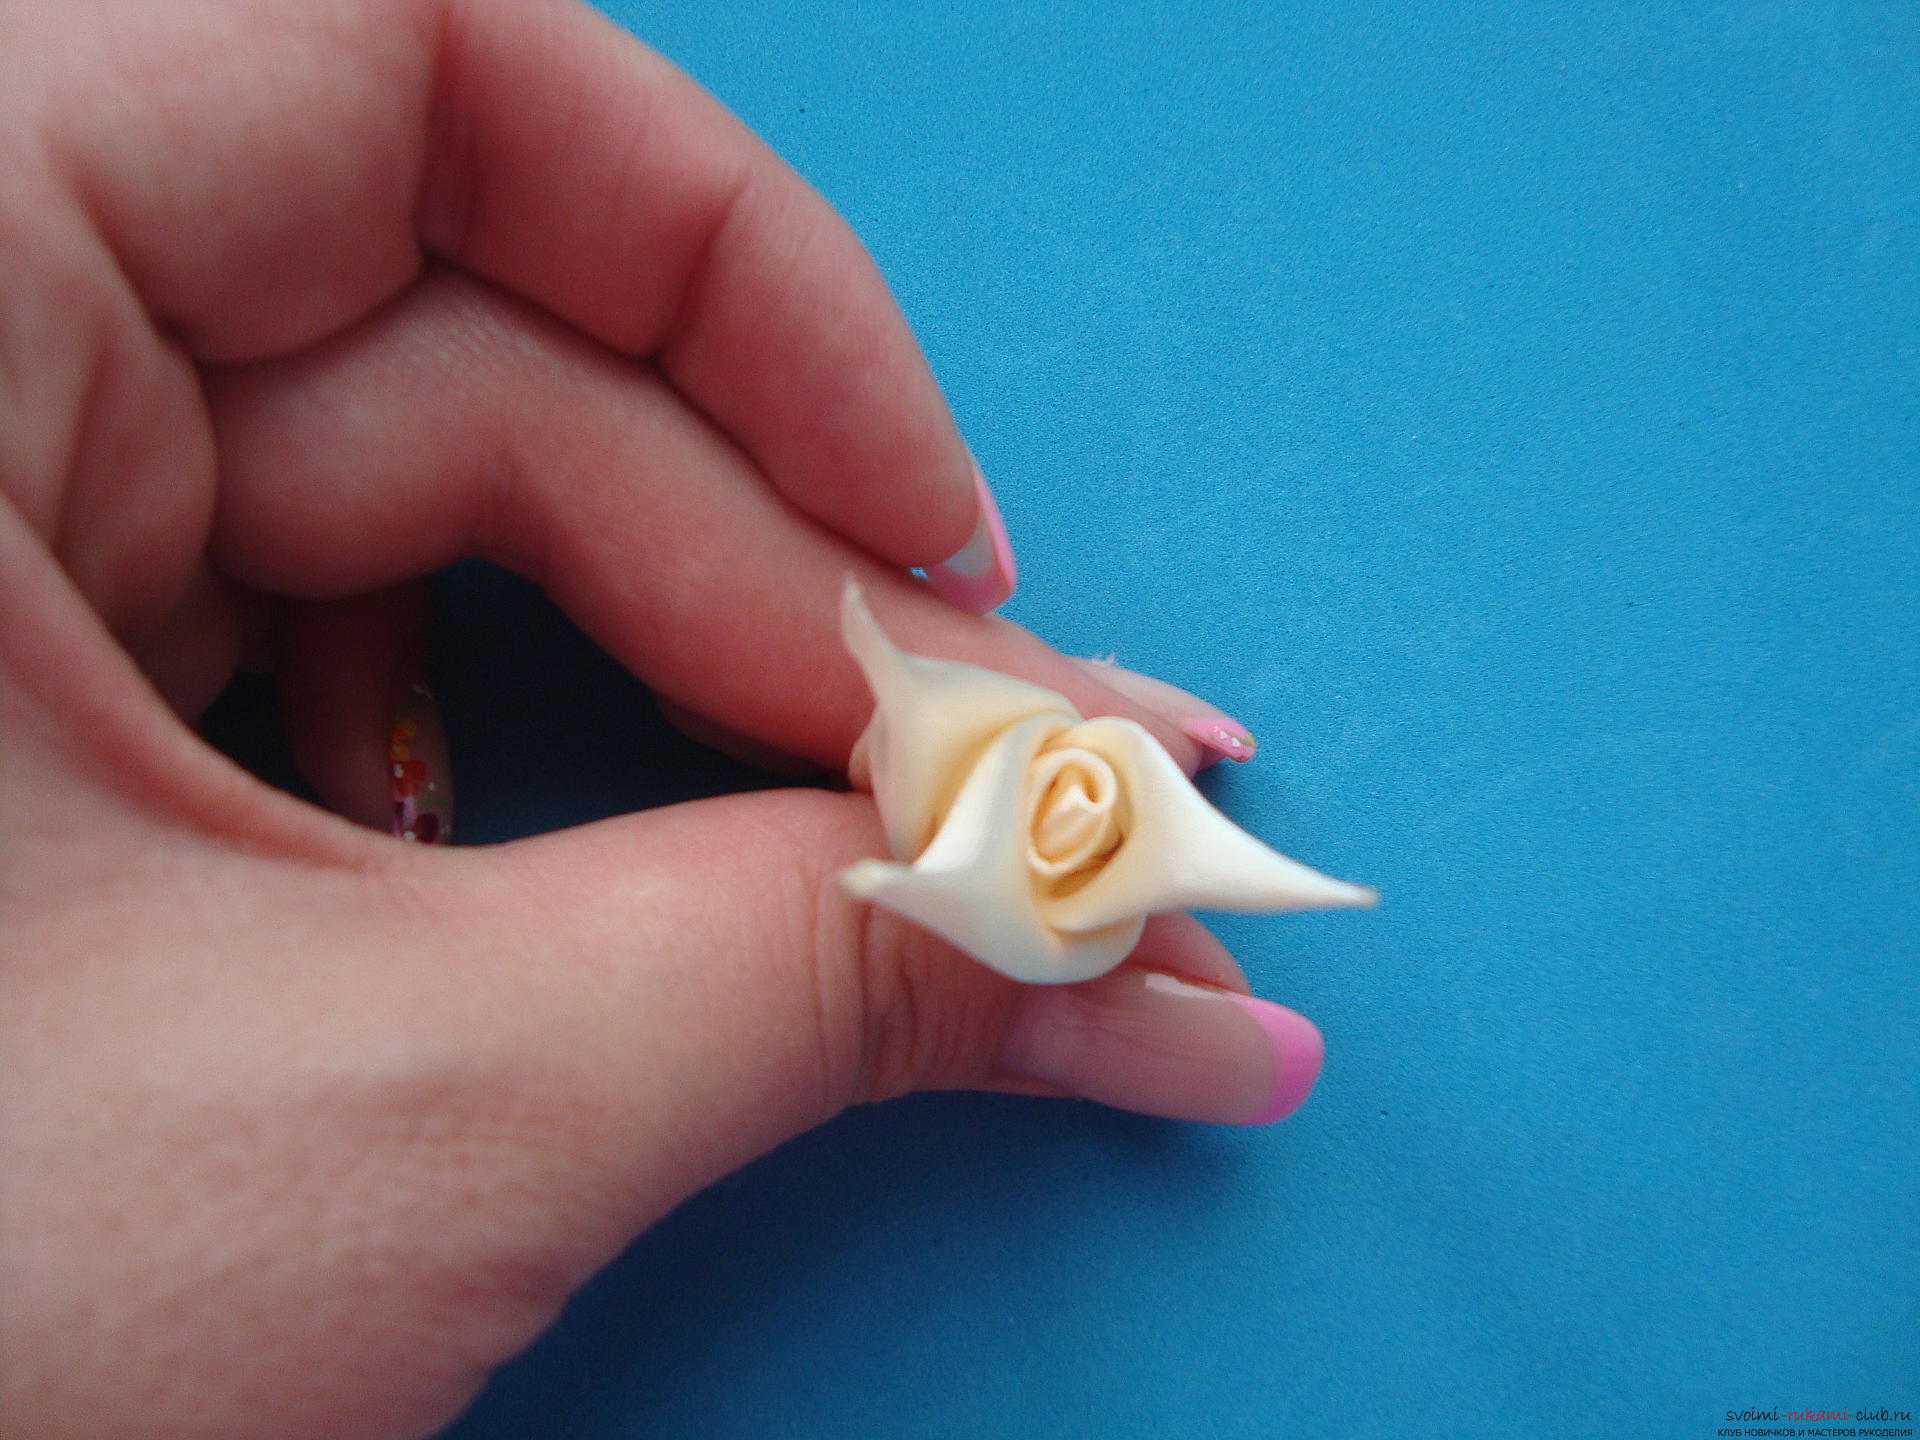 On the side, a beautiful flower looks rather untidy, with traces of glue, but it is invisible when you look at work from above.
 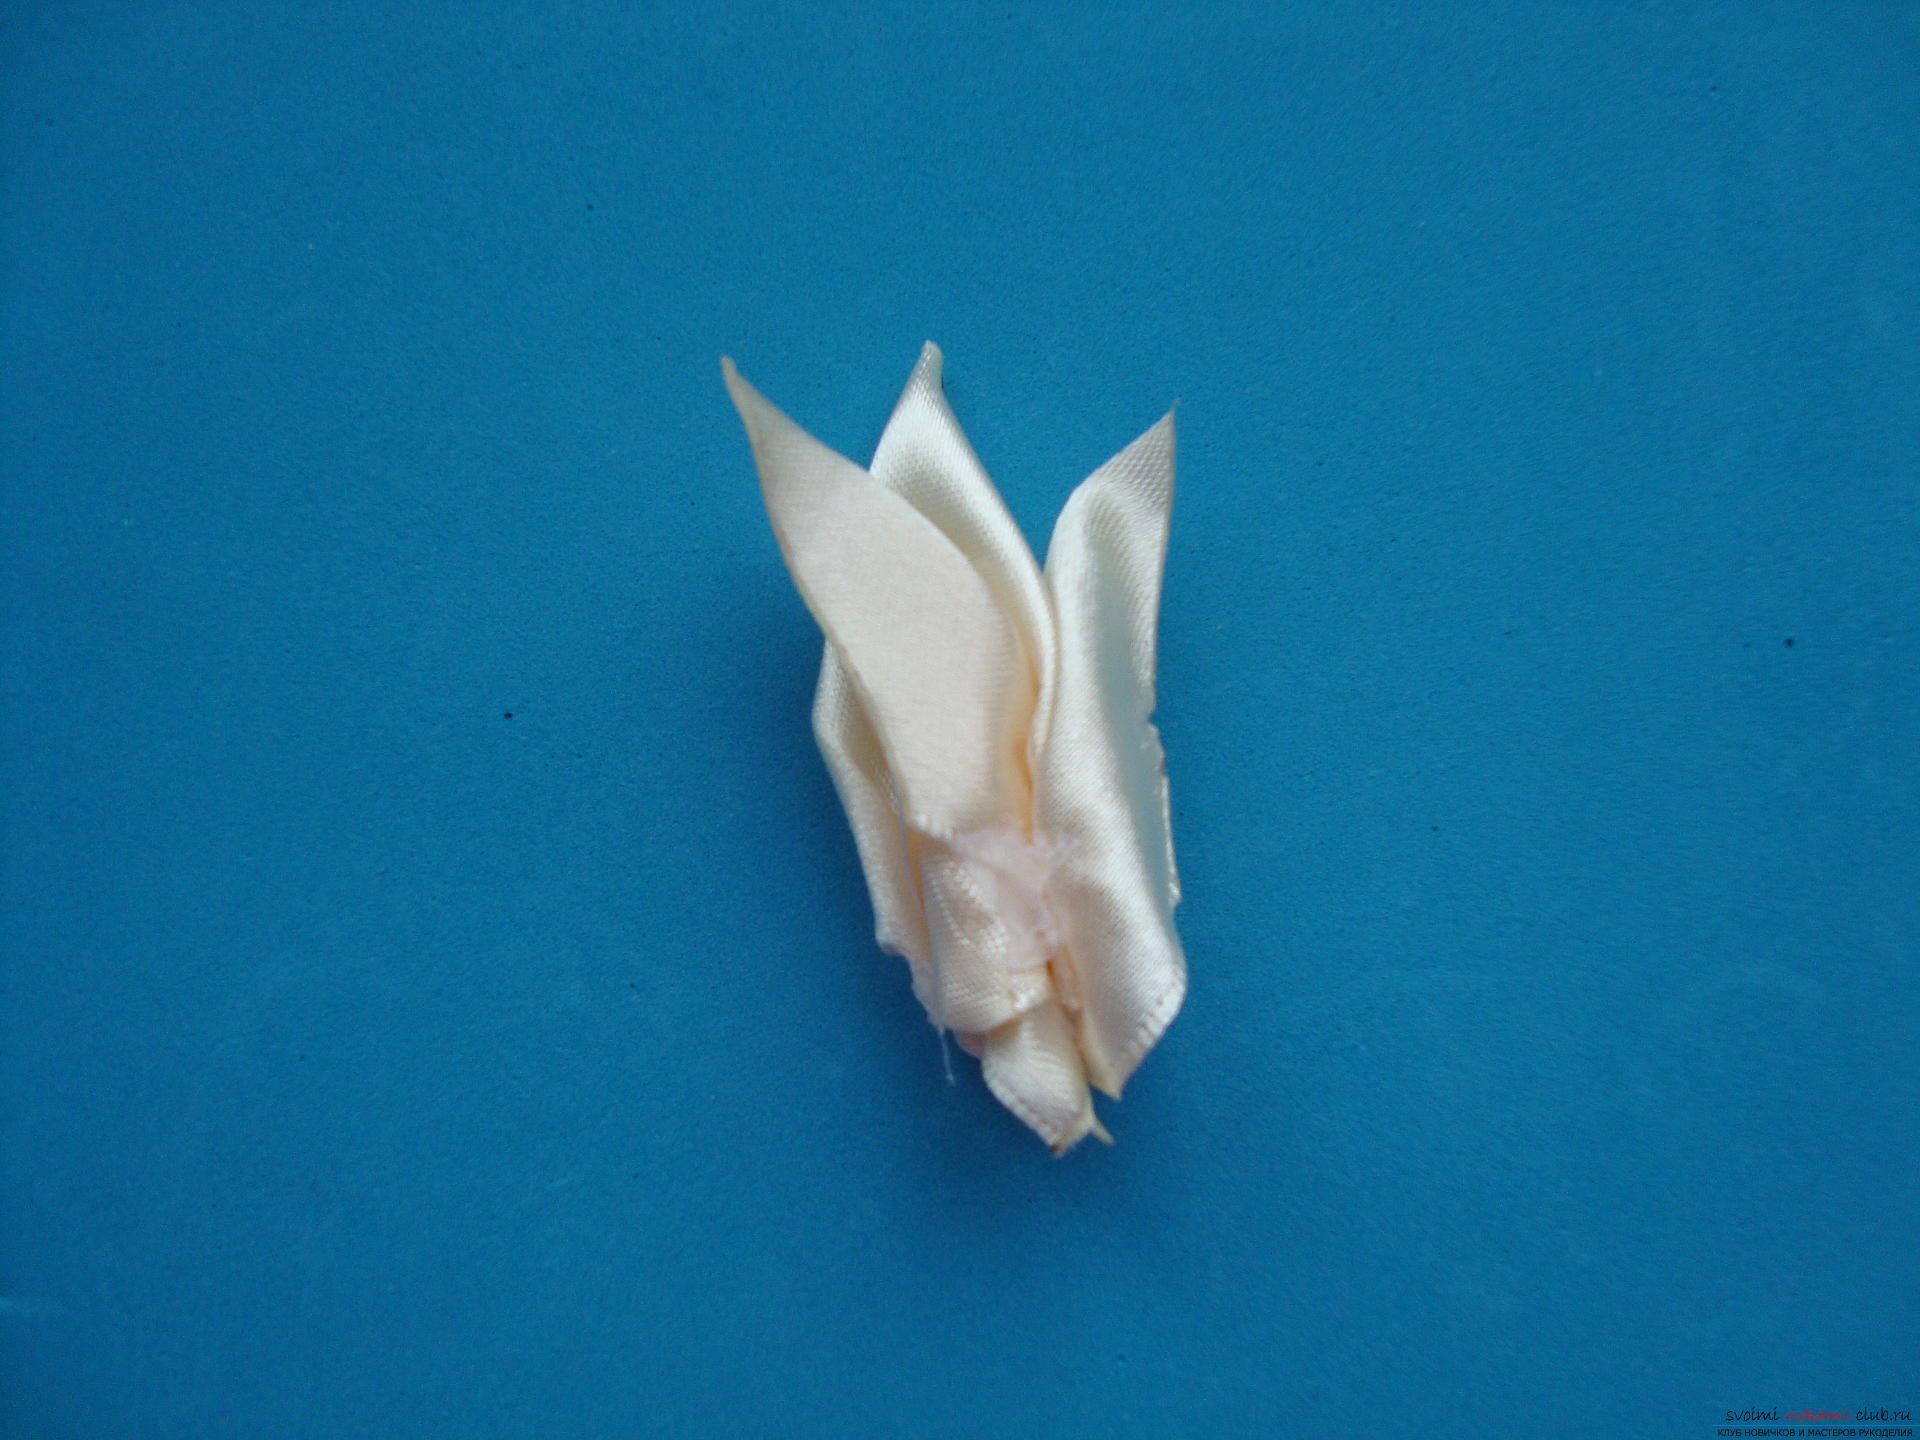 Next, proceed to fixing the remaining parts, which were created from the flaps length of 5 cm. They are glued with an inaccurate symmetry, but in a circle.
 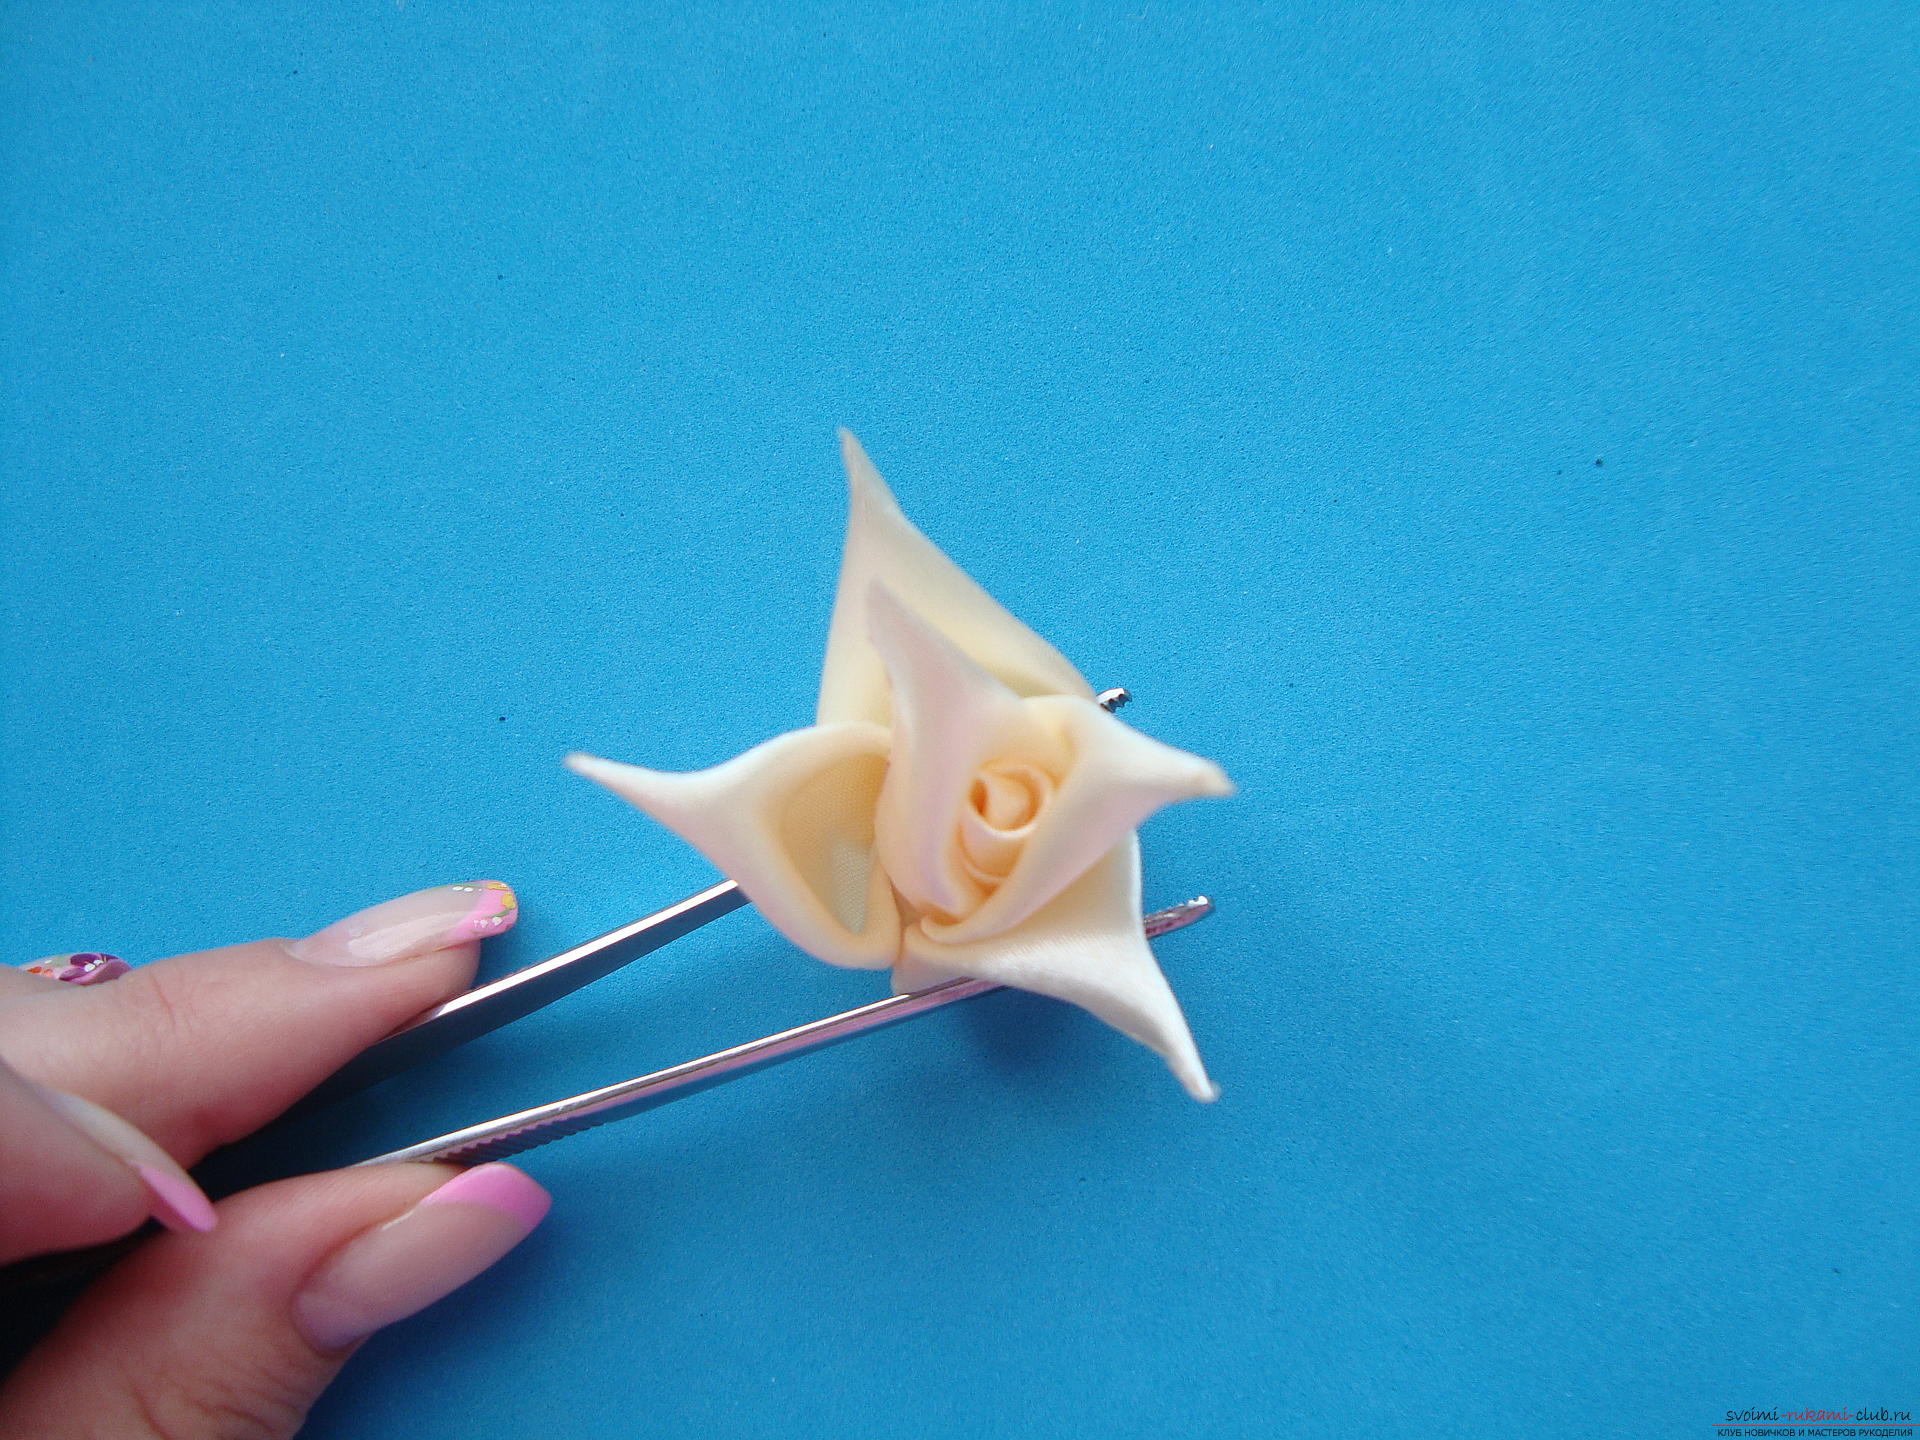 The bottom of the large petals lies in the same plane with the small ones, and then the product will look like a real rose, which in the middle only opens the bud, and the petals have the smallest size.
 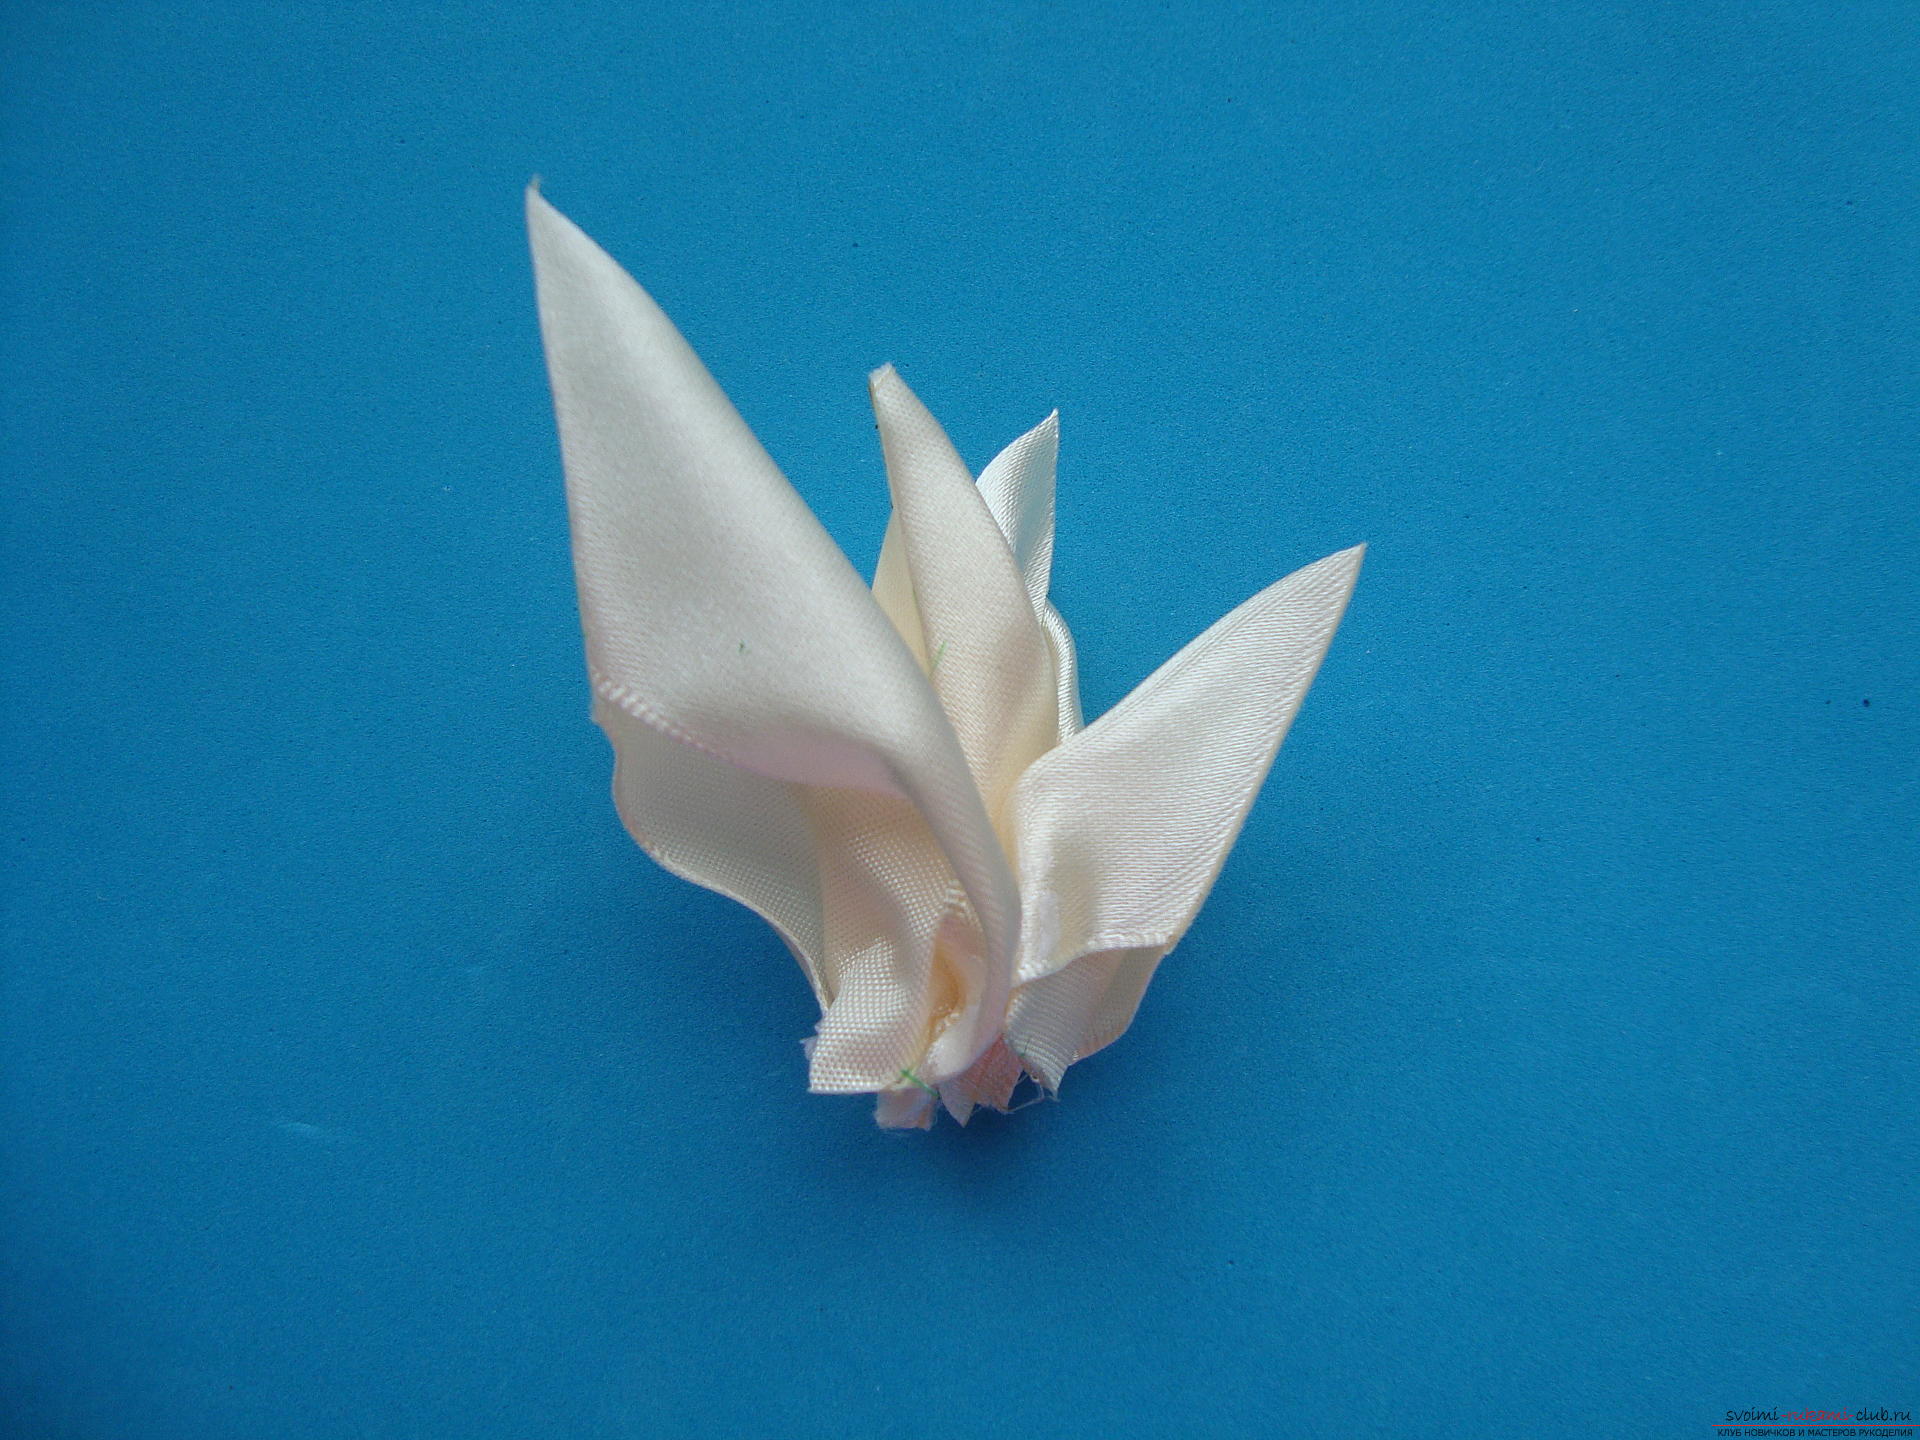 Having finished forming one set of petals,proceed to the next, and then to the fourth, fifth, etc. , until you get a flower of the right size. Of course, it is necessary not to thicken the elements on one side, but evenly distribute them along the circumference.
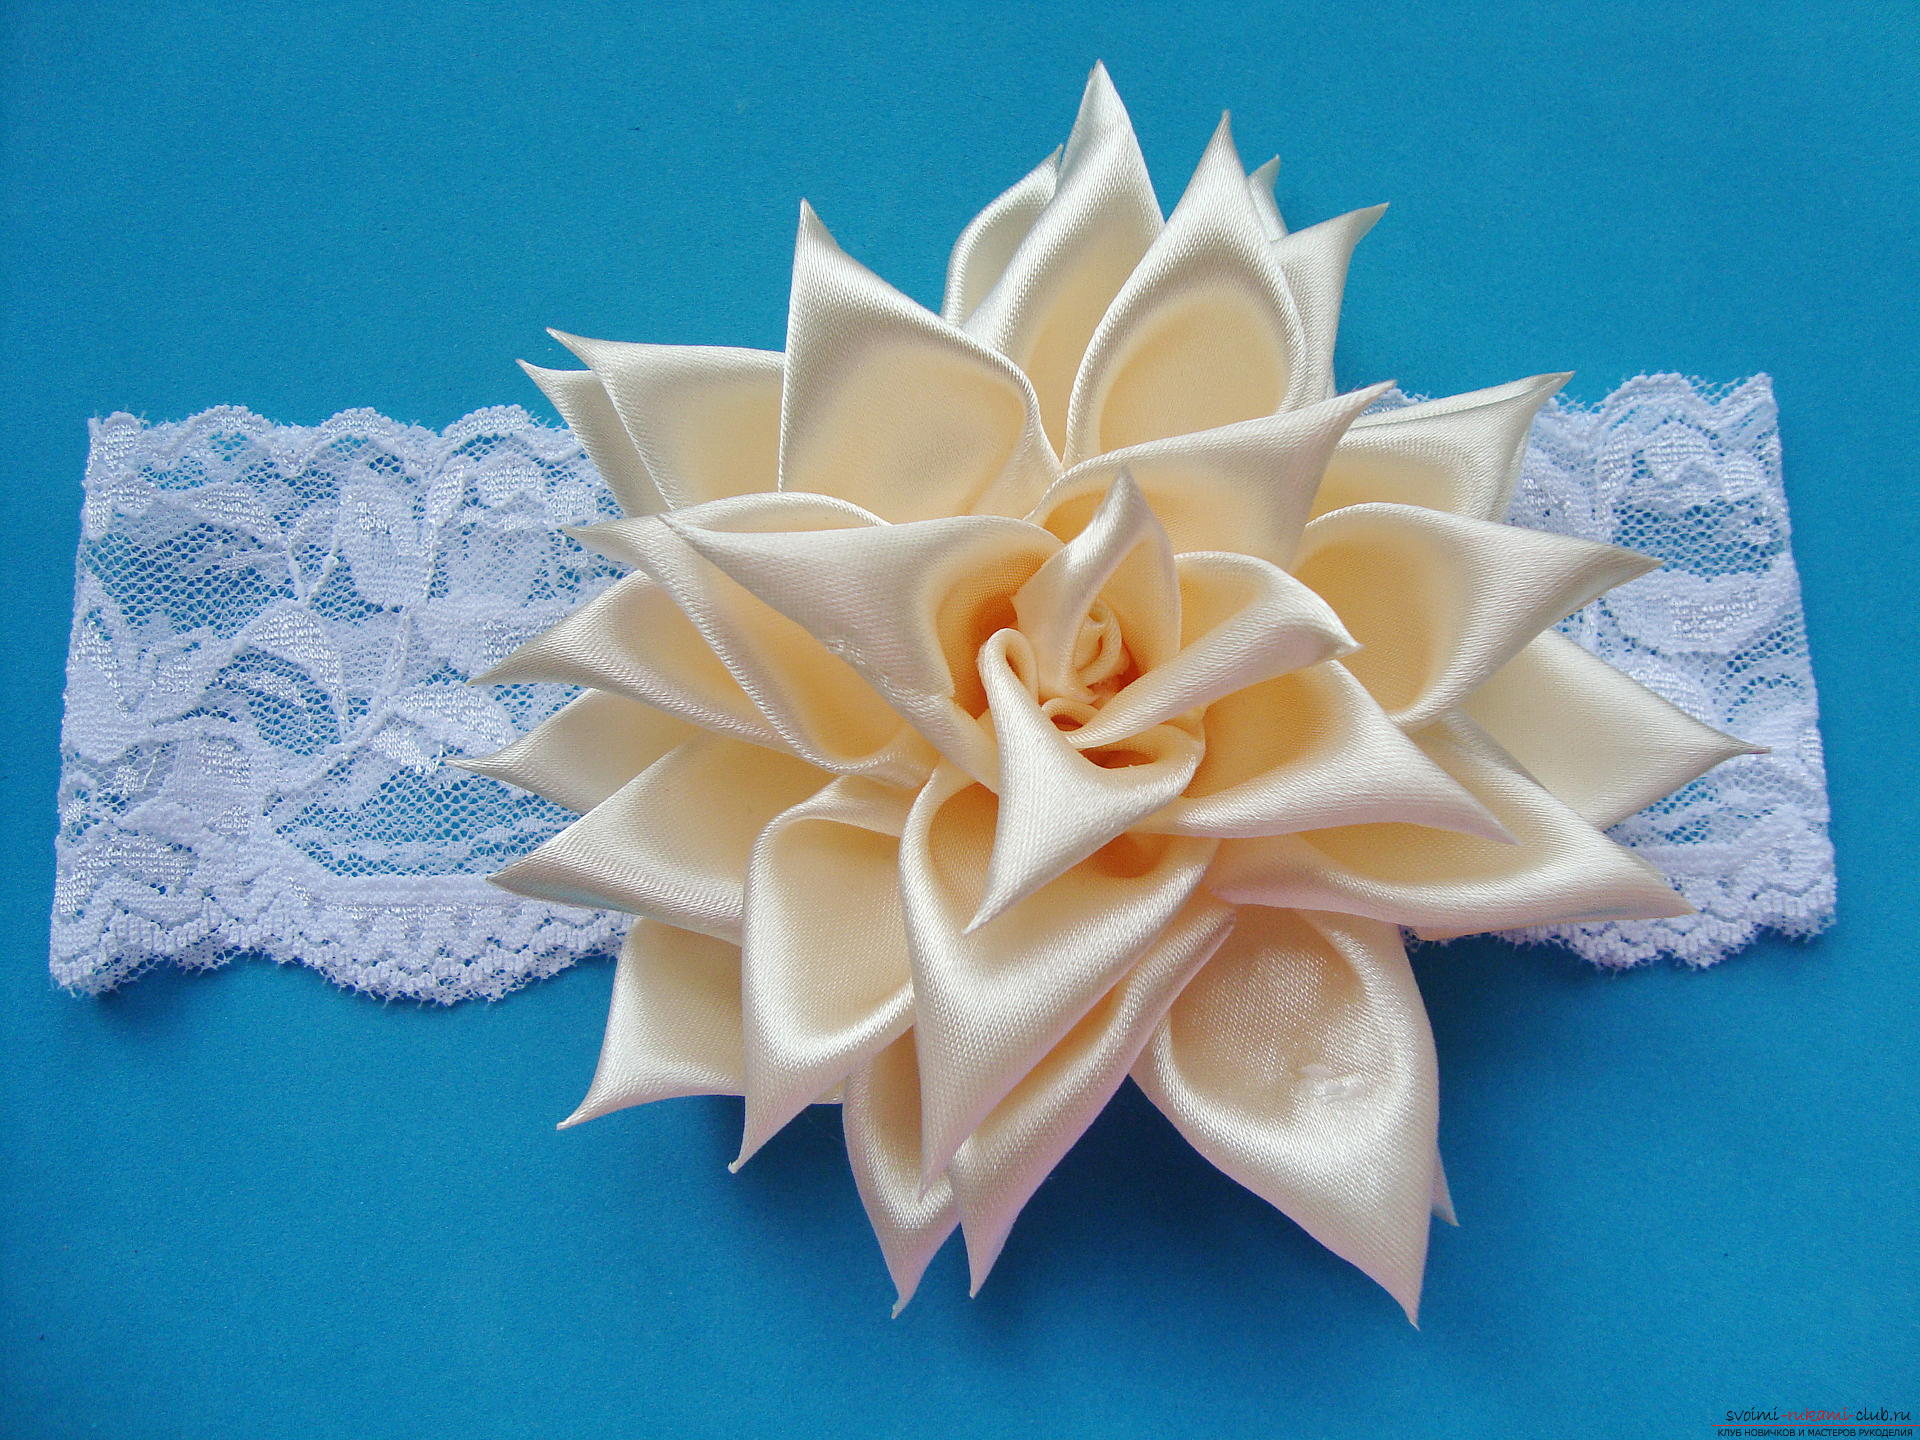
 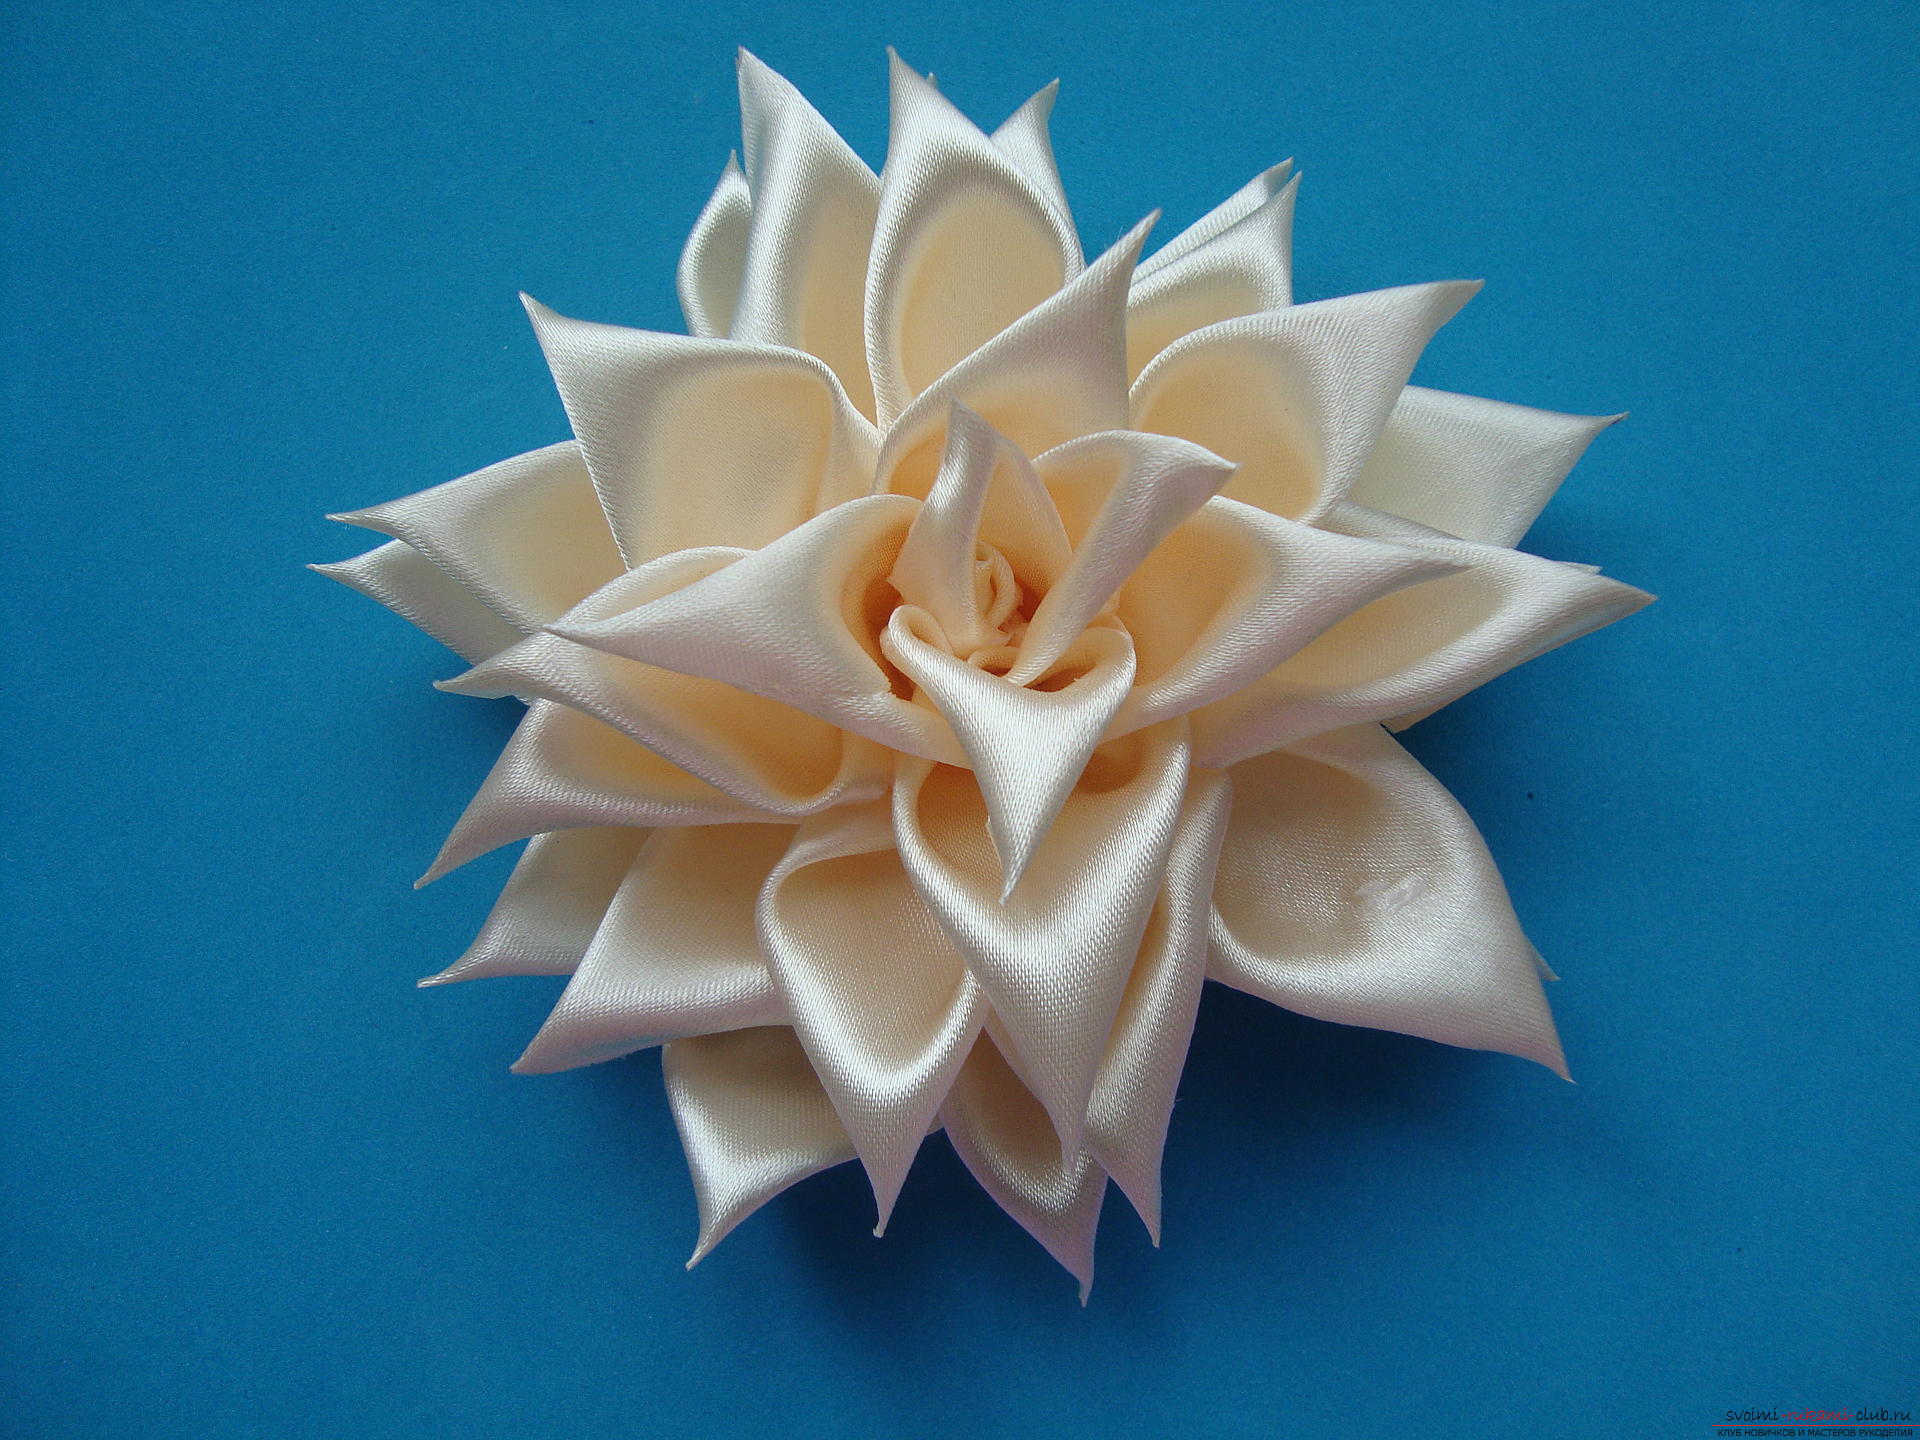 This rose will decorate the children's armband over the head,which is relevant for summer festive outfits. Lace acts as a bandage. Fold it in half, at a distance of 1-2 mm from the edge, put the ruler and burn the lace with the burner.
 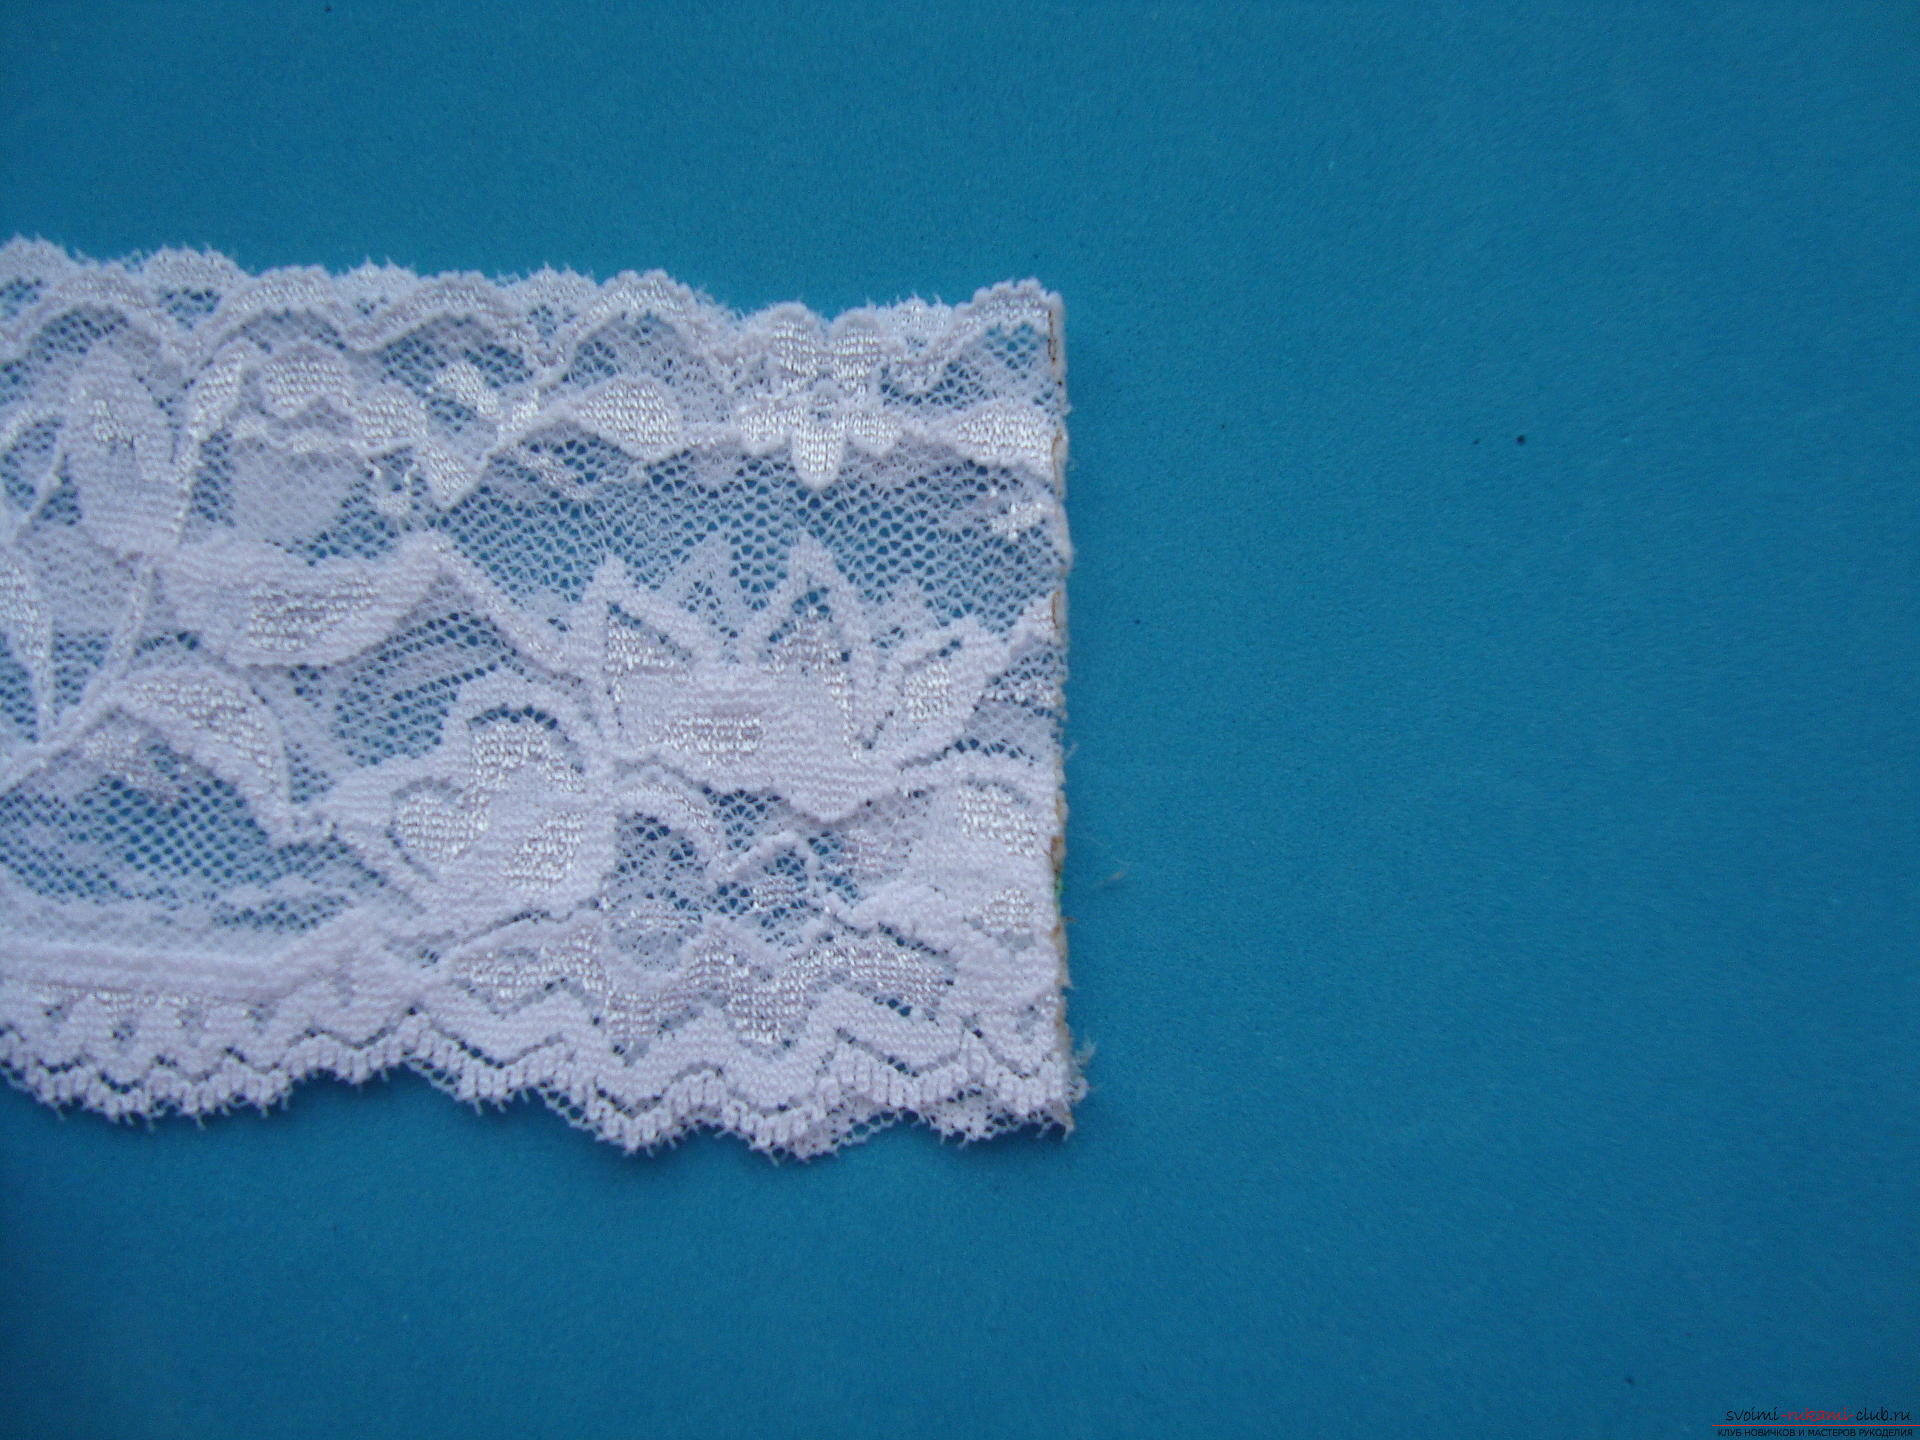 Unroll the dressing and lightly pull it to check the seam, it should not crawl.
 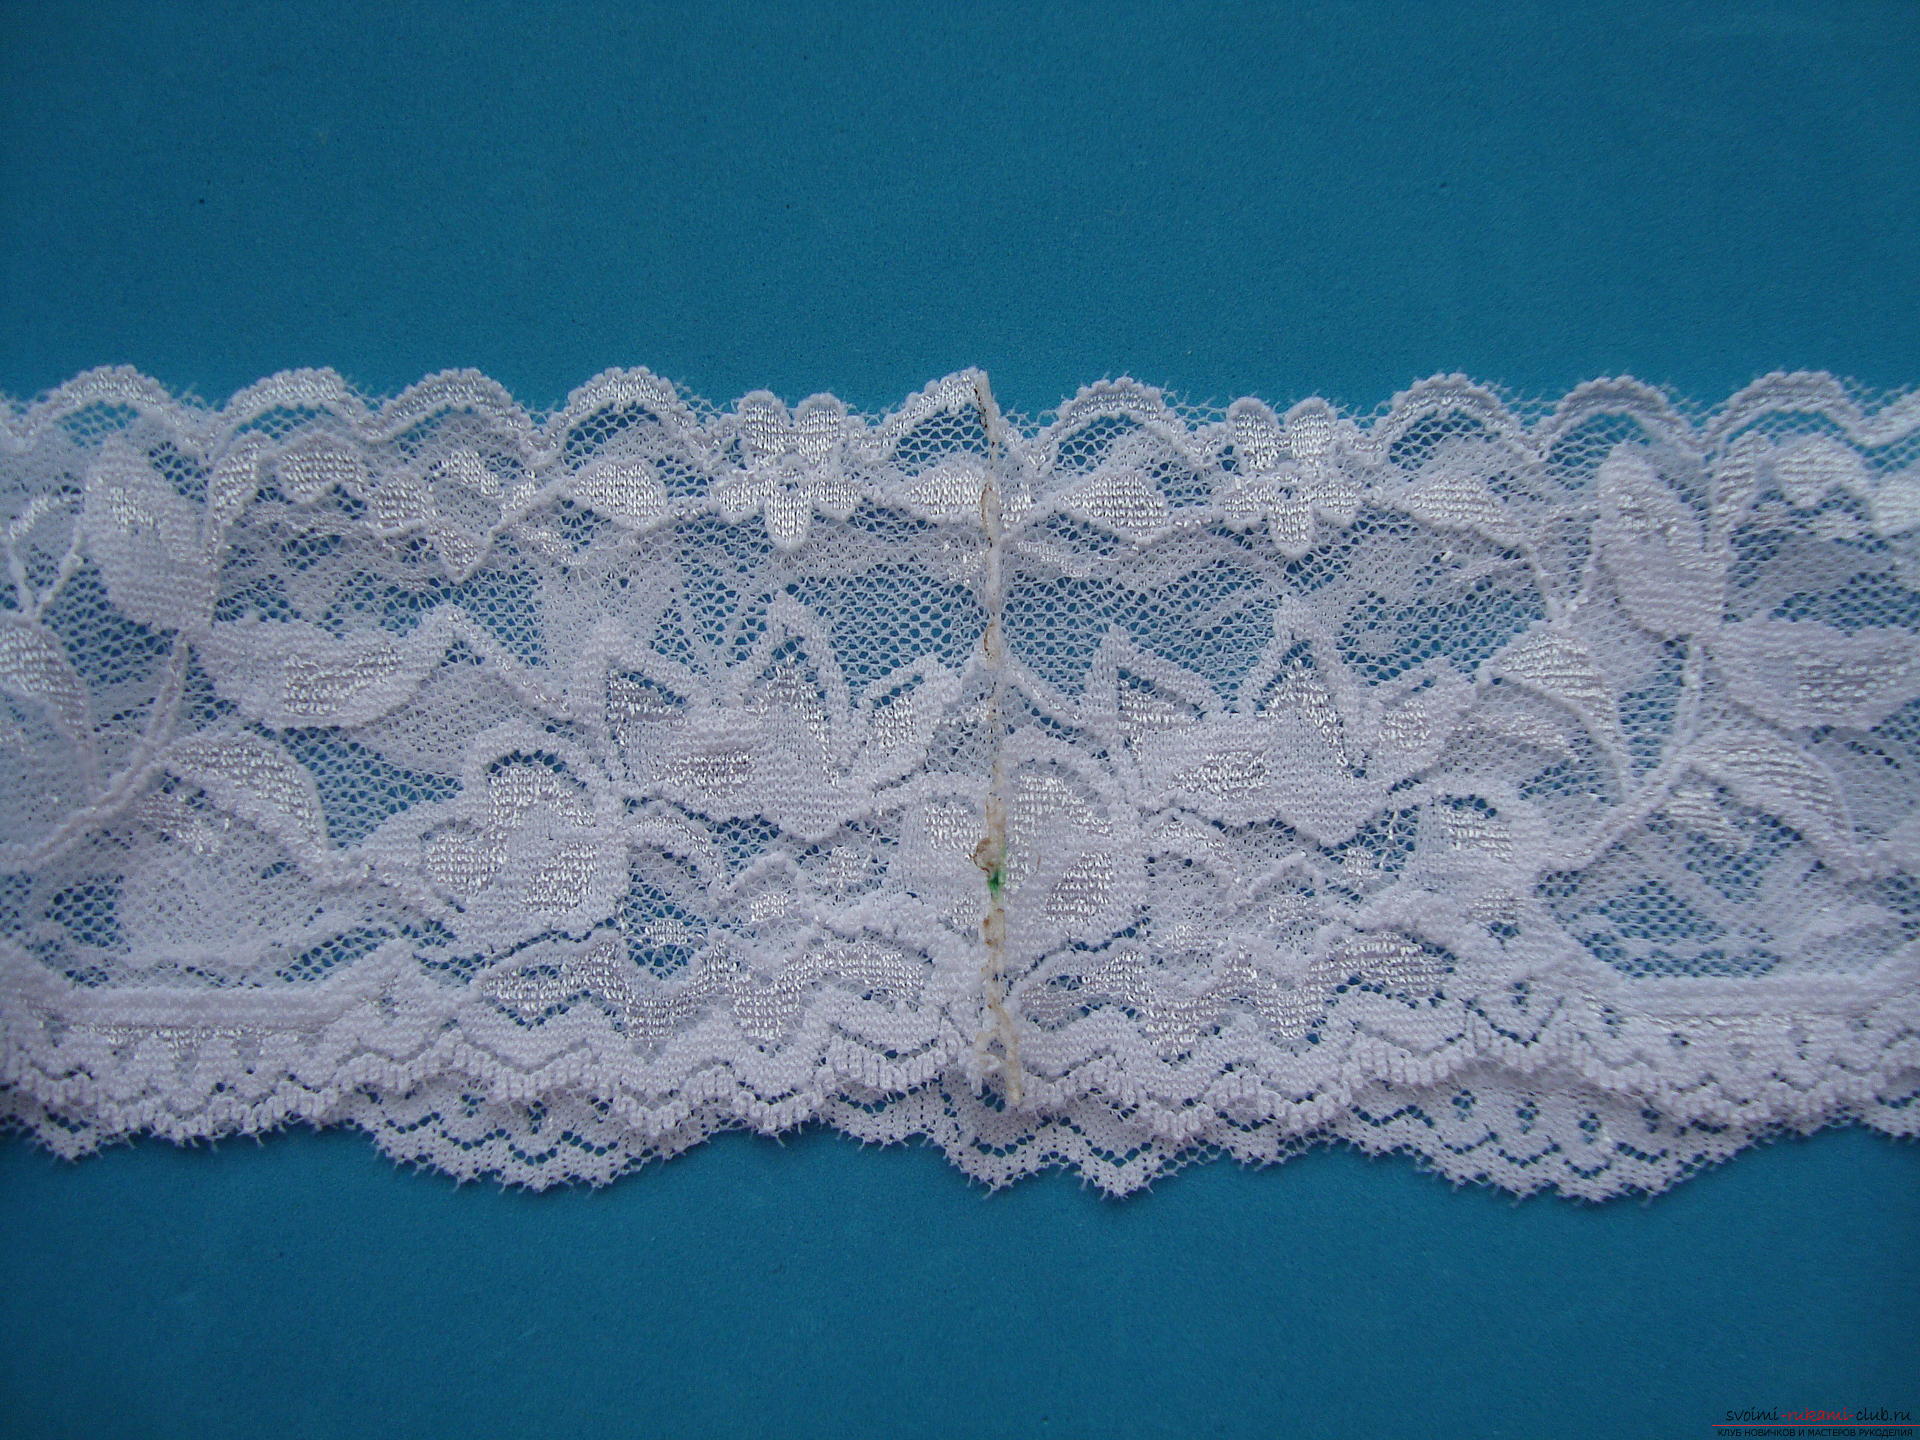 From a satin ribbon, cut a circle with a diameterapproximately as the base of the rose, that is 4-5 cm and blend its edges with a lighter. On the reverse side of the rose, apply glue and fix the flower on the bandage; on the other side of the lace is the prepared rounded base.
 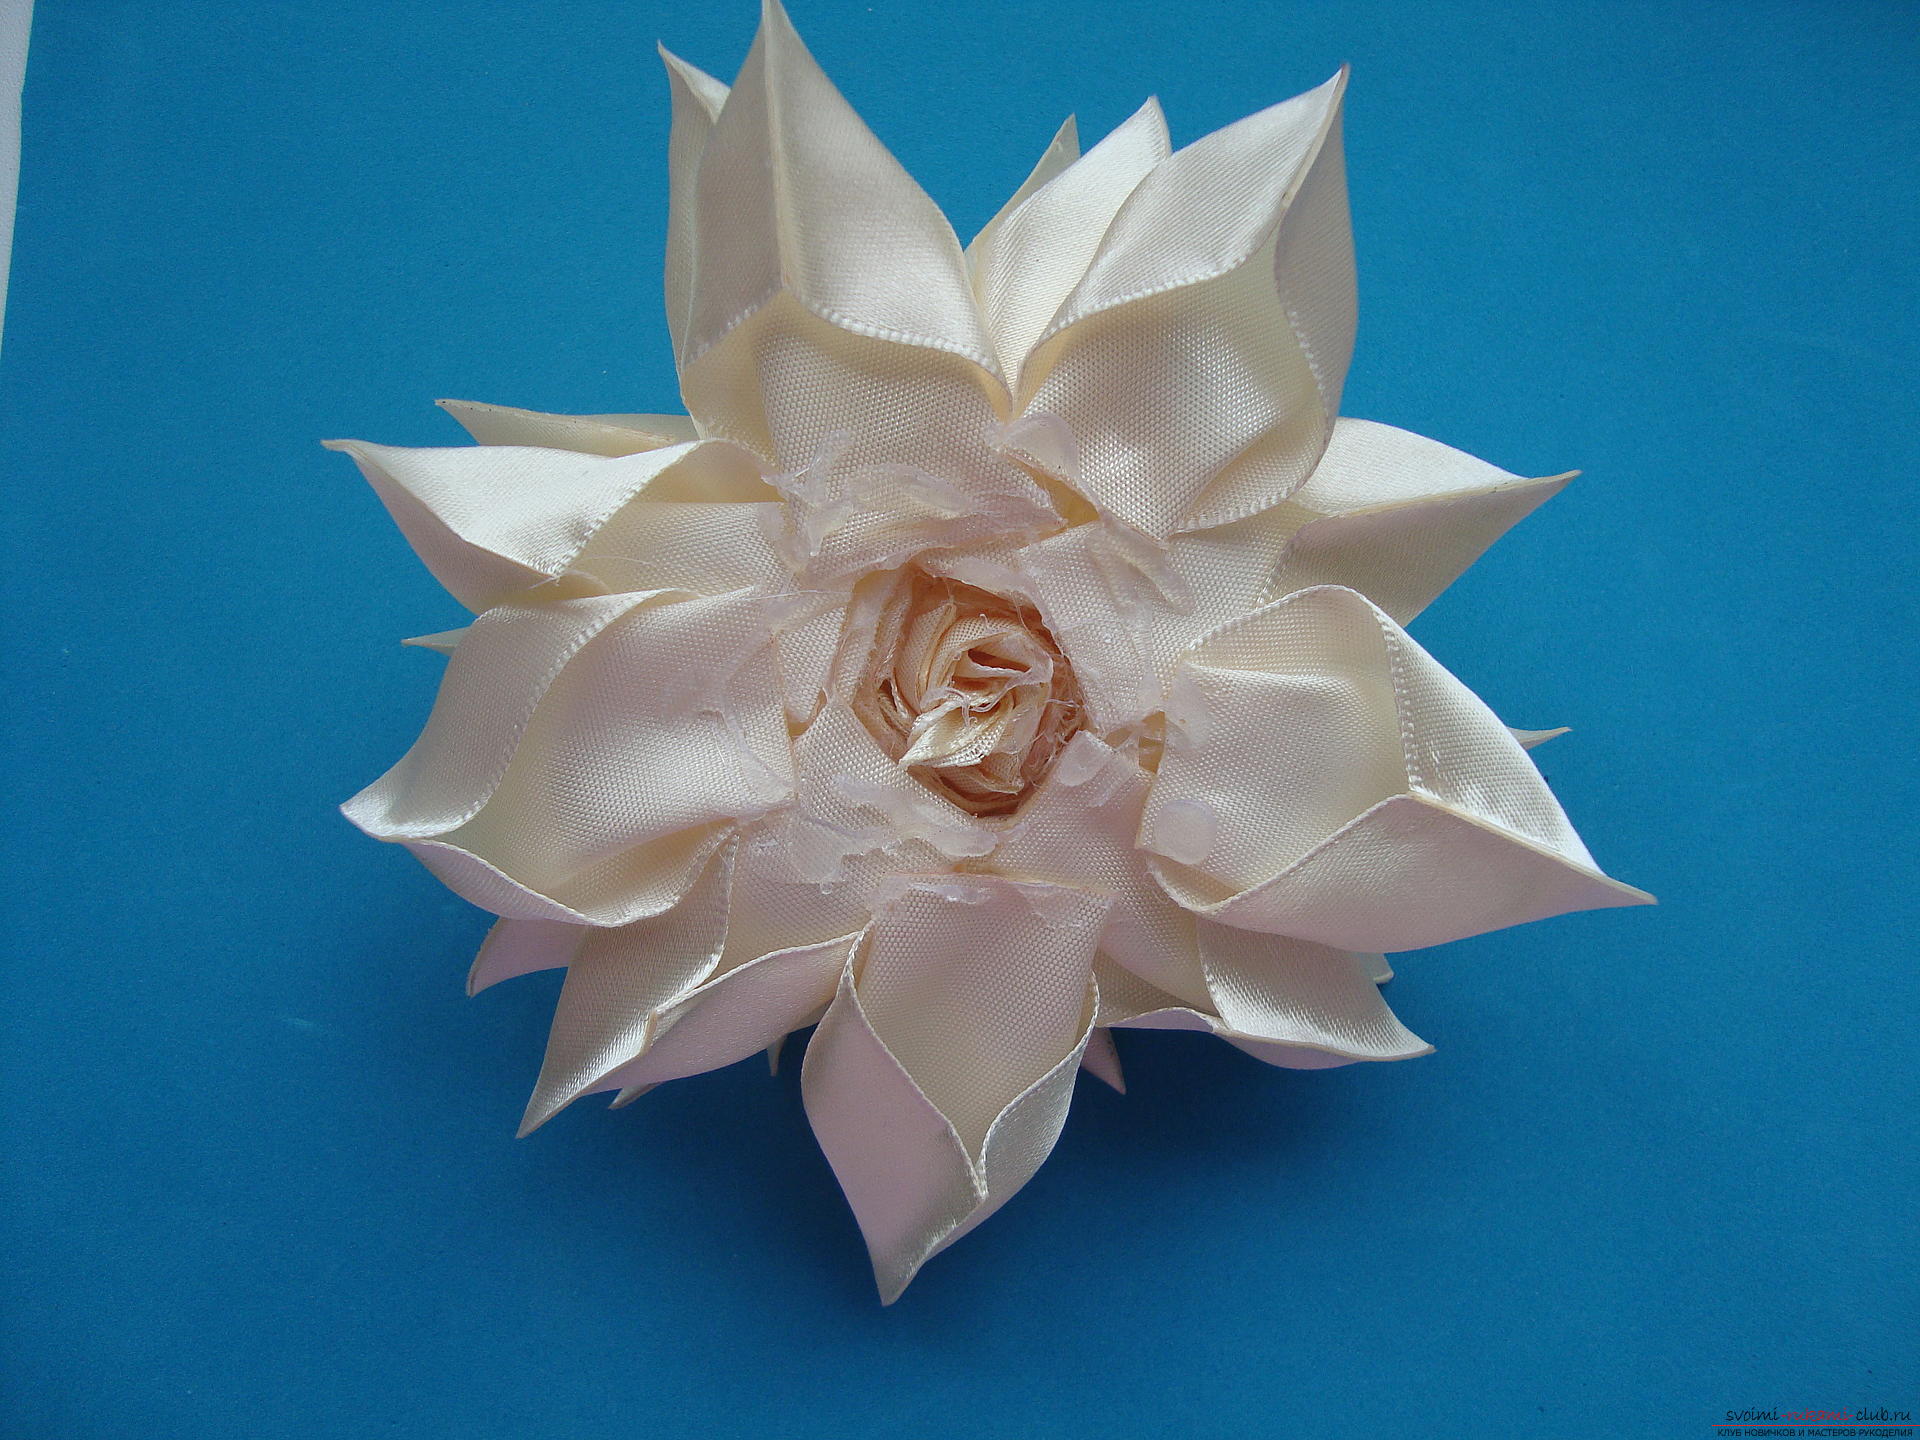 Thus, the coarse, frozen glue remainsinside the work, and to the baby's head will touch only a gentle satin and lace. A gentle bandage will decorate the little princess on any holiday and will preserve the warmth of caring mother hands. After all, only things created by their own hands are unique.
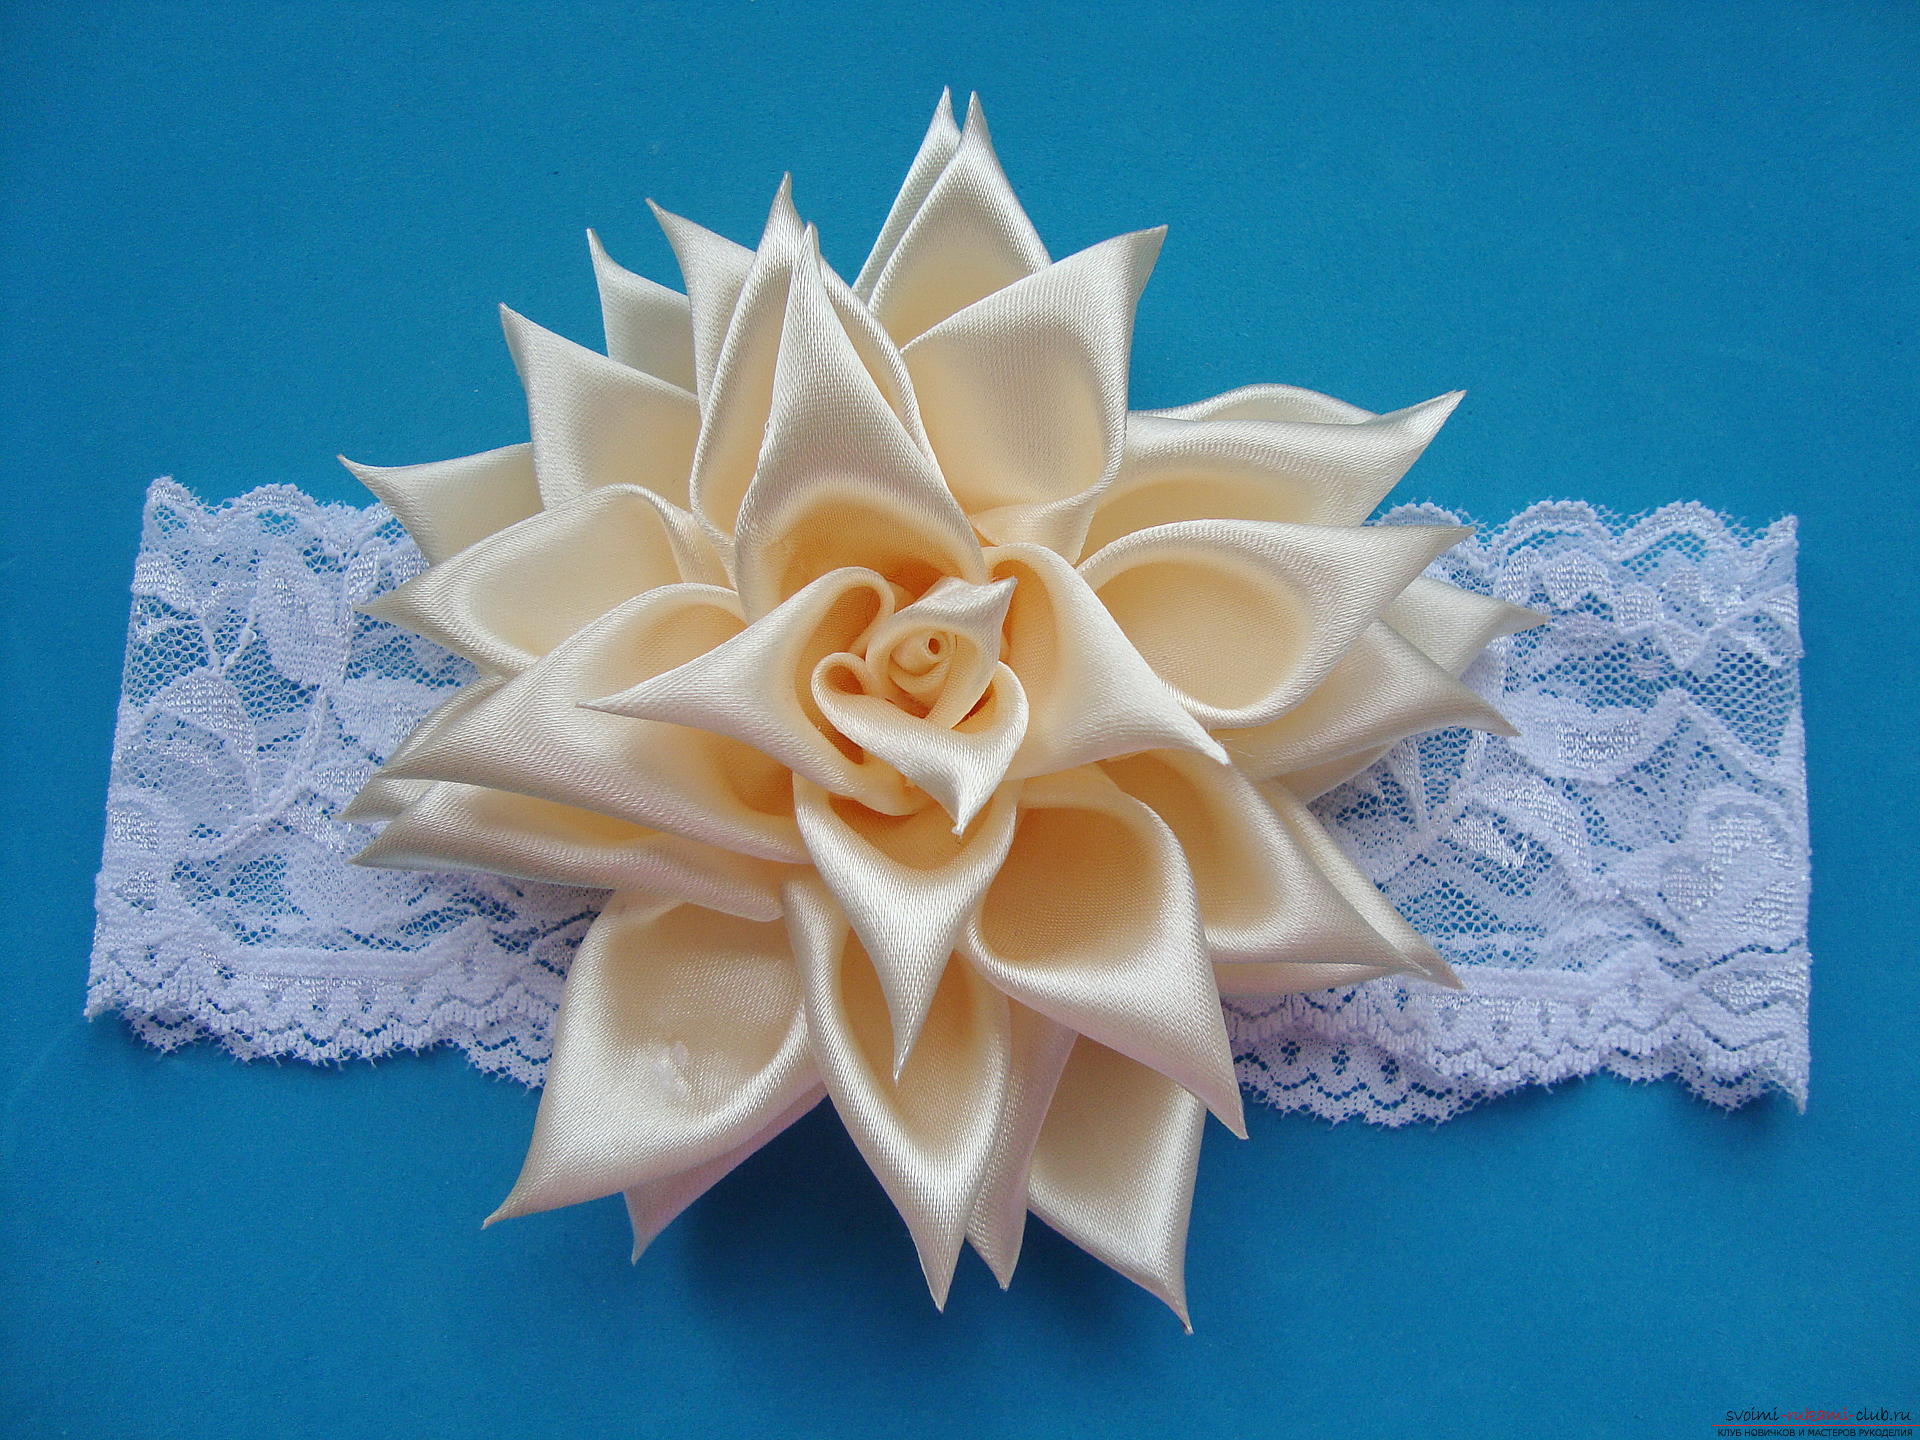
Comments
Related posts:
 Master-class on creating flowers from satin ribbons in Kansas technique
 This master class describes in detail the process of crocheting snowflakes, which will be an excellent decoration for the New Year tree.
 Craft crafts from leaves is very exciting. In this master class we will make roses from maple leaves
 Three free master classes to create butterflies from satin ribbons in Kansas technique.
 Master class kanzashi dahlia ribbons (photo)