
Keyboard with your own hands Budget: 7 workshops and 25 ideas
This article contains 7 step-by-step master classes.- how to make a housekeeper with your own hands on the wall in the hallway is very budget! It does not require a lot of materials and time, because they can be made from such scrap materials as: wood, branches, old toys  And with the help of the original design of the key hanger, you can emphasize the style and interior of your home or apartment. The content of the article:
Master class number 1: Key keeper from the Lego designer
Sometimes, looking at familiar things from anotherOn the one hand, one can notice absolutely new possibilities for their exploitation. Here we offer a fresh look at the use of Lego. We perceive it as a developing children's game (of course, an adult too, because it is not a secret for anyone that parents sometimes buy toys for themselves rather than for children). But with the help of several tools, not only different figures for games can be folded from it, but also the original wall key holder.  Key tag - also made from the element of the designer
  The key holder wall of plastic Lego you will need:
- Lego design details: a flat rectangular platform and as many small details as you need to hang keys
- Drill with a thin nozzle
- Screws, dowels (2 enough)
- Rings for keyrings
- Ruler
- Marker
- Lace
- Scissors
Manufacturing:  Photo-instructions for the manufacture of key holders on the wall
Enjoy and don’t lose your keys! 
Master class number 2: Original key tags
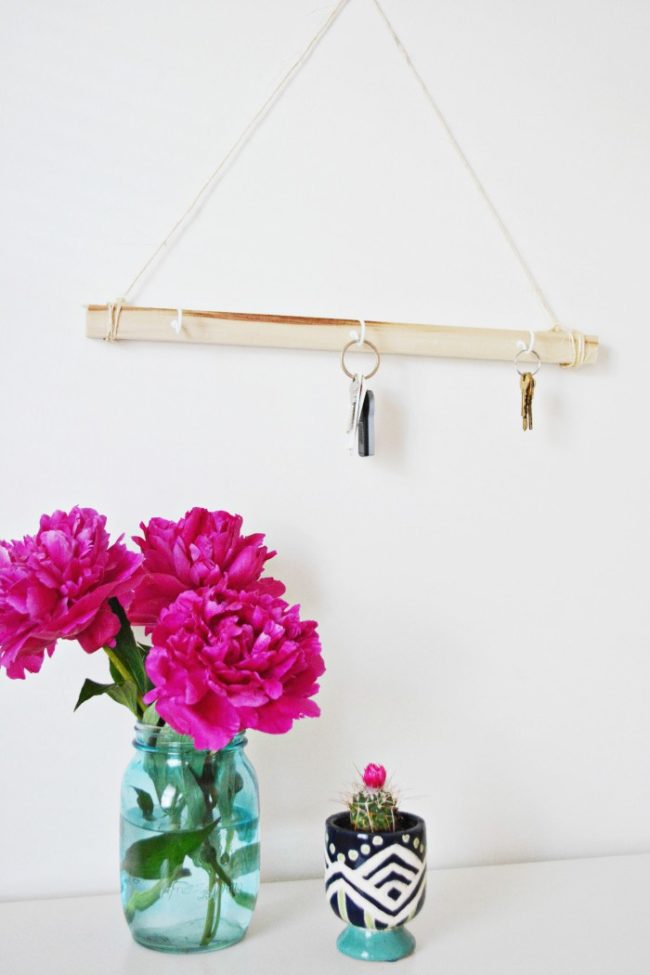
Let's take a look at how to make a simple wooden key hanger fastened to the wall. This Master Class is straightforward, very simple, for those who are completely beginners to do their own hands.  Materials:
- Dremel 8050 Micro multi-tool or similar model (you can separately grinding machine, saw, drill)
- wooden bar approximately 2.5 cm x 5 cm x 14 (we made 4 keys, if you need a different quantity, take the appropriate size)
- two small pendants for shelves (consider the chosen bar size)
- leather lace (we took a thickness of 1.5 mm, and you can use the usual strong lace)
- screwdriver
- 4 small expanding ringlets
- 4 neck pendants (you can take your favorite charms)
- wire cutters
- round pliers
- pencil
- ruler
 Step 1: To make the holder you need:
- Sand the wooden block.
- Fix it and go first with a coarser grinding wheel to remove bumps and protrusions, then medium and smooth.

Step 2: It remains to make key chains:
 Instead of a polygon made of wire, you can use any object, for example, any toy or ball.
  Key tags can be made of any shape and type.
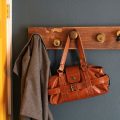
Master class number 3: Key hanger from tree branches
The easiest way to make a housekeeper is to use tree branches.
There are many options for decorating such hangers - look at the photos and choose!  Boho Style Key Hanger
 Very simple and beautiful!
 Different versions of hangers for keys and not only with the use of branches
  See also or.
Master class number 4: From wood and old keys
It sounds strange, but it is, in this master class we will really make a housekeeper, the hooks of which will be made of old and unnecessary keys.  Retro housekeeper in the house you will need:
- Rectangular wooden board
- Old keys (3-5 pieces depending on how many hooks you need)
- Nails (short and thin, but the cap should be wide enough)
- Pliers
- Saw
- Sandpaper
Manufacturing: Using a saw, give the size and shape to the tower, round the corners. Then sandpaper remove all the burrs. If you are lucky to immediately find a suitable board, this step is skipped. 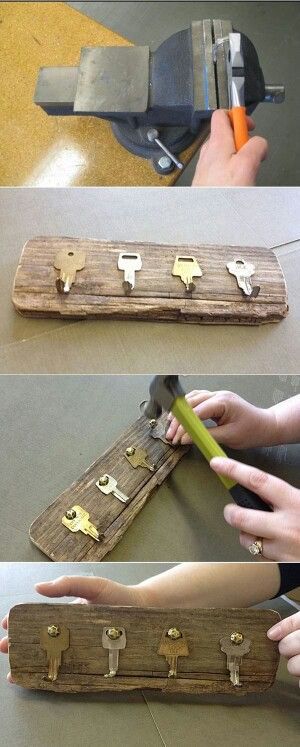 Fastening hooks on the basis of a key house
It looks very original and immediately recalls its purpose.
Master Class number 5: Key Case with a Vase
In fact, such a hangout with hooks can be used not only as a housekeeper in the hallway, but also as a kitchen hanger for tacks and towels, or for a bathroom. 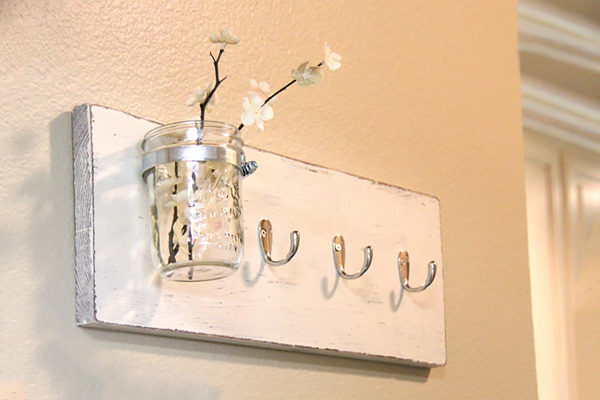 Housekeeper with a vase Looks interesting and extraordinary, because not often on the hanger you will see a vase with flowers. Materials:
- Rectangular wooden board
- White paint for wood
- Hooks (3-4 pieces)
- Can (max 0.5 l)
- Metal clamp for pipes (should fit the size of a can)
- Suspension for mounting
- Screws
- Drill
Manufacturing:
The result was a beautiful housekeeper in gentle tones. It will complement the interior well and will serve as an additional accessory for decorating an apartment. Also in more detail how to make such a mount, we told in - as in the photo below. 
Master class number 6: housekeeper house "like a hotel"
Such a housekeeper-house has not only the originaldesign, but a definite advantage over the others described here is clarity and orderliness. No wonder they are used in hotels, because every place for the key can be signed. Only we will indicate not the number of the room, but the purpose of the key: from the house, work, garden, car, mailbox, parents' apartment, staircase, etc. Often the keys to different rooms look the same, such a key holder once and for all will save you from situations where instead of the keys to the office you put the keys to the dacha in your bag, and then you cannot open the door.  Large wooden key hanger
  Necessary materials:
- Thin wooden plank (about 8 cm wide)
- Frames for frames
- Set of metal tags
- Hooks (threaded)
- Saw
- Paint
- Suspensions
- Small studs or screws (very thin)
Assembly steps: Step number 1: Preparing the base Cut the wooden plank into 5 identical pieces. When choosing the length of the slats, keep in mind that later you will glue them together to make a rectangle or square, calculate the dimensions for the desired shape. 
You can first apply a wood preservative, wait until it dries, and then apply one after the other several layers of paint. Wait until dry. 
 Optionally, you can give the tree the effect of antiquity, rubbing it with a little sandpaper. Step 2: Fasten tags

Use for your pleasure!
Ideas of key tools from improvised means
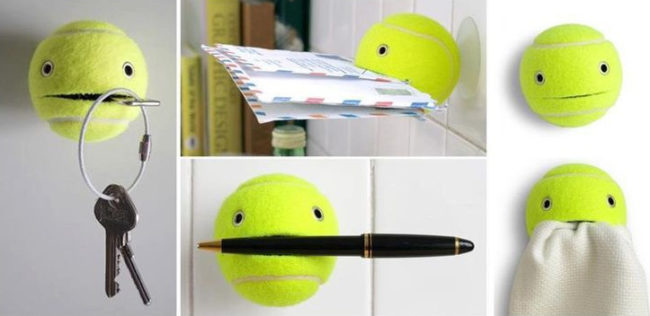
From a tennis ball Simple production of a key holder from a tennis ball:
- we fix the ball to the suction cup with the help of liquid nails (such hooks are sold for the bathroom),
- make a cut with a sharp knife in the center
- we decorate: we fix eyes (it is possible to withdraw from an old doll) or to draw with a marker.
 Of tennis ball Of old toys Ifto paint old toys with paint from a can and attach them to the base - to make a very funny key house. Such toys will always be at hand. Fix better with mounting glue or liquid nails.
  housekeeper on the wall in the hallway of old toys
  From horseshoes, wires and different stuff The idea isthat the key house for the wall can be made absolutely but everything! The main thing is to attach it to the wall and add a hook. As stated above, such hooks for the housekeeper can be purchased in the store - they are sure to have a sharp end.
 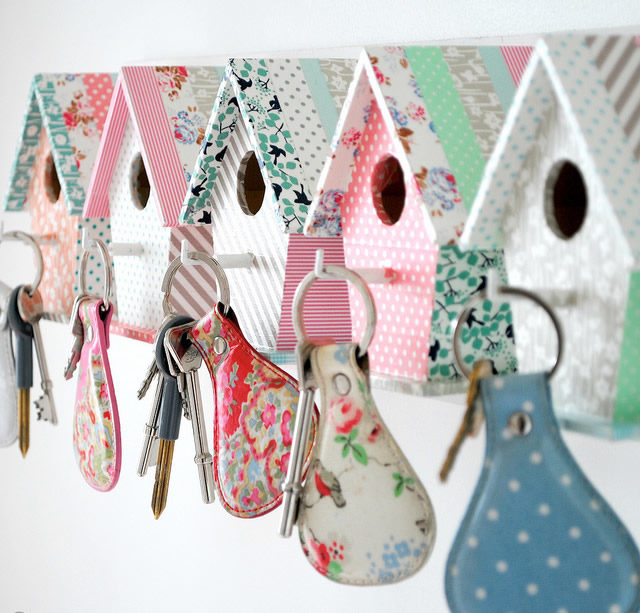 Cute little housekeeper in the shape of a house
  keyhook from an old horseshoe
  Unusual Key Hanger
  Wire Key Case
 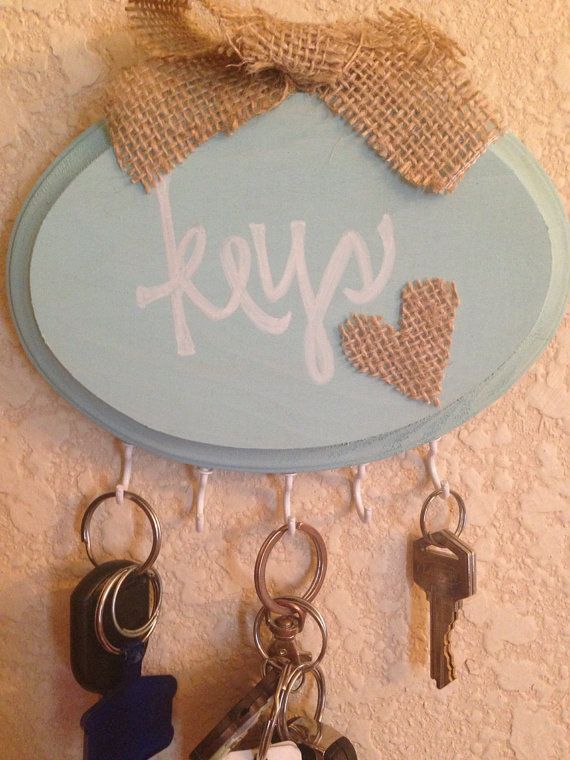 Keyring with simple hooks
 Cork key hanger
 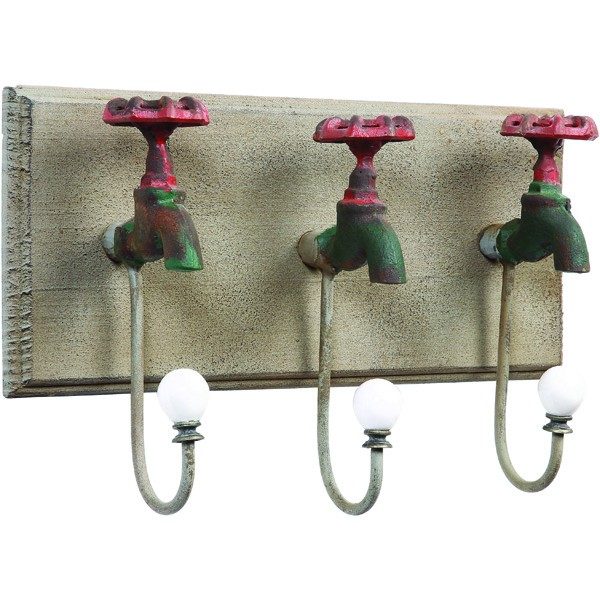 Hanger for keys from old cranes
  Plastic key holder
  Keyboard made of wood
Comments
Related posts:
 A simple housekeeper with her own hands from a baguette
 Wall-wrench woman with her own hands from the locks
 Do-it-yourself kitchen apron - Low cost: 12 ideas from improvised means
 Housekeeper with his own hands: a master class
 Valentines with their own hands: 10 ideas and master classes / Toys with their own hands, patterns, video, MK