Knitted toy mouse. Master Class!
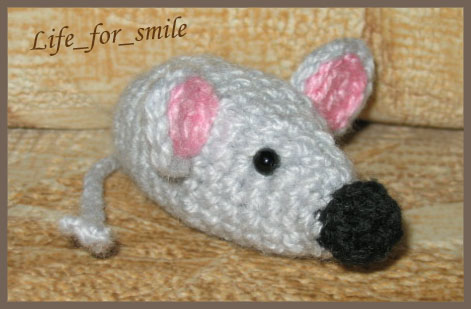
 Master class from Life_for_smile. How to tie a mouse. 1. Have typed two loops and in the first have fastened 4 columns without a crochet. The circle turned out. In the next row we sew seven bars, in the next seven. Get the nose. 2. Begin to knit the head. The thread at the nose only needs to be hidden. Fixing the thread of another. We made one air loop and slipped it under the last loop of the nose. In each row, we first add one bar, then 2,2,3,4 should be a cone. Stop adding when the head reaches the right size. We knit 4-5 rows and start decreasing. Leave a little hole, stuffed. Do not forget about the nose when stuffing. When the whole head is full, close the hinges. 3. Set of ears. Tie two mugs more, two smaller mugs and sew them with a gray thread. 4. We knit the body. For this we type 3-4 loops, close in a circle, in the second row, the number of loops doubles. Stop adding loops when the circle is less than the head (see the picture for the proportions). Next, we knit without adding to get a "sausage". When the torso is ready, we stuff it and close the hinges. 5. We knit the feet. I got 6 bars - the diameter of the handle, 7 - for the legs. I did not stuff the pens, I stuffed my legs. 6. Make out the head. We sew our ears. We sew beads - eyes. A few stitches from the eye to the eye - pulling the muzzle, so that the eyes were not "on rollout."
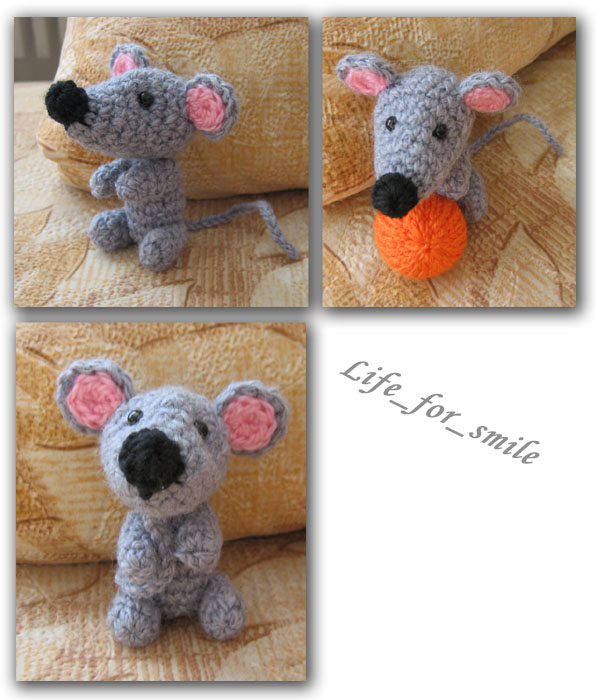
  7. Turn the mouse over and attach the tail. We fixed one air loop on the trunk and tied a ribbon from the air loops. 8. We sew the paws to the body, we also tighten the base of the paws and the body. Sew the body to the head. 9. Our baby has a twin brother! A friend bought a friend. 10. If you increase the cone, tie more rows, not adding loops. Bind her ears and tail - you get a mouse easier. The album with knitted toys of the author can be viewed under the link
Comments
Related posts:
 Knitted toy-piglet. Master Class!
 Knitted toy squirrel Ruta crocheted. Master Class!
 Knitted toy hedgehog with knitting needles. Master Class. Video / Toys with own hands, patterns, video, MK
 Tilda mouse pattern and master class / Toys with their own hands, patterns, video, MK
 Decoration of beads for the Christmas holiday - a toy for the Christmas tree and a master class