Knitting spokes hats with earflaps photo and video master class
Content
- Master class on knitting a simple model
- Knitting women's hats with earflaps
- How to tie a cap with earflaps for a boy
- Photo workshops
Today huge popularity began to useknitting hats with earflaps. They like almost everyone, so they gladly worn by women and men. Many needlewoman want to learn how to properly fit women's and men's models. But moms are wondering how to make the spokes fashionable and warm earflaps hat for a little boy or girl teenager. Knitting any of the models does not seem too complicated even for beginners handy people.
To make any master class on makingthis type of hats, yarn and needles required, as well as diagrams and photos. In addition, you need a bit of time and a great desire to successfully link the spokes of any model. Now we will show you the first master class with step by step photos.
Master class on knitting a simple model
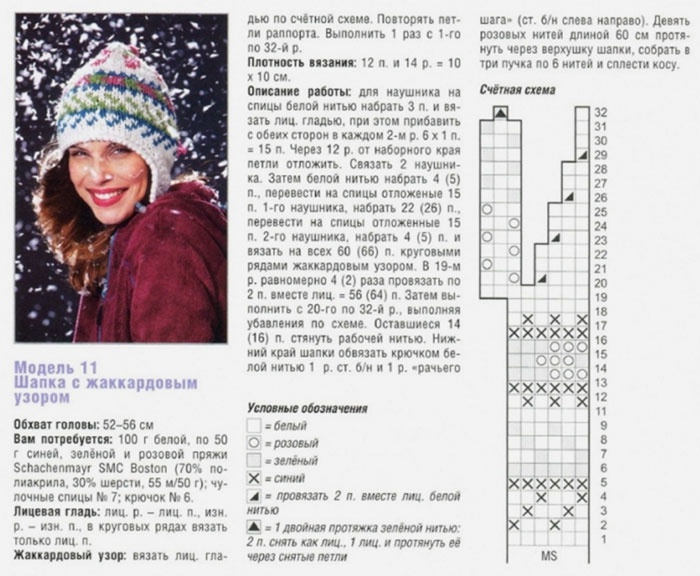
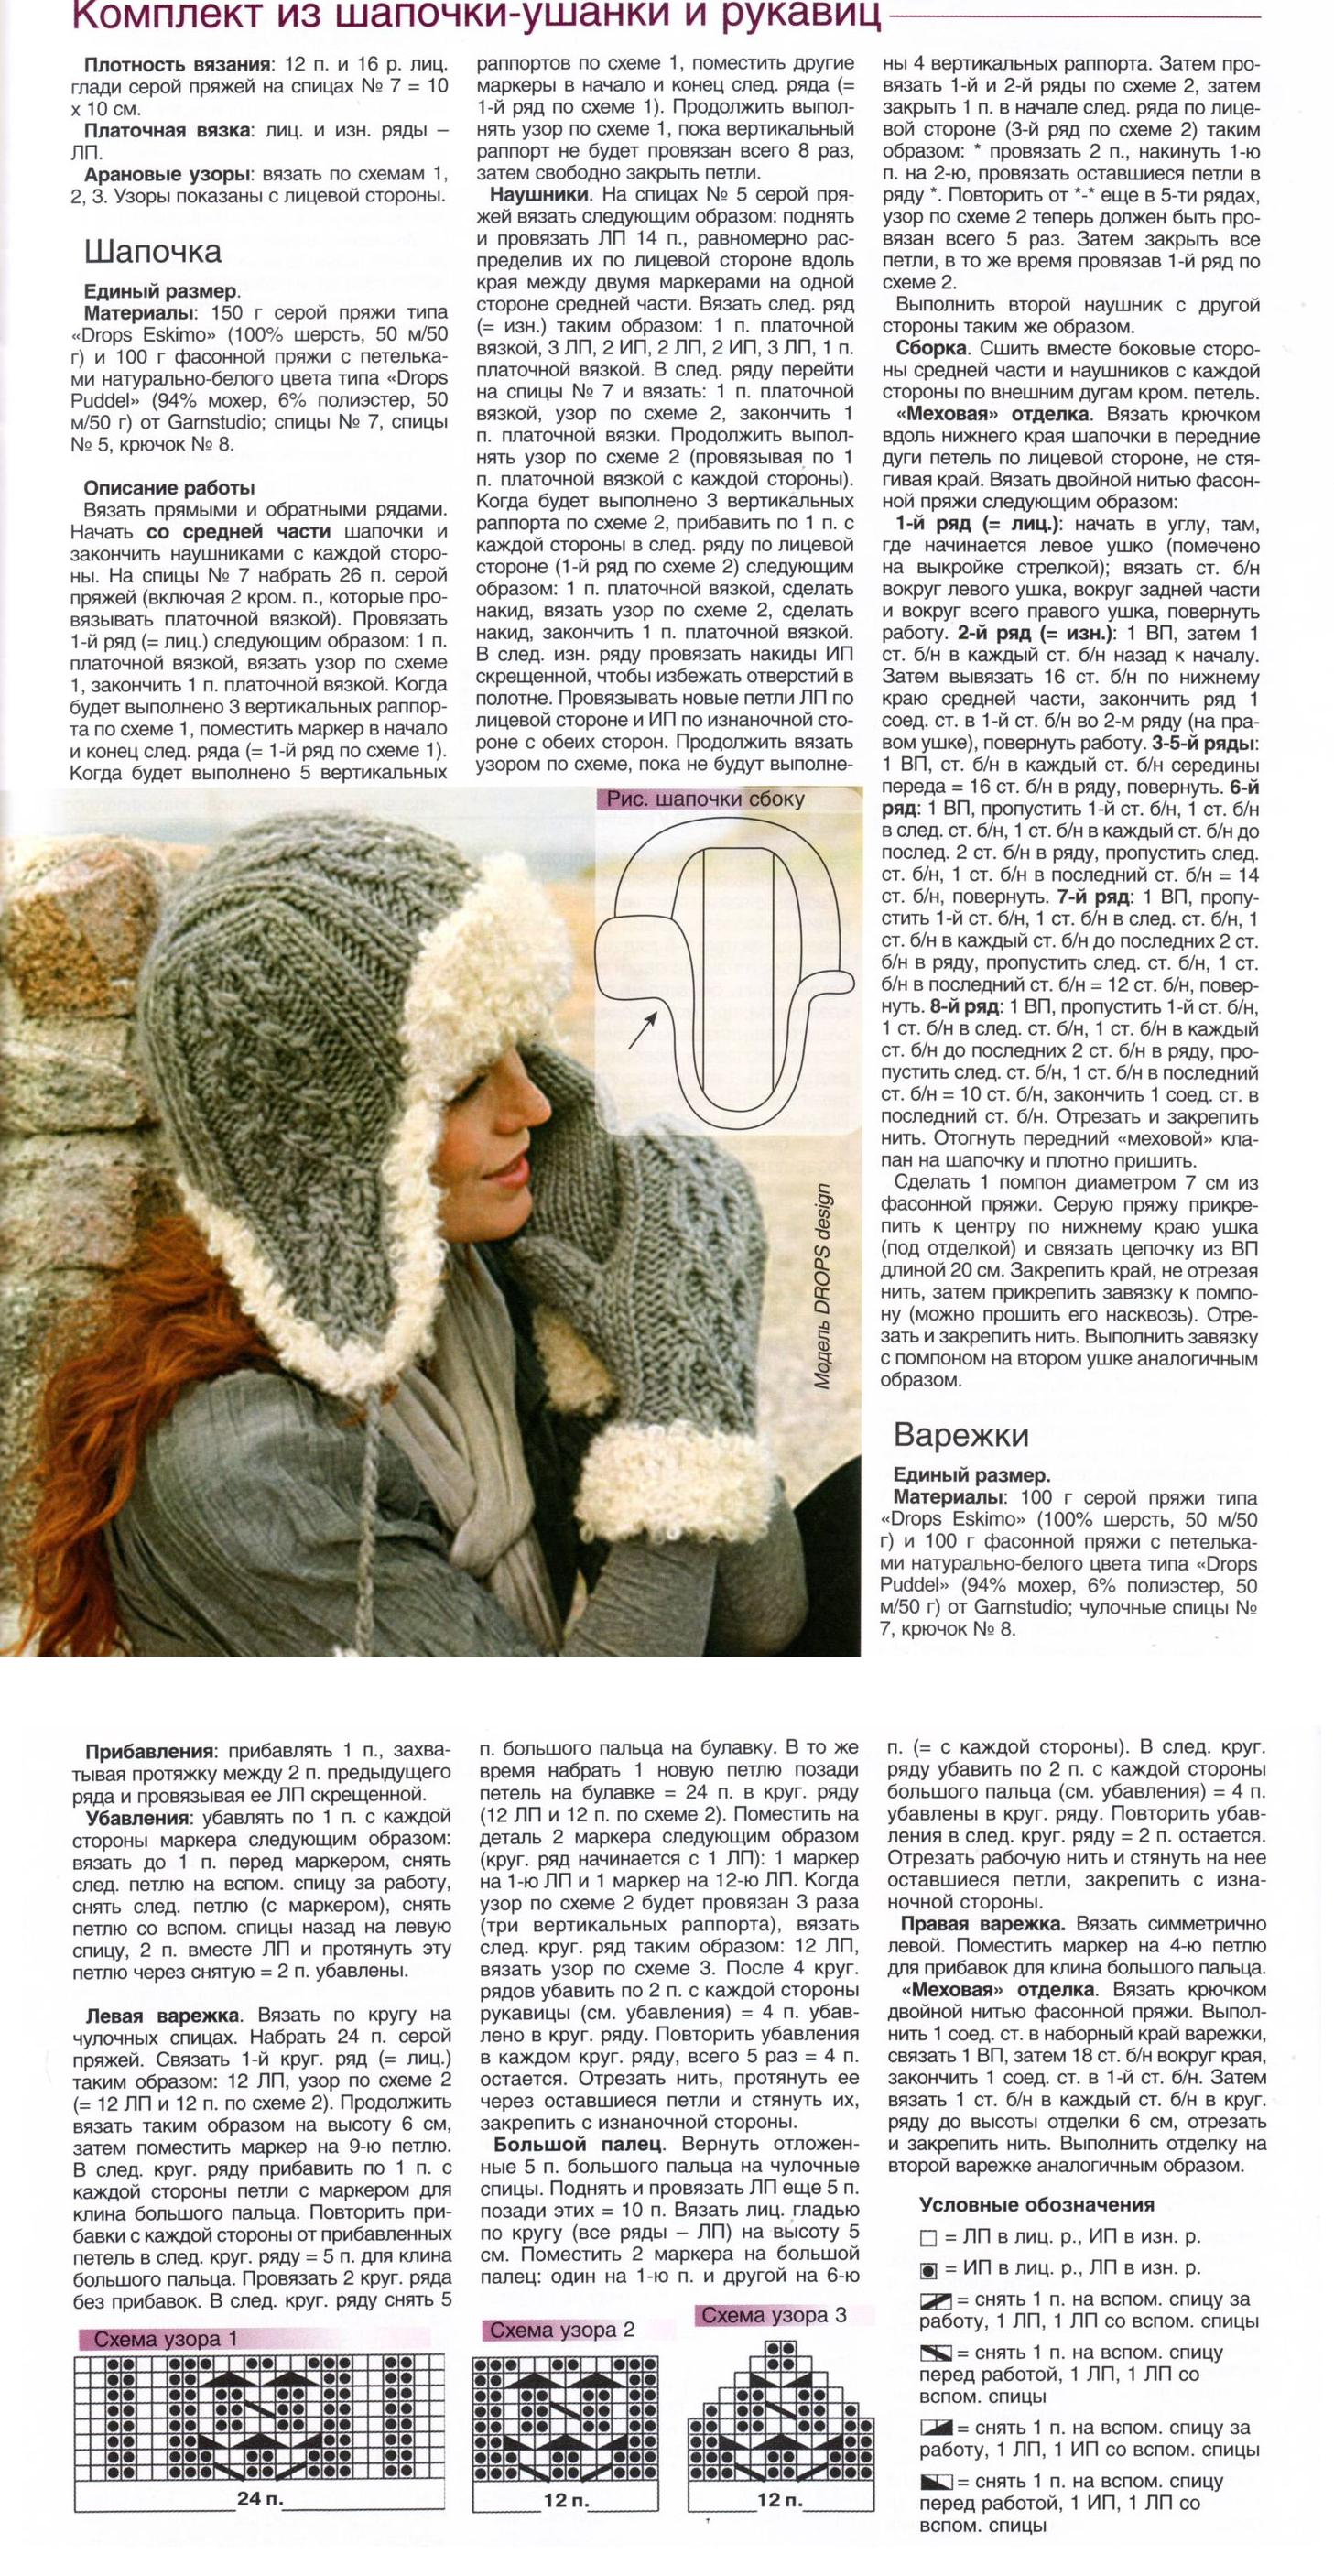
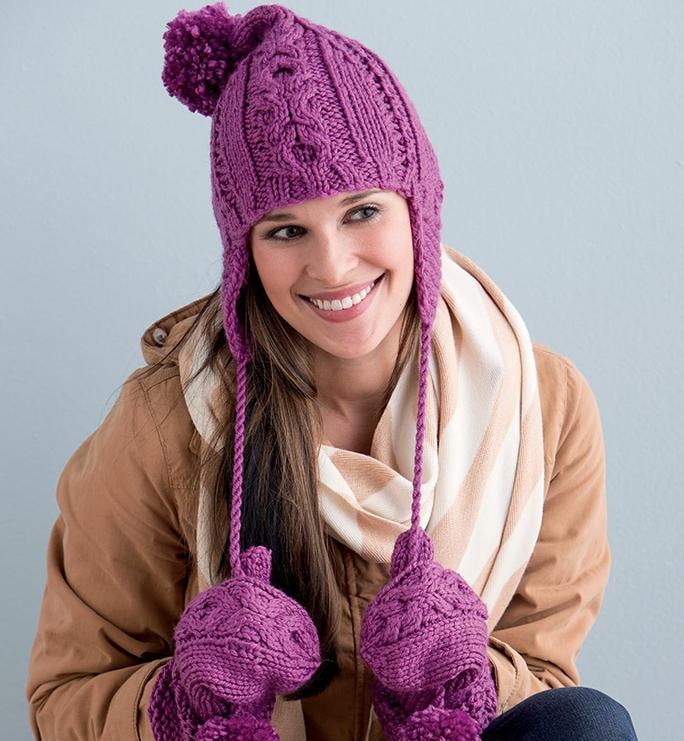
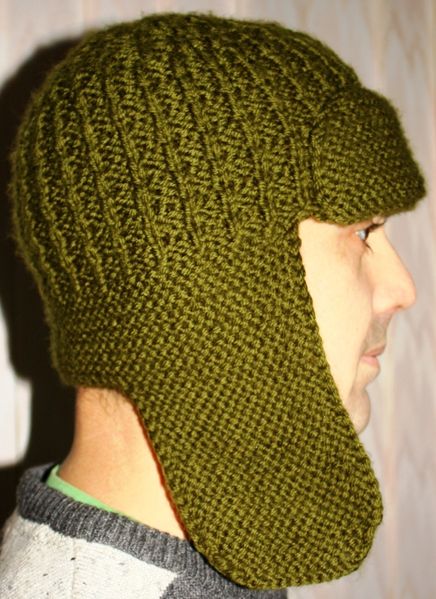
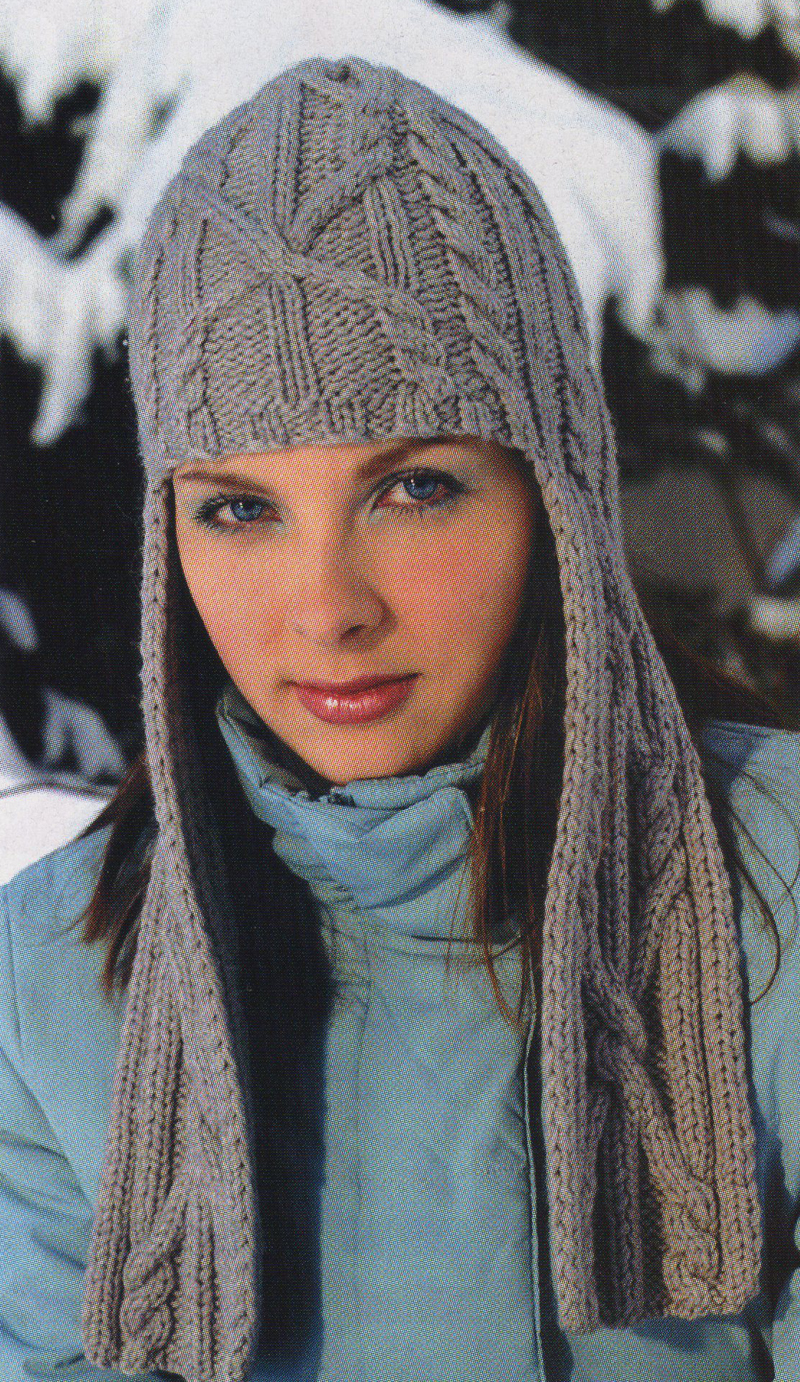
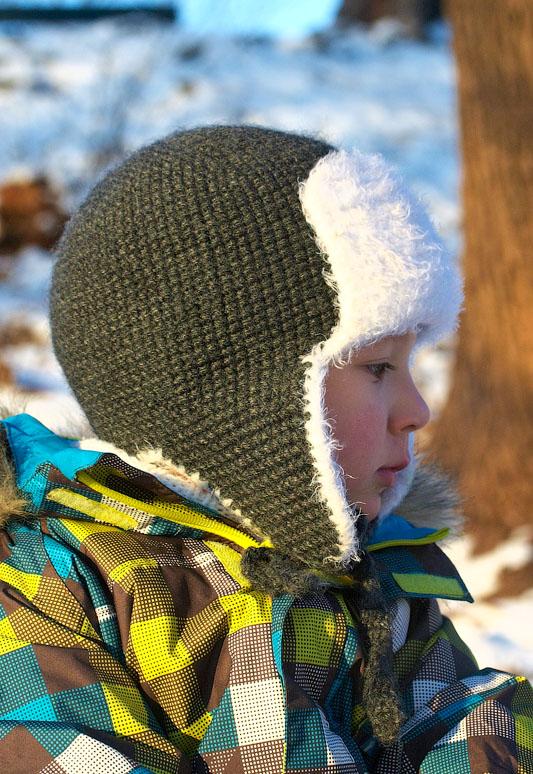
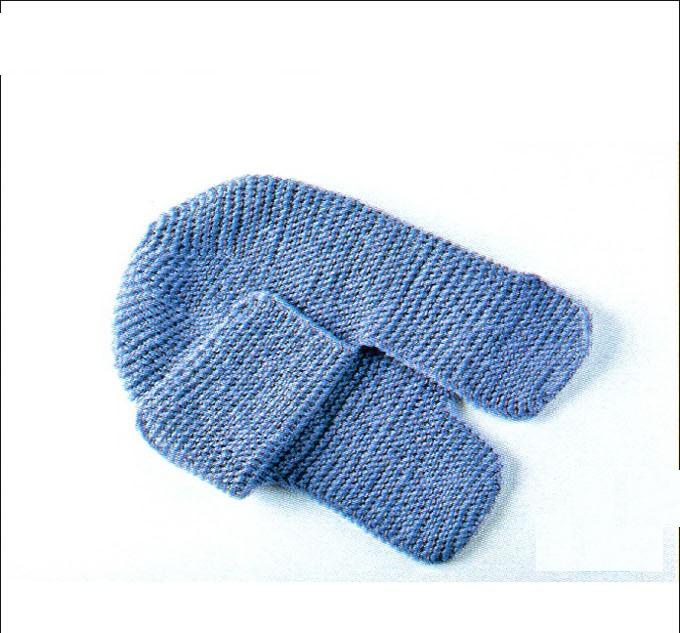
Unlike the above photo, which you can see the hat with earflaps related pattern "Figure" knitting patterns in this master class will be performed in garter stitch.
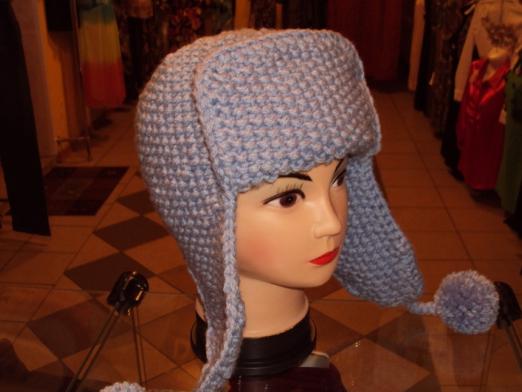
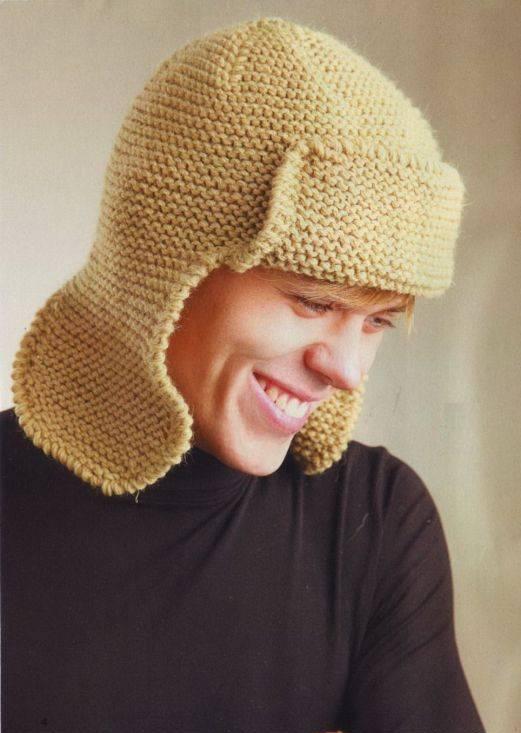
This model for men, because it is somewhatrude and very simple, without any extra relief. Prior to knit a real master class offers to measure the girth of the head, which in this case amounted to fifty-five centimeters (cm). eight units should dial to one ear, and then begin to knit in garter stitch. In the knitting process provide the additive amount of each row of loops on two at the beginning and end of the row (F). When he reached twenty-two units will continue knitting in garter stitch without the additions, until the length of the ears and twenty cm. In this case, their width is equal to twelve cm.

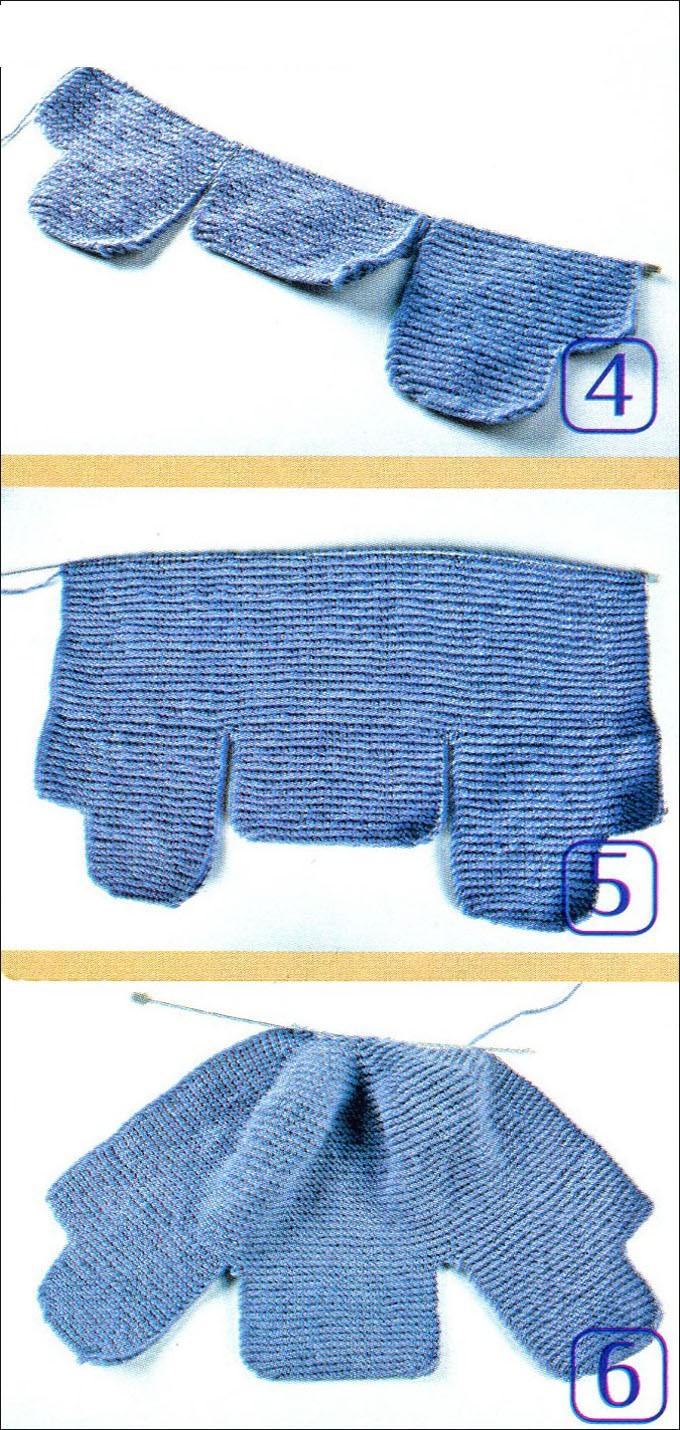
In total, we need to have something on the needlesthe number P, which includes thirty-nine pieces forehand, forty-four P for two ears, and thirty-six pieces for the occipital area. Total on the spokes will be a hundred and nineteen units. First, we collect half of the rear P, ie eighteen pieces, then the side hinges, then thirty-nine units of the forehand, the second loop of the ear, and eighteen pieces of the occipital part. When all of these P were together on needle, knit are five rows of the main pattern. After that we will fulfill the desired depth of the cap with earflaps, ie fifteen cm. At the top we have to link the marked narrowing of the web. Driving this restriction is one provyazyvaniya P at the edges of two articles in the first row. In the next P subtract eight pieces. After ten P we have to get fifteen loops that must be tightened together. Newest vyvyazyvayut spokes flap hats with earflaps. Ahead shall find thirty-nine loops on the extreme number, and perform basic pattern desired length of the flap. You can vyvyazat slight curvature to improve his appearance. For this purpose, in each row two P knit together. We are making such subtraction in the following five ranks.
Knitting women's hats with earflaps
Master-class model shows the hats for women. In it you will see some photos of models, as well as a video tutorial. Notice in the photo, which shows the currently very fashionable female hat earflaps associated conventional needles.
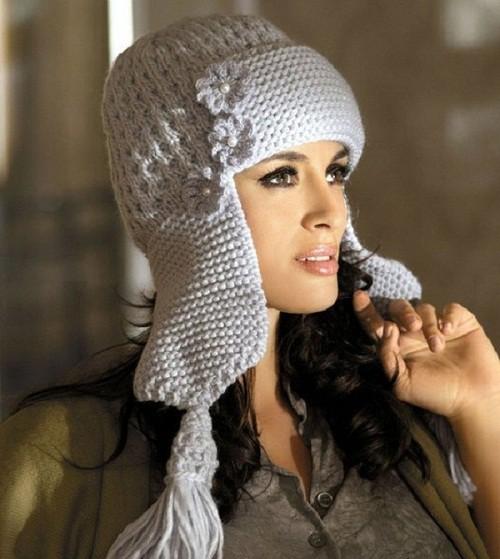
Principle scheme of needlework and savedalmost exactly as in the manufacture of the male version. In addition, men's, women's or children's model is very similar because they all have ears and lapel. Therefore, any of which is performed at approximately the same scheme. Differences are only circuit patterns. Among other things, the models differ in the presence or absence of ornaments. Among them we mention the beautiful crocheted flowers, as in the photo below.

You can also decorate the finished product original buttons or brooch.
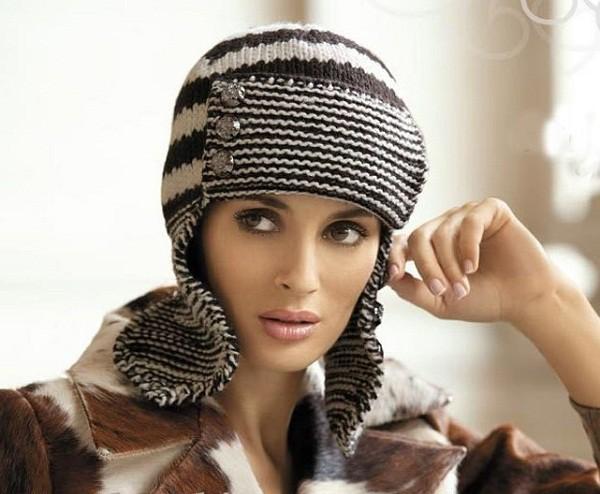
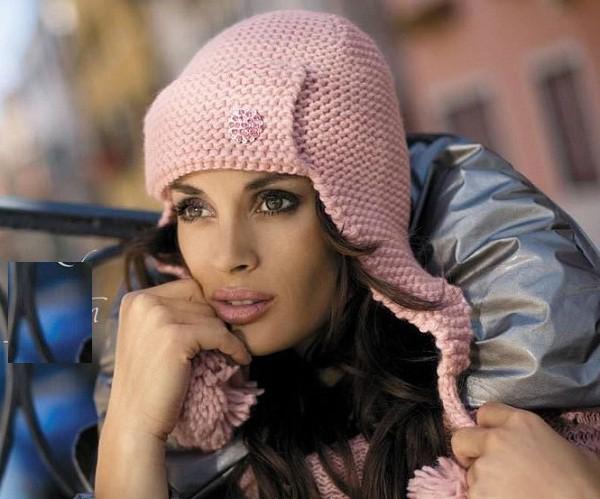
Video workshop demonstrates knitting patternsfor women. It includes a description of the main pattern "Zvezdochka", which was used for women's hats with earflaps. For it will require a set of loops multiple of three, plus one and plus two edge. Vertical rapport pattern of four rows. For prepare two hundred grams of yarn, knitting needles and number three. The density of knitting loops is twenty four inches. For every eye shall find six units, and make additions to the ranks of the facial, per unit on each edge. When the amount of R comes to twenty pieces, knit length seventeen see. Then perform a full set for the entire cap. The first seventeen pieces of kit meant for the back of the half. Then come the first loop of the ear, and thirty-seven units of the front zone, the second half of the ear and neck. A total of one hundred and eleven spokes turned pieces. Then you need to connect all the loops together in garter stitch, completing four lines. After that, we begin the basic pattern hats with earflaps. Knit a depth of twelve cm needed for hats with earflaps, after which it is necessary to link the upper part, performing a gradual subtraction of loops. This is followed by the production of lapel, for which we collect at the bottom of the forehead area thirty-five units. After dialing the desired length knit lapel, and close all the loops. Finishing needlework, we shall cut pieces of yarn for fringe, it will form and anchoring tabs at the bottom. This workshop is made, and the female cap earflaps spokes completely ready.
Video: Lesson knitting hats with earflaps
How to tie a cap with earflaps for a boy
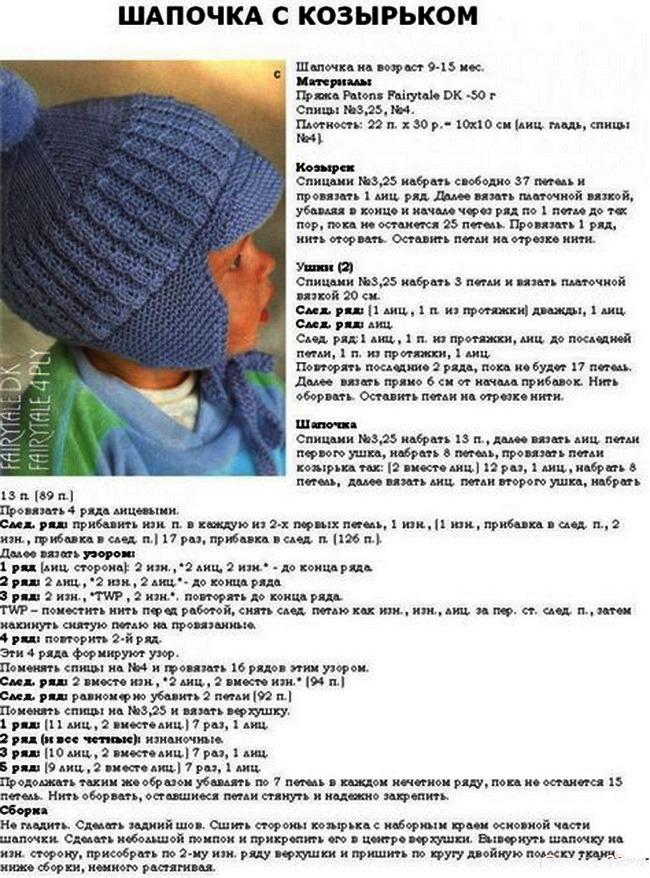
Now we will look at how to fit
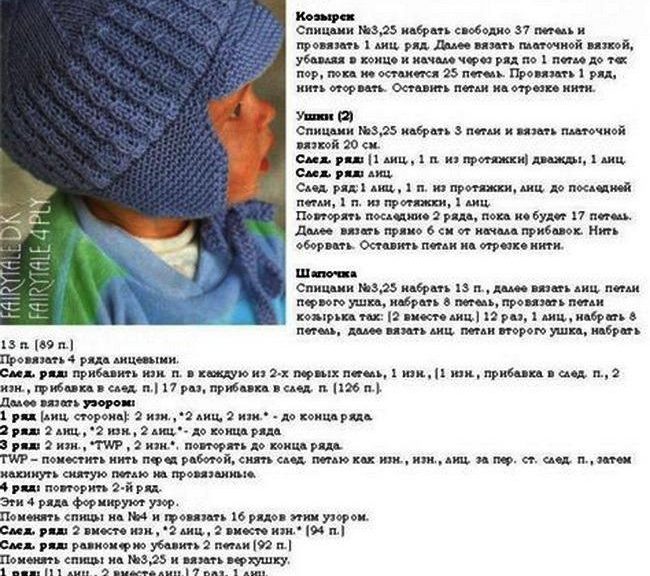
earflaps. This hat earflaps longer meant for a boy, but this is not necessary. Earflaps hat has a double layer of knitting on the sides. In addition, it has a fabric insulation, hemmed on the reverse side. It is suitable for the coldest time of the year. Decorates product white edging on the lapel and at the edges of the ears. Against the background of bright blue decoration looks great. For needlework need two kinds of blended yarn, color smooth and twisted to flap and trim tabs. The girth of the head is in this case forty-eight centimeters. The works are performed with needles number five. Technique of knitting this model hats with earflaps for a boy is different from the ways that we discussed in previous lessons. For the knitting of the first element you need to dial twenty-two loops and knit pattern "Arana" thirty-six cm blade of rectangular shape.
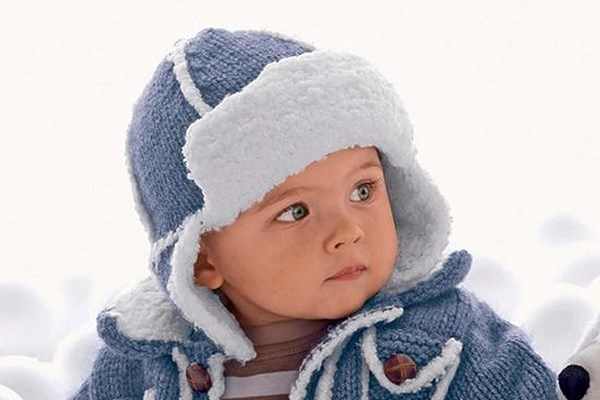
The width of the rectangle twelve cm. This part will be a central area cap with earflaps for a boy, that is, will be part of the cap between the forehead and nape. After this, the web of the Center, call wales twelve new units, and begin to knit the first ear caps. Wherein the pattern is performed the same as in the first part, that is, "Arana". Knit eighteen see directly, and then add on the eyelet on both sides. Next knit see seven of the fourteen loops. Then subtract up to eight loops, and close the number. Now, the latest recruit P closed the first P of the second layer, and knit all in the mirror to get a double sheet. Second earflaps ear caps knit in the same way as the first. Fold the details and carefully sew hat. Now we have to harness textured yarn with the hook. In the area of the forehead vyvyazyvayut visor hook, using all the same textured thread. earflaps hat for a boy braids adorned with pompons. The strands are knitted with needles of the three facial loops and sewn eyelets and trim to the hood. When you have finished all the tying and made the visor, the cap for the boy can be considered finished.
Videos: Knit hat for little boy with needles
