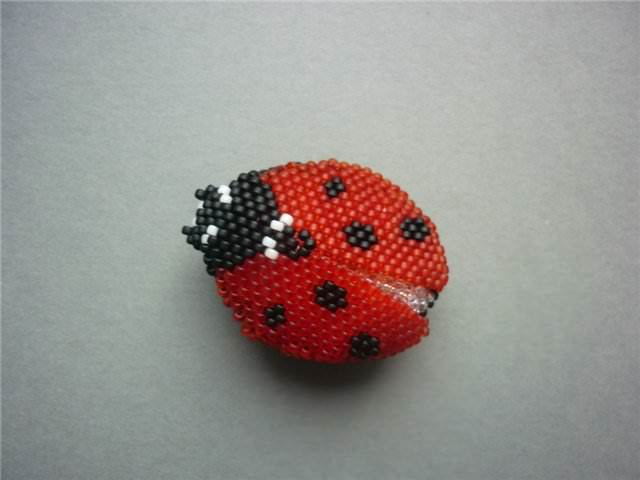
Ladybug of beads with her own hands (scheme)
Content
- Necessary materials
- The process of weaving ladybug from beads
- Beetle keychain
- Video: Ladybird Beading Lesson
A sweet ladybug made of beads can play the role of decoration for a keyring or for a pretty pendant.
The technique of weaving an insect is so simple that even a child can make it.


Necessary materials
To work on the ladybug you will need:
- Red seed beads - 60 pieces;
- Black beads - 70-80 pieces (for the head, legs and specks);
- wire.
The process of weaving ladybug from beads
The work on the ladybird is remarkable becauseIn the process you can master a wide variety of weaving patterns. As for the technique of weaving, experienced masters advise to adhere to volumetric parallel weaving.
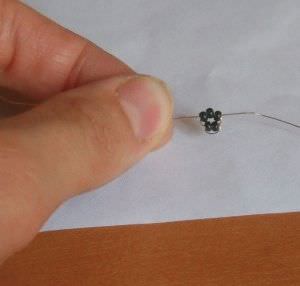
Working out the head The scheme, which is recommended to adhere to all novice craftsmen, advises starting to weave with the head of an insect. You should do this:
Feet 
As the scheme of weaving shows, at this stage you will need to make an insect a pair of legs. You will need to do the following manipulations:
- String five beads of black color;
- Pull the actual end of the wire through their holes in the opposite direction;
- In order for the insect leg to fit tightly to the calf, hold the beads;
- The second leg of the insect is padded on the opposite end of the wire.
Working out the trunk After the head and the first pair of paws of the insect are ready, start working on the upper and lower parts of the trunk. To do this you need the following:

Work out the top row of five beads of black color;

The next lower tier consists of 8 red beads, the top one in this order: 2 beads of red color-1 black-1 red-1 black-2 red;
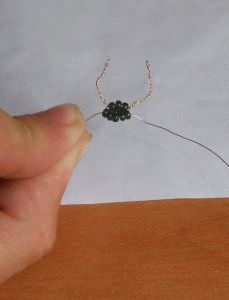
Antennae 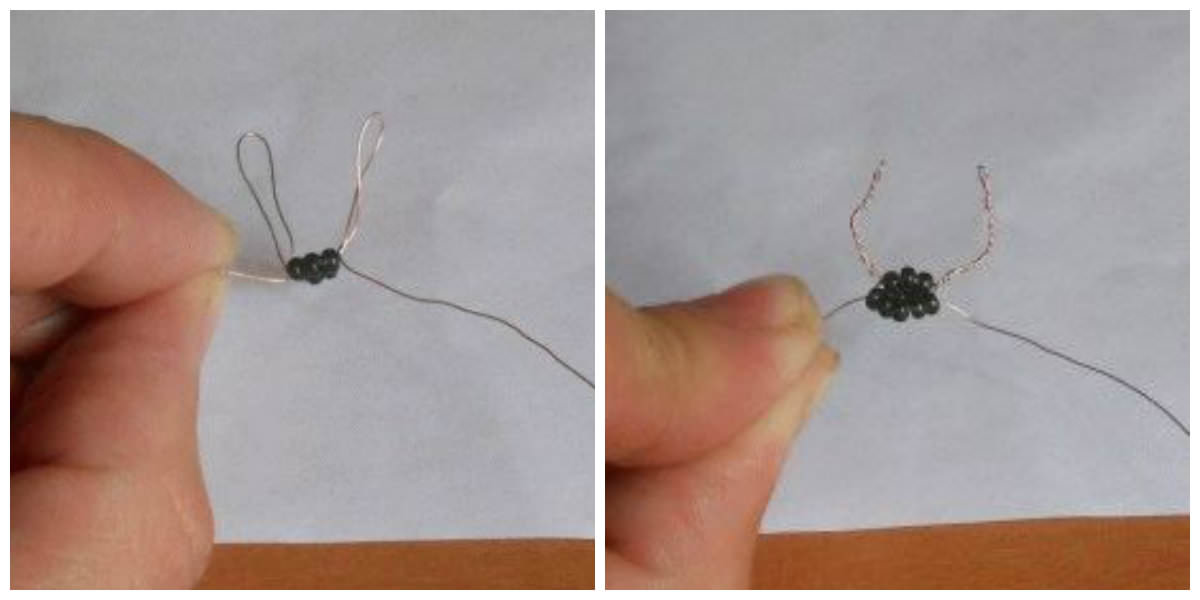
The ladybug without its antennas will not be complete. In order for your insect to be more like a living thing, do the following manipulations:
You've got a pretty solid ladybug.
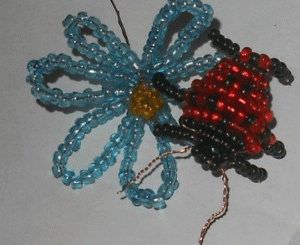
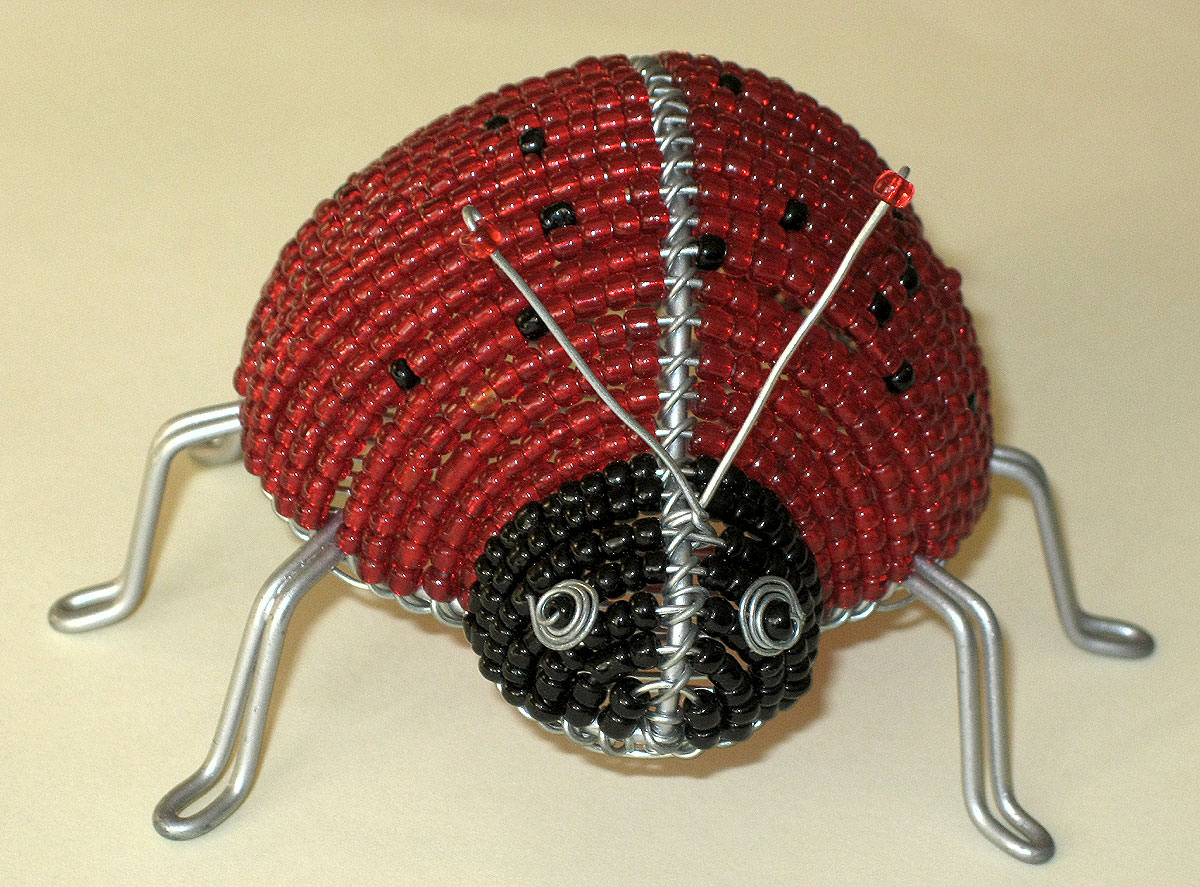
If you want to "fill your hand" with beadwork or you are just sympathetic to these touching insects, you can make several more flat cows with open wings.

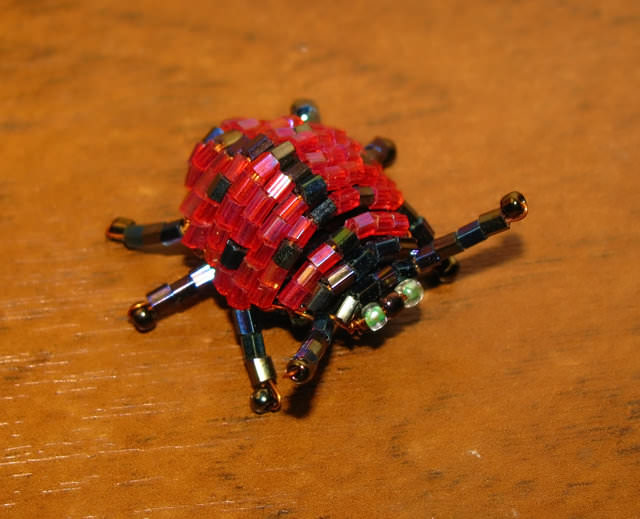
Beetle keychain
You can make not only an ornament forKeyring, but also the product itself for keys or a mobile device in the form of a pretty ladybug. In this case, prizherzhivayas a phased scheme of weaving, your actions look like this:

String on the wire one bead, fold in half and weave another nine elements. Connect the ends;
Tips for weaving a figurine of ladybug
In order for your artwork to be voluminous, correctly form each series. Collected rows should be bent in the course of work alternately:
- The tummy of an insect to itself;
- Back - on the contrary, from myself.
You can prevent deformation of the ladybug if you fill the space inside with cellophane or a small piece of polymer clay.
Do not forget to alternate the red and black beads. So your insect will turn out bright and contrast, which means - "alive".
If you are not comfortable with the color of a beetle or a pattern on its wings, you can "plug in" the fantasy and vary them at your own discretion.
Video: Ladybird Beading Lesson
Comments
Related posts:
 Bead necklace with own hands and patterns of weaving (photo)
 Owl made of beads by own hands (photos and diagrams)
 Dragonfly from beads with own hands in master classes (diagrams)
 Dandelion from beads own hands (diagrams and video)
 Animals from beads: lessons and patterns of weaving with their own hands (video)