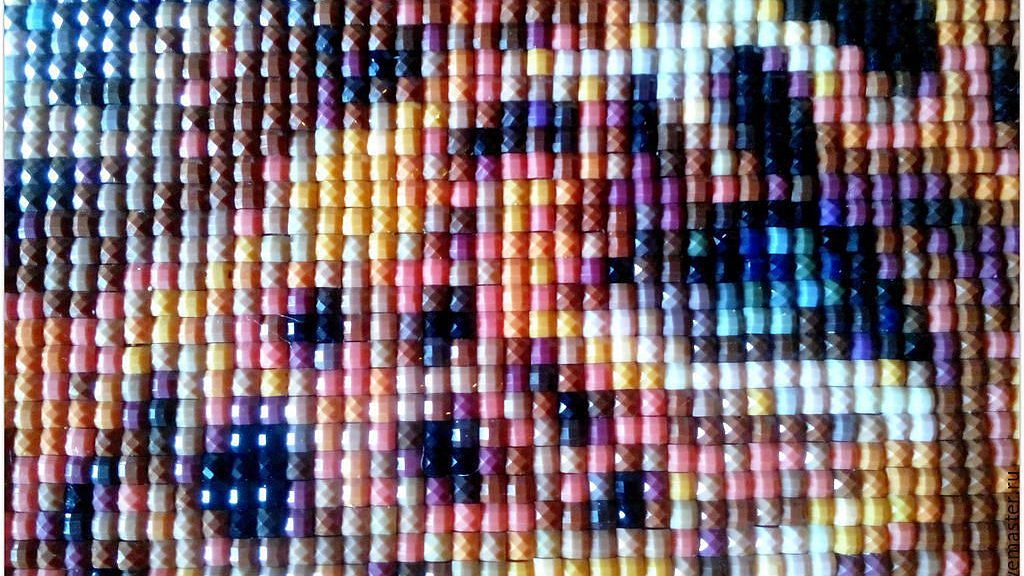
Learn to create embroidery with a diamond mosaic with your own hands, master classes for embroidery with diamond mosaic with photo and description.
To start work on diamond embroidery, youit is necessary to choose some vending plot in a ready-made set with all the necessary for its implementation in life. Let's look at the set and understand its contents. We chose a plot that corresponds approximately to the A3 format, where the color scheme is used as the basis for embroidery. So, in the set we find out:
- a detailed scheme with a division of the shades, applied to the canvas of cotton with a layer of glue;
- the key to the scheme;
- adhesive film with stones, necessary shades, fixed on the scheme (come across and packed in packages with numbers);
- pincetik, necessary for working with stones (in the absence of tweezers, it is replaced by a simple pencil).
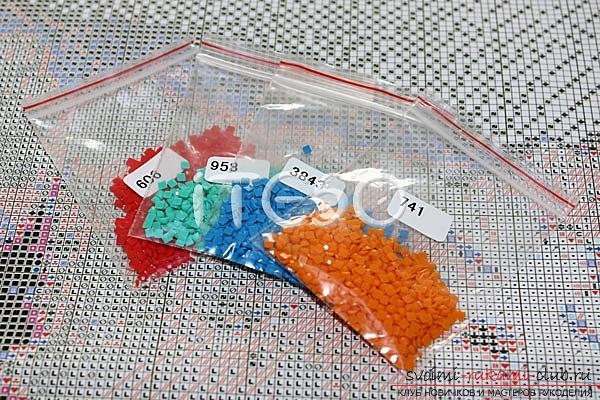 Course of work. 1. Since we have to work with many small elements that require a certain concentration of attention and visual tension, it is necessary to organize the workplace properly. It should be characterized by spaciousness, flat surface and excellent illumination. Under these conditions, it will be easy and pleasant to work. 2. After that, you need to carefully separate the small piece of the circuit from the tape with the crystals. Our advice is to remove as much as you can in one session. Otherwise, the adhesive layer will be jammed and fixing the mosaic will become insufficient. 3. In the case where the crystals are placed in bags, they are laid out before embroidery in suitable containers, which are desirable to be marked with the corresponding numbers for each shade.
 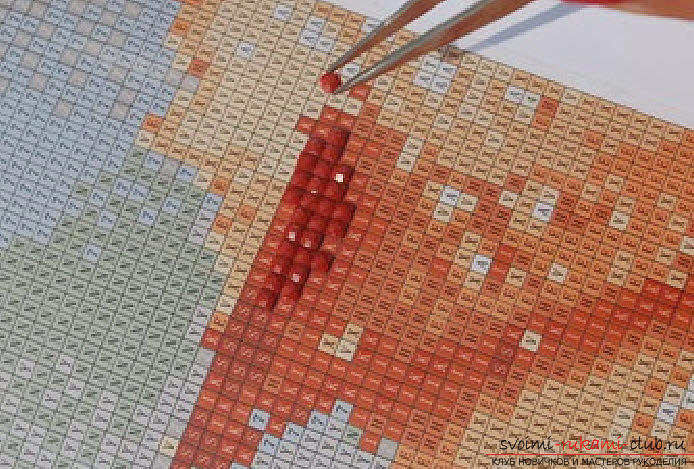 4. Now let's deal with the rhinestones themselves. The tweezers grasp the crystal, whose number corresponds to the color of the circuit and carefully put it in the necessary cell on the diagram. Such work should be carried out with 100% accuracy and strict adherence to technology. Perform a slight pressure on the twigs with each forceps to ensure that the components of the composition are secured and positioned in the appropriate cages. If you press too hard, the stuck element, if an error occurs, will be difficult to correct. 5. Embroidery is carried out by horizontal rows in order, similar to work with beads. Many craftsmen prefer to perform embroidery on the colors: first one shade, then the other, filling so the whole picture. Here, as in any other creative process, the convenience of work is important, so try different options and you will find yourself the most comfortable style.
  6. In the case when you work with embroidery, you will find rhinestones with chips or defective holes, they should be put aside. The use of such stones is categorically excluded, because they will spoil the appearance of the finished product. 7. After laying a number of rows, take a ruler made of metal, and carefully align the rows made horizontally and vertically.
  8. When you finish the work with the peaked piece of the scheme, proceed to the next one, following the order of actions described above. 9. After collecting the entire diamond mosaic, once again trim the edges to get a homogeneous structure of the canvas. 10. After completing the laying and leveling, carefully cut the embroidery around the edges with a knife or scissors. 11. For our example, the small size of the canvas did not require additional connections. When assembling large mosaics, you can not do without accurate joining of all parts with subsequent filling in accordance with the scheme of the connection boundary. For this purpose, on each element of the canvas, one empty column should be left where the joint will be. We blend the obtained parts in butt and lay out the crystals with the necessary shades of empty columns.
 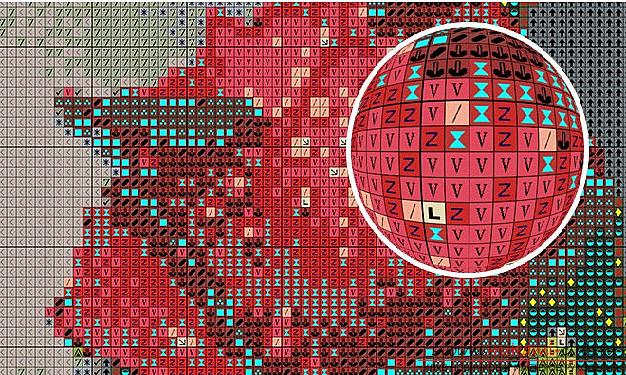 12. For the purpose of reliable fixation of mosaic pictures, they can be opened with a small layer of glue. In our case, we put the product under the glass and into the frame. 13. Now we are going to create a strong base for the product. Framing workshop will save you time and will be a guarantee of a qualitative result. But for real masters who do everything by their own hands, the best solution is the independent design of the product.
 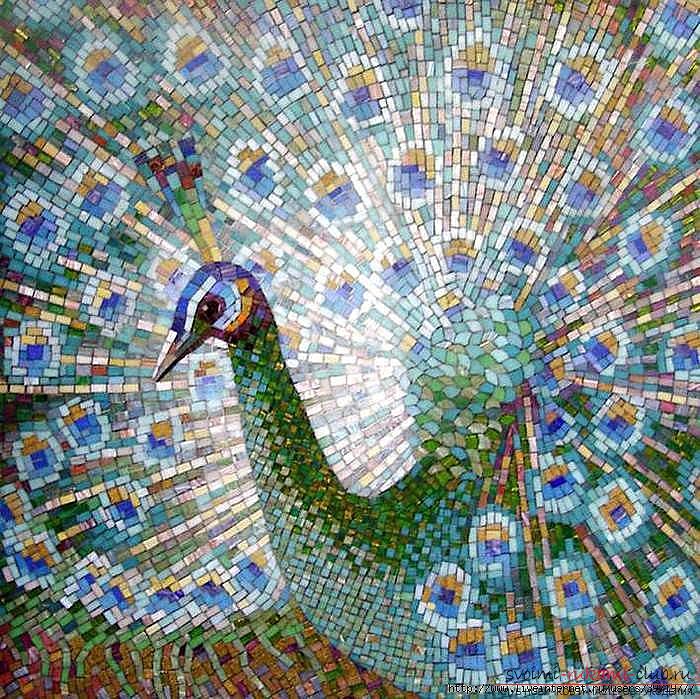 14. Here we will use: a piece of dense cardboard or plywood, a roller of rubber, adhesive tape or glue, with which the embroidered surface is glued. If you use glue for fixing, then gently and consistently apply the base to the cardboard, while the rubber roller smooths the fabric well, in order to prevent distortions and the formation of bubbles.
 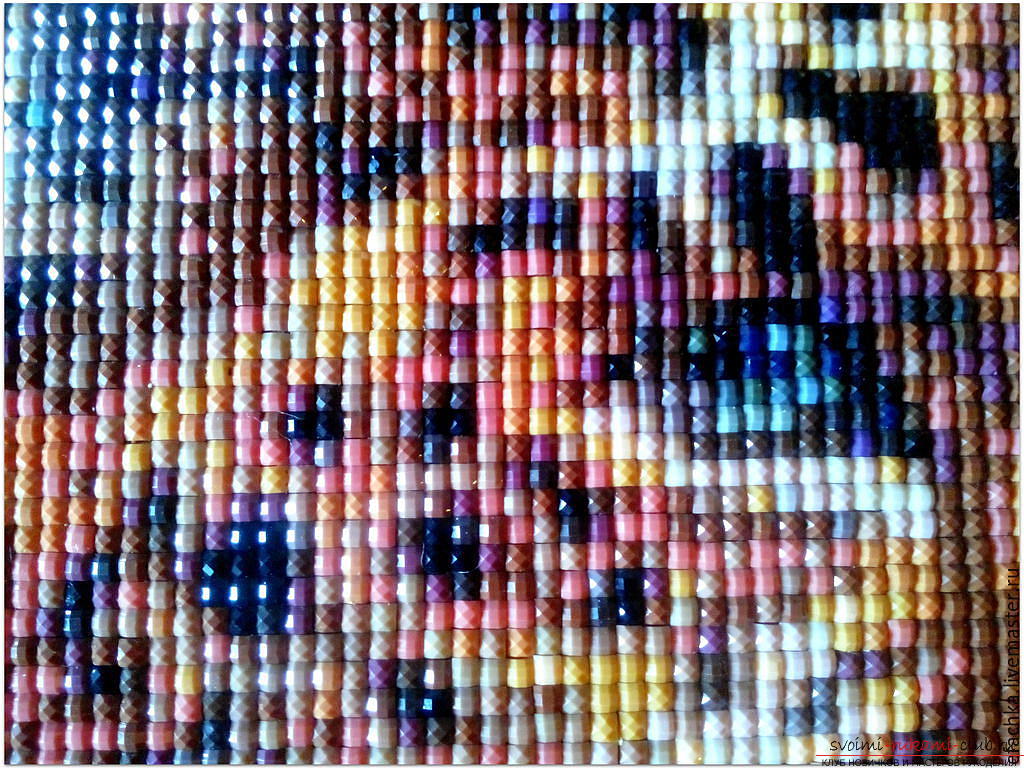 In the case where clearance is not planned immediately,we advise you to wrap the ready-made work with crystals and to put it in a cushion to protect it from dust and dirt. This concludes our master class. Pleasant needlework!
Comments
Related posts:
 To make embroidery a diamond mosaic for beginners with step-by-step description, photos and diagrams.
 We learn to create crafts from vegetables for the exhibition with our own hands - master classes with photo and description.
 Detailed master classes on diamond embroidery with step-by-step description and photo.
 How to learn how to create interesting wedding hairstyles for medium hair with your own hands with a step-by-step description and photo.
 A lesson on embroidery beads with their own hands, advice for beginners with embroidery beads with photos and descriptions.