
We learn step by step to knit a vest for a boy
Content
- Video: How to tie a simple vest
- Lesson on knitting a vest
- Video: Children's Vest
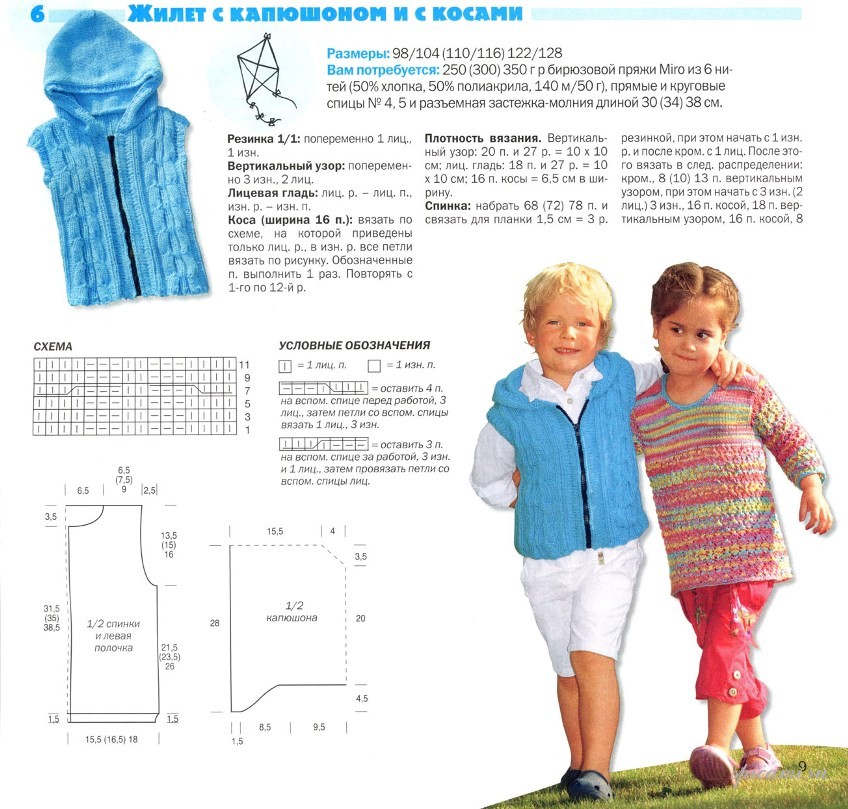
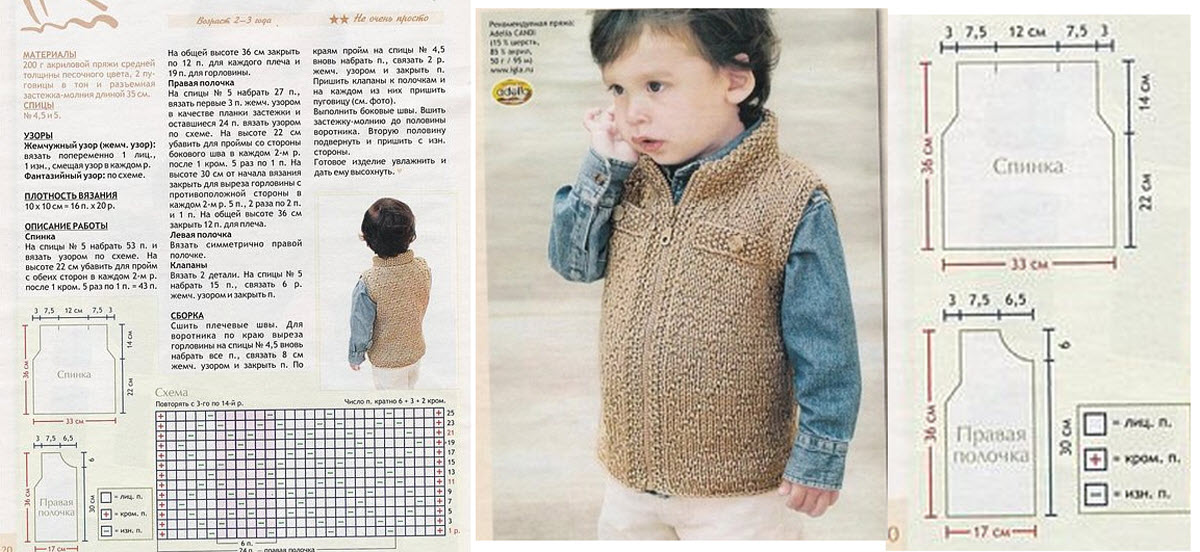
- Photo lessons of knitting of the waistcoat
At the onset of cool days, many moms knit their warm clothes with their knitting needles. A very beneficial solution is a knitted vest for a boy with knitting needles.


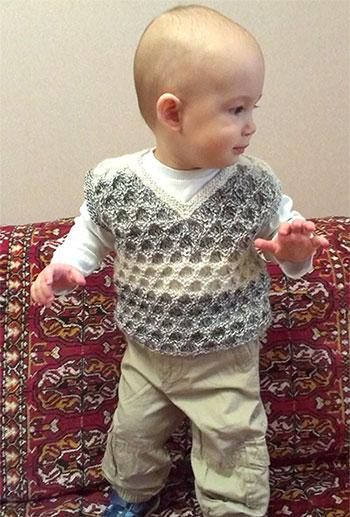
It is a warm and cozy sleeveless jacket that will help out inany moment. In addition, it is not only warm, but still beautiful and fashionable. A knitted waistcoat with knitting needles at once will give elegance to the boy at any age. Such a product can be made with spokes in different styles:
- Strict business;
- Cozy home;
- Cheerful colored;
- Fashionable with a hood or an original collar.
The advantages that a knitted waistcoat has forBoy, are obvious. Boys like to make, to play outdoor games. The knitted waistcoat does not bind the hand movements, it can be slightly stretched, very warm. A hood will help out if the boy goes out without a hat. Tie sleeveless best knitting needles. The choice of the picture is not limited. Looks good knitted vest for boys, performed:
- Large viscous;
- Facial smoothness;
- with the addition of ornamentation;
- With openwork inserts.
An interesting waistcoat can be invented with your own needles, but for beginners it is better to take advice from master classes or video.
Video: How to tie a simple vest
To tie a vest for a boy, you will need:
- yarn. The choice depends on the purpose of the vest, the age of the boy and your preferences. A large thick thread will help create a voluminous relief or braids, make the product larger in appearance. A thin thread is useful for a model, which is nice to wear under a jacket or light jacket. The combination of two colors in the jacquard pattern will look original;
- Knitting needles. They need to be selected for the thickness of the yarn. Matching the size of the thread and spokes is the guarantee of a neat look of the vest. In order to find the number of the spokes as precisely as possible, we need to relate the pattern of the pattern chosen for the vest;
- pattern. Many needlewomen use schemes, descriptions in magazines, on sites or knitting books.
After all the preparatory operations, we turn to the sequential execution of the knitting stages, with which the waistcoat for the boy will be finished quickly and qualitatively with knitting needles.
Lesson on knitting a vest
In the beginning, it's better to start tying back. This will be a very useful solution. First, if you have to learn a drawing, then on the back there are not so noticeable some irregularities. Secondly, you can not accurately calculate the amount of yarn. In this case, there is always a spare option - add a little yarn of a different color to the front of the waistcoat for the boy, which is in harmony with the main one. And, finally, there is an opportunity to adjust the width if the knitted vest is narrow. In this case, when tying the loops, you must additionally add the required amount.
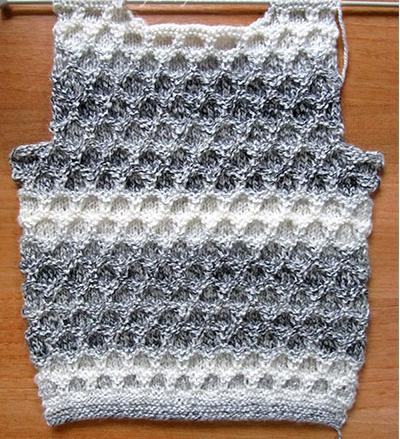
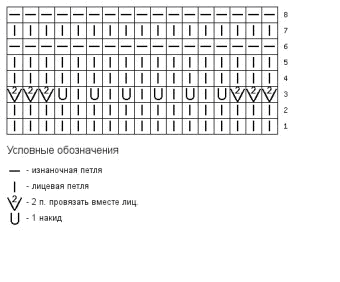
The amount calculated according to the sample isLoops and begin to knit an elastic band. You can link 1 * 1, 2 * 2. So denote the number of purlins and facial loops, which are tied alternately. The height of the gum (number of rows) is chosen at your discretion. If the waistcoat knits for the baby, then the length of the gum is small. For an older boy, you can increase it.
Starting to knit a pattern, go for spokesLarger diameter. At the same time, add a few loops so that the sleeveless jacket is not too tight. Now a knitted waistcoat for a boy is knit exactly up to the armhole line. At this stage, beginners knitters need to learn to loosen loops. Reduce their number will have to gradually, but not immediately. This technique helps to achieve a smooth line. As a result, the vest will sit well on the boy's figure. First, 4-6 loops in one row are removed from both sides, then one in each facial.
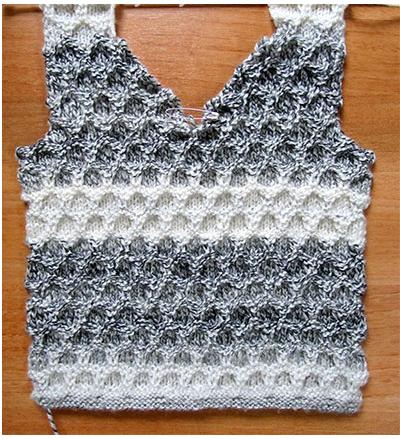
Close all the loops in one row on the shoulder line andProceed to knitting is transmitted identically to the backrest. The difference is that in the line of the armhole, the reduction is done more and more, and it is required to untie the neck. A common form of the neck for the waistcoat is the Y-shaped neckline. To properly make a knitted neckline, you need to divide the number of loops in half and mark the middle with a thread of another tone or pin. Having tied the front row to the mark, tie two loops together and finish the row. Then turn knitting and knit only until the middle. Again turn the canvas. Decreases are done in each facial row, while not forgetting to decorate the armhole. In the middle of the canvas, the hinge for the neck is reduced, and at the end for the armhole. When one half of the transfer is completed, go to the second. All actions are repeated in a mirror image.
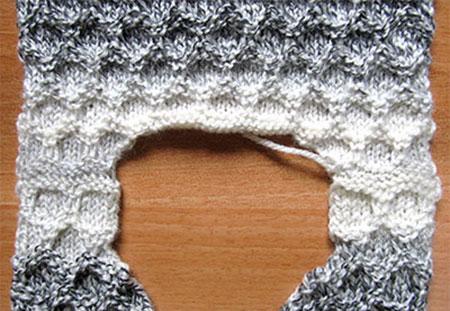
First of all, we sew the shoulder seams of the waistcoat forBoy, then lateral. Do it better in the way that turns out more accurately. Some knitters prefer a hook, others a needle. Now go to tying the neck and armhole. Hook the loop along the edge of the product. To design was neat, the set should be made from the hinges of the previous row, rather than the edge.
Make out a knitted vest for the boy with an elastic band 1 * 1. The elastic band on the armhole can be tied in a circle, and on the neck it is necessary to decorate the middle. To do this, loops are typed along the entire neck and knit with an elastic band 1 * 1. Having reached the central loop (which was marked with a thread), the 3 loops are tied together so that the middle loop is on top. As a result, you get a pigtail, and the strapping will fit well around the neck area.
After reaching the desired length, close the hinges. Now it remains to steam off the product and the knitted sleeveless jacket for the boy is ready.
Video: Children's Vest
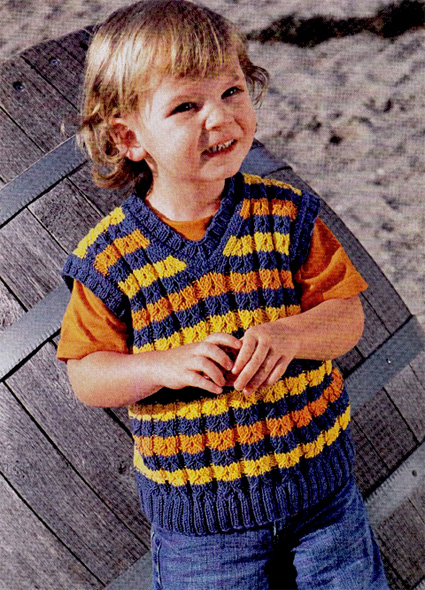
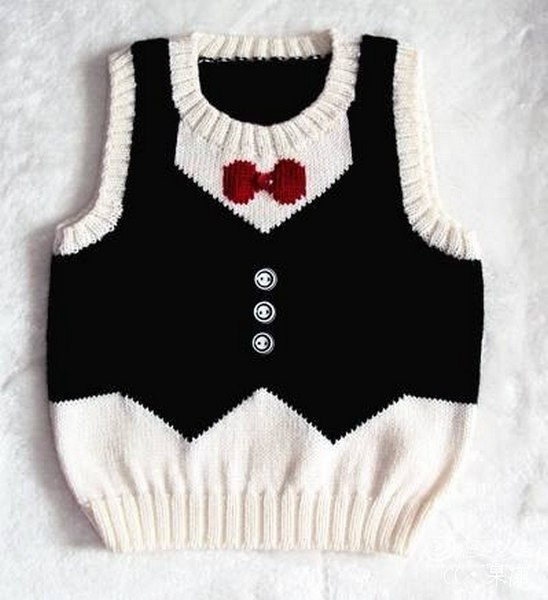
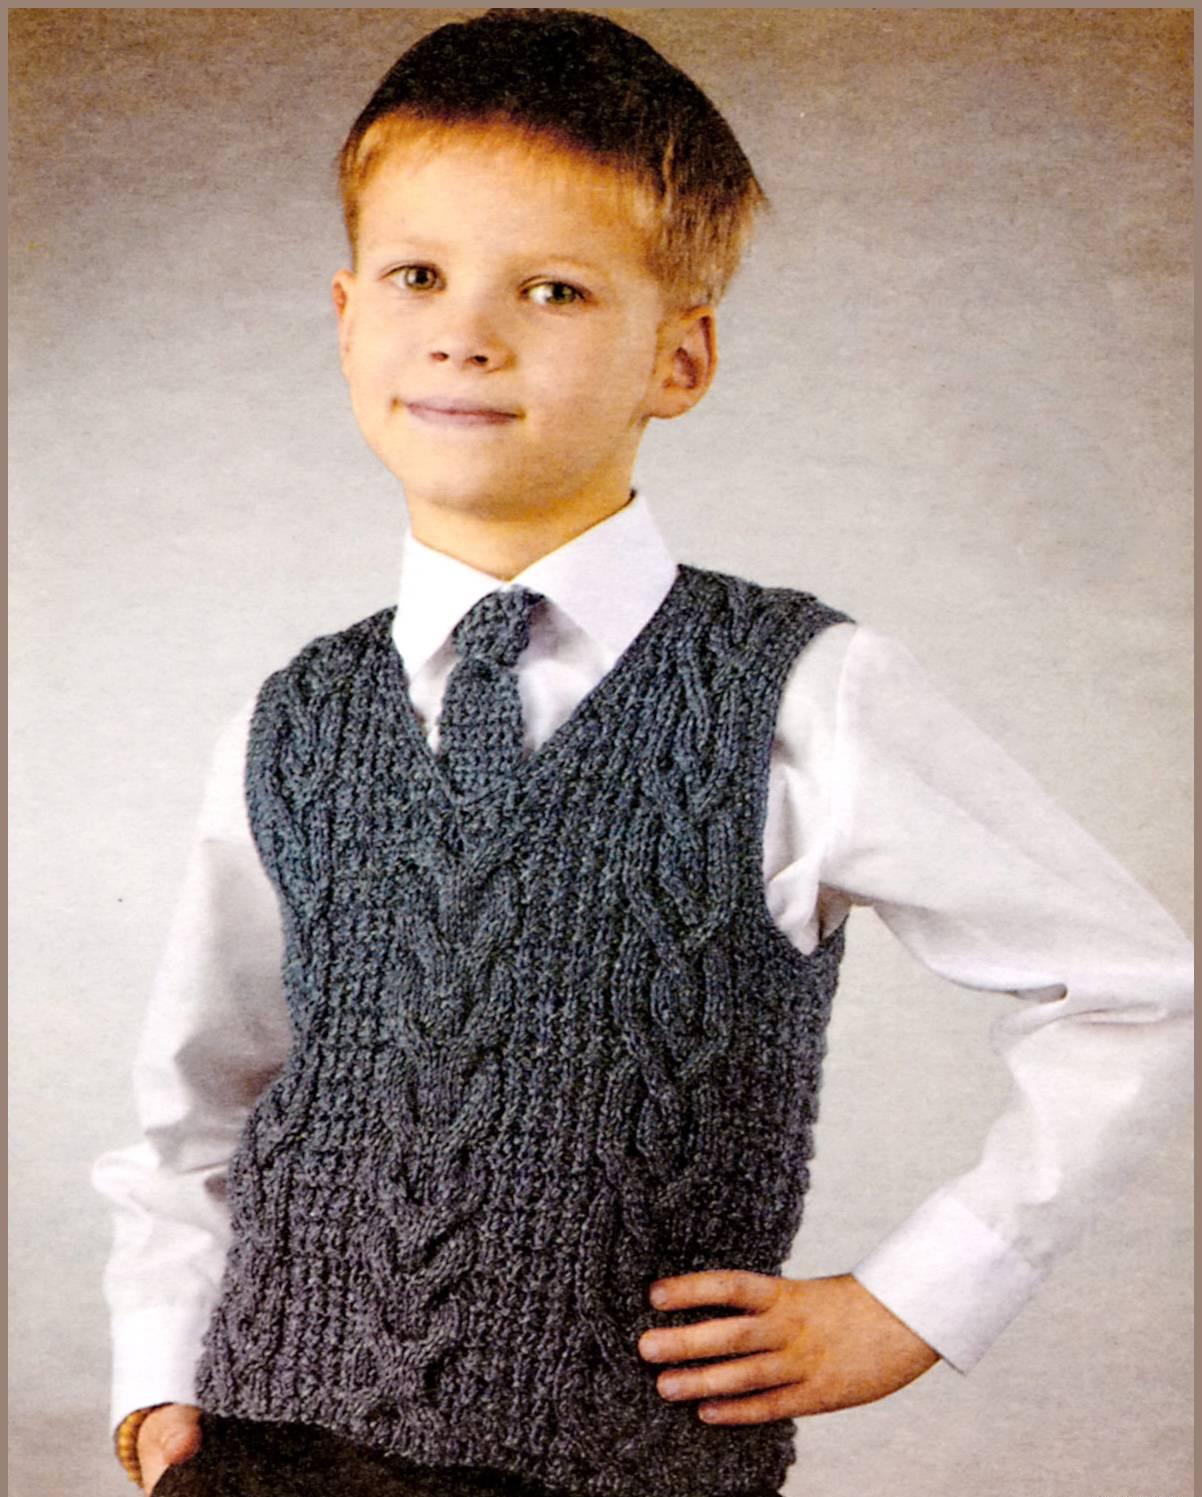
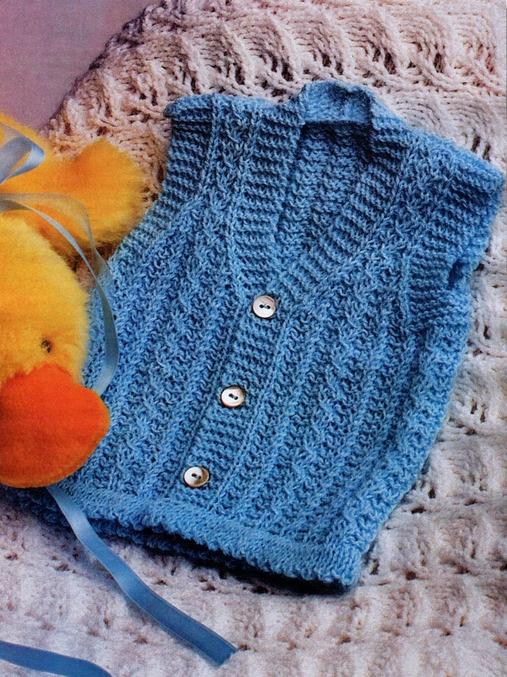
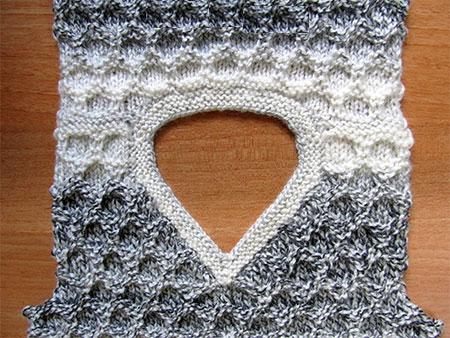
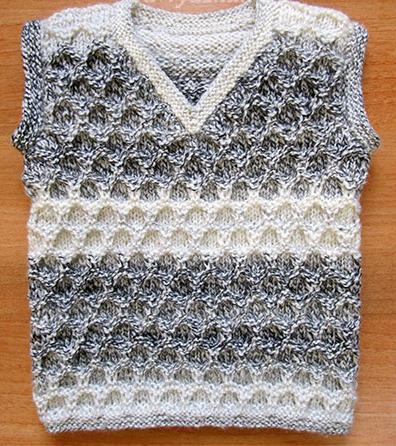
Photo lessons of knitting of the waistcoat

Comments
Related posts:
 Learning to knit balleros with knitting needles in detailed master classes
 Learn to knit two-color scheme, and choose the patterns
 Vest with knitting needles for women: stages of knitting in patchwork style
 Knit booties spoke to the boy - detailed master classes
 We knit hats with knitting needles for the boy according to the scheme with the description (photo)