We learn how to weave a butterfly from rubber bands on photos and videos to a master class
Content
The popularity of small silicone rubber bandsLong ago already broke all records! And this is not surprising, because of this usual material, using your imagination, you can weave different things and figurines, such as a case for mobile, doll clothes, animal figures and cartoon characters and much more!
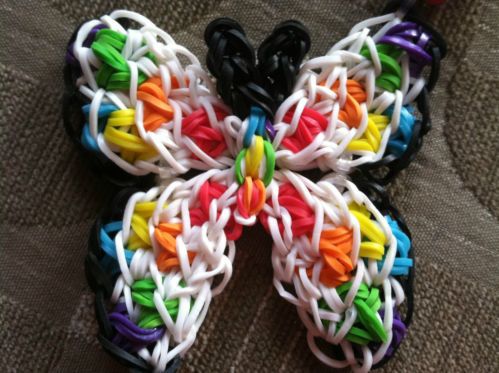
To master the process of weaving with elastic bandsStep by step. It is better to first get acquainted with the simplest weaving, and then move on to more complex works. Today we want to tell you about how to weave a butterfly from rubber bands.


We weave a butterfly on the fingers
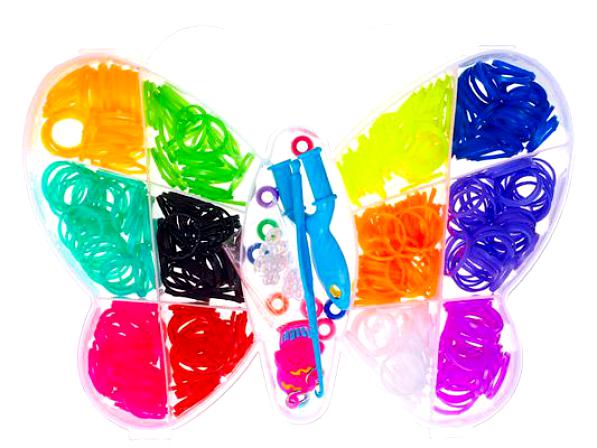
Before trespassing directly to the weaving itself, we recommend that you prepare everything you need to work, namely materials and accessories:
- hook;
- Gums of three different shades.
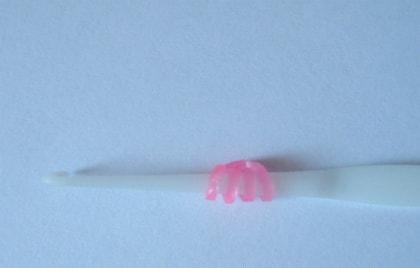
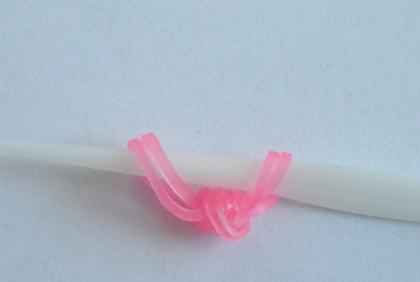
So, to weave a butterfly you need to take a pinkEraser and twist the hook in four turns. Hook a couple of hooks on the hook and throw the first workpiece onto them. Then we put the loose buttonholes on the working fittings.
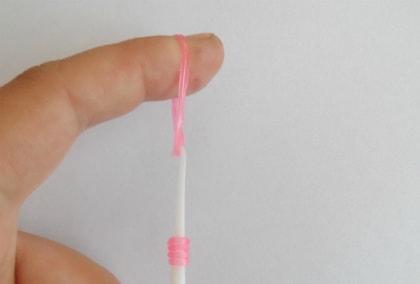

In the same way, weave one more detail. Pick up a pair of rubber crochet hooks and throw both blanks on them. Put loose loops on the tool. This stage of the lesson is devoted to weaving the first wing of a butterfly, therefore, after completing all the actions, you should see a beautiful wing in front of you.


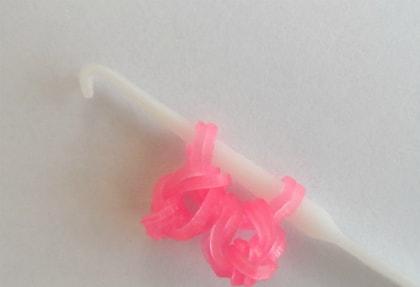
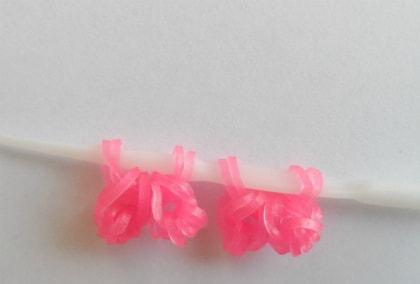
Now, according to the same scheme, we need to weave the secondwing. Finished wings are transferred to the rubber, and a loose loop is put on the working tool. Now we are dragging the loop closer to the "head" of the hook through another loop.
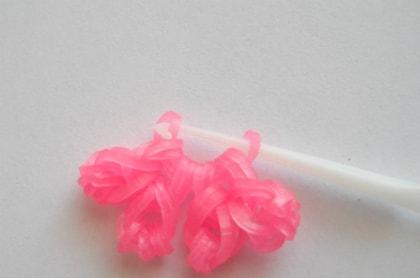
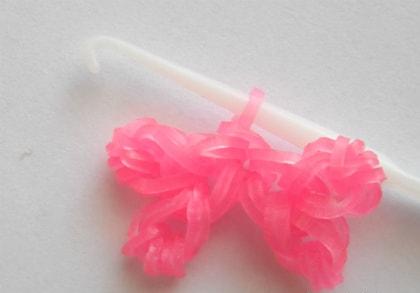
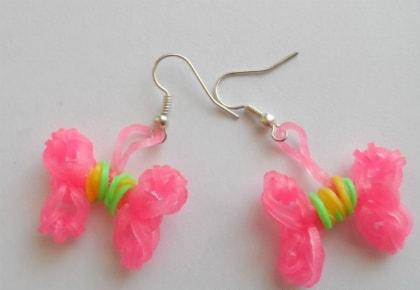
Butterfly is almost ready we only needFix the hand-made article so that it does not fall apart during use. To do this, you need to wrap a few times a rubbery salad, and then yellow around the body of a butterfly. Such a beautiful summer beauty butterfly can decorate the key chain, pendant for the phone, earrings or bracelet!

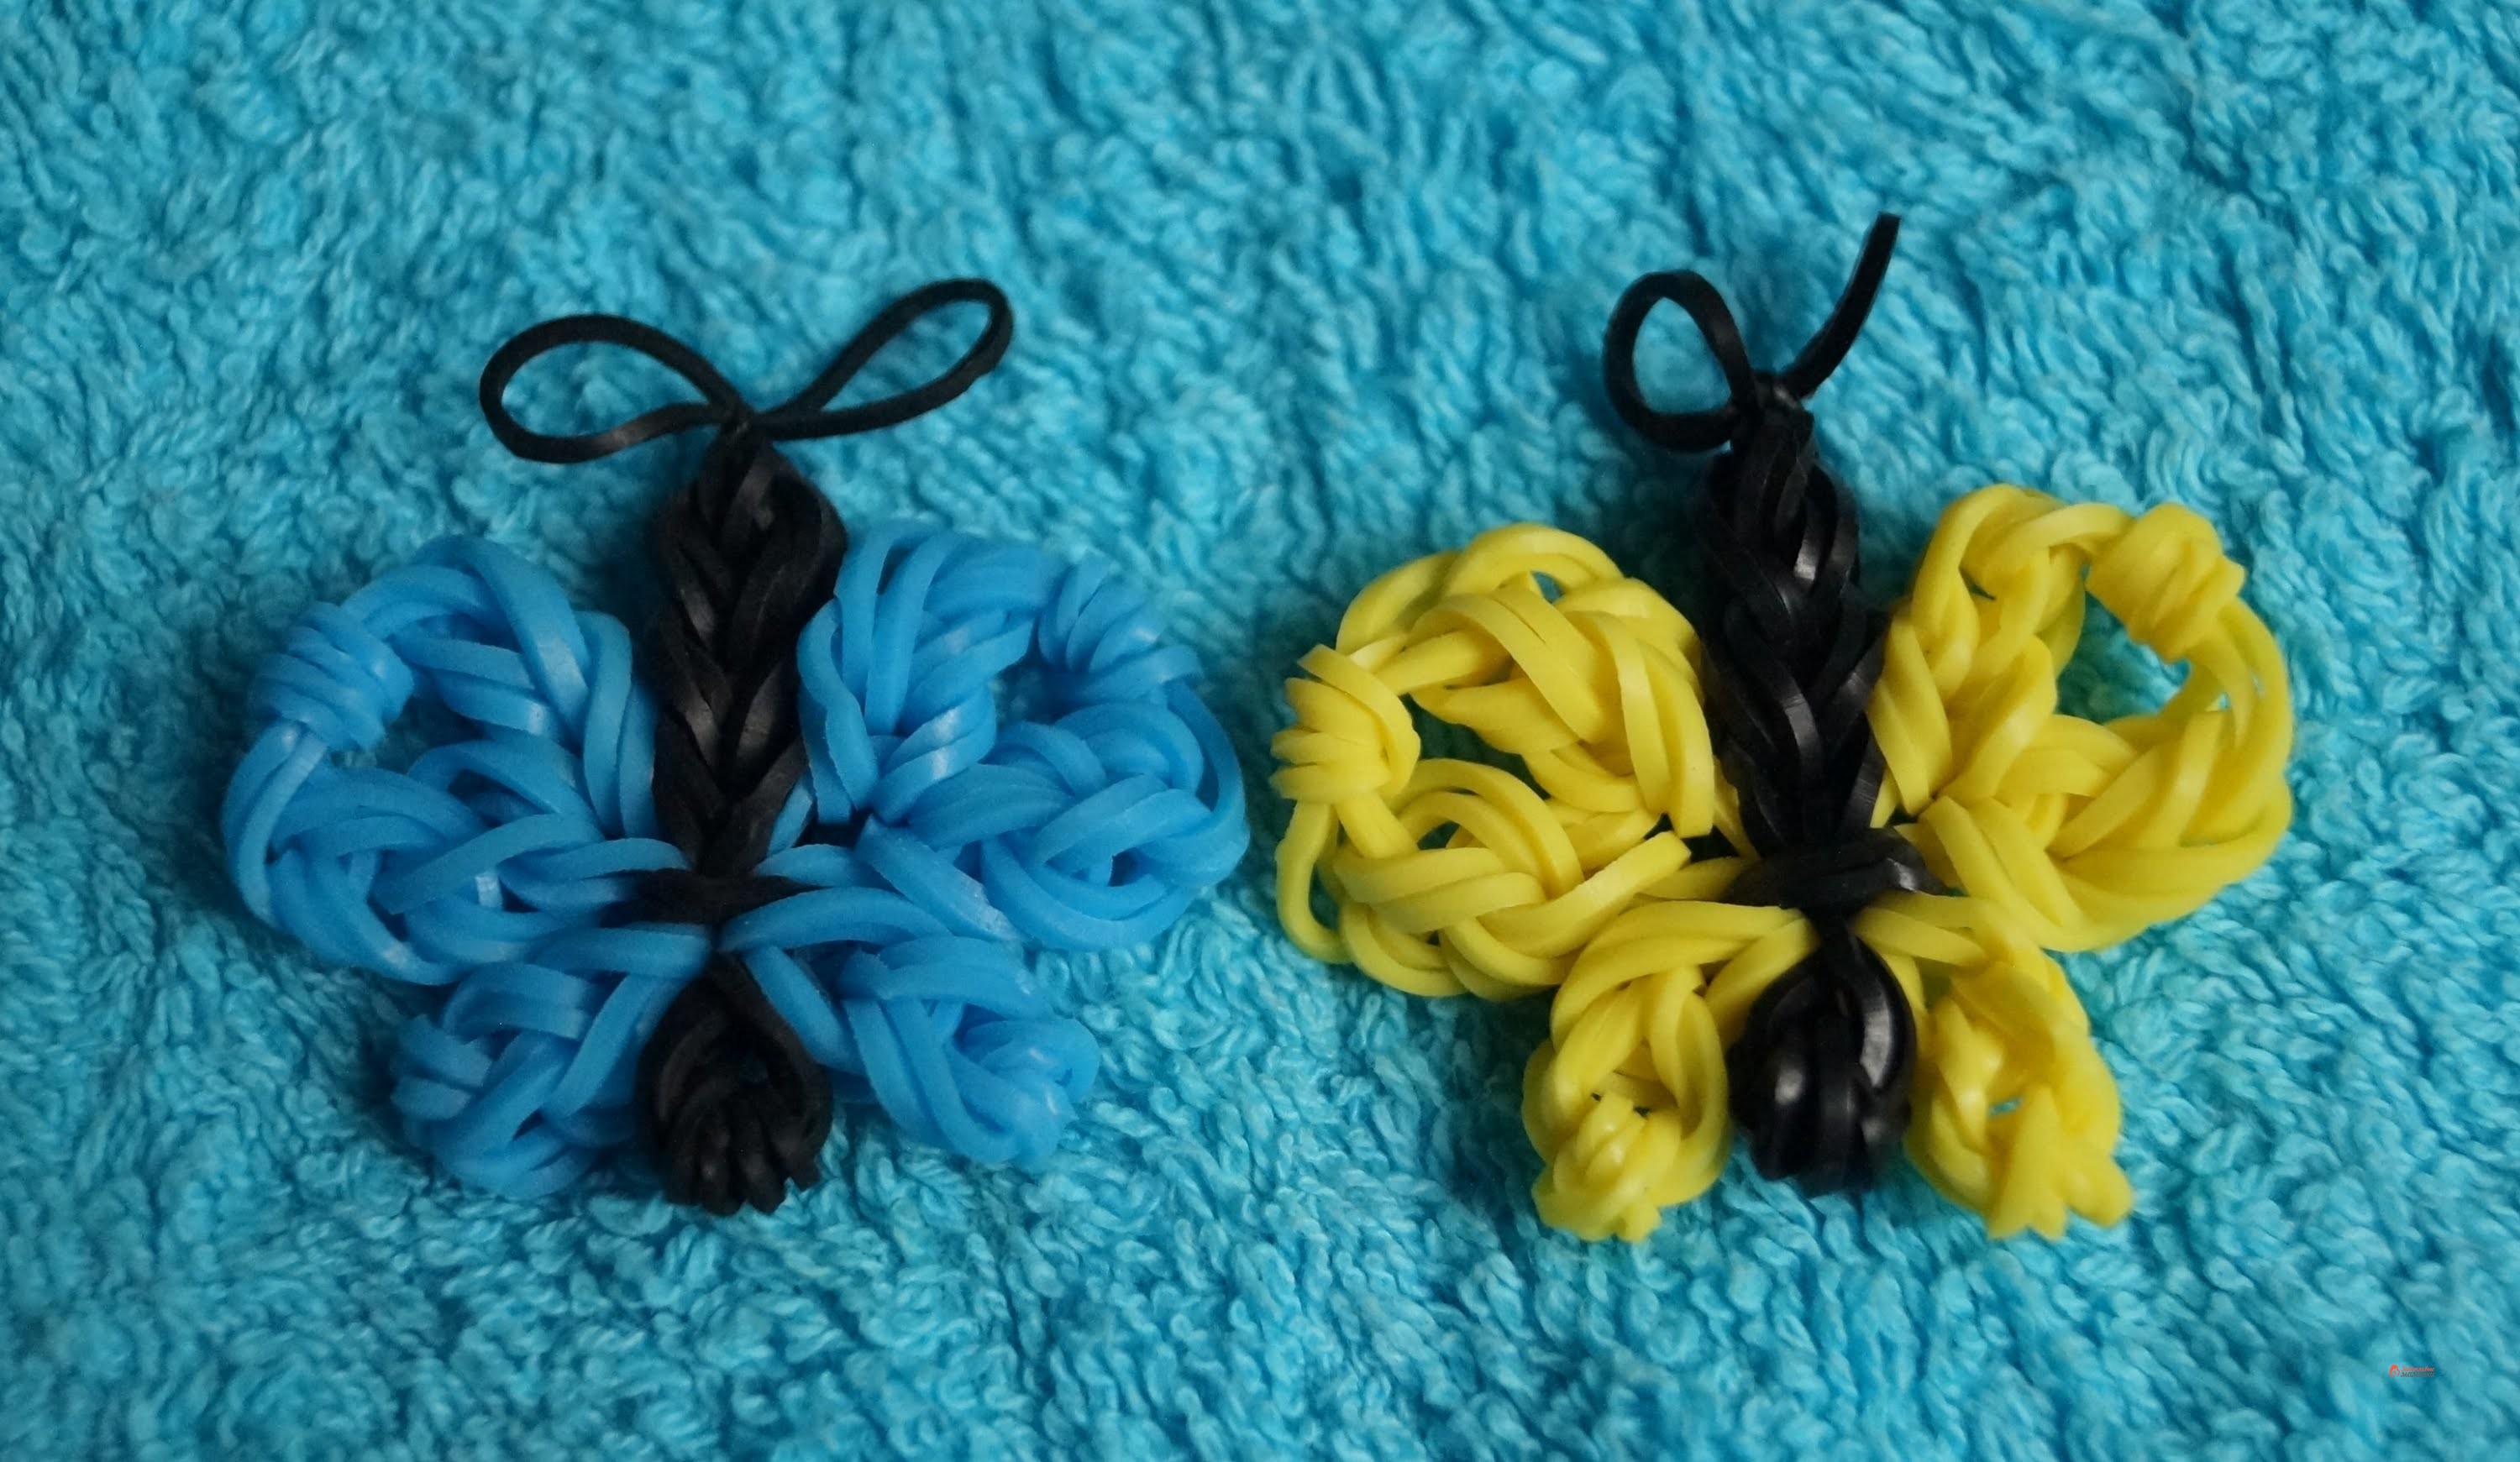
The process of weaving a three-colored butterfly on a slingshot

Weave
- it's quite a fascinating process. But, while weaving something simple, we always want to try to create something more complicated. Therefore, now we suggest that you study the master class, which will be a detailed description of the entire process of weaving a bright three-color butterfly. In order to weave such a beauty you will need to have with you:
- Black, yellow and orange silicone rubber bands;
- hook;
- slingshot.
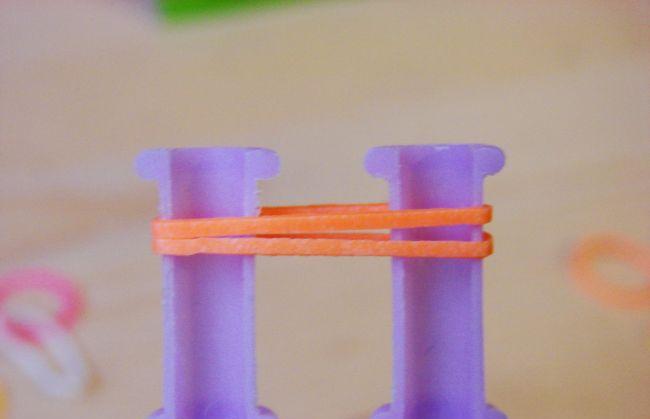
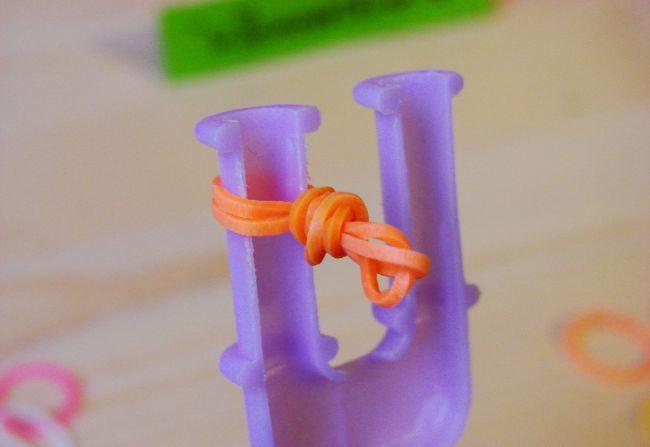
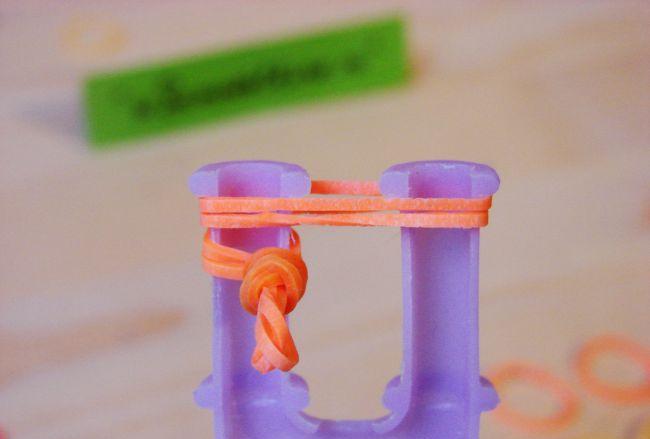
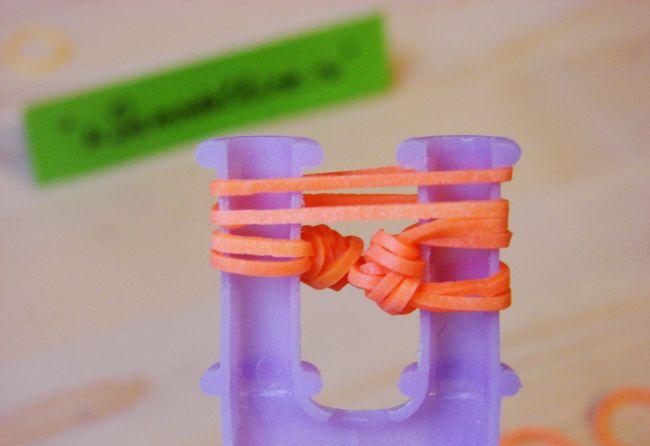
We begin the master class on weaving. It is most convenient to begin the weaving with the creation of a pair of upper butterfly wings, since this detail is the largest. Take in the hands of a slingshot and attach to it orange rubber bands - 2 pcs. Then wrap 4 times around the hook 1 orange. Remove the previously made part from the right side of the slingshot.
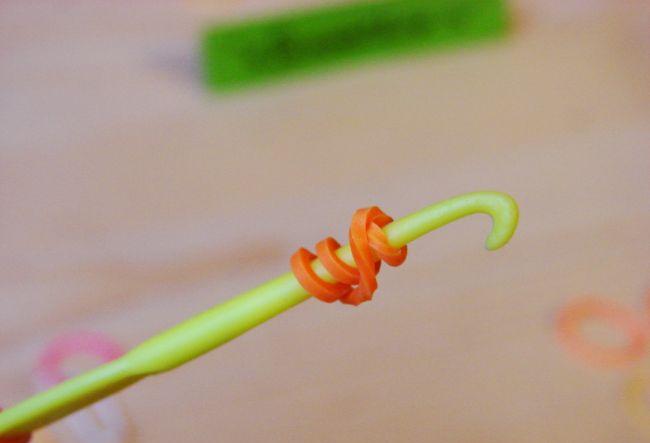


Drag the workpiece from the hook to the center of thisParts. Put on 2 more elastics. Transfer the previously woven piece to the center of the newly put rubber bands. Pull the workpiece down just below and put two more orange gum on top.

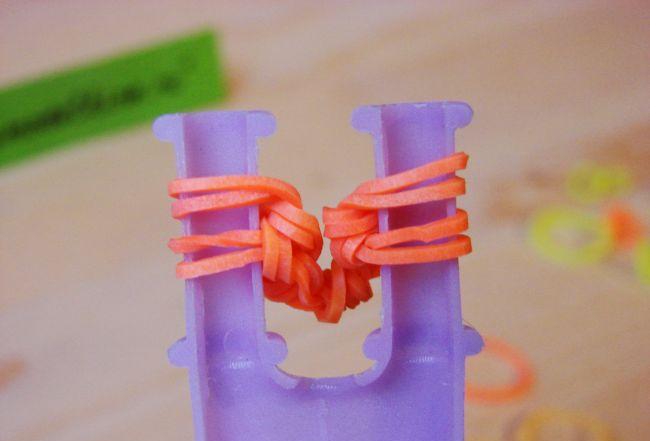
Move the bottom layer to the center of the weave,Consisting of 2 parts. Now we move the loops from the left projection to the right one. Two loops hanging loosely on an empty bar. We put on 2 more elastic bands. And then move the lower pair of rubber bands from the left column to the middle of the weave.
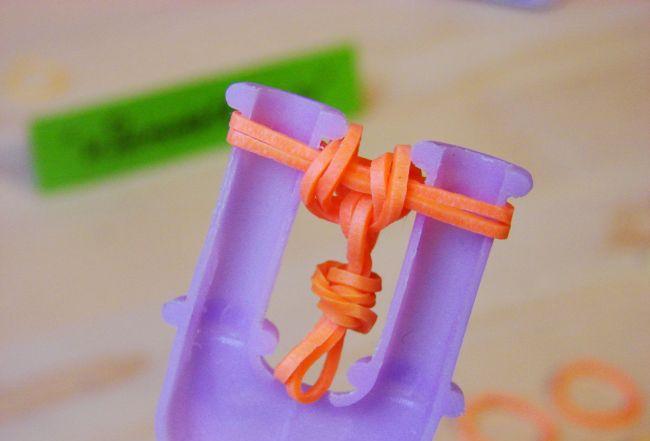

We put on top 2 orange. And we move the central layer to the middle. From the right column, move 2 loops to the other ledge. Top with a rubber band. And gently drag the remaining loops to it.
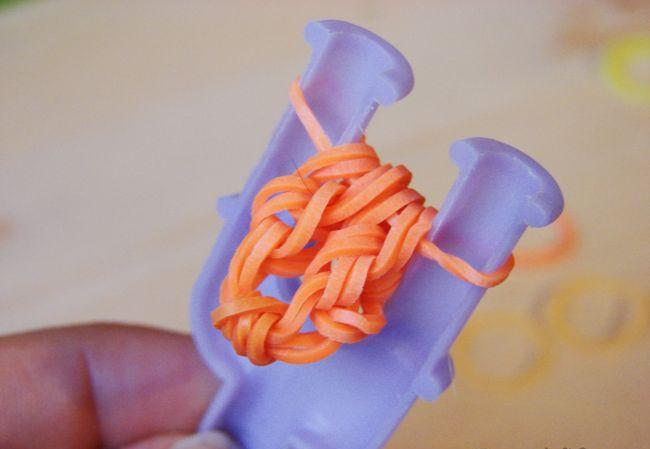
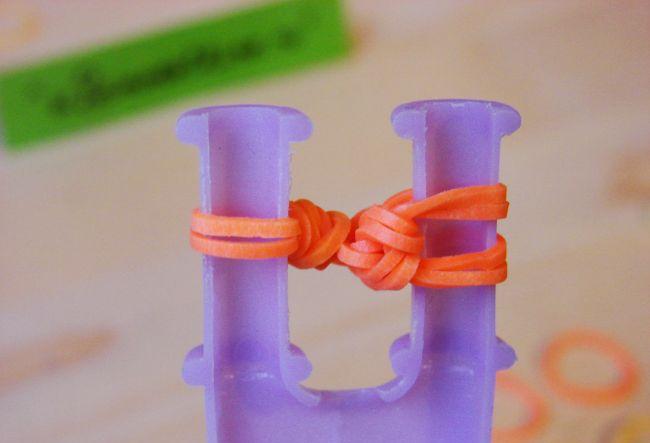
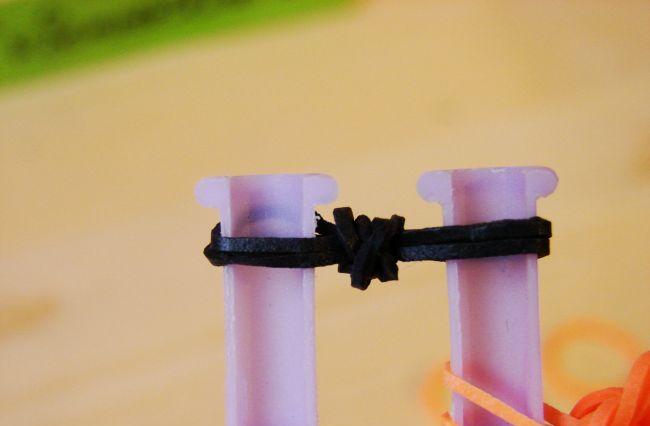
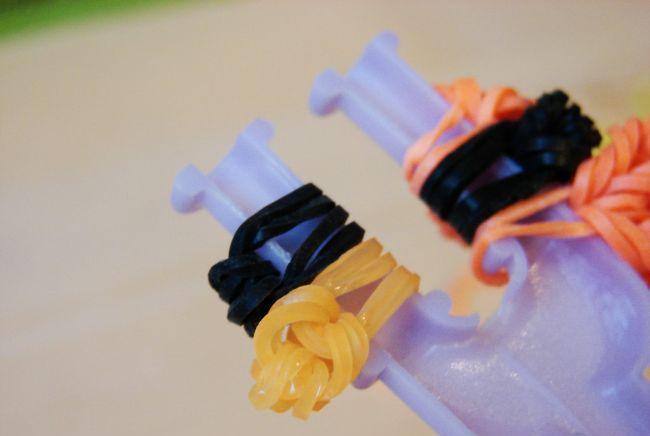
We transfer the loop from the column that is located withLeft side, on the one on the right. The first part of the tutorial is completed. We have formed one wing, and now we start to make the first half of the trunk. To do this, you must first throw 2 black elements. Then wind 1 black rubber band in four circles and transfer it to the previously made workpiece. As a result, you should have the same bow.


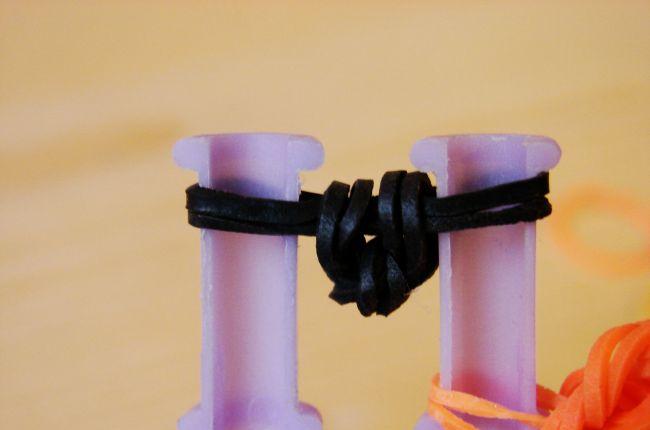
After that, we put on 2 more pcs. We move the lower loops to the center. From the left column we throw the details to the right. Now the first upper wing of the butterfly, as well as part of its torso are next. Next, we woven the second upper wing according to the same scheme.

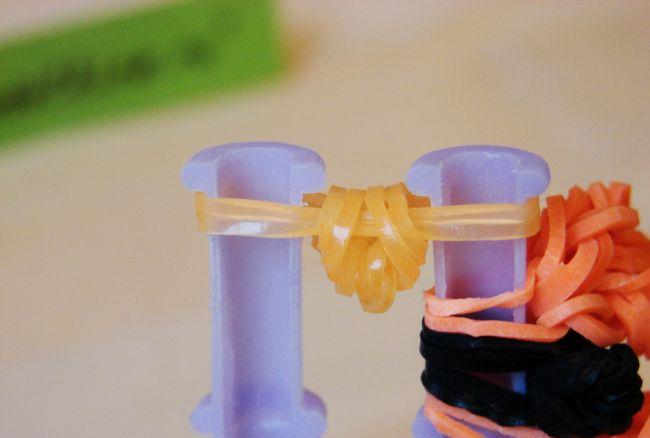
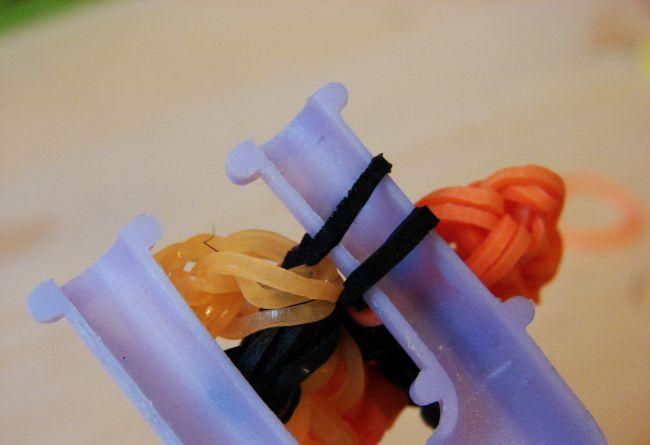
Now let's move on to a new step of the step-by-step wizardClass, during which we will need to weave small lower wings. To do this, attach to the slingshot 2 yellow rubber, around the hook 4 times wrap 1 pc. And transfer this twisted blank to the center of the slingshot. In other words, we do everything the same as described in paragraphs 19, 20. We put on 2 more pieces. The lower layer is moved to the center of the weaving.
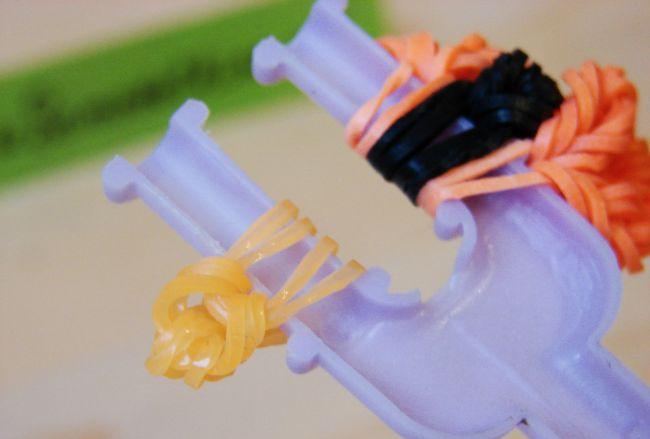

We move the workpiece to the columnLeft side. We proceed to the formation of the lower part of the trunk. To do this, first plait black zagotovochku like a bow. Then from the right protrusion we transfer the upper two loops to the left one. The second yellow wing is worn. It is done according to the same scheme as the first, so at this stage of the master class you should not have any difficulties!

We put on a slingshot 1 black rubber band. Alternately, we move the previously billets to it. We move the loop from the right shoulder to the left one. Gently remove the bottom part.
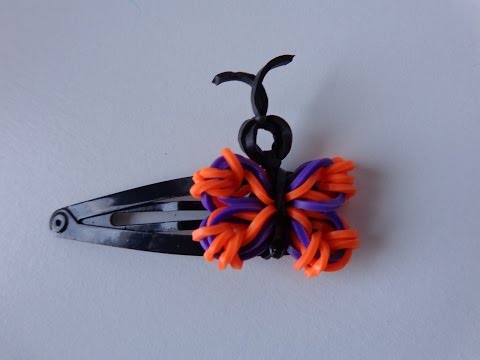
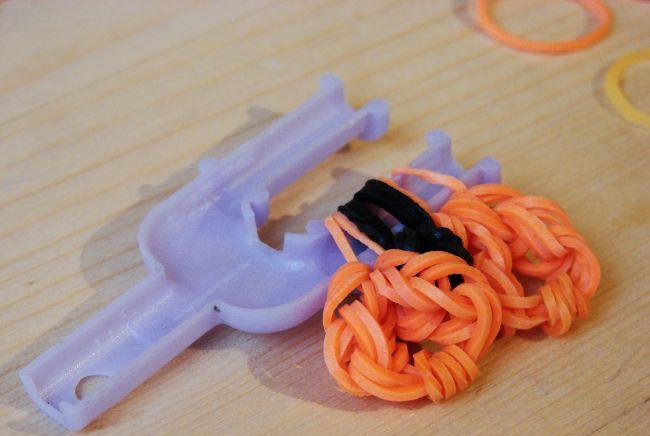
We remove the woven butterfly from the machine and hide itLoop in her torso. Summer beauty is almost ready, but in order to make it as similar as possible to the original it is necessary to form a mustache. To make them, hook the upper eyebrows in black, as shown in the photo.

Take 1 black and stretch it through all the turns on the hook. Form a knot. Cut the resulting loop in the middle.
This step-by-step wizard class with a detailed description of all the actions can be considered complete. The beautiful butterfly is ready to decorate with himself room flowers, a clip, a pendant or a bracelet!
Video: Butterfly made of rubber bands on the slingshot