
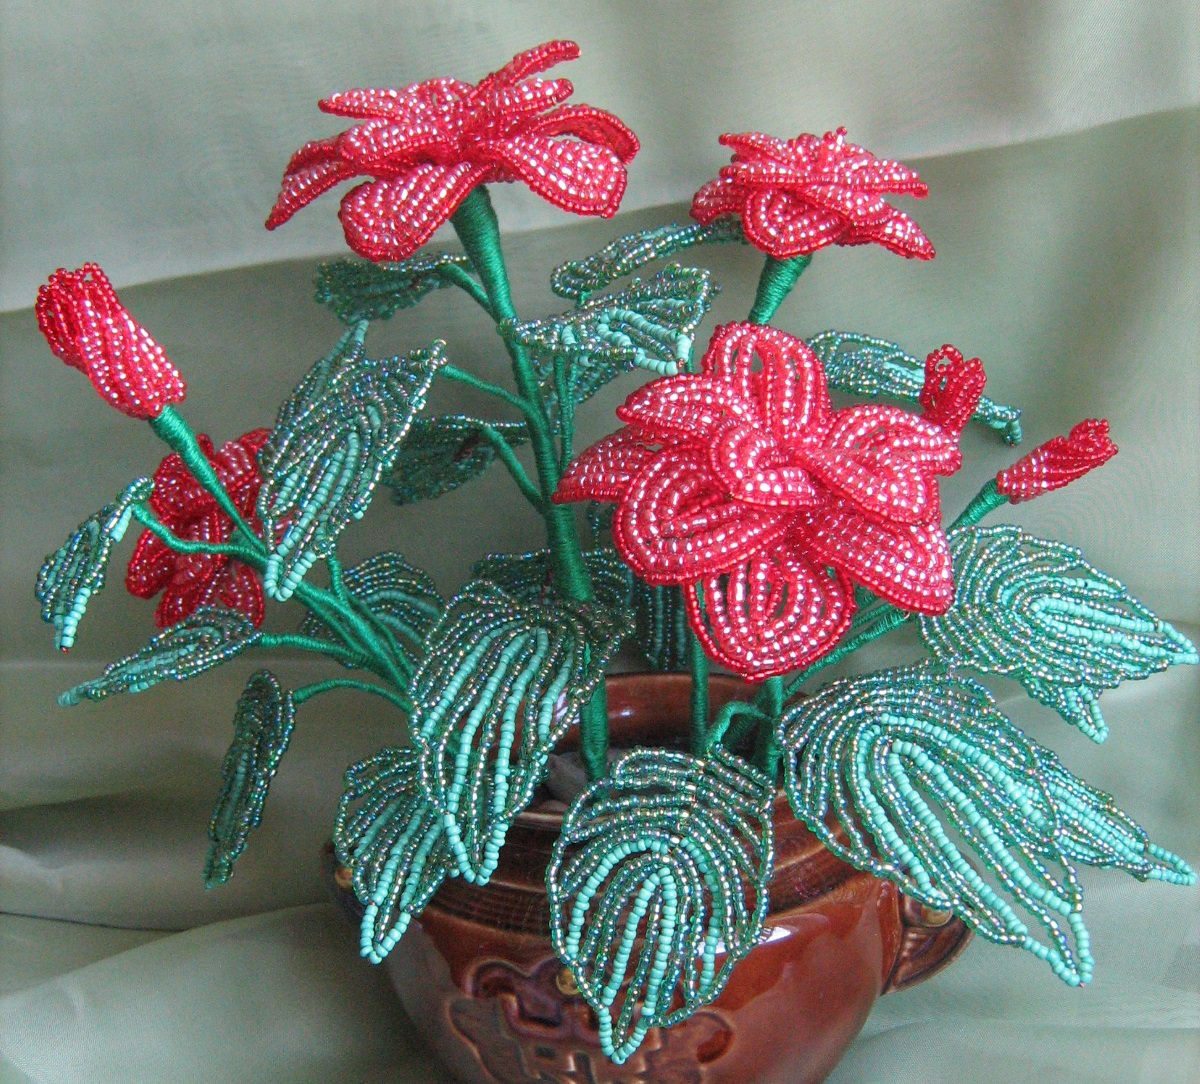
Leaves from beads technique of weaving the main species (video)
Content
- Master-class on making different types of leaves
- Video: Plait the pointed bead leaf
- Video: Weaving a narrowed pointed leaf
- Video: Weaving technique of round beadwork
- Video: Learning to weave leaves with jags
A leaf from beads can be different in shape and variation of its weaving. This master class will teach you how to make the most famous varieties of leaves very easy.
There is a French technique of working beads, which is carried out by arcs. Consider a master class of weaving leaflets from beads using this technique.


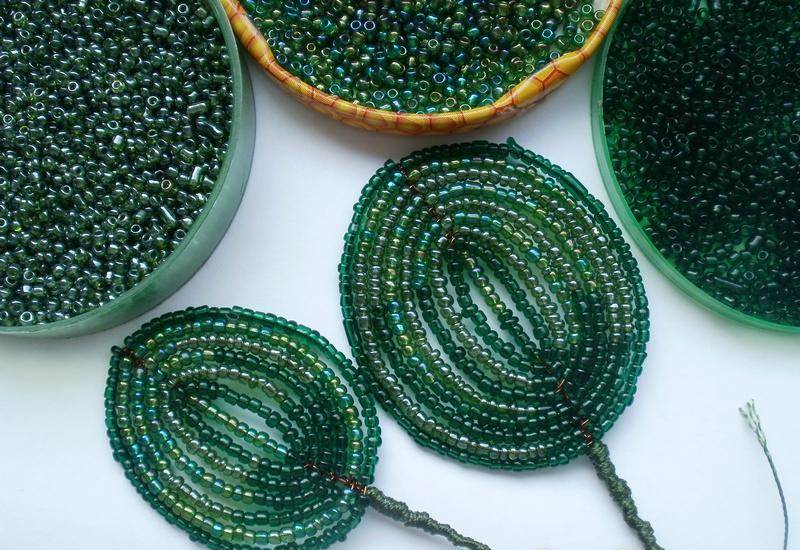
Master-class on making different types of leaves
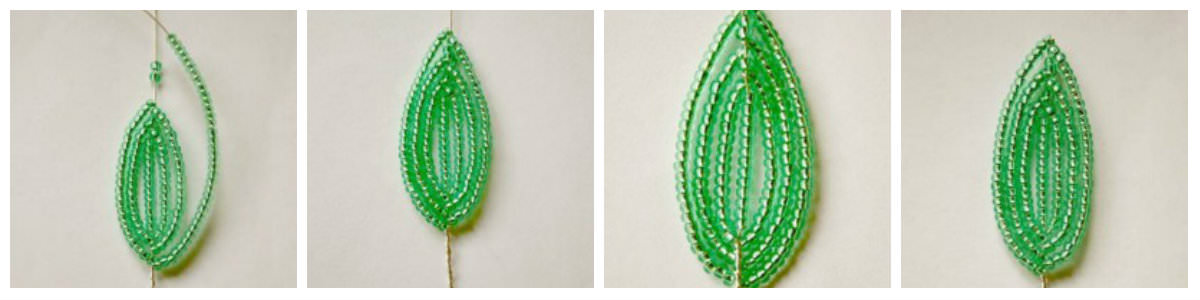
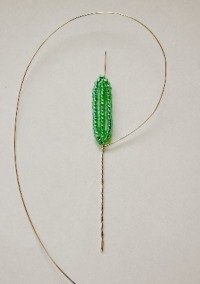
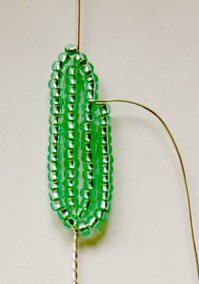
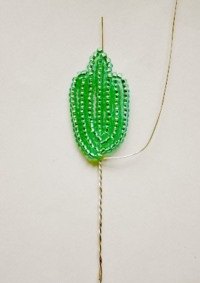
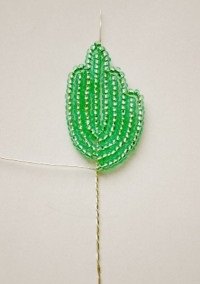
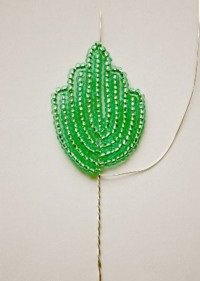
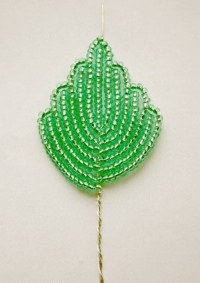
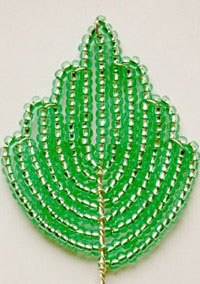
How to weave a leaf with a sharp end

Photo 1 
Photo 2 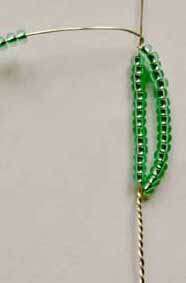
Photo 3 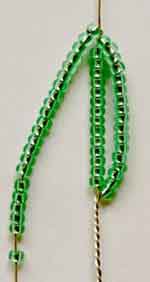
Photo 4 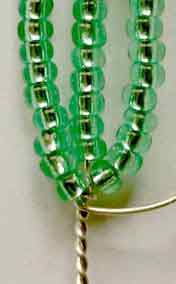
Photo 5 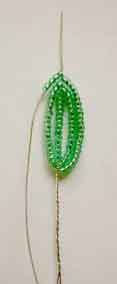
Photo 6 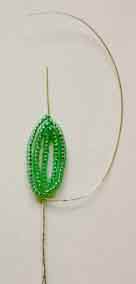
Photo 7 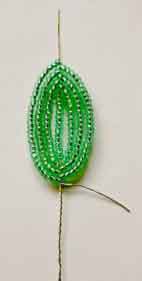
Photo 8 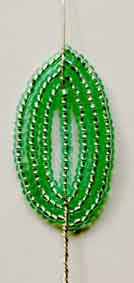
Photo 9 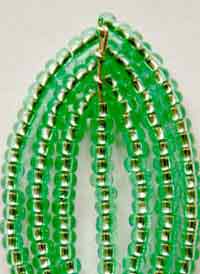
Photo 10
Video: Plait the pointed bead leaf
Narrow pointed tip 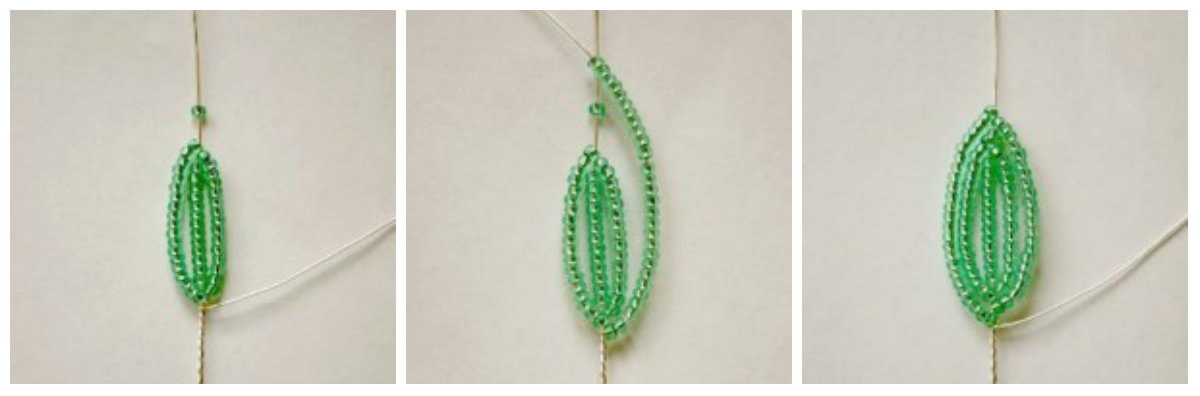
In this master class, we will consider in detail the weaving of a narrow pointed leaf to understand what is its difference from a regular leaf with a sharp tip.
Narrow leaves of beads with sharp ends differ from ordinary pointed ones in that they have a narrower and more oblong appearance.
It begins to be created exactly as well, but betweenArcs on the bottom of beads, and the next fold is fastened to the base over this bead. To complete the arc, one turn is made around the leaf circle. How many folds and beads that thread on the base will be made according to your desire. The end of work is done as well as in a leaf with a sharp end.
Video: Weaving a narrowed pointed leaf
Orchid leaves 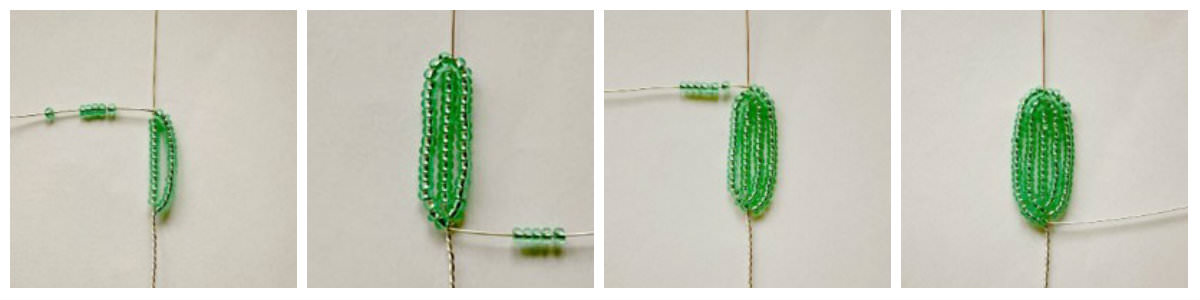
The master class of weaving orchid leaves is also made according to the French technique, only it is made round, not pointed.
The peculiarity of the orchid leaf scheme is thatBends are fixed on the axis perpendicular to each other. Twisting around the axis is not done, so you need to make sure that the beads are tightly pressed against the axis and the bend seemed to be continuous.
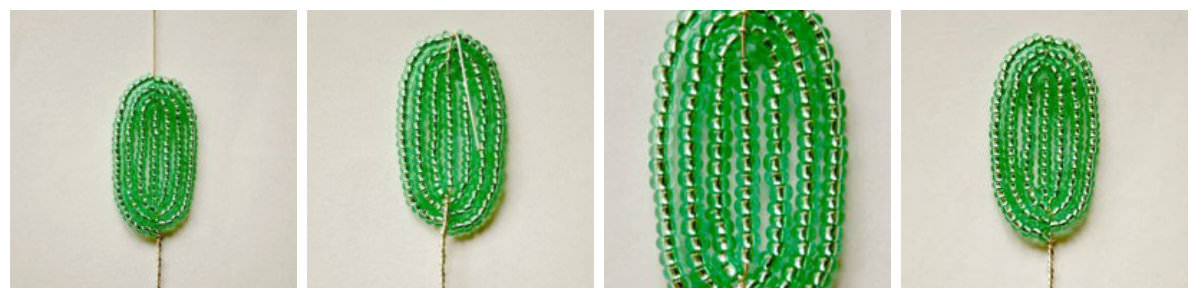
Having made the necessary number of folds, the creation of an orchid leaf is completed in the same way as in pointed bead leaves. The main feature of the leaves
Is their length. It is recommended that the sheet be sewn with a thread in several places to make it look more solid.
Video: Weaving technique of round beadwork
Shamrock shamrock 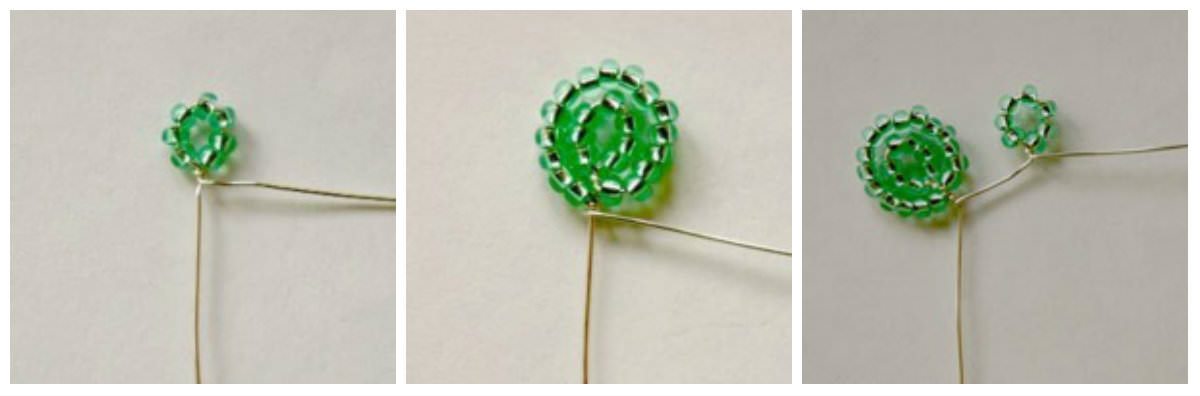
If you decide to weave clover, then the master class of weaving his shamrock from beads is very simple in execution:

Stepping back from our first leaf, do one more, in the same way. Indentation is needed in order to then make a leg of the new leaf, from the base of the inner loop and to the front;
Toothed leaf Schemes for weaving leaves with denticles are also not difficult to perform, but the technique is significantly different from the previous ones. Consider a step-by-step master class:


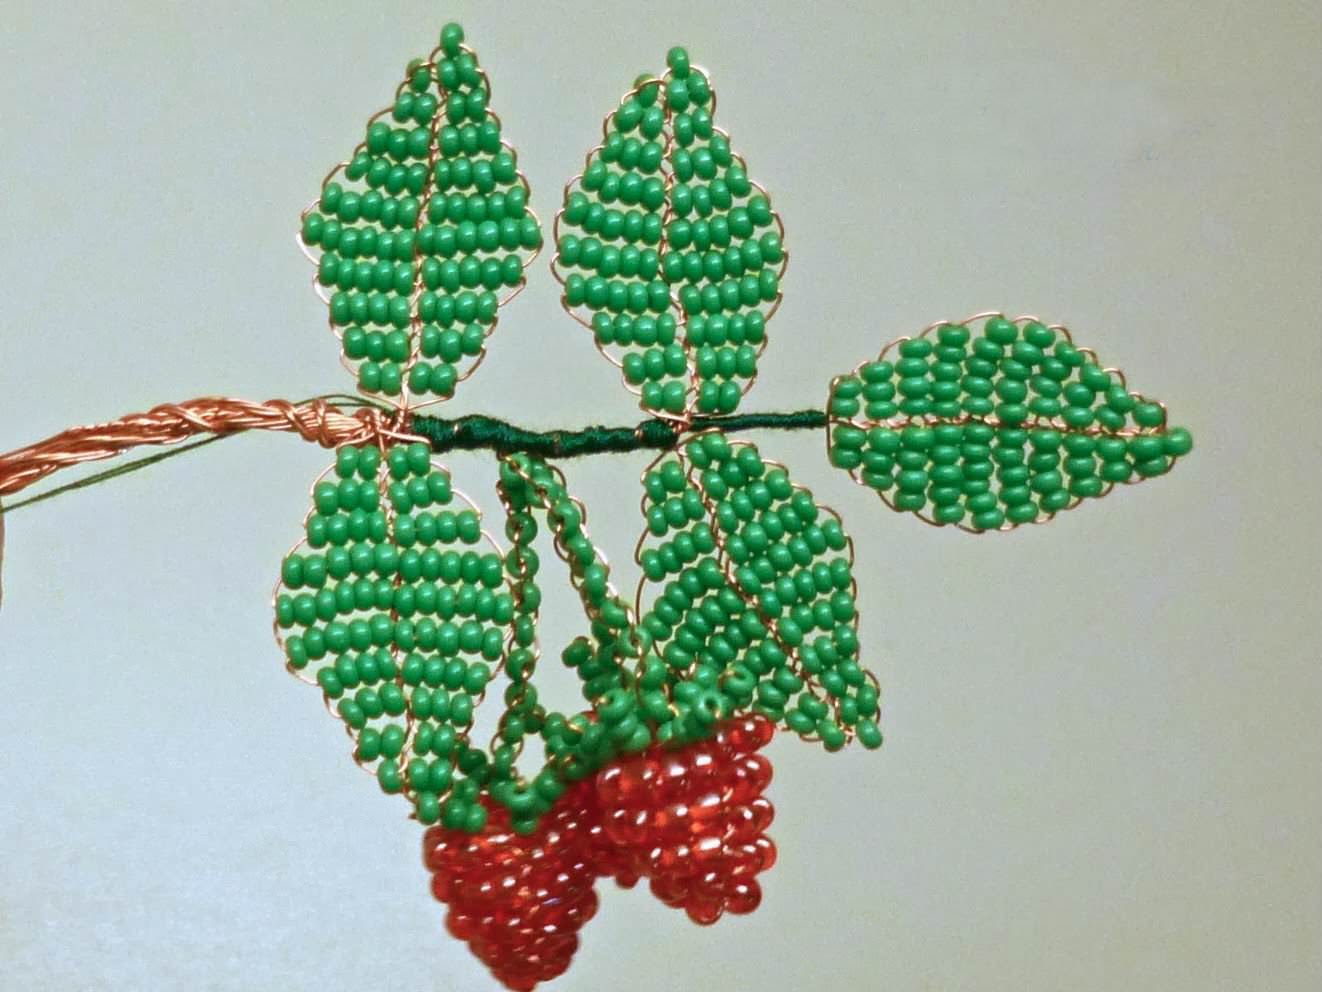
French weaving technology is used inVery many leaves made of beads: compound leaves, ivy leaves and others. Those who want to learn how to weave more difficult to do the leaves, even having a detailed master class for work, you must first learn this technique of work.
Video: Learning to weave leaves with jags
Comments
Related posts:
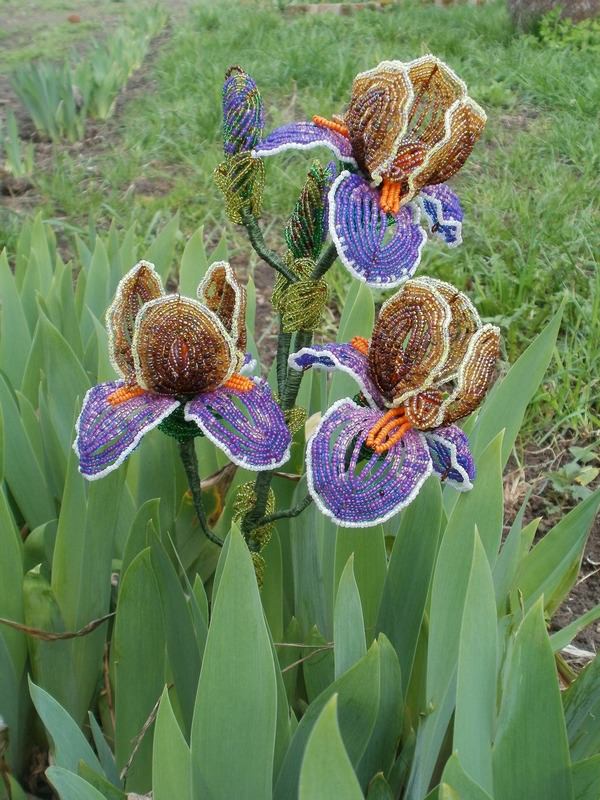 Iris from beads: turn-based technique of weaving (photo and video)
 Geranium from beads: a lesson of weaving a beautiful bouquet (video)
 Jasmine from beads: a scheme of weaving with our own hands (video)
 From beads trees weaving technique for beginners (photo)
 Beadwork technique in the master class (photo)