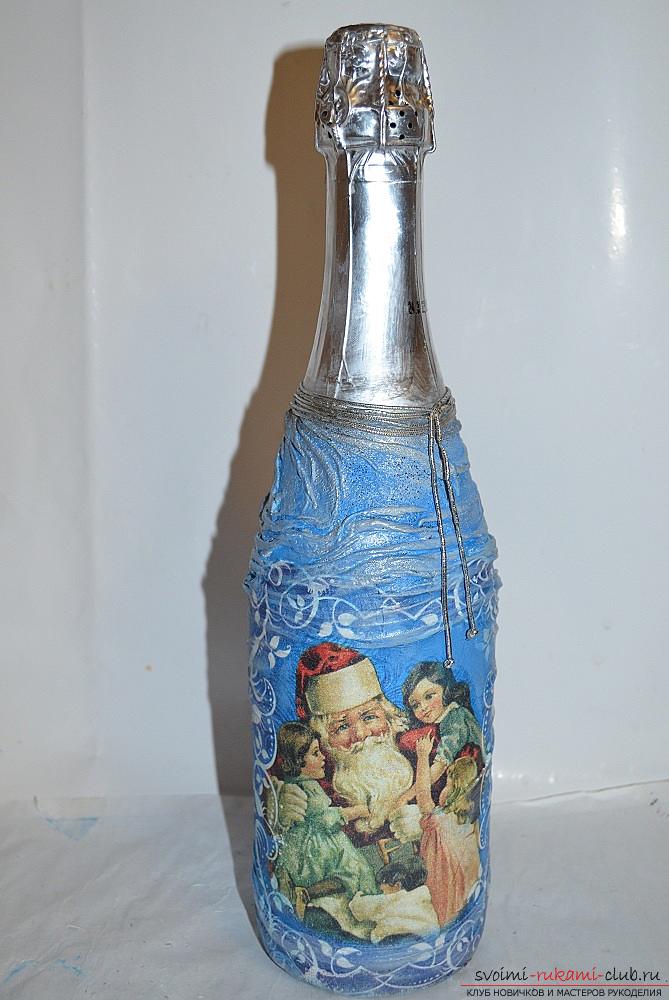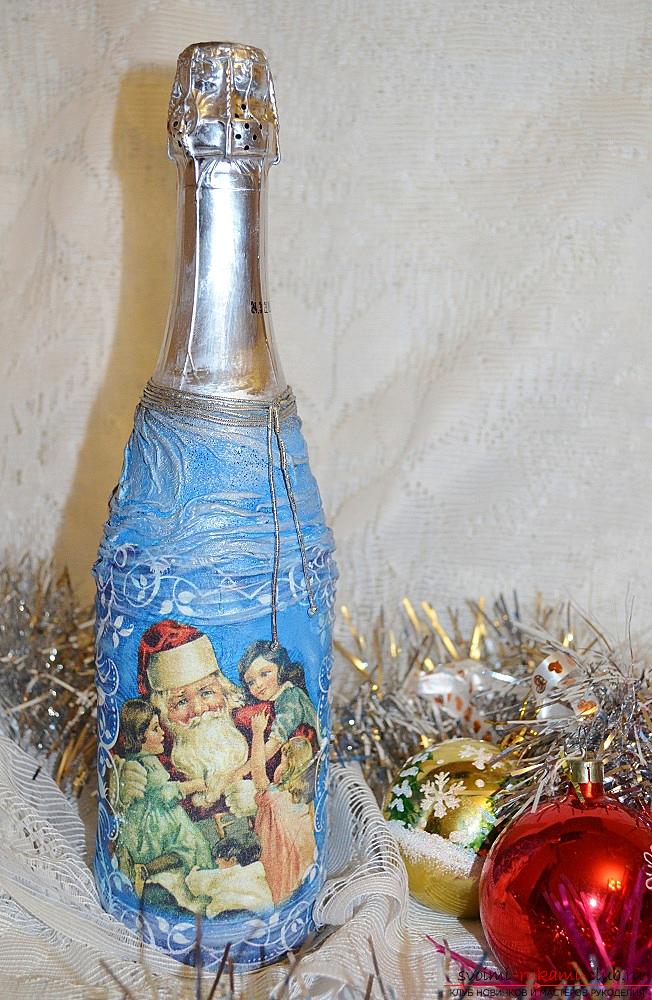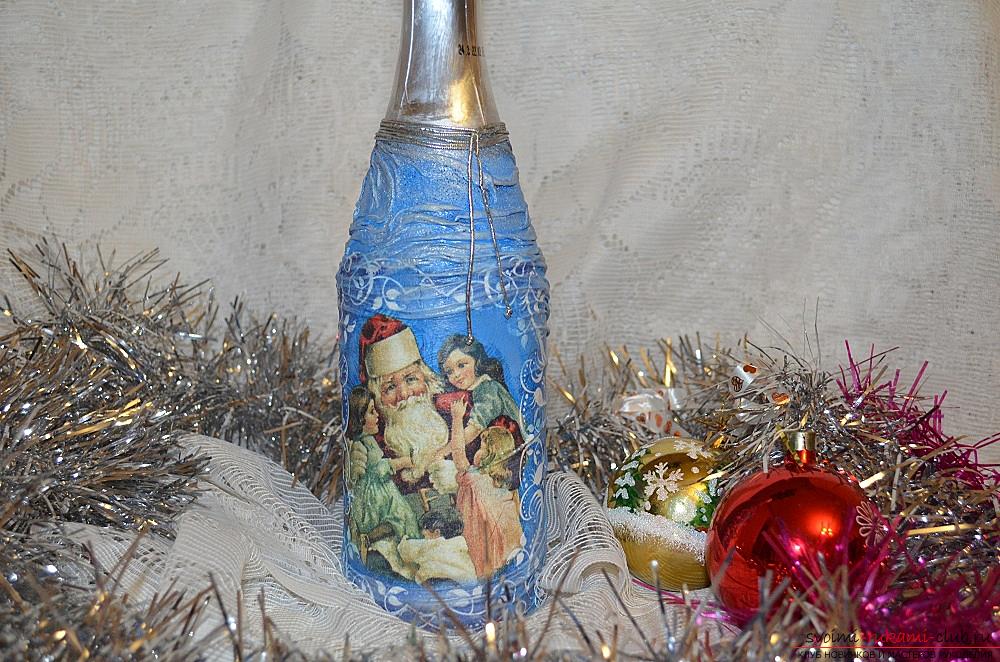
A lesson on creating an original gift in the technique of decoupage - bottles of champagne with New Year decor. Detailed description of the technique, workflow and step-by-step photos
Ahead a new year. What to gift? Champagne, sweets. But if you decorate the bottle, it will not be easy to bottle of champagne, and author's work. And at the same time you can use simple materials, for example, such as pantyhose. Such an original bottle will serve as an excellent gift for the New Year.
Materials and tools
For the decor we will prepare:
- Pantyhose, or rather one stocking
- Scissors
- Glue PVA joinery, brand TYTAN
- Nail polish remover
- Cotton swabs
- One-time dishes
- Latex gloves
- Paints: white and colored
- Brushes flat (synthetics)
- Foam Sponge and Clamp
- Pulverizer with water
- File
- Napkin with New Year's motif
- EUROTEX Aqualach for saunas
- Decorative cord
Description of the work process
Before you decorate, you need a bottlerelease from all labels, except foil, which closes the stopper (soak it for a while in a dish of water). After the bottle is cleaned from the labels, after all, degrease it with a liquid to remove the varnish. 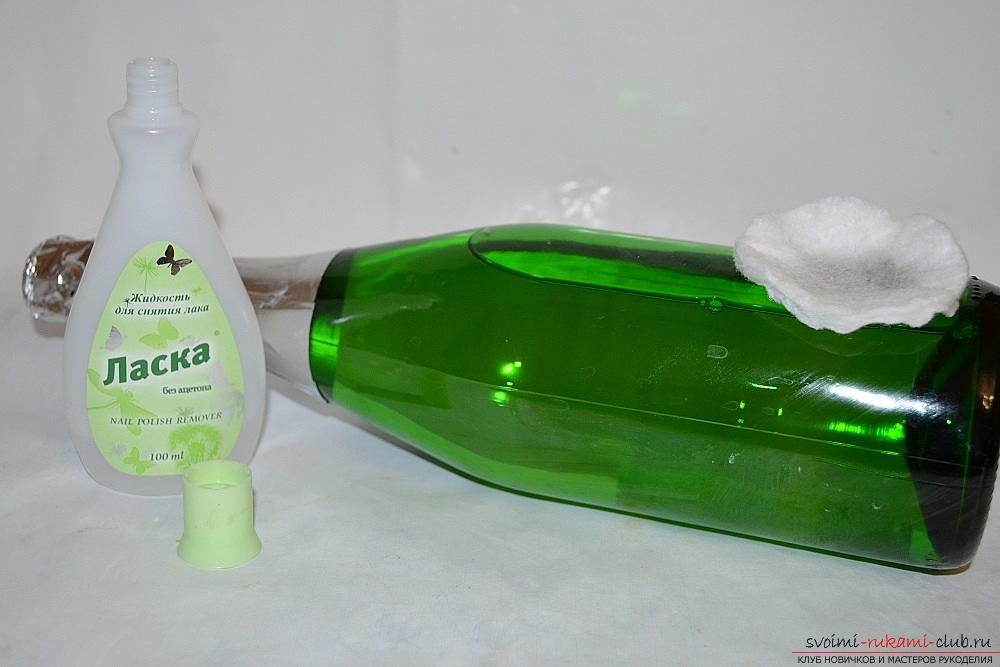 Pour glue into a deep disposable dish. If the glue is thick, dilute it with a little water.
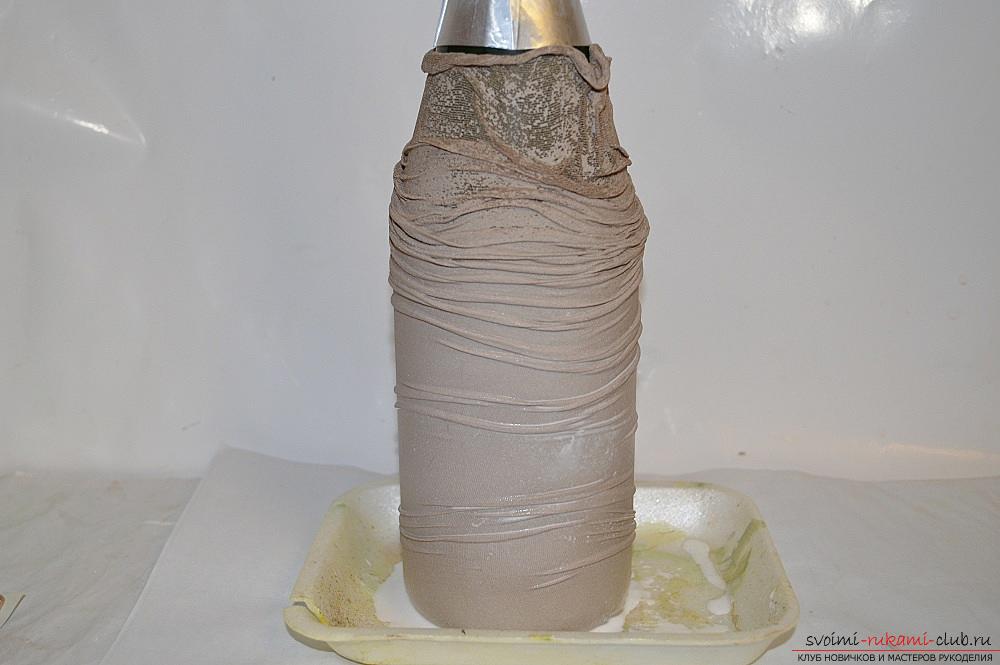
 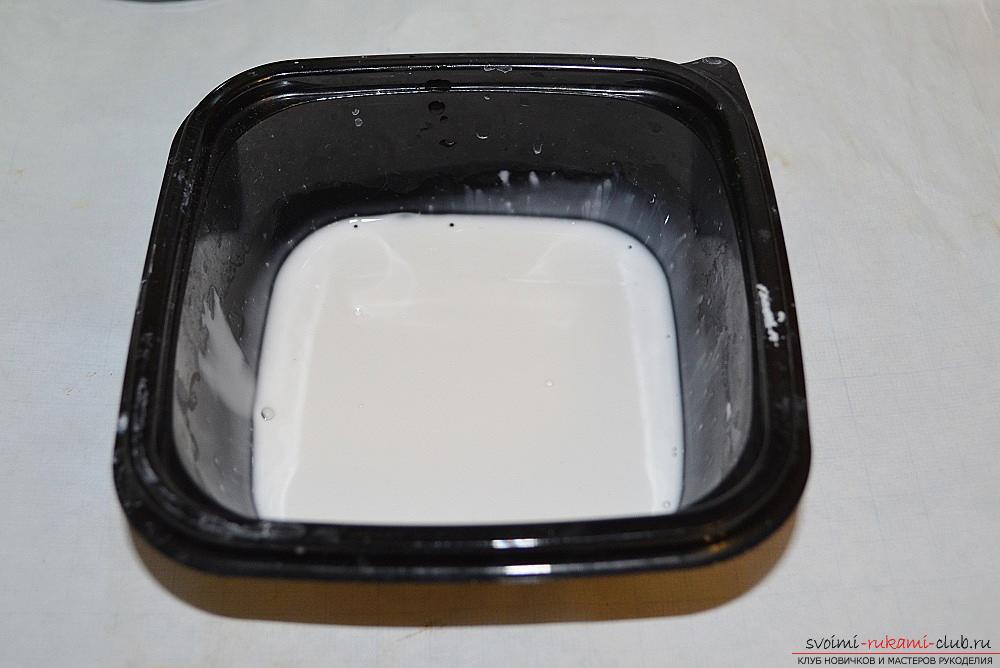 Soak the stocking in the glue and put it on the bottle.
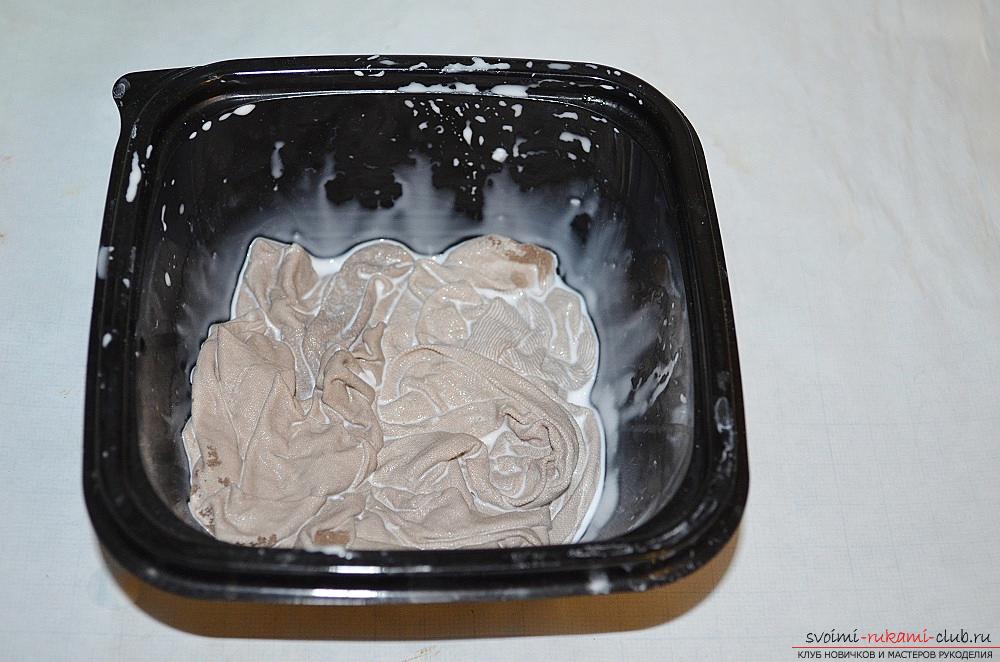
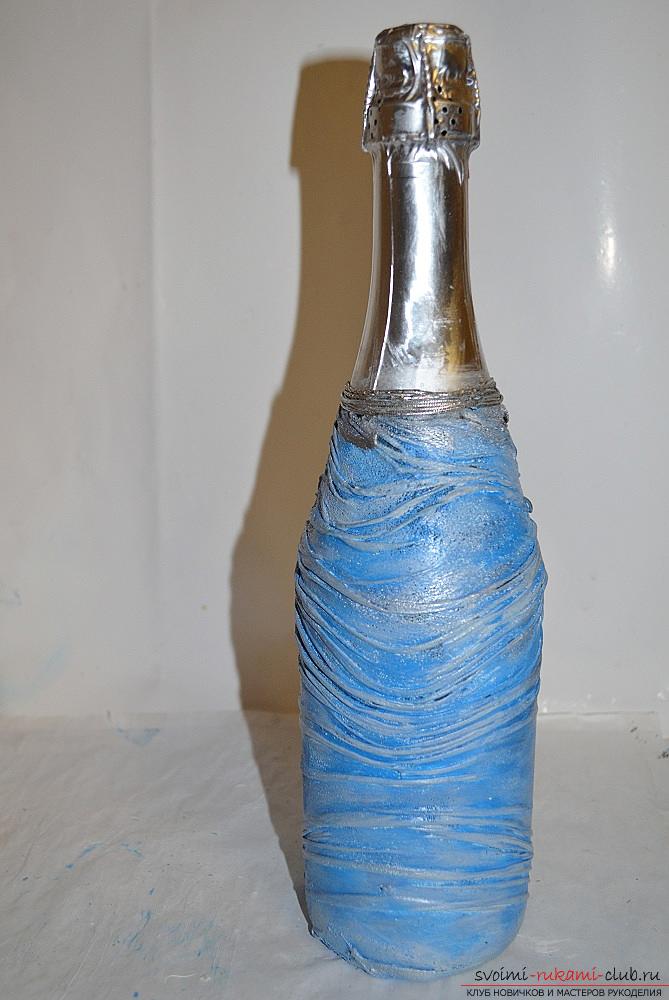
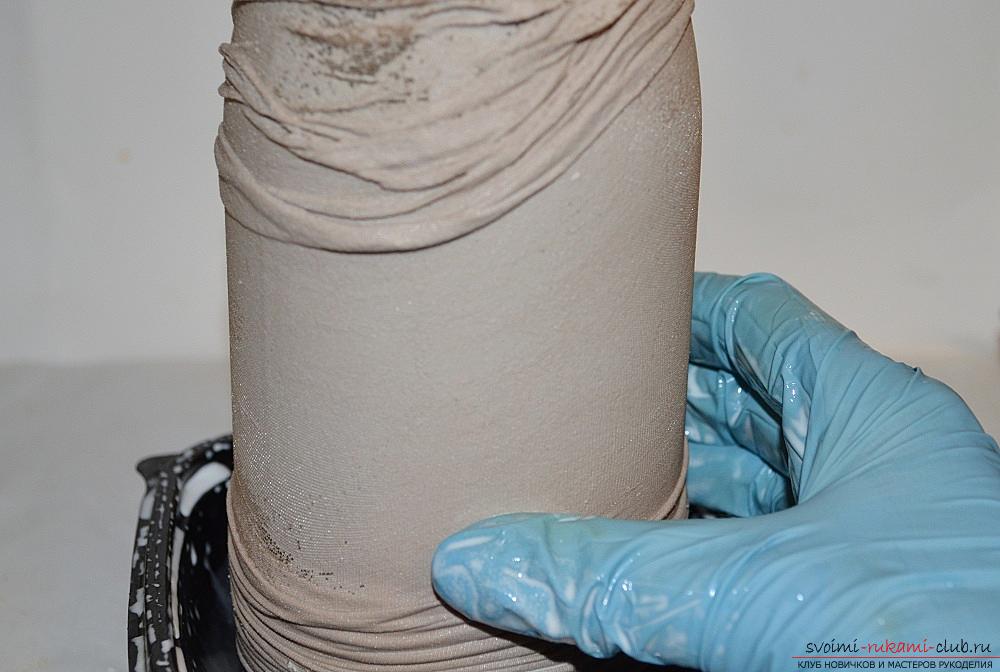 We put the stocking on the bottle from the bottom up,so that part of the fabric draped, and leaving in one place a smooth surface for decoupage. Leave to dry for a long time. The fabric dries a long time.
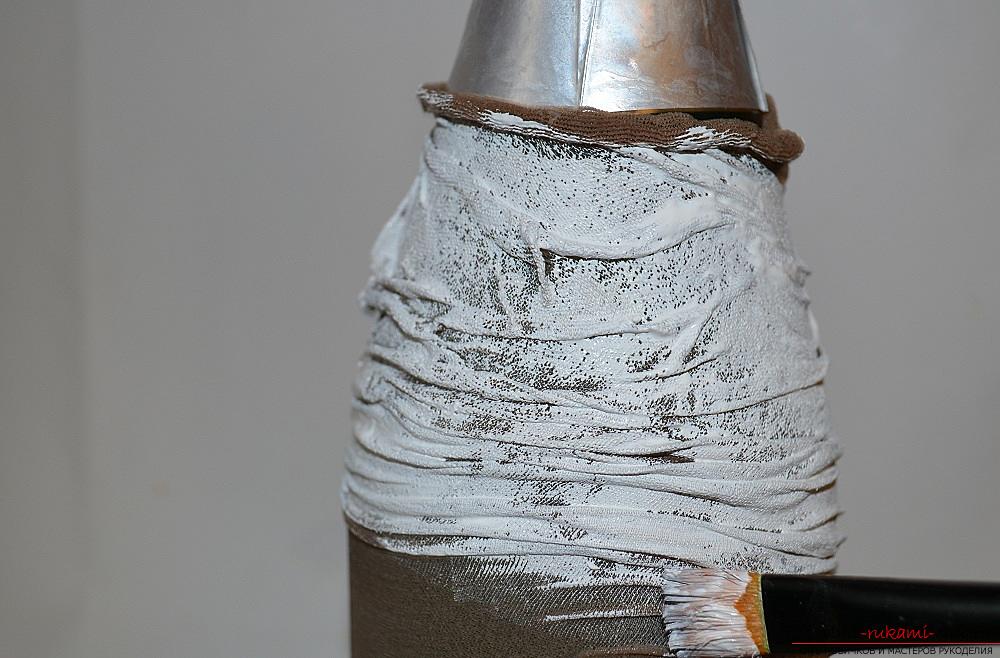
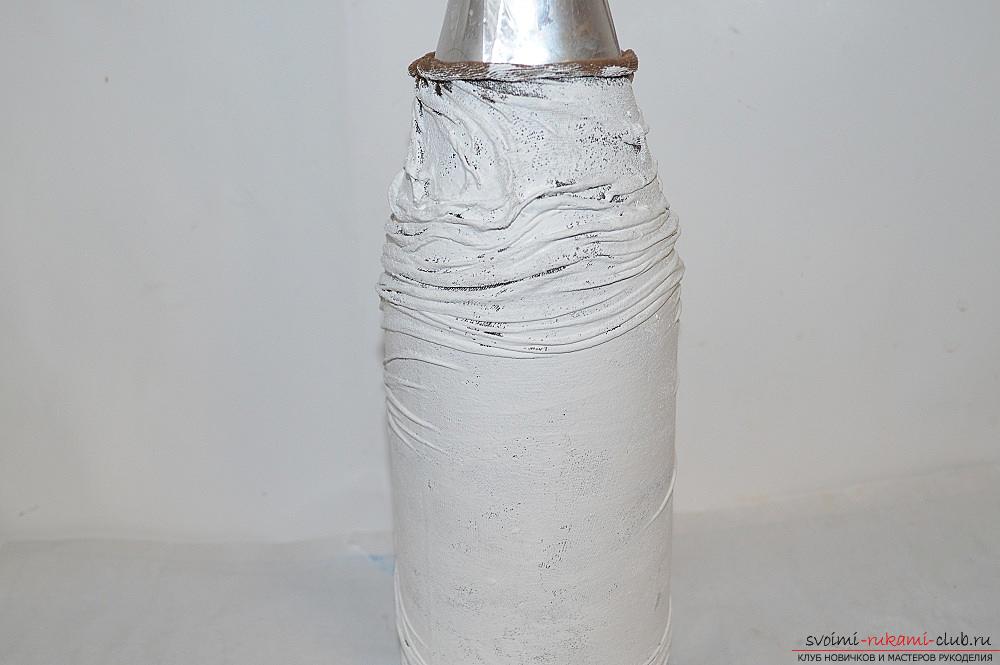
  We paint the whole surface with white paint. We dry.
 Tear out the piece of napkin we need. Separate the upper part of it and put it on a file, abundantly sprinkled with water, so that the napkin is wet.
 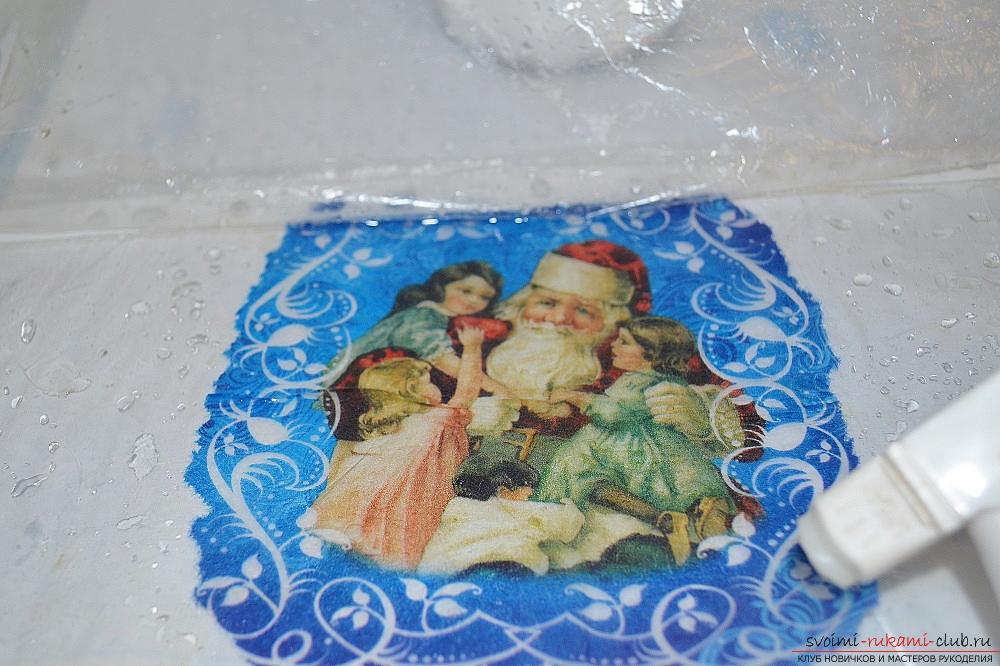 We spread the fragment on the file and transfer it to thebottle together with the file, press it down, smooth it, so that it snug against the surface of the bottle. The file is removed, but not sharply and not upwards, but parallel to the bottle.
 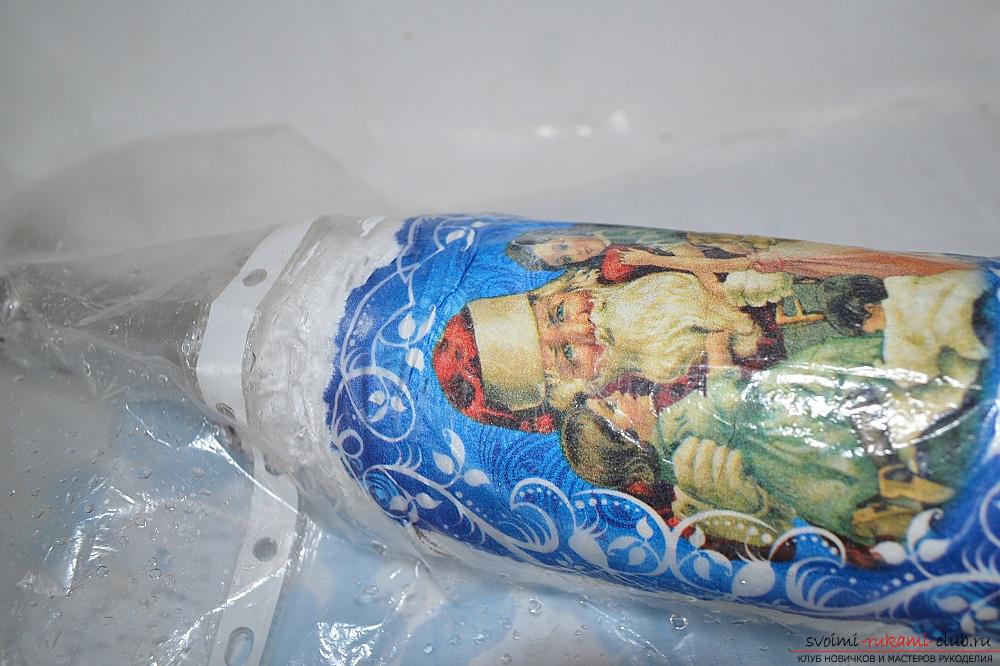 Lubricate with PVA glue. We dry.
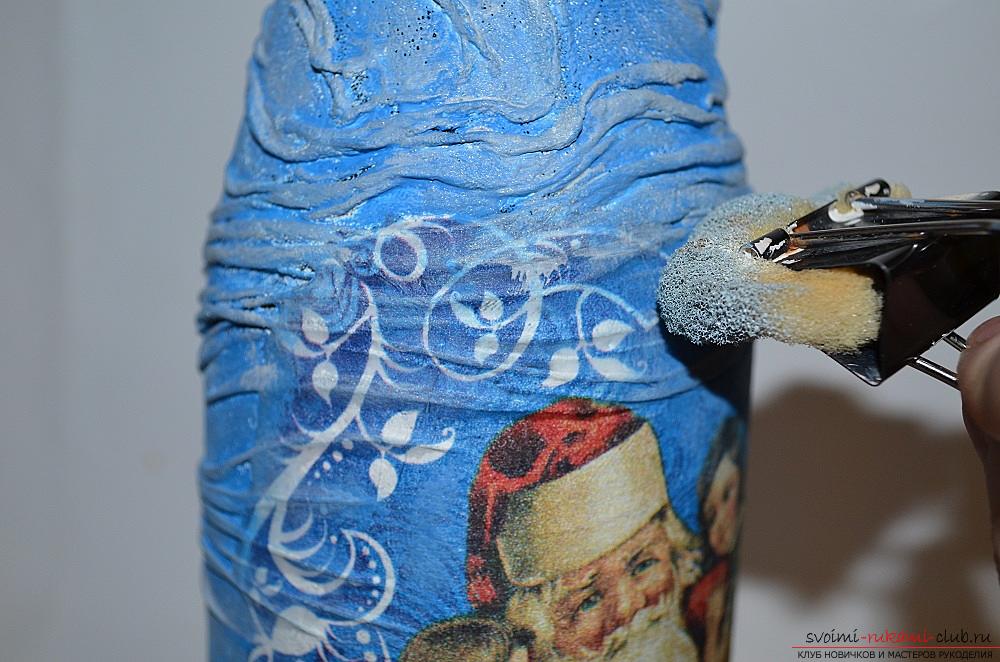
 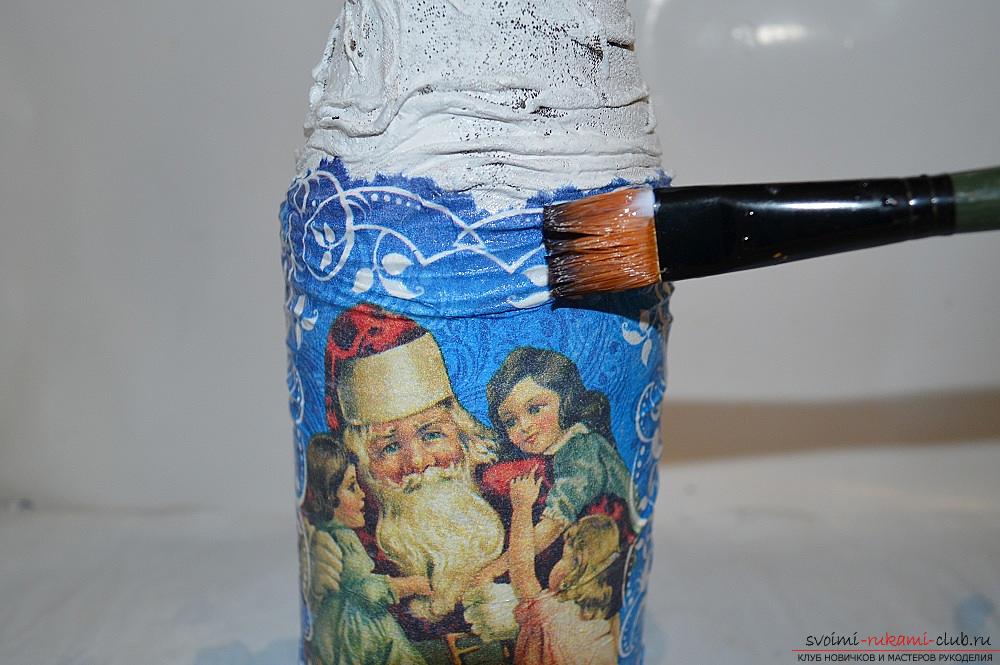 We paint the general background of the bottle. We select, starting with light tones, moving to the darker ones. Dry it.
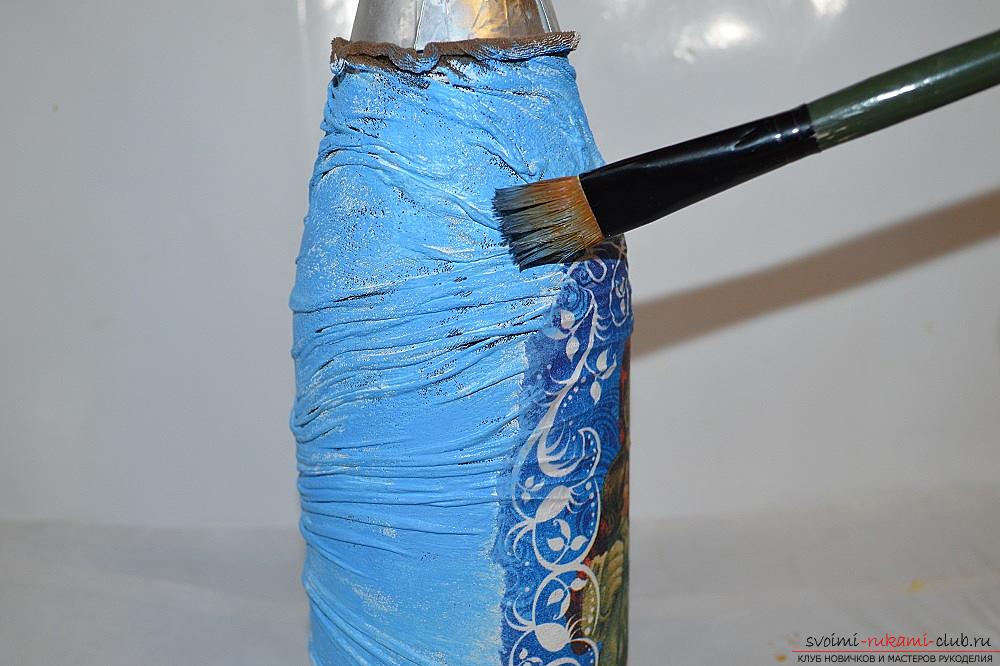
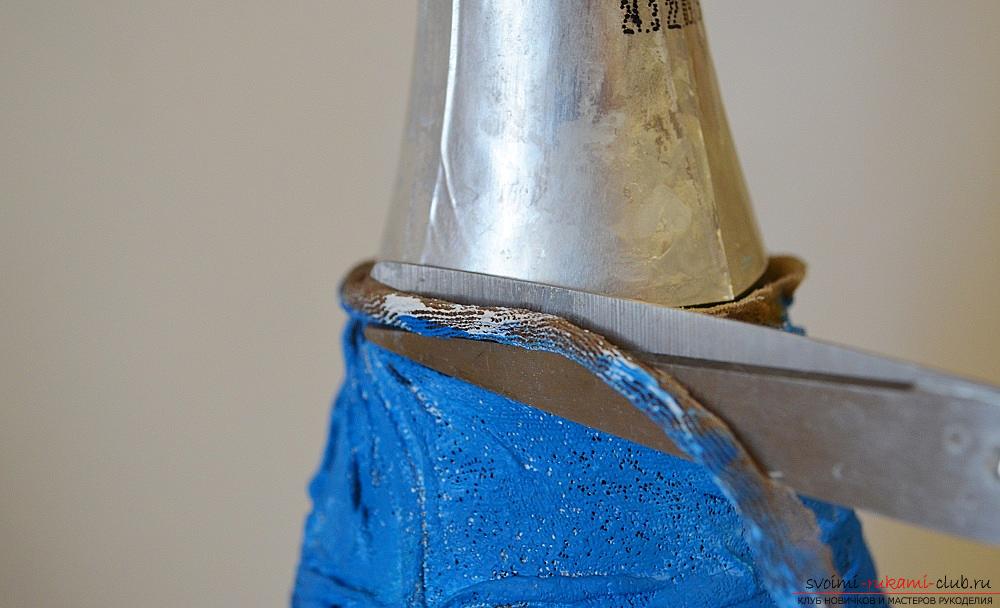
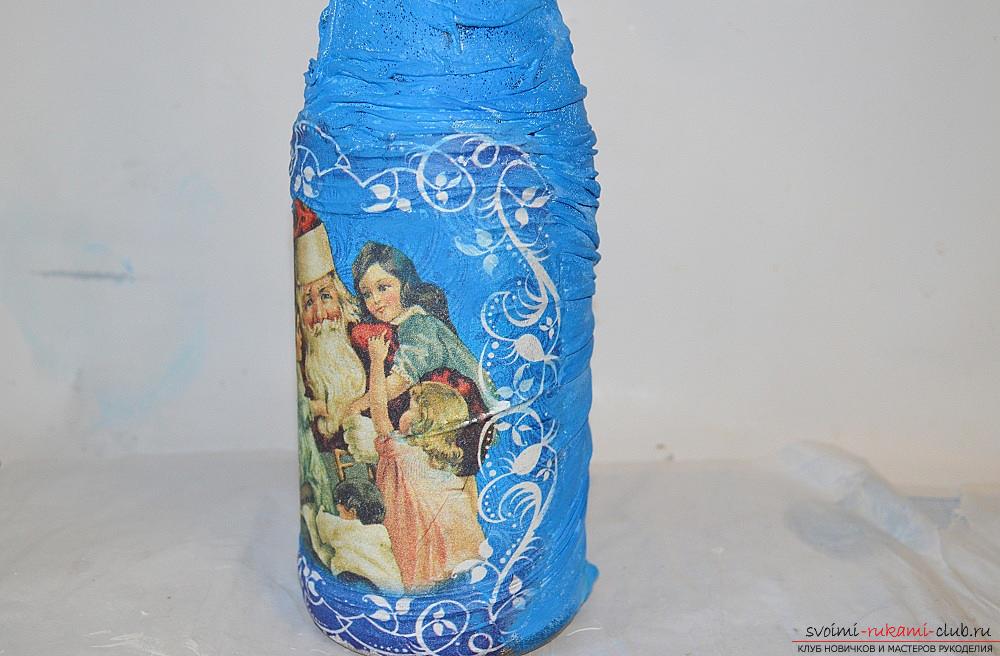 We process the top part of the bottle, cut off excess fabric, aligning the joint line.
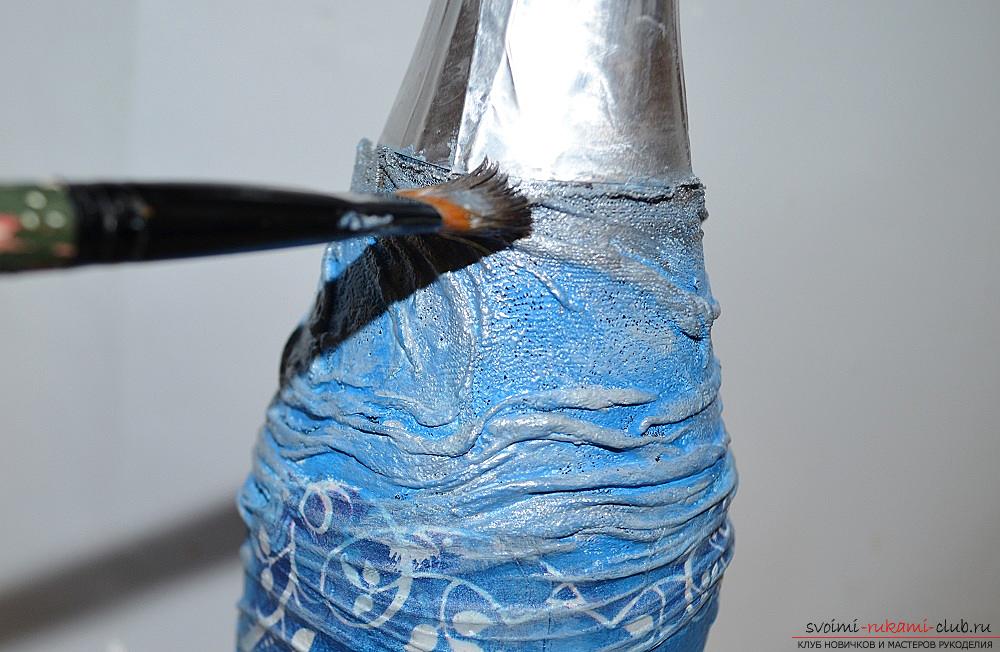
  Tone the drapery with silver paint, also touch up the processed joint.
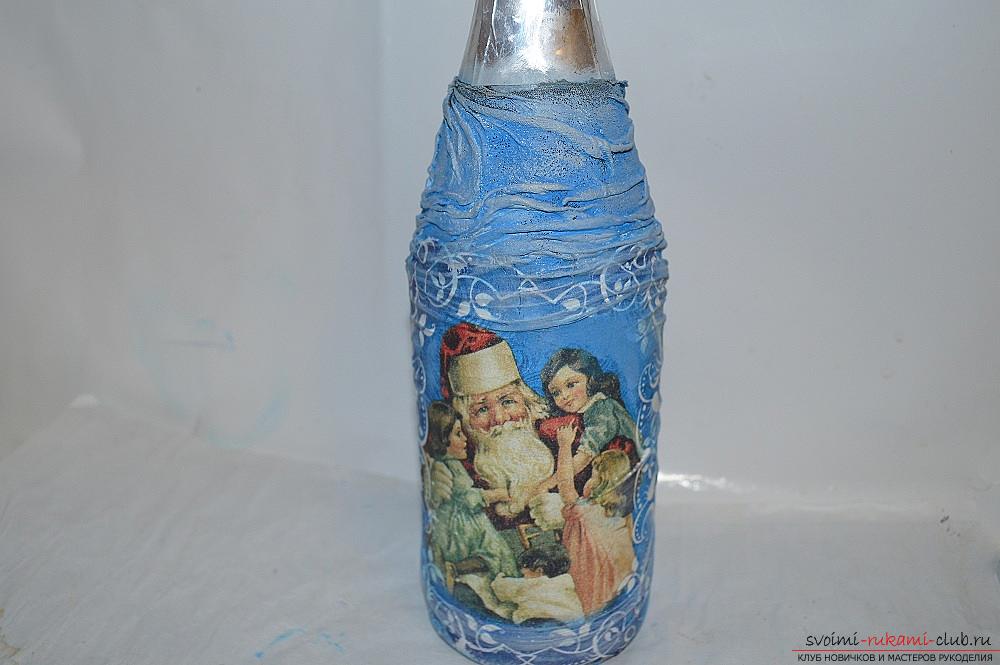
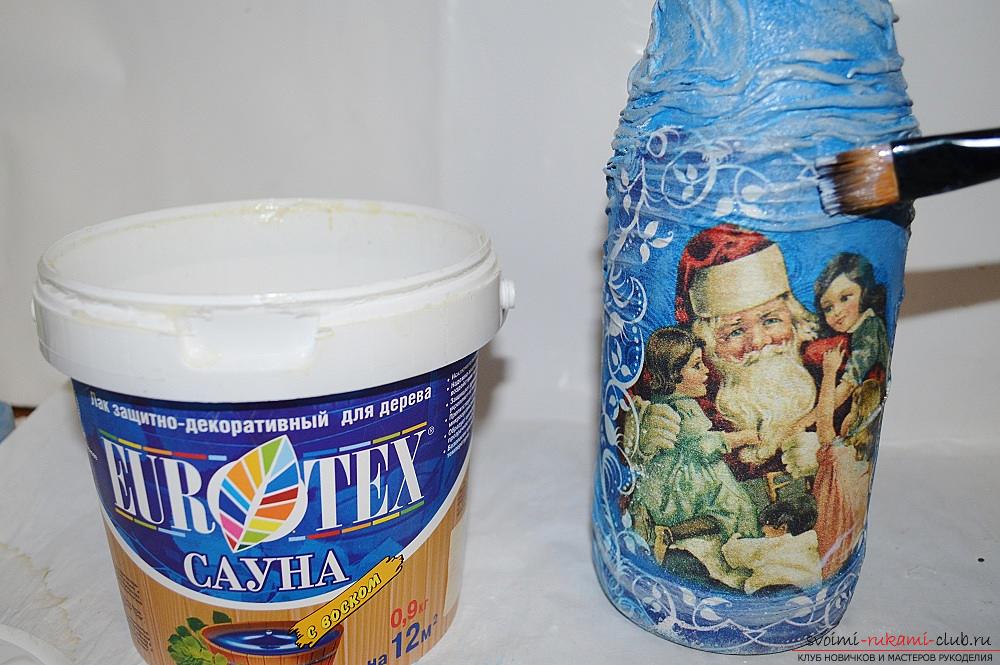
 As soon as the paint dries, we fix all the work with varnish.
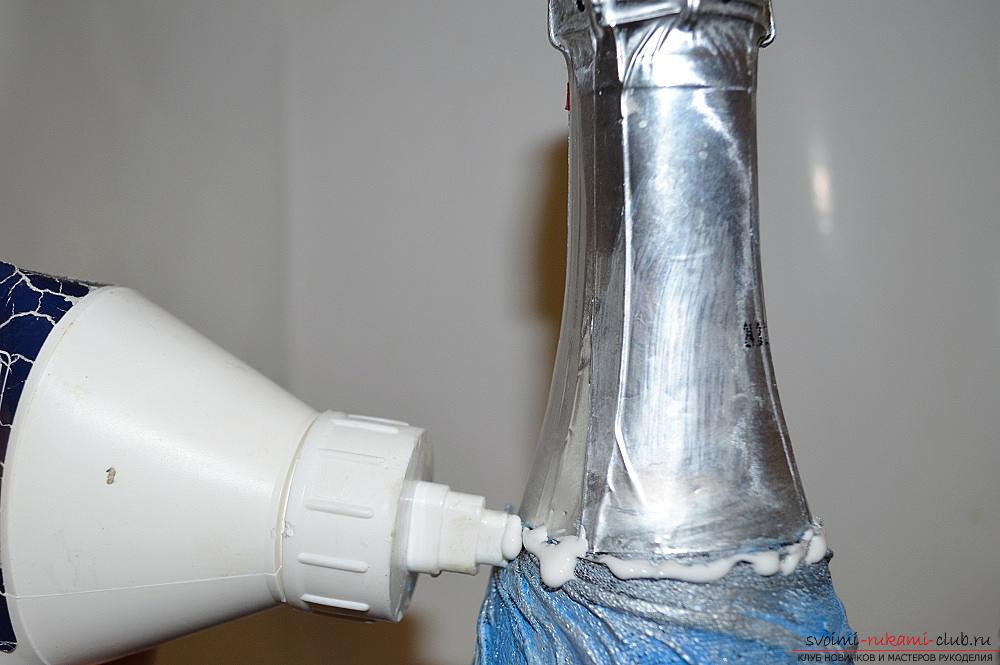
  The final step is to glue the joint on the neck of the bottle with glue and adhere the decorative cord.
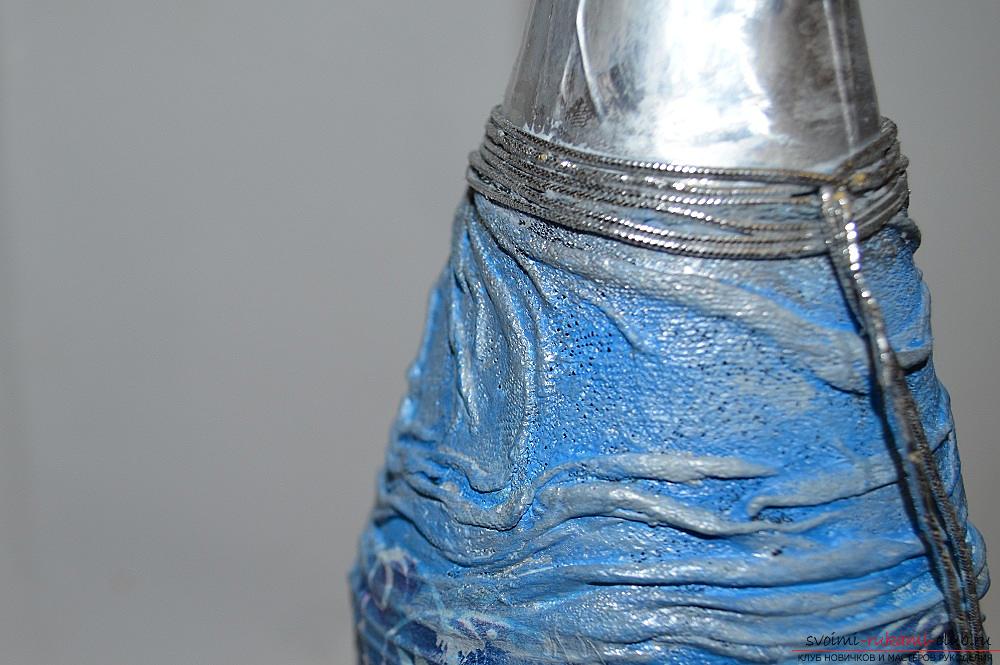 The bottle is ready, a beautiful author's gift.