
A lesson for beginners in creating hairpins with a flower of ribbons with round petals in Kansas technique
Fashion for satin flowers came to our countryrelatively recently, but already many craftsmen are not inferior in technique to the Japanese and Chinese, who stood at the origins of the Kansas technique. In this area of mastery, two kinds of petals are traditionally used: round and sharp, other interpretations appeared on their basis or were invented relatively recently. 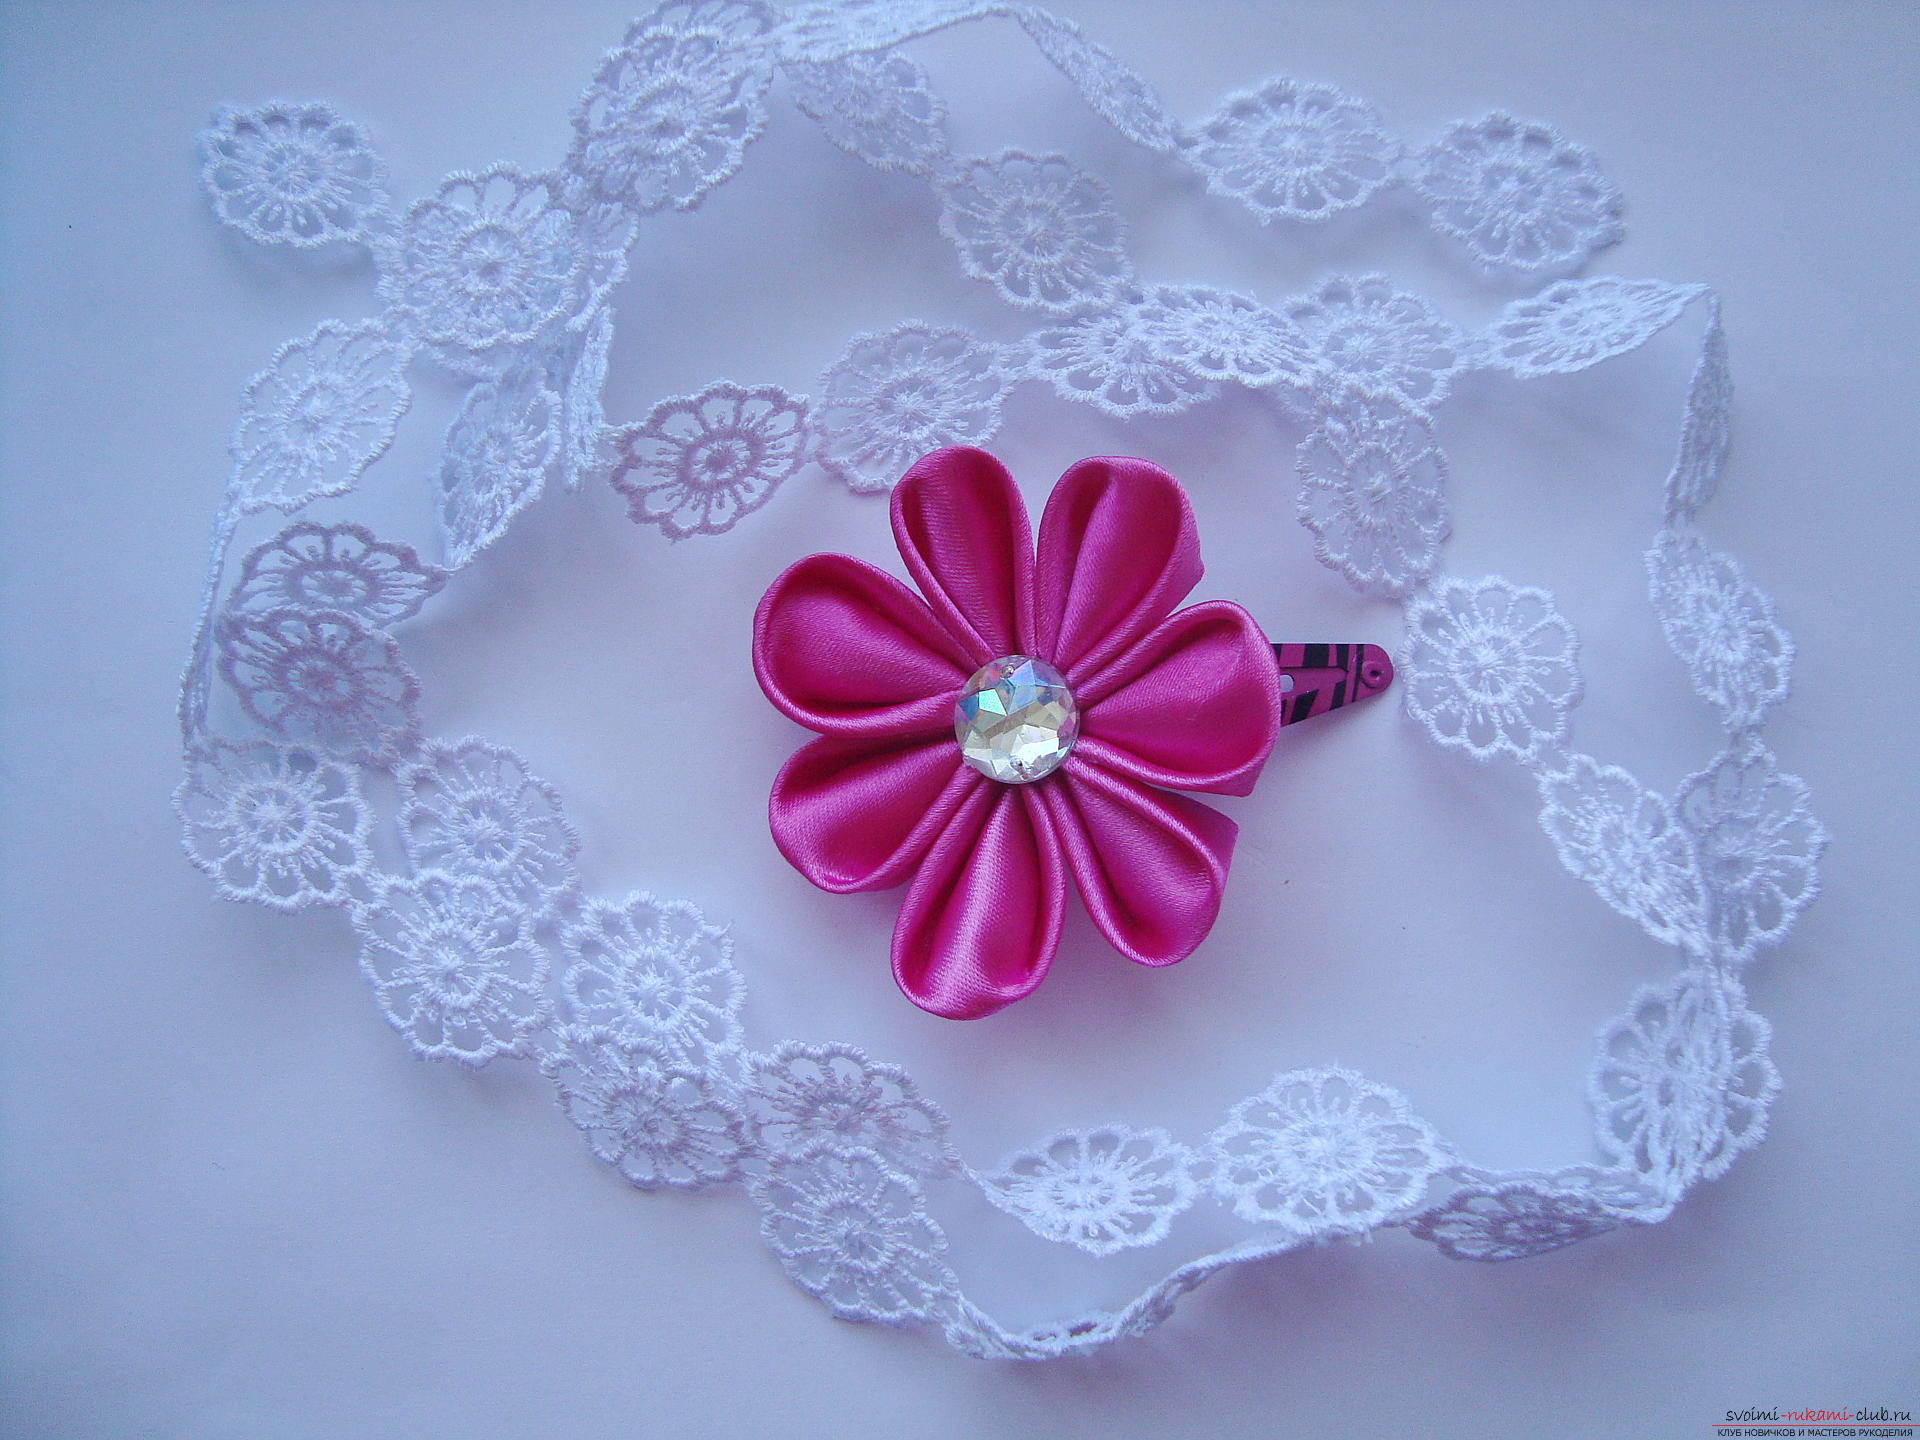 To learn how to make flowers from tapes and clothsit is necessary to master the technique of creating at least one kind of petals, and later, using different colors and textures of tapes, you can create an infinite number of products. This master class describes in detail how to create Kanzash round lobes and collect from them a cute flower that will decorate the hairpin.
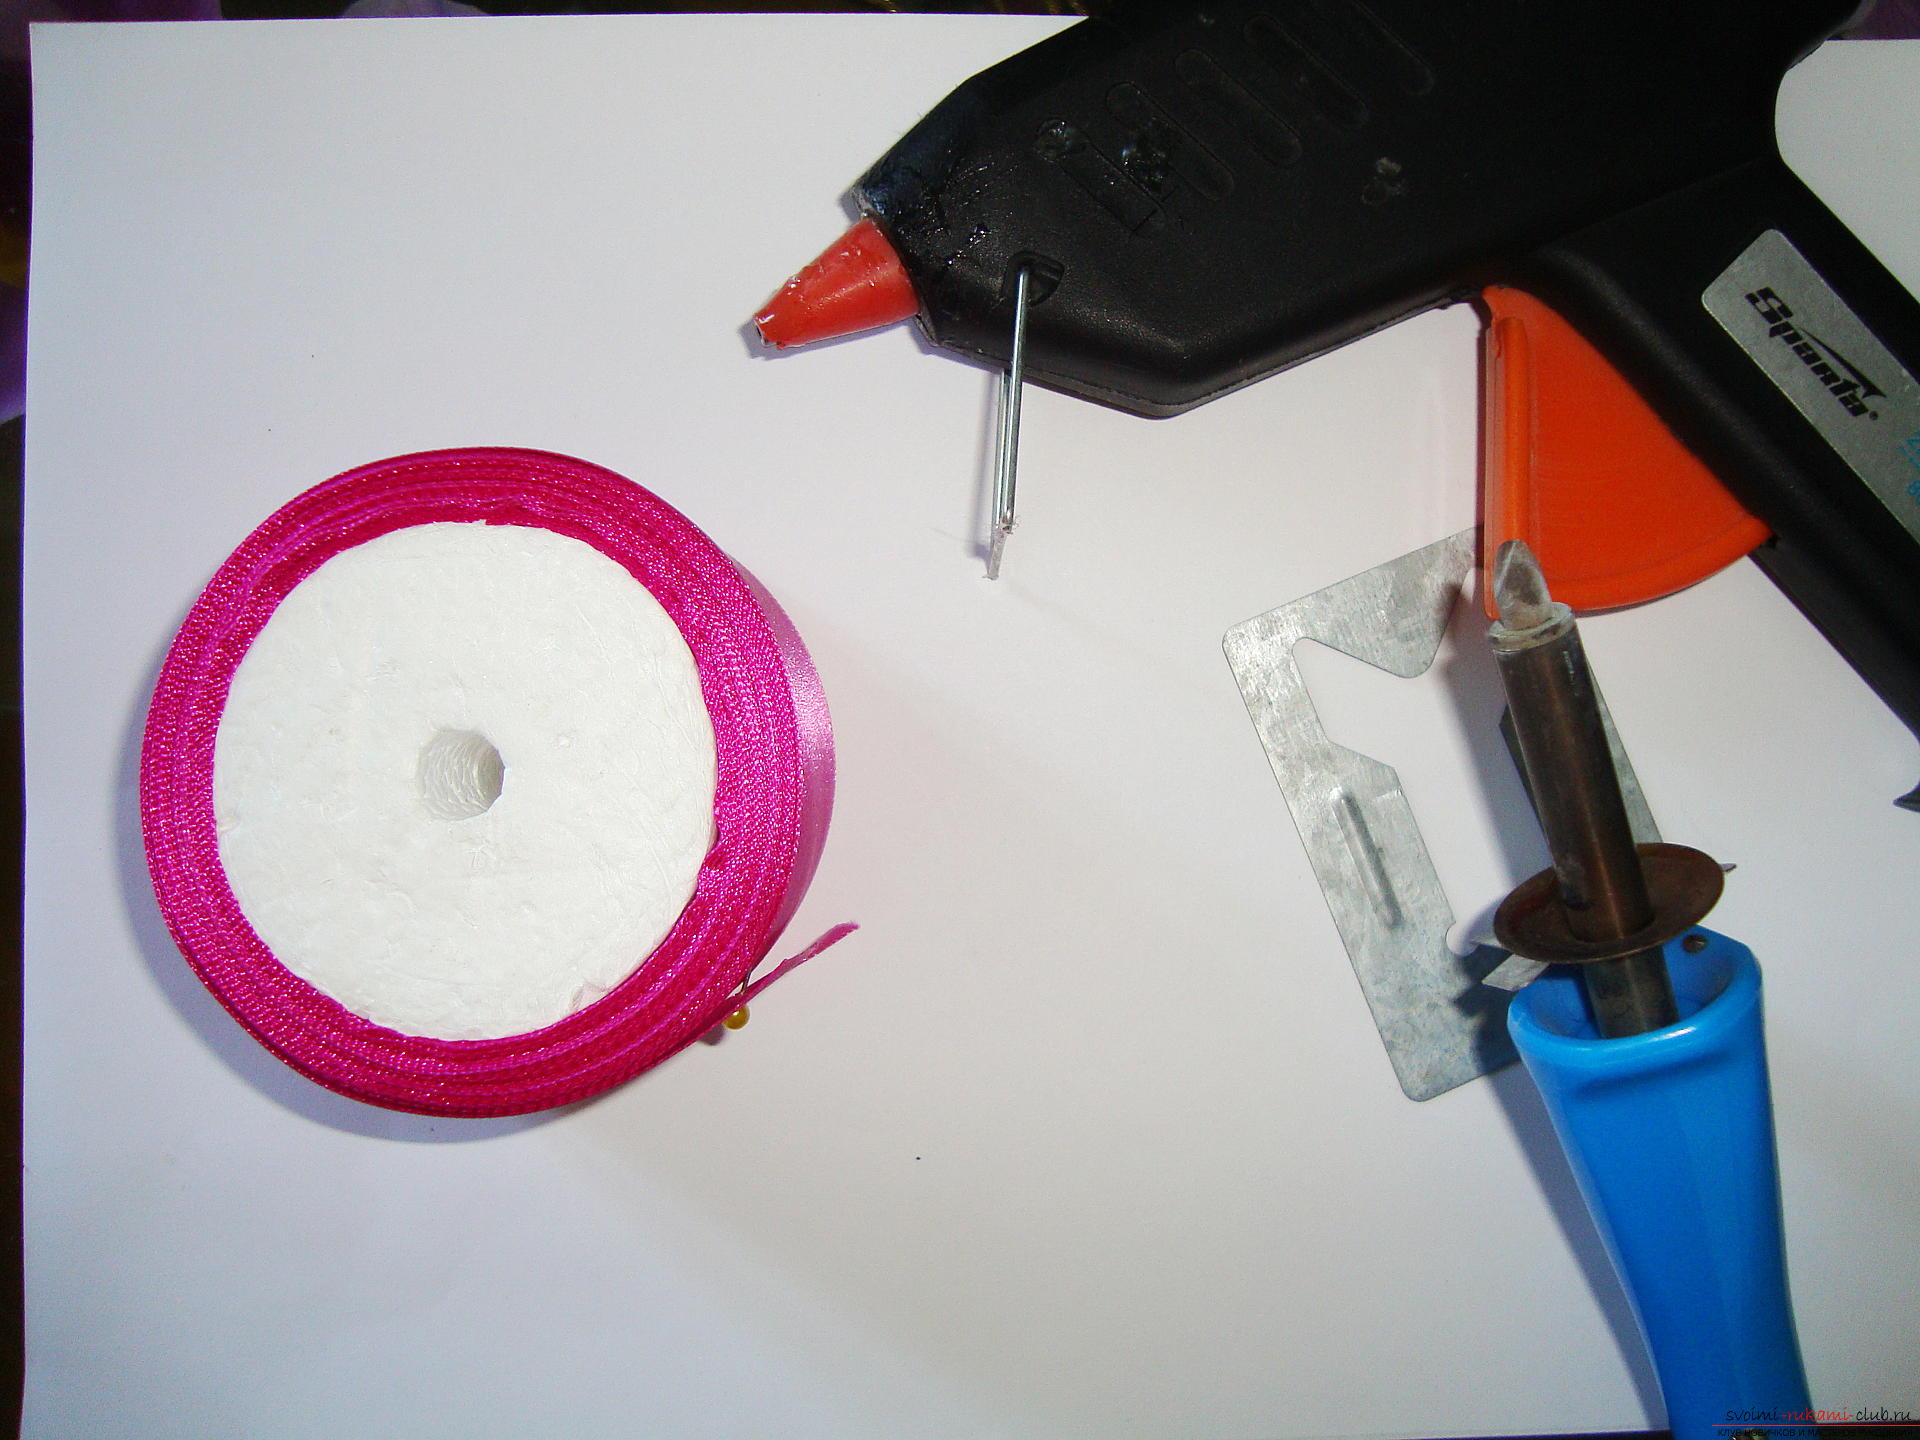
In order to create a hairpin with a flower Kanzash you will need:
Detailed study of all the stages of the work you can by viewing the video lesson
Stages of work
The first step is to select the color of the tape, fromwhich will create a flower. In one product you can combine several colors, but if you are first carried away by Kansas colors, it will be easier to choose one tone. The tape can be bright, pale, polka-dotted, that is, whatever you like is just to your liking. It is important to note that the width for the first work needs more, so the optimal stop on the choice of braid is 5 cm. 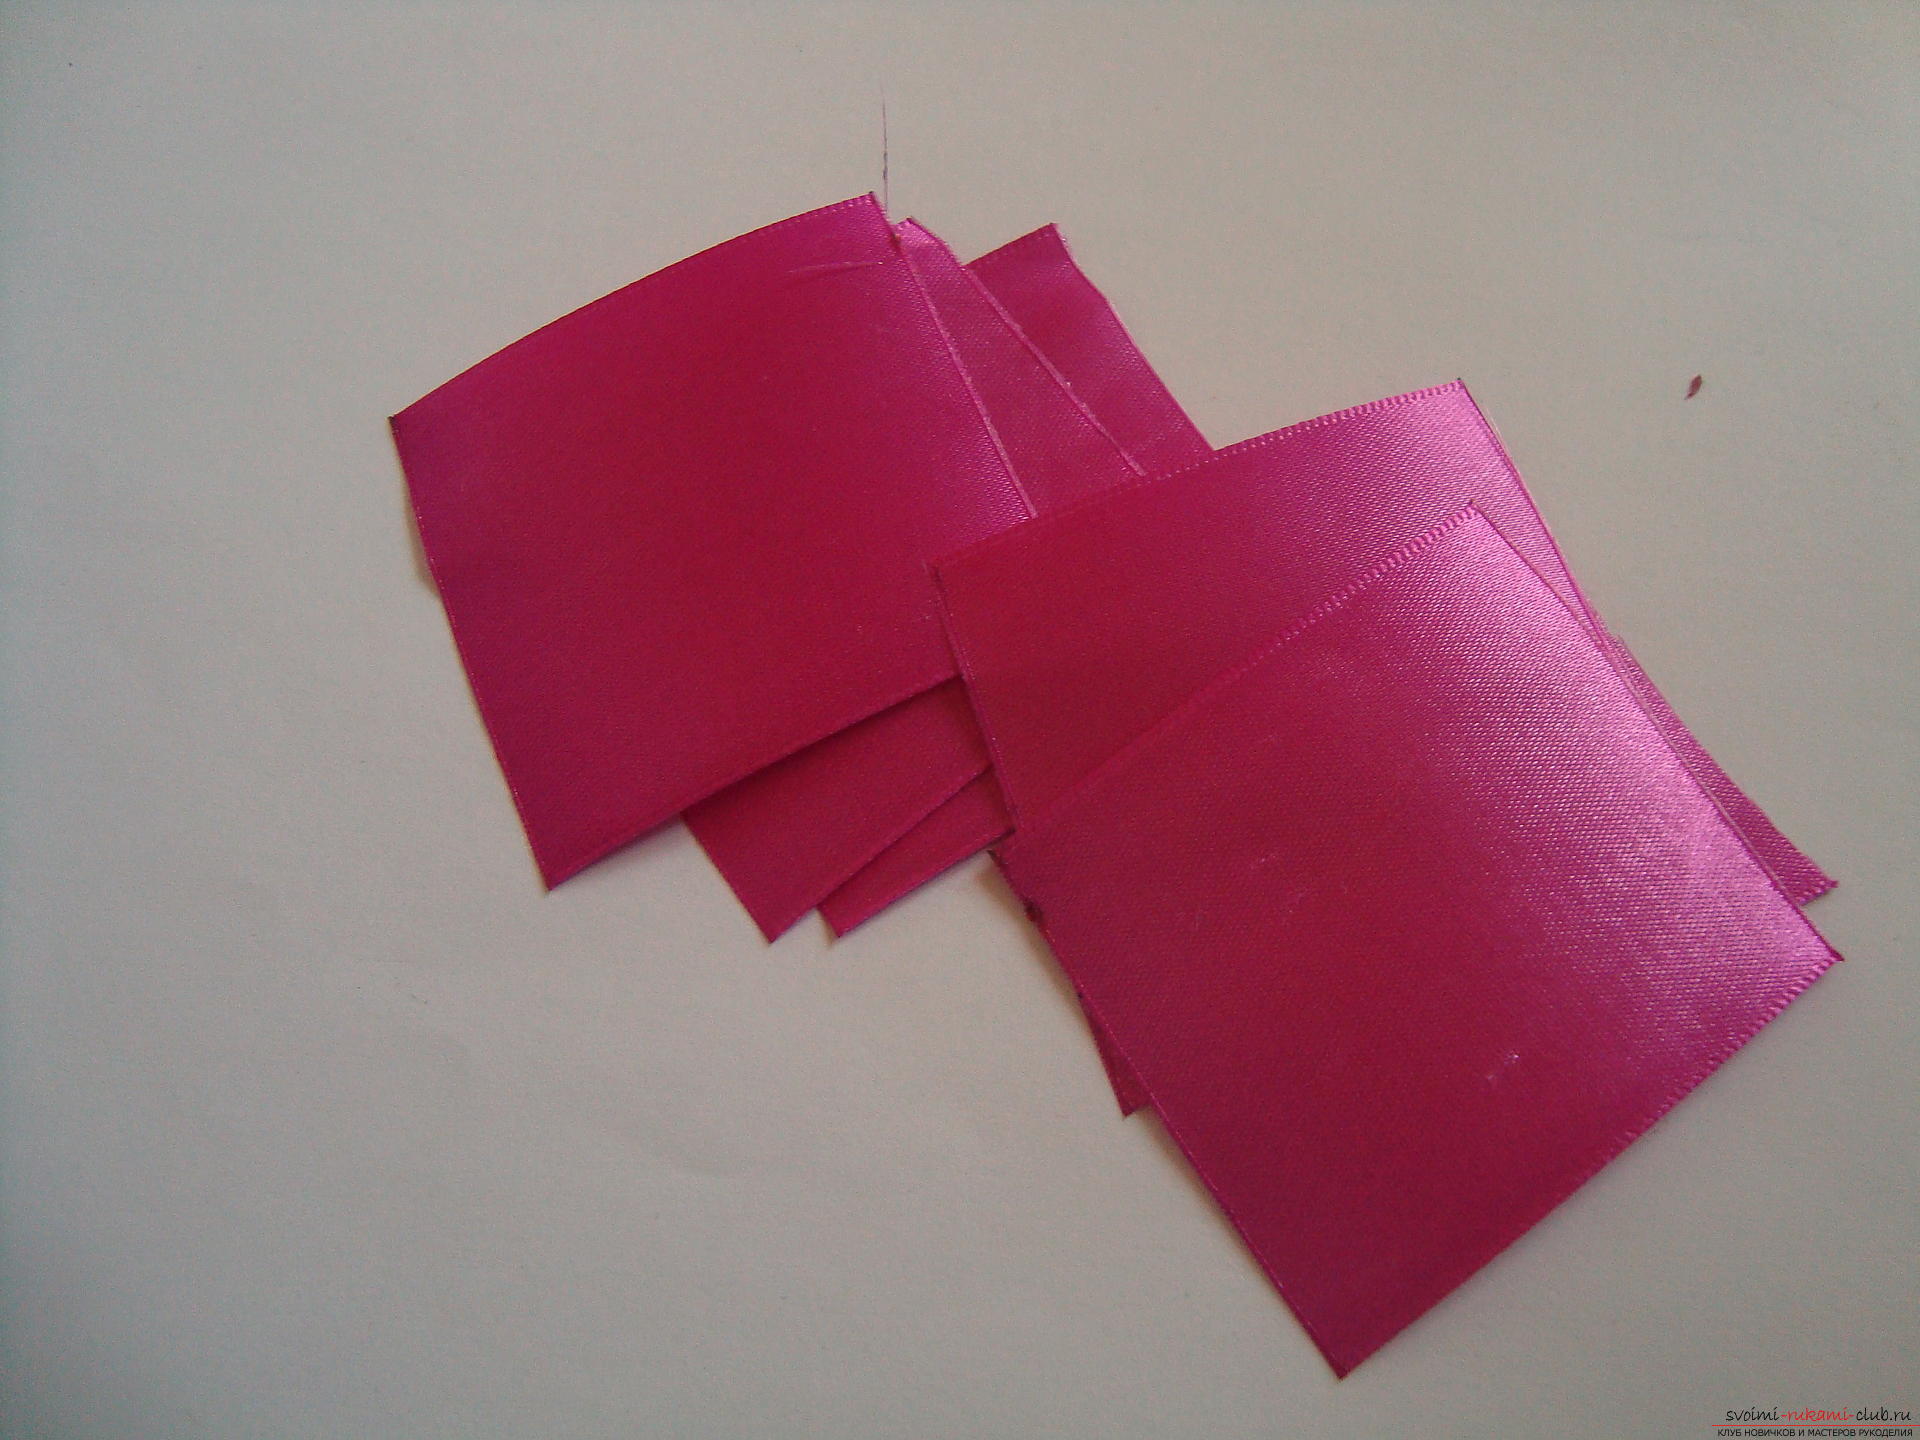 The next step is the preparation of cuts for the petals. Each element is created from a satin square with sides of 5 cm. To do this, cut the tape into 5 cm sections and burn the cut lines near the source of the flame so that they do not crumble during operation. You can use special tools to create workpieces, for example, to cut the satin with thermo-shears, then the edges will instantly melt, or take a ruler, apply it at the desired distance, and draw the cut lines by the burner along the tape. In total, seven blanks are needed. Now we proceed to the process of bending the workpiece. These actions need to be repeated carefully, observing not only the sequence of kinks, but also try not to shift the corners. The first bend is the easiest: you need to fold the workpiece along a diagonal oblique line.
 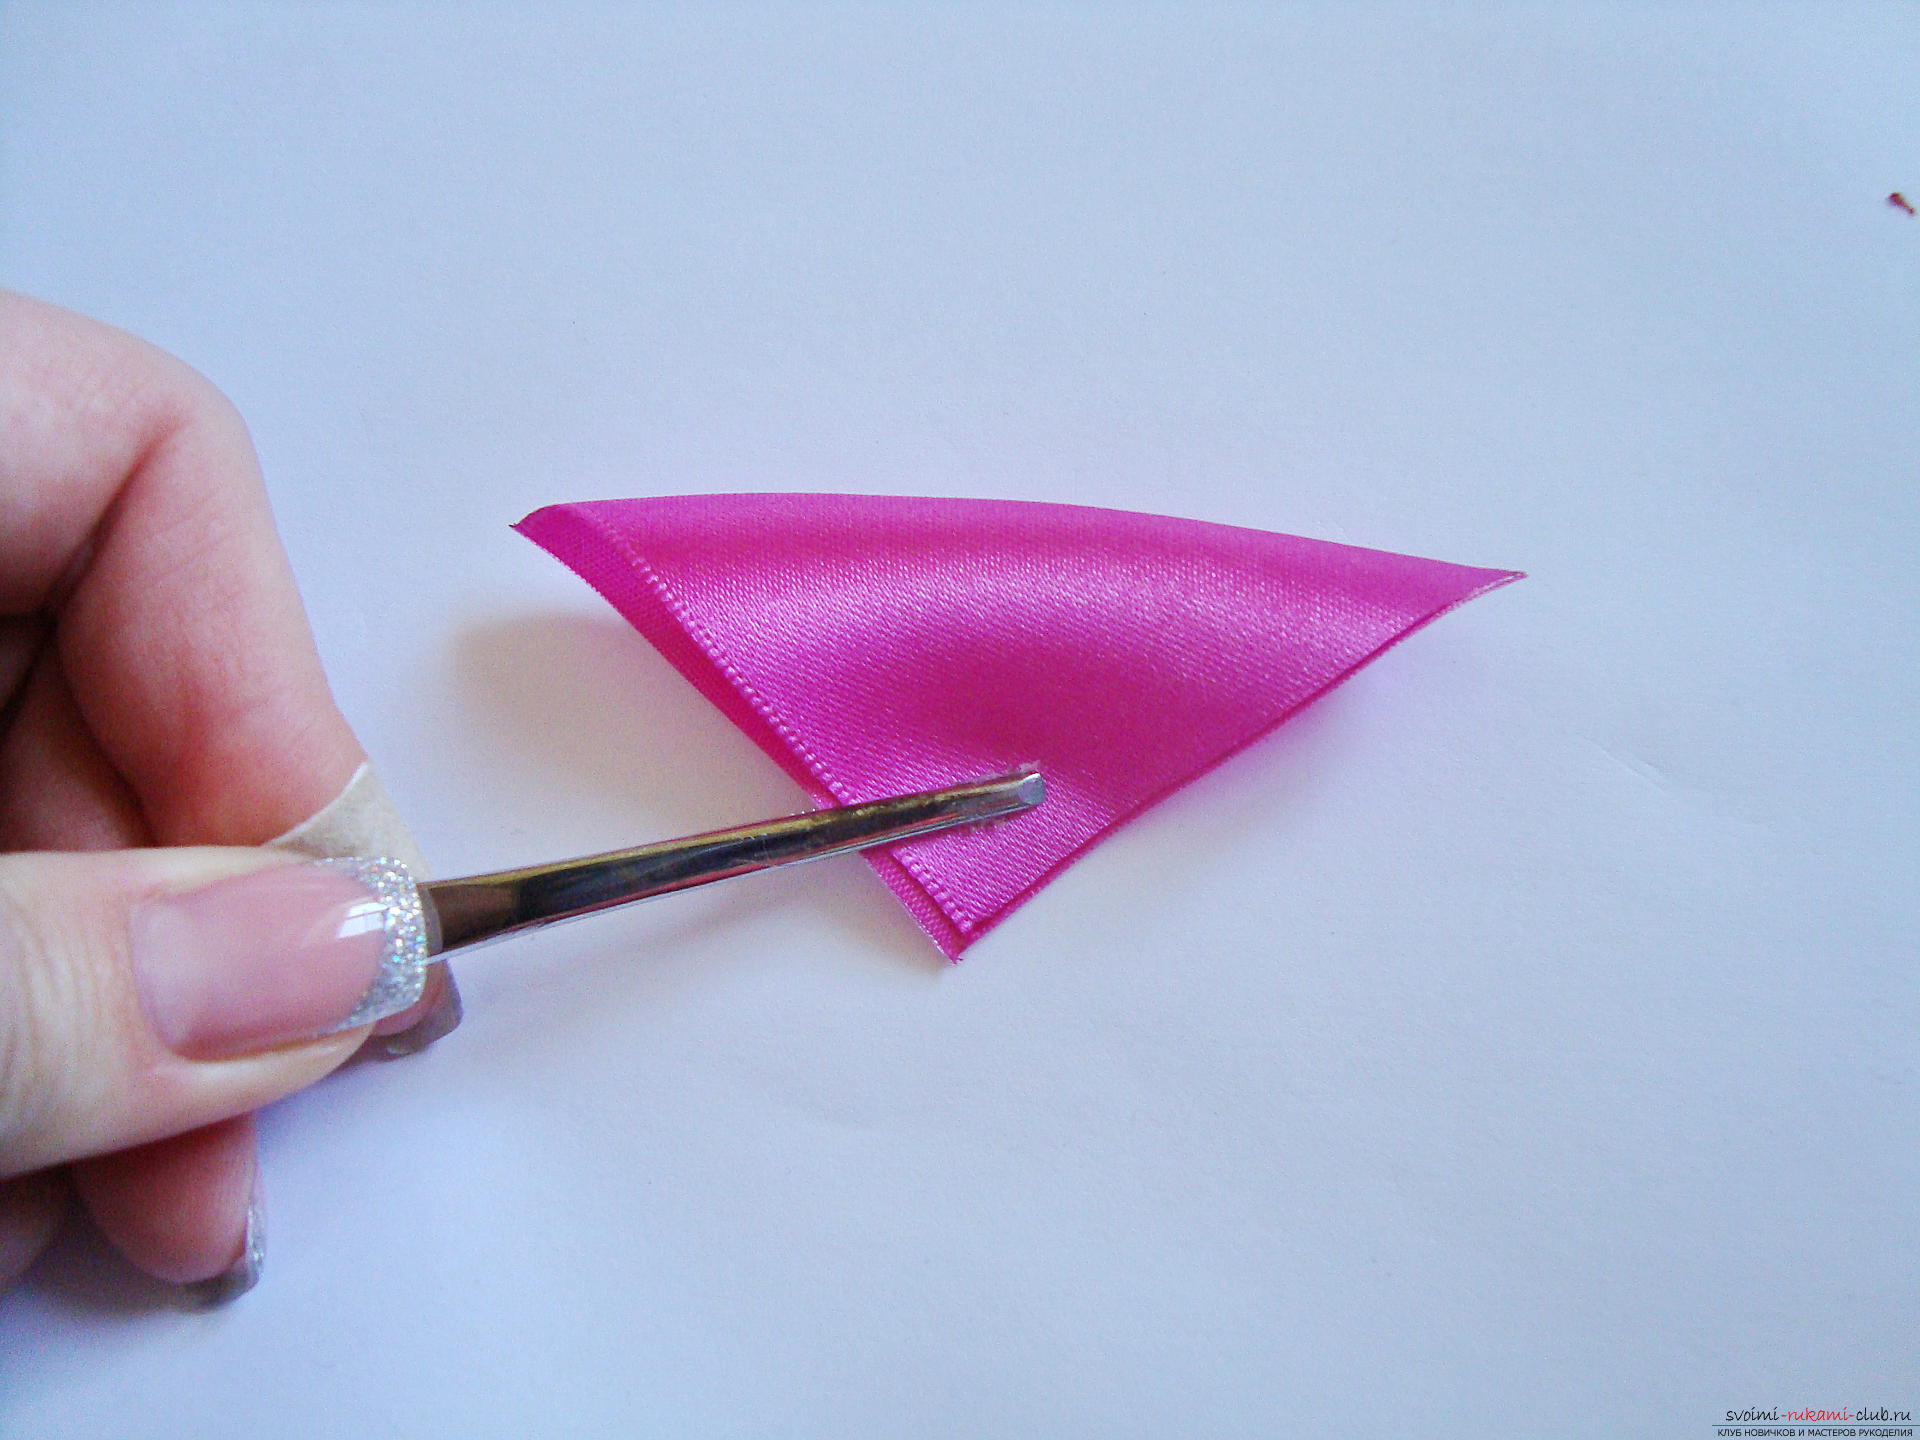 Further, it is necessary to press the edges of the workpiece tothe bottom right corner (the detail is more convenient to have the first fold up, so that there are two right angles at the bottom). First, one edge is turned, then the other, but at the top there should be no pronounced right angle, so there should be a small distance between the two folded edges.
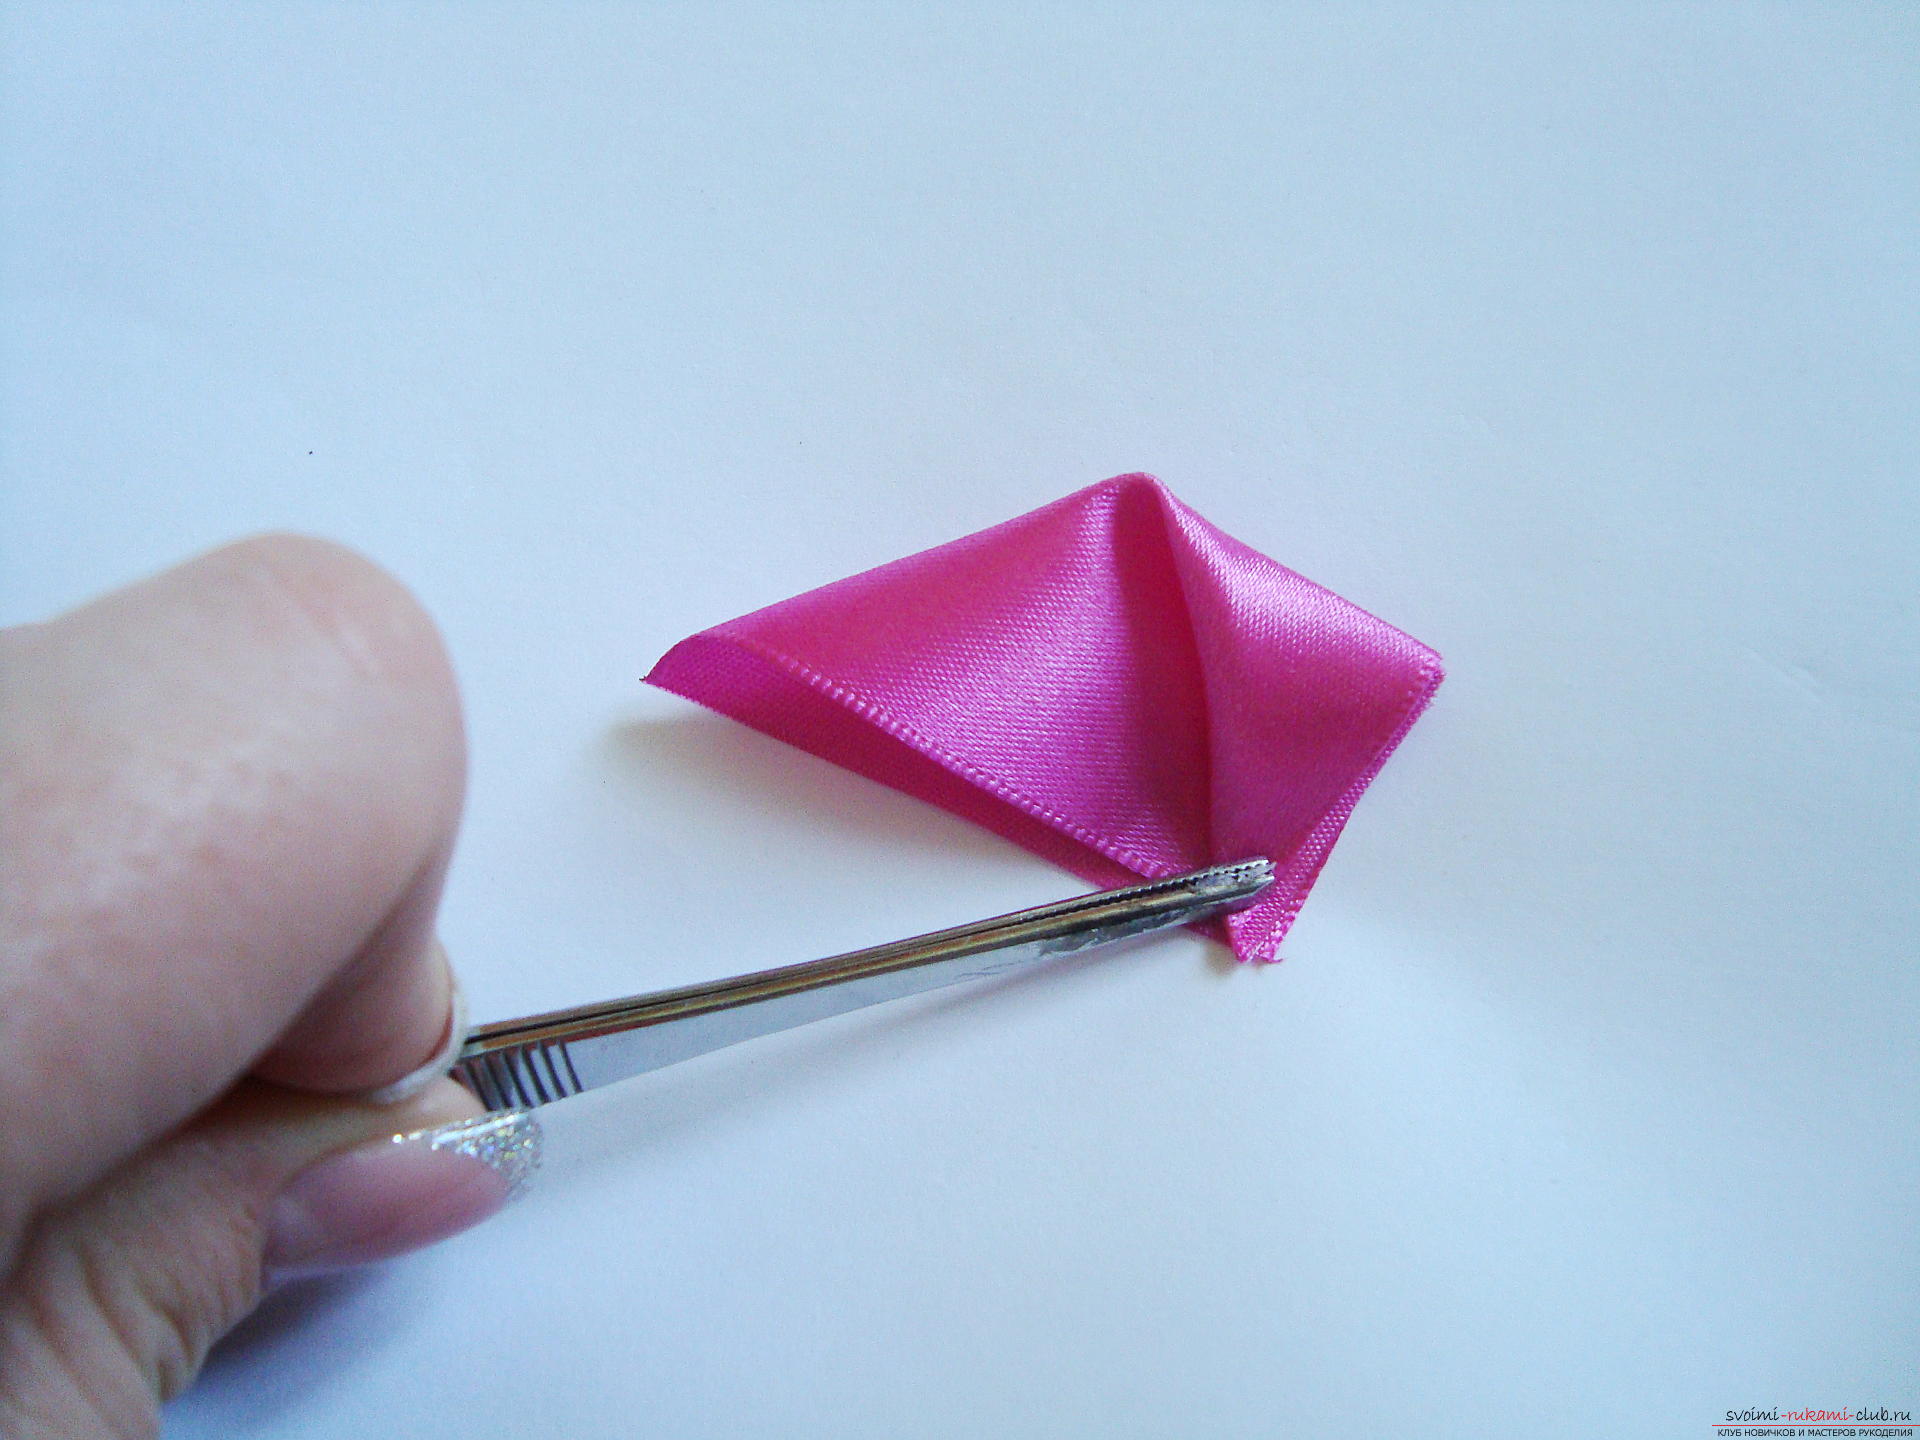
 The next step is to turn the formed part, so that the reverse side turns into a working one.
 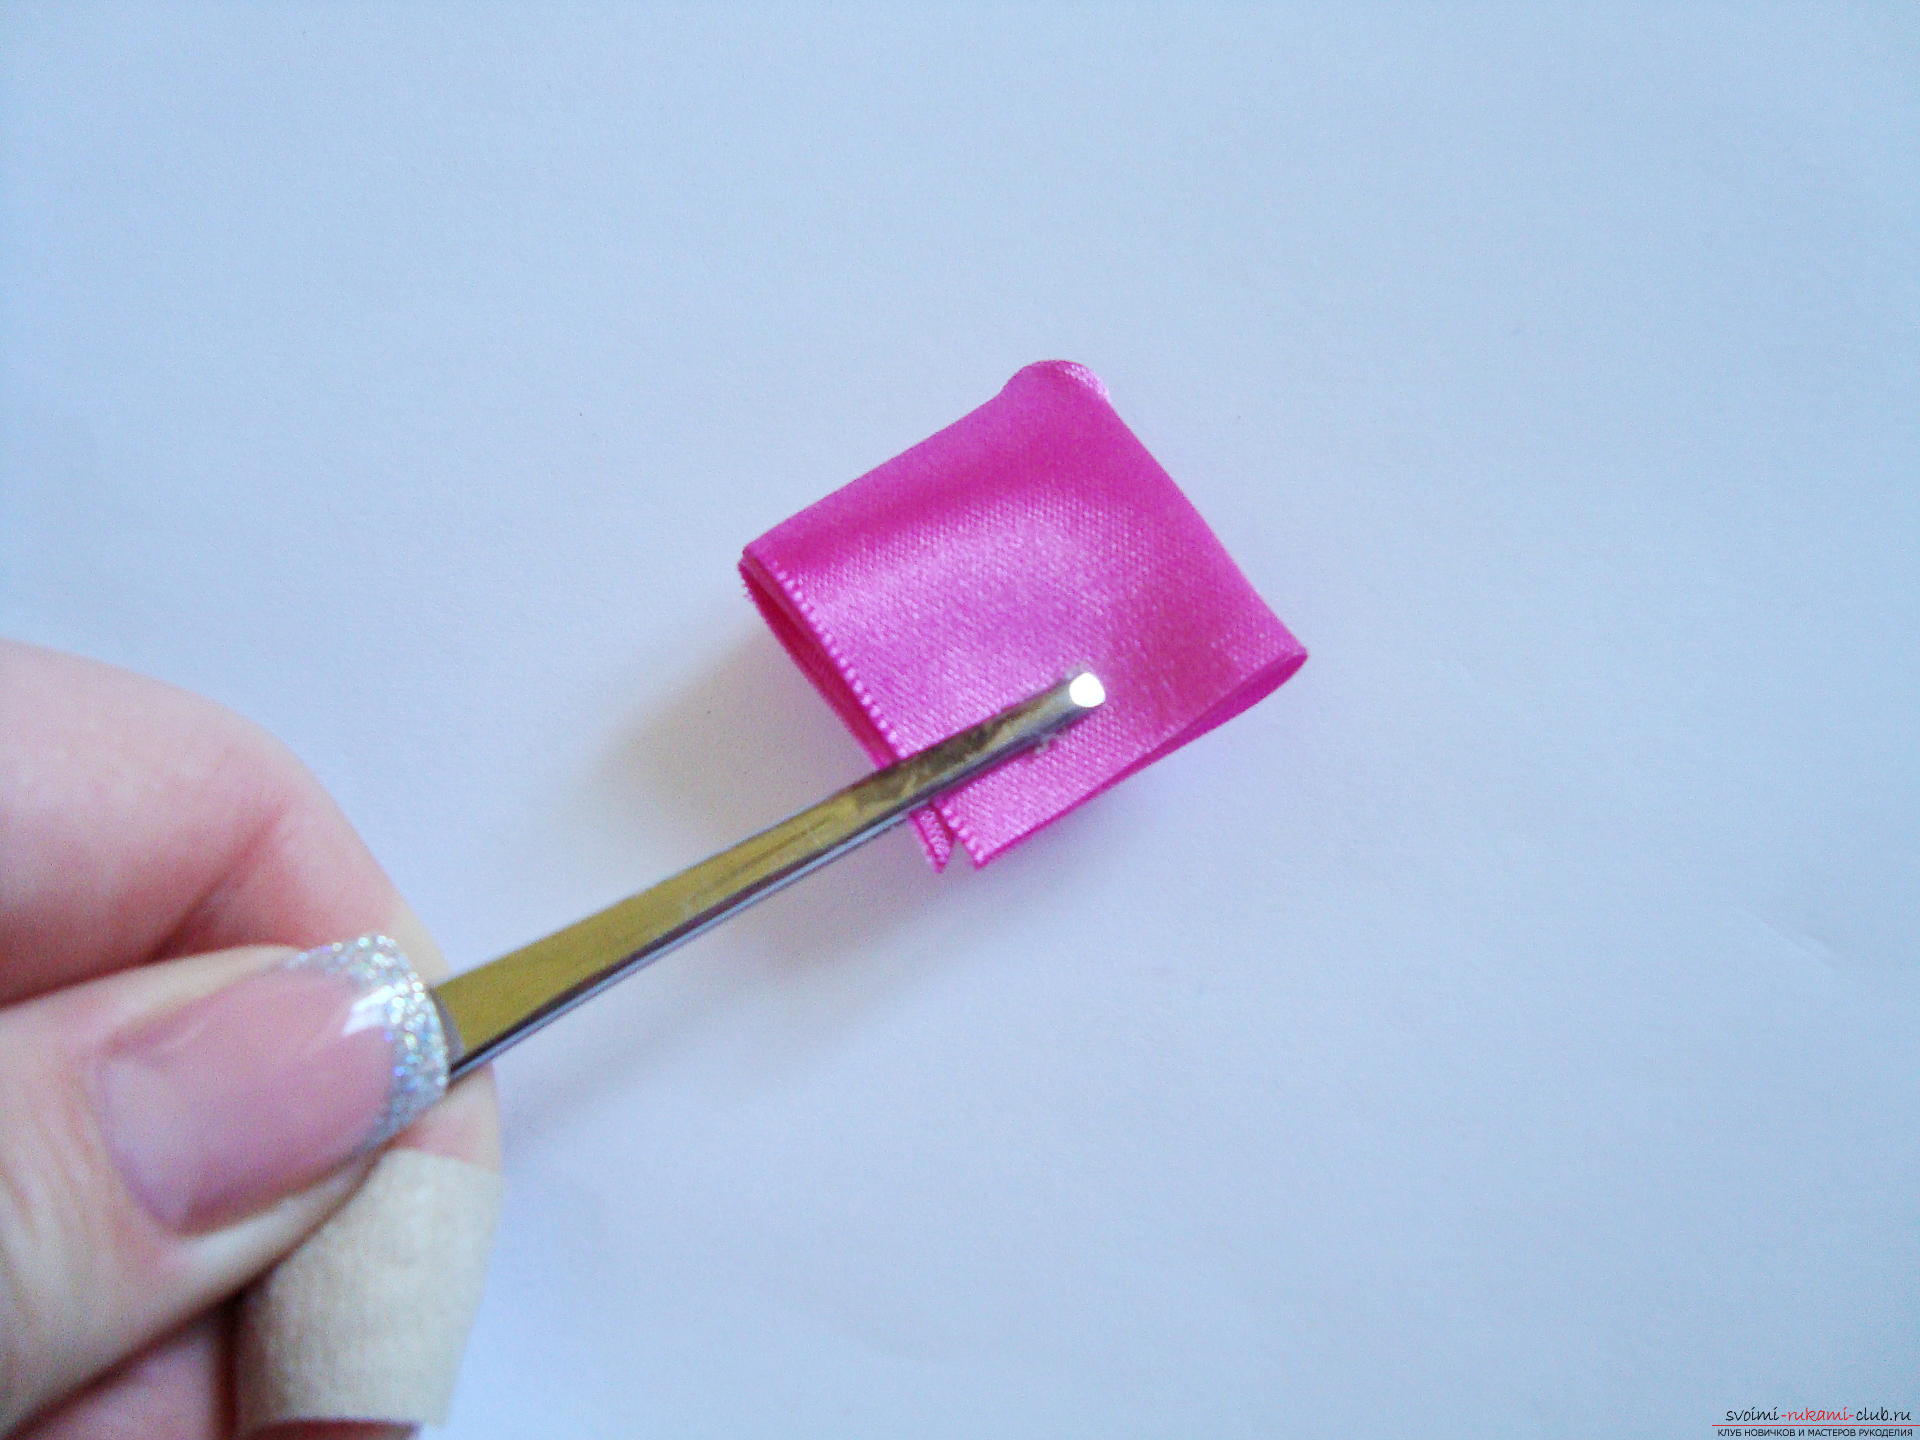 Now you need to bend the two opposite edges. The main thing is not to confuse the side: the angle that is not sharp, should look up, you need to bend the right and left corners. During the bends, the edge of the element is brought to the center line and there it is fixed. It is more convenient to bend first one side, and then another.
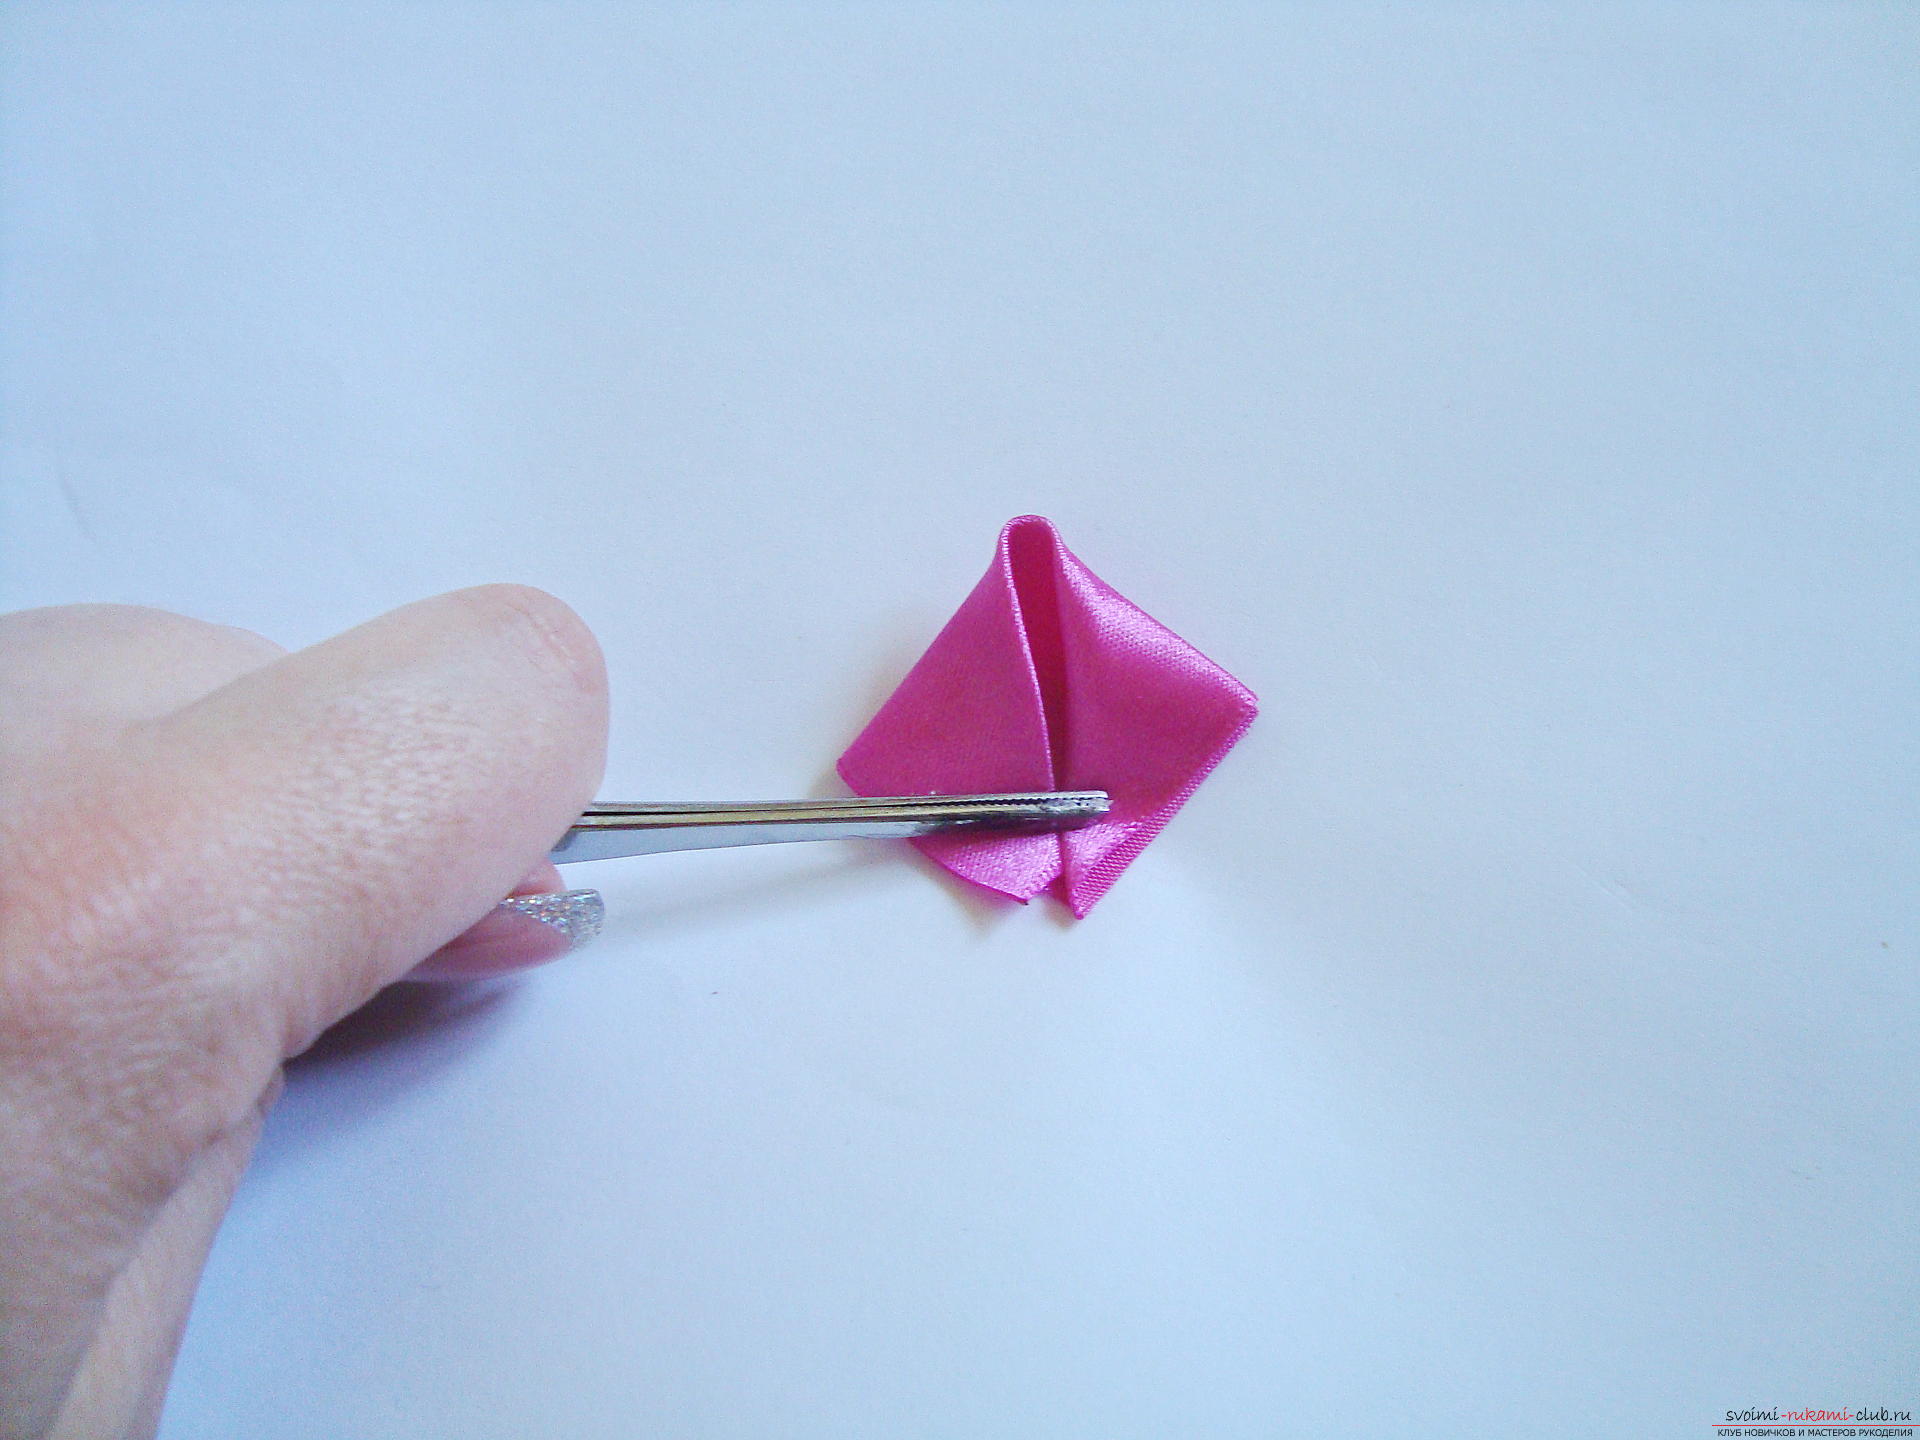
 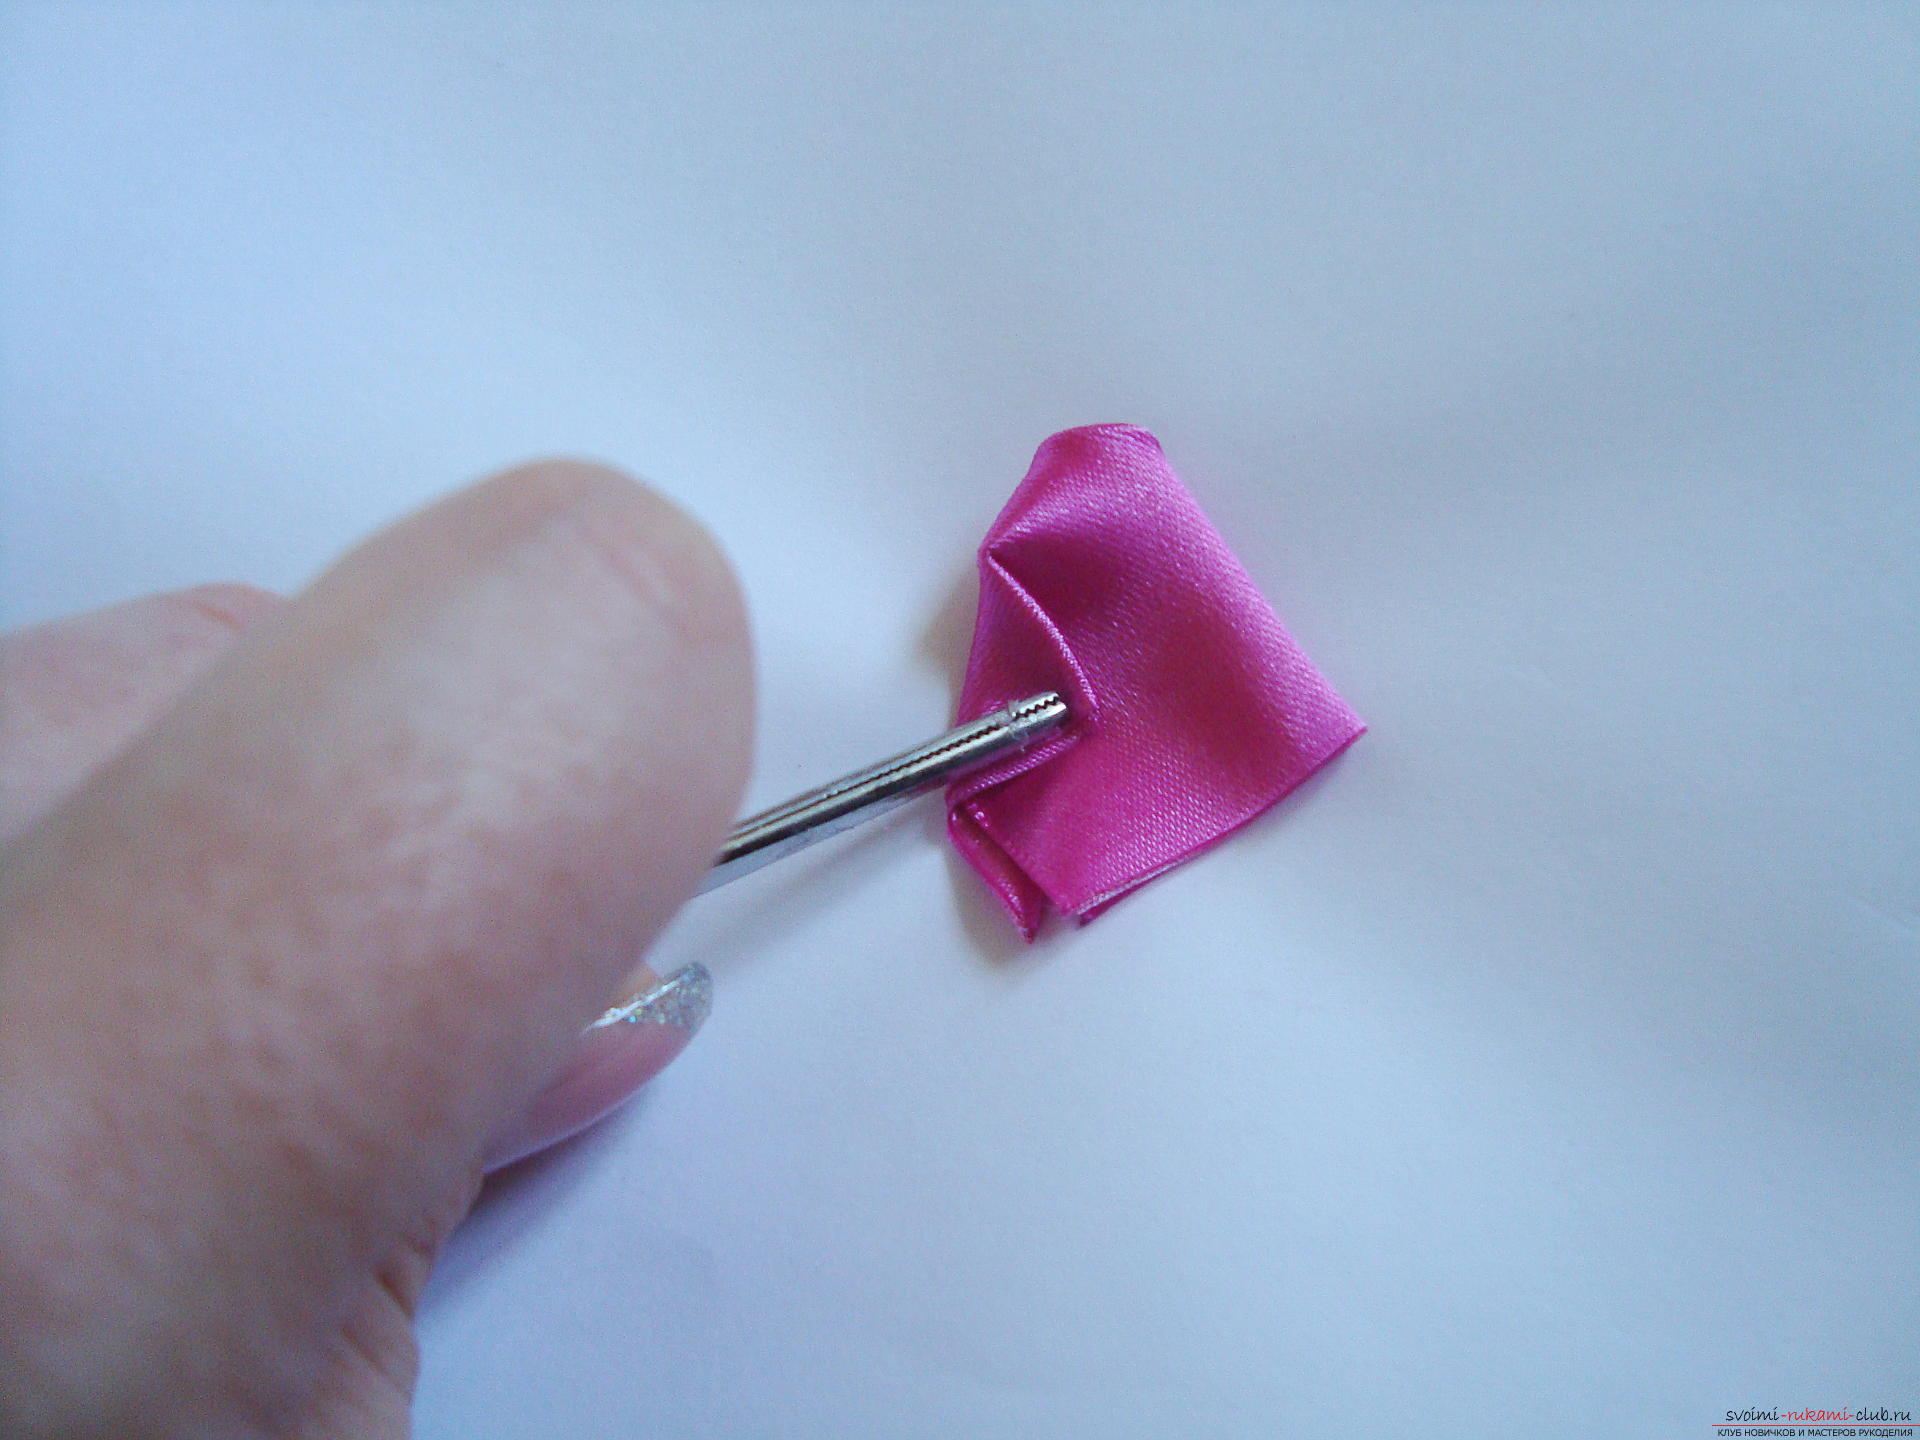 The angles shown should only touch slightly in the central part of the workpiece. It is important not to bend a larger distance, otherwise the part will decrease in lateral dimensions.
 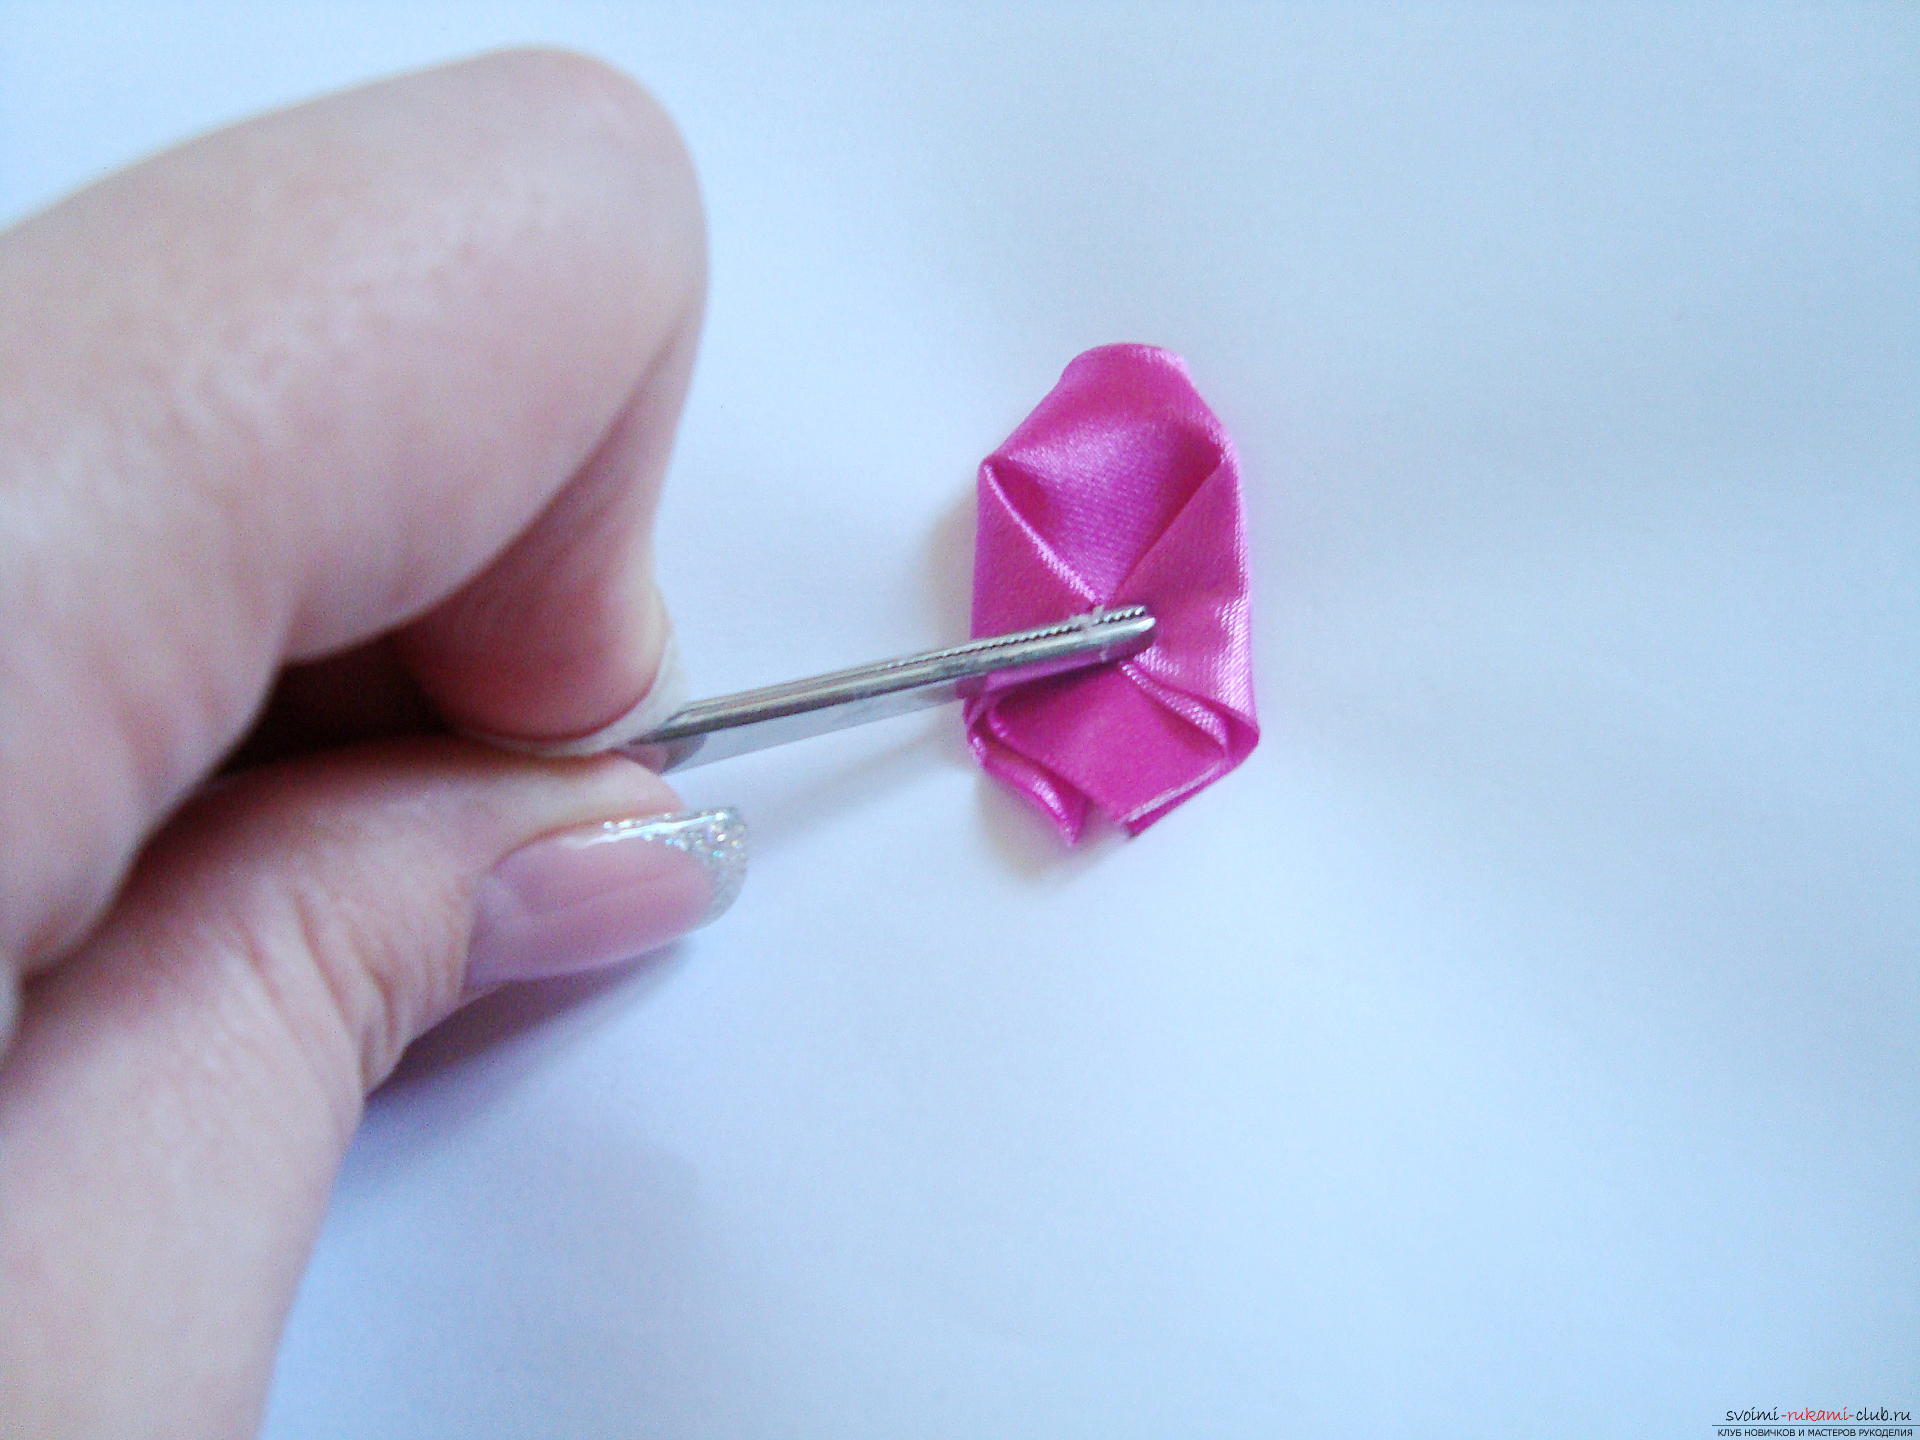 Now we form the last bend: it is necessary to bend the part in half so that all the layers are fixed, and the lines of the rear bends are hidden inside.
 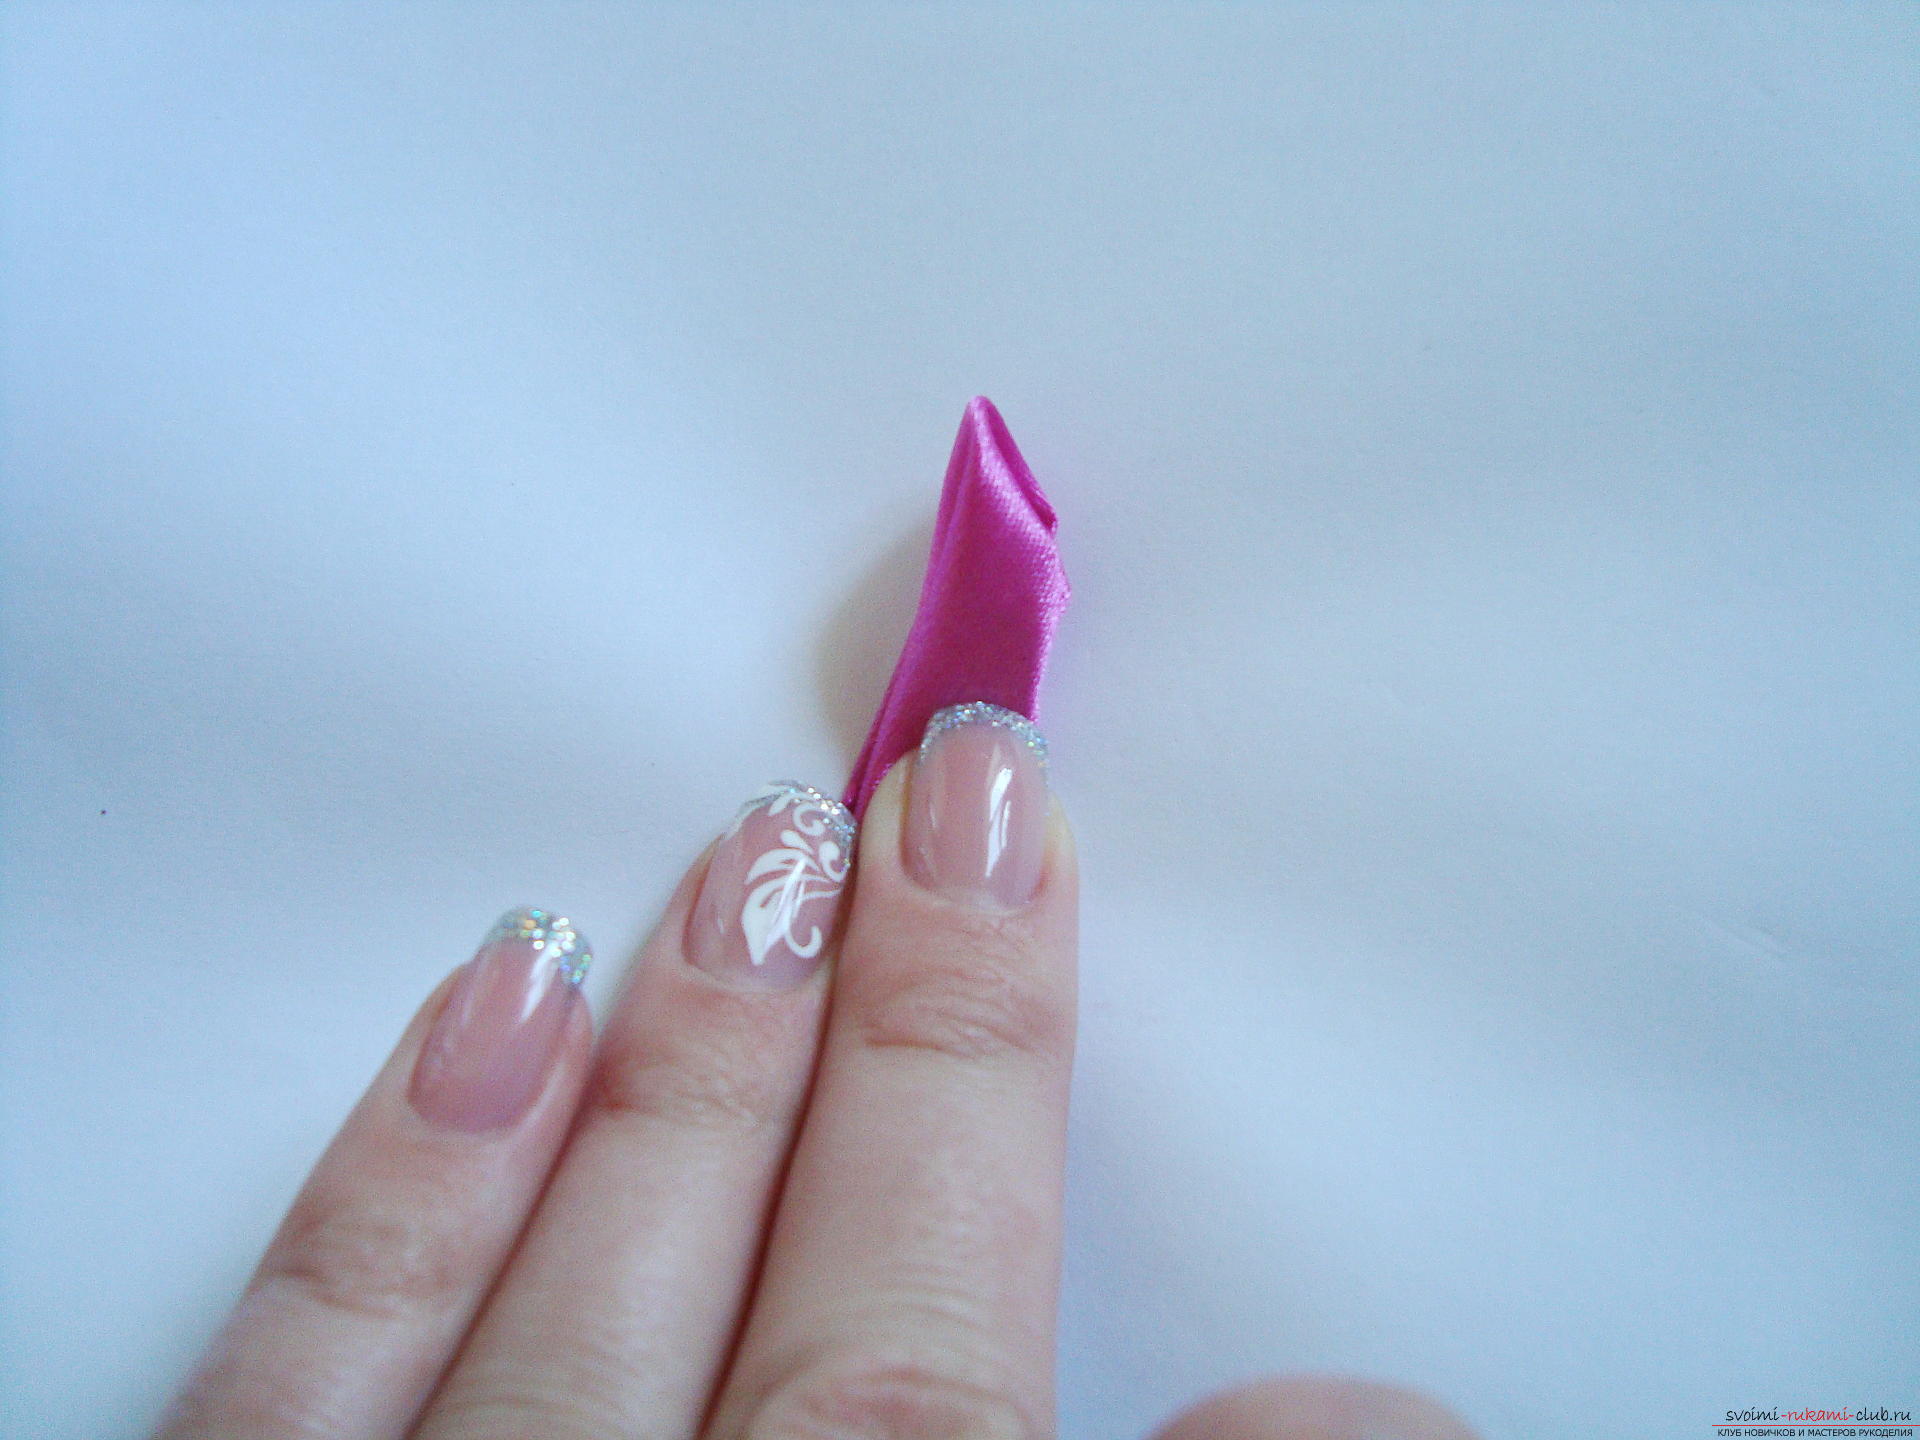 Fix the base of the petal with tweezers orclothespin. Then the part should be put on one side on the glass surface, press down with a ruler and very hot burner, cut off the line, which solder all layers and seal the shape of the element. The trimming line runs parallel to the lower edge and cuts off 1-2 mm, in which all layers of the atlas converge.
 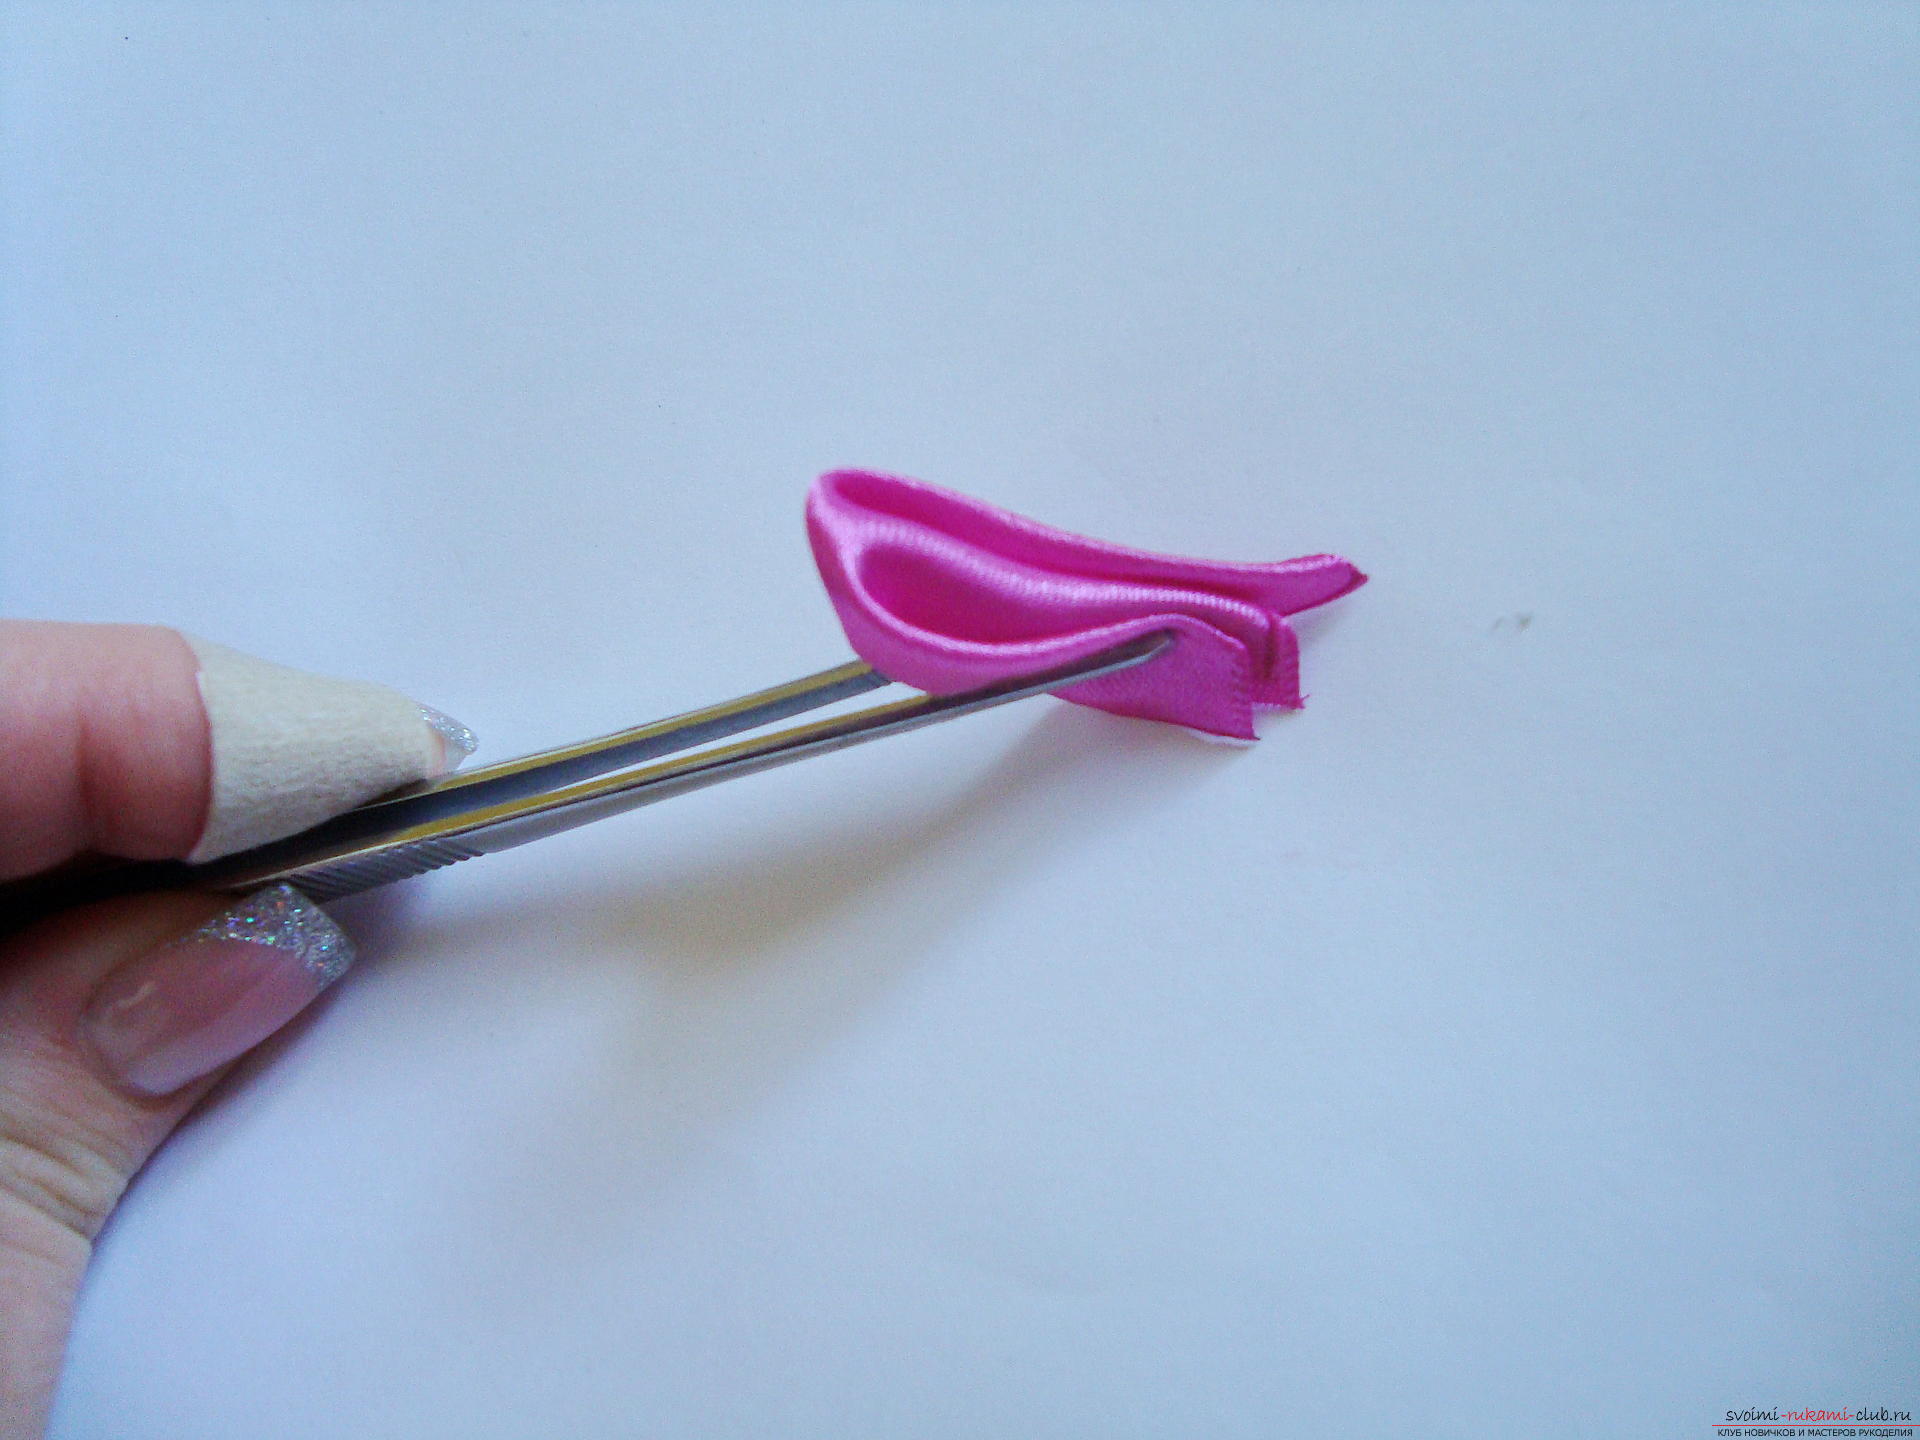 The final petal slightly spread in the upper part of it, so that it turns into a rounded petal, performed in Kansas technique.
 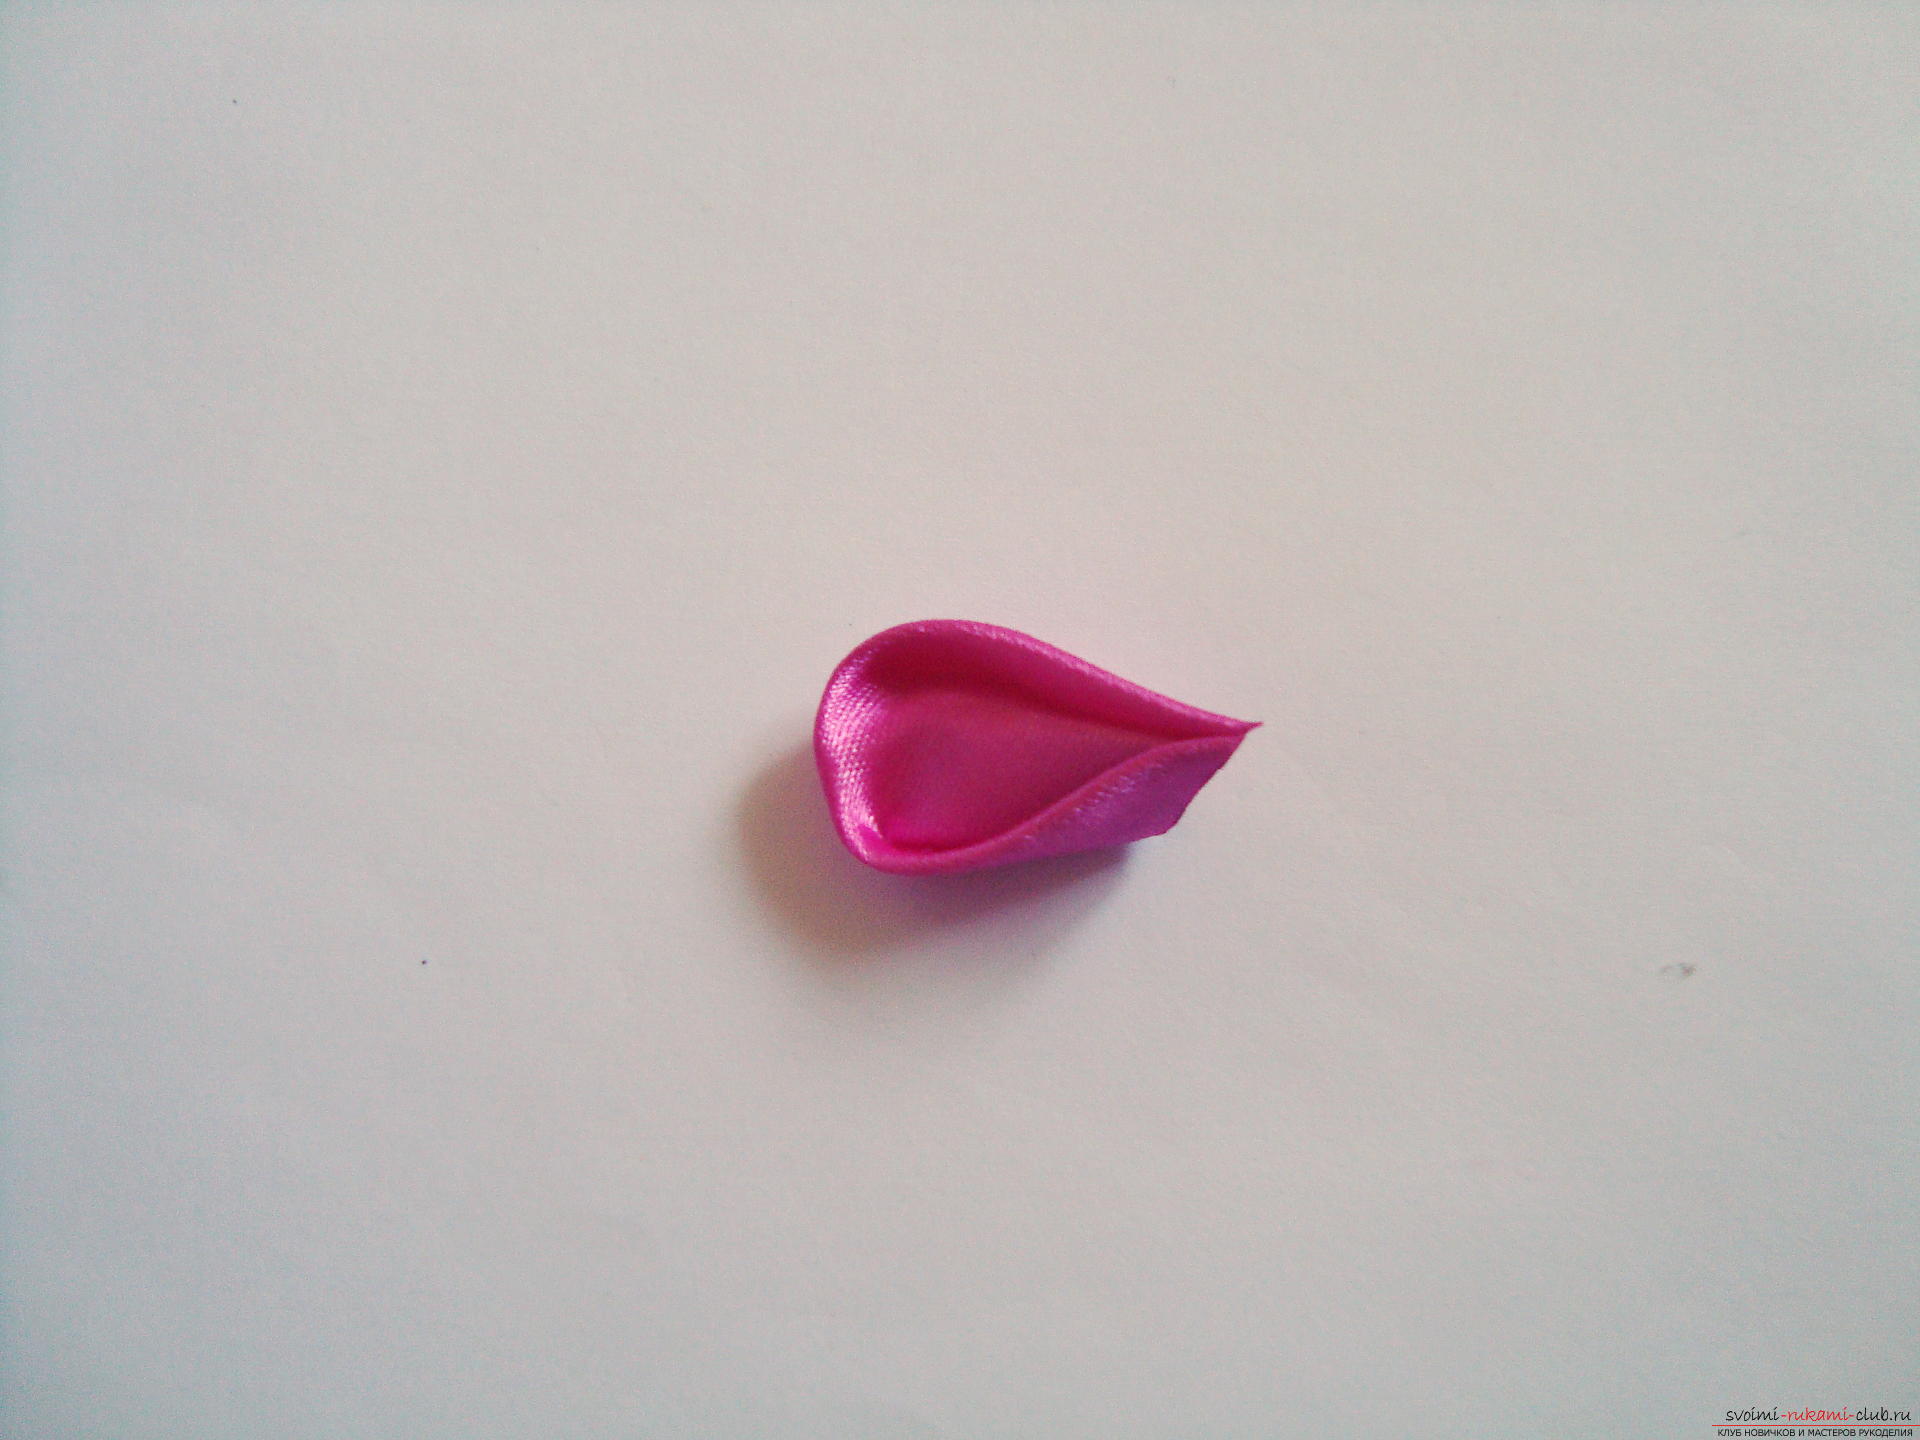 On the reverse side of the part, a small line of reflow is perfectly visible, which fixes the shape of the element.
 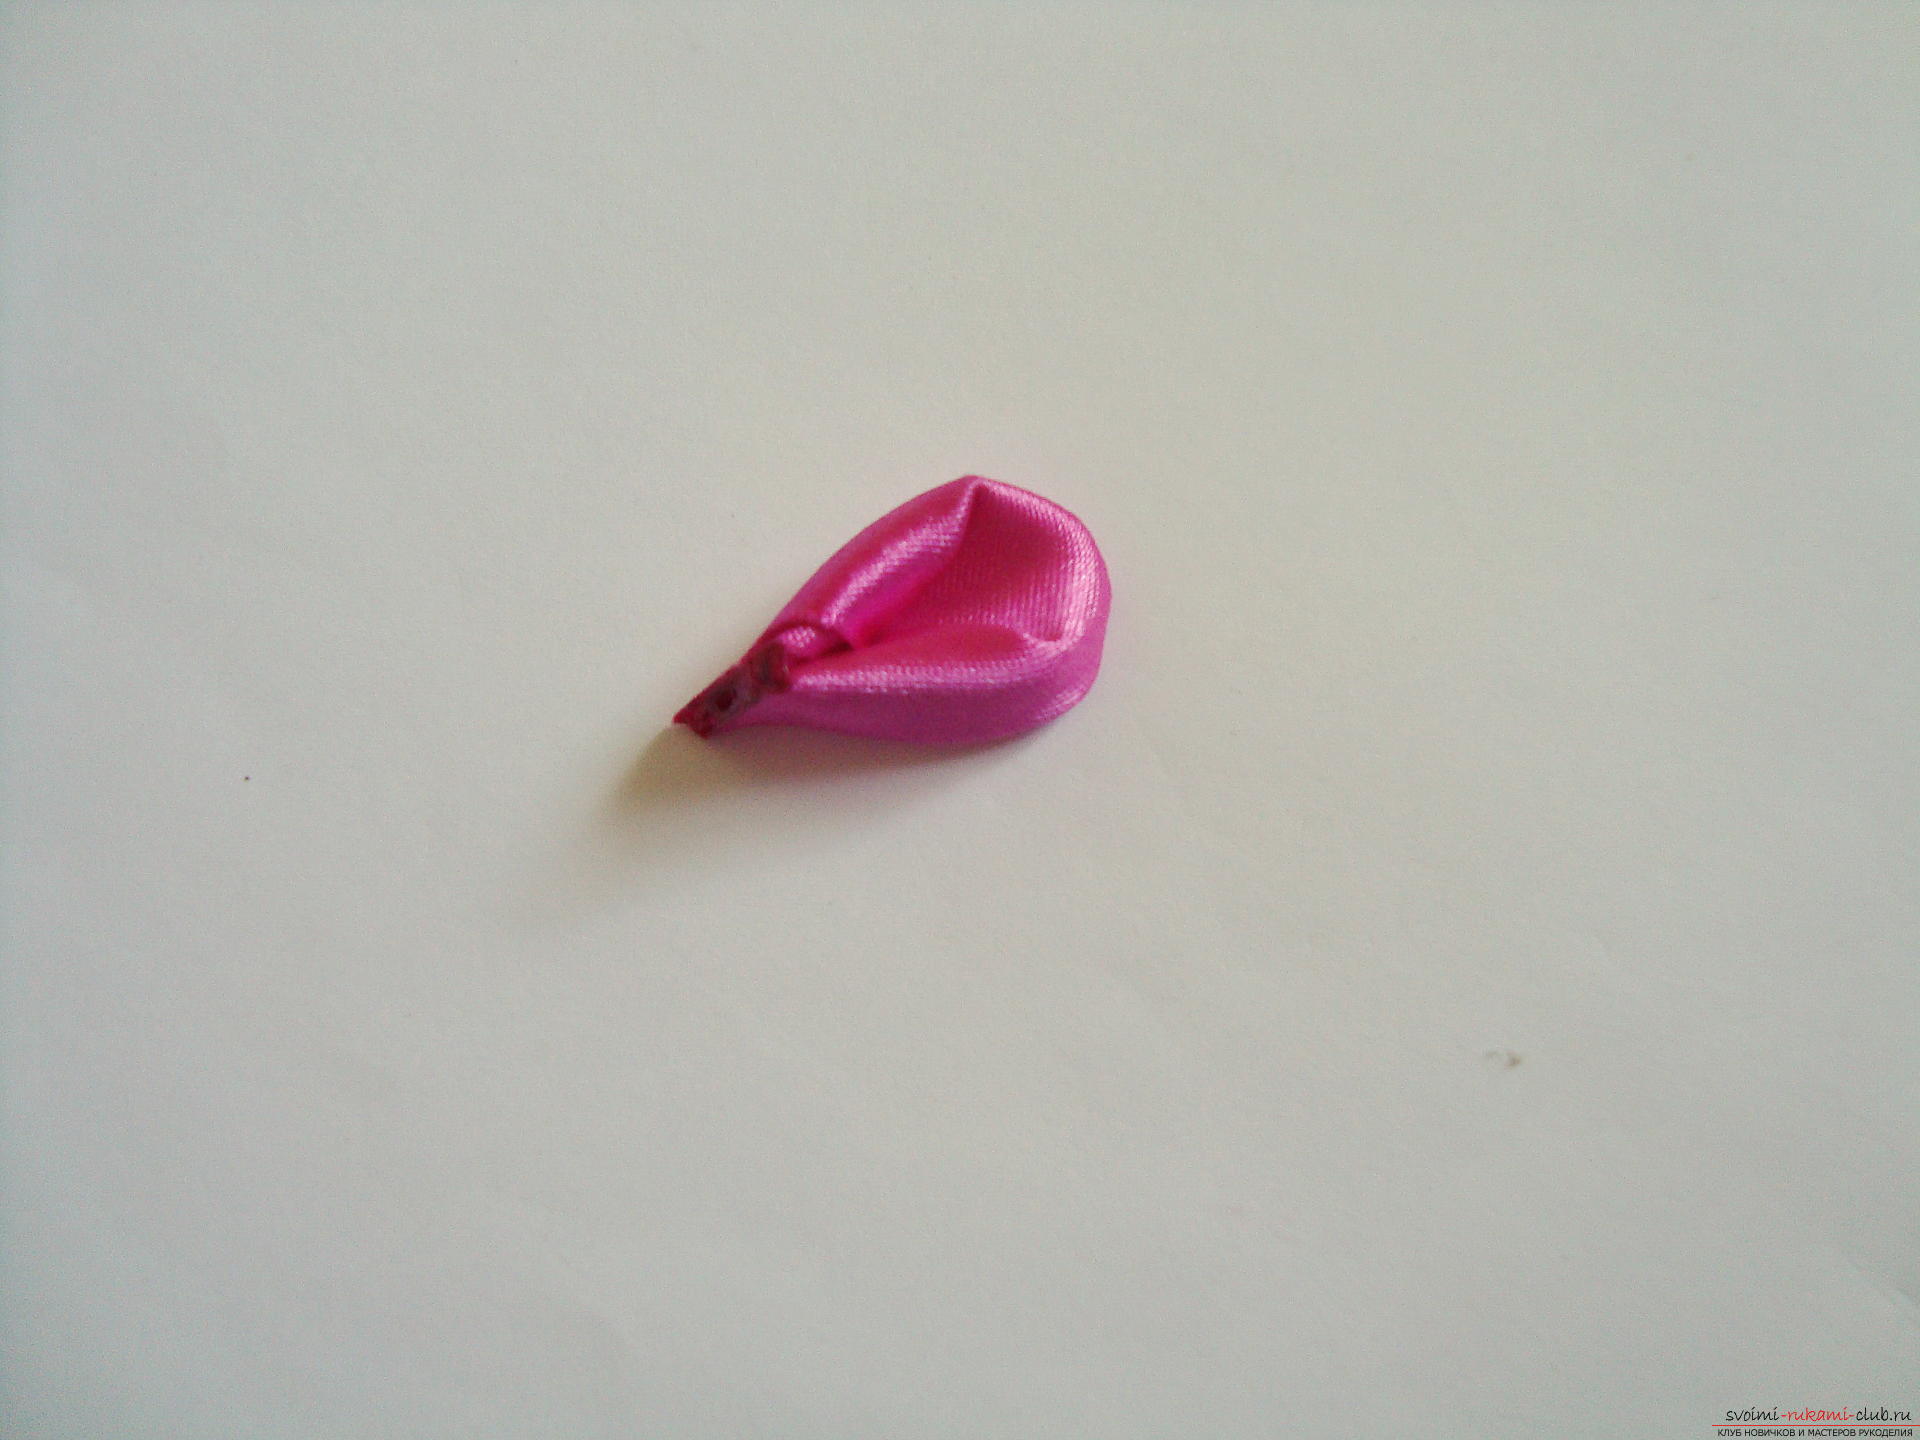 Create seven identical round petals bydescribed above algorithm. Each detail should be as similar to others as possible, if you make a rainbow flower, then all elements are created in different colors according to a given spectrum.
 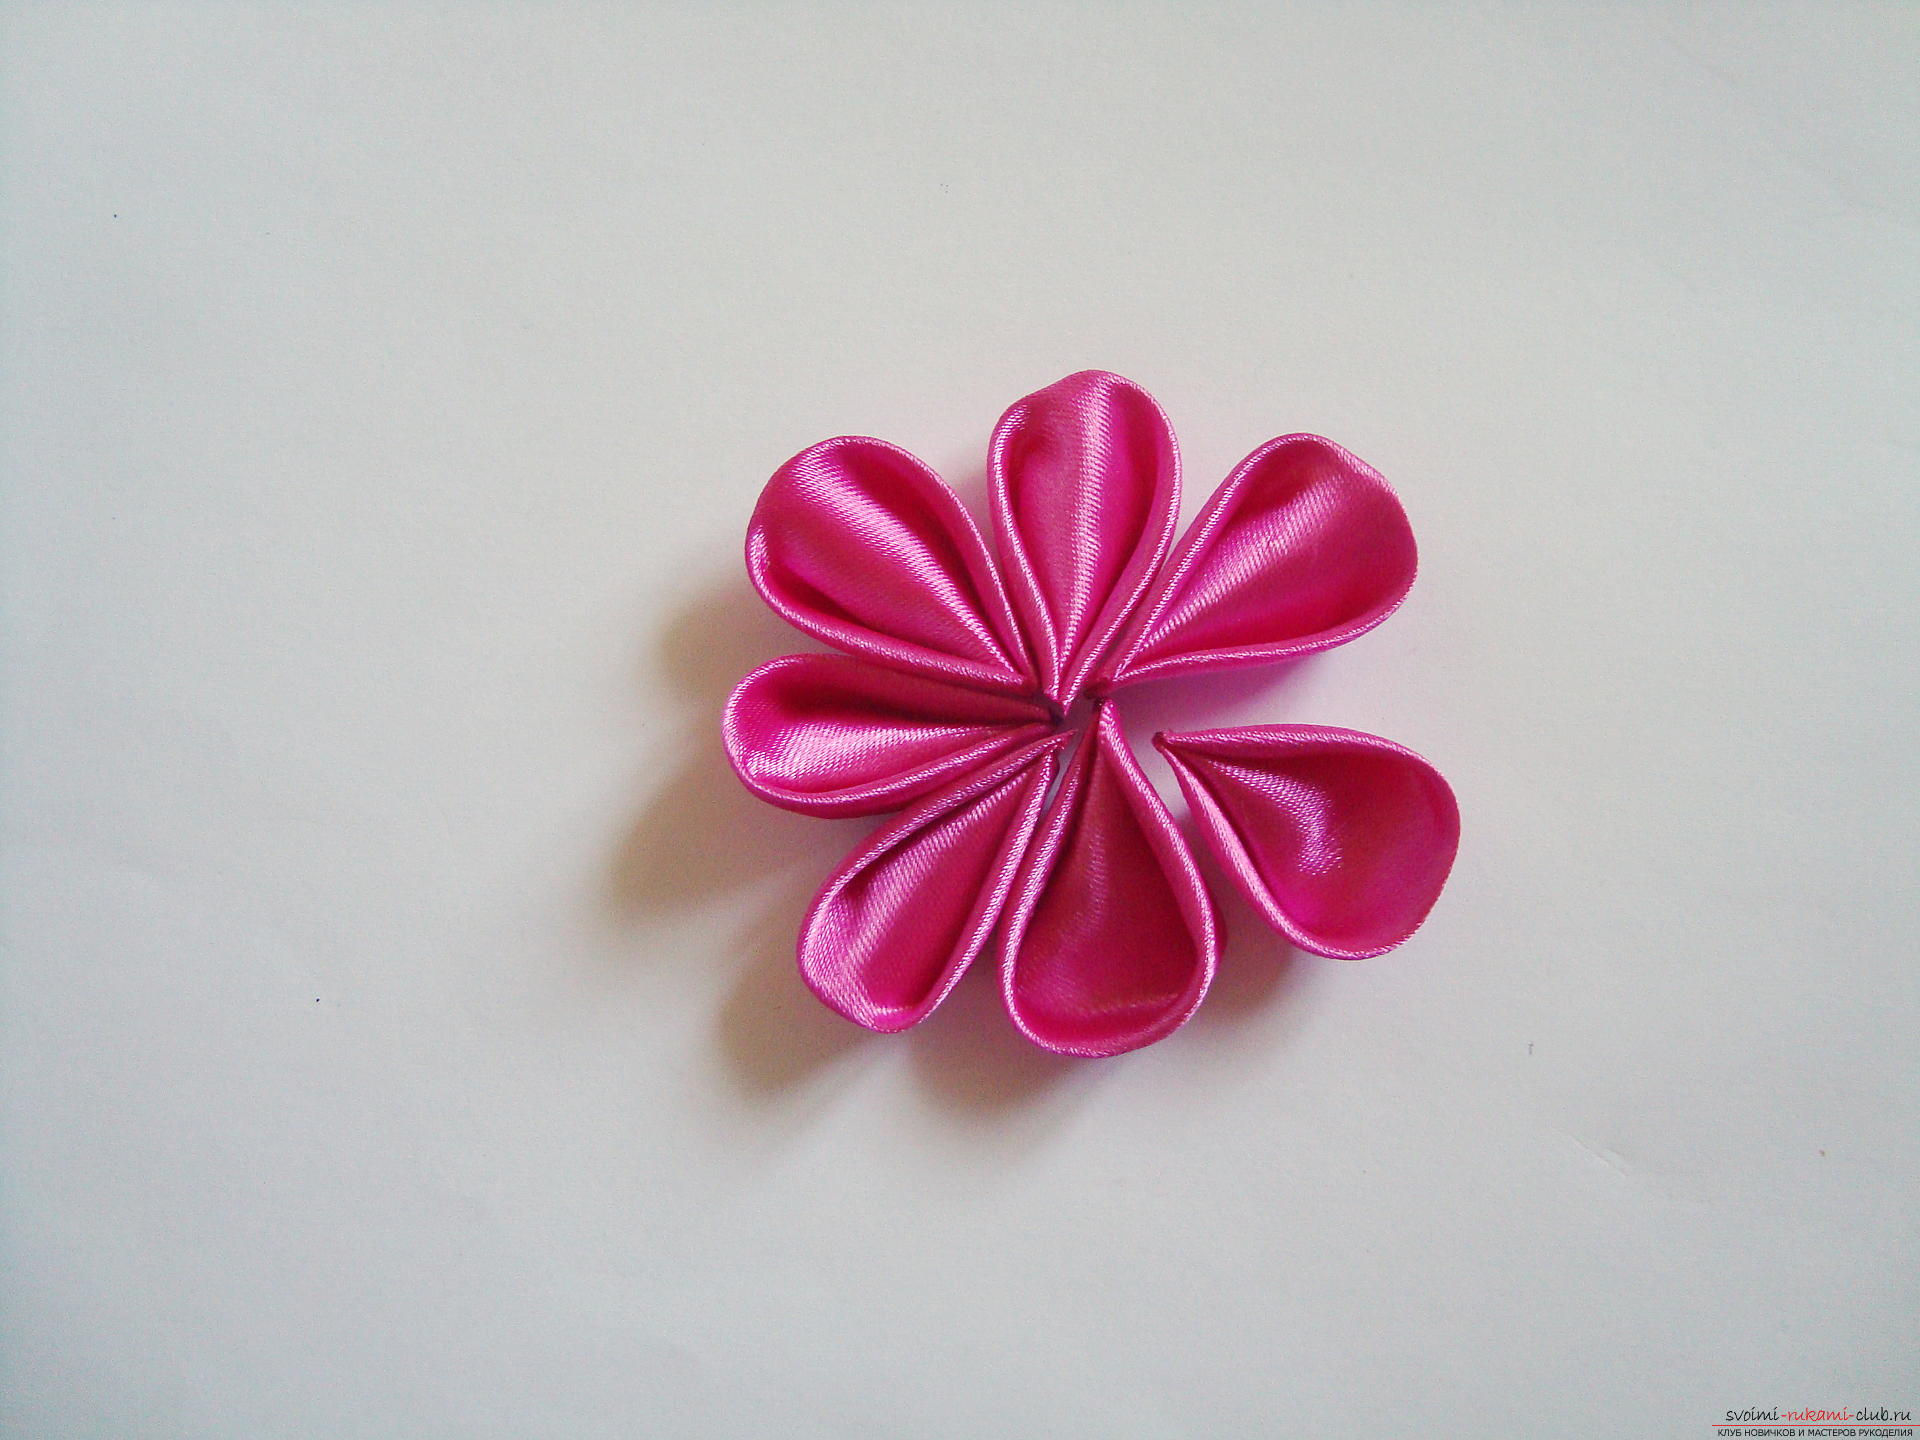 After all the petals have been burned,approach the assembly of the inflorescence. For the flower, a small round base is required, on which all the elements are fixed. Put the first petal in any place.
 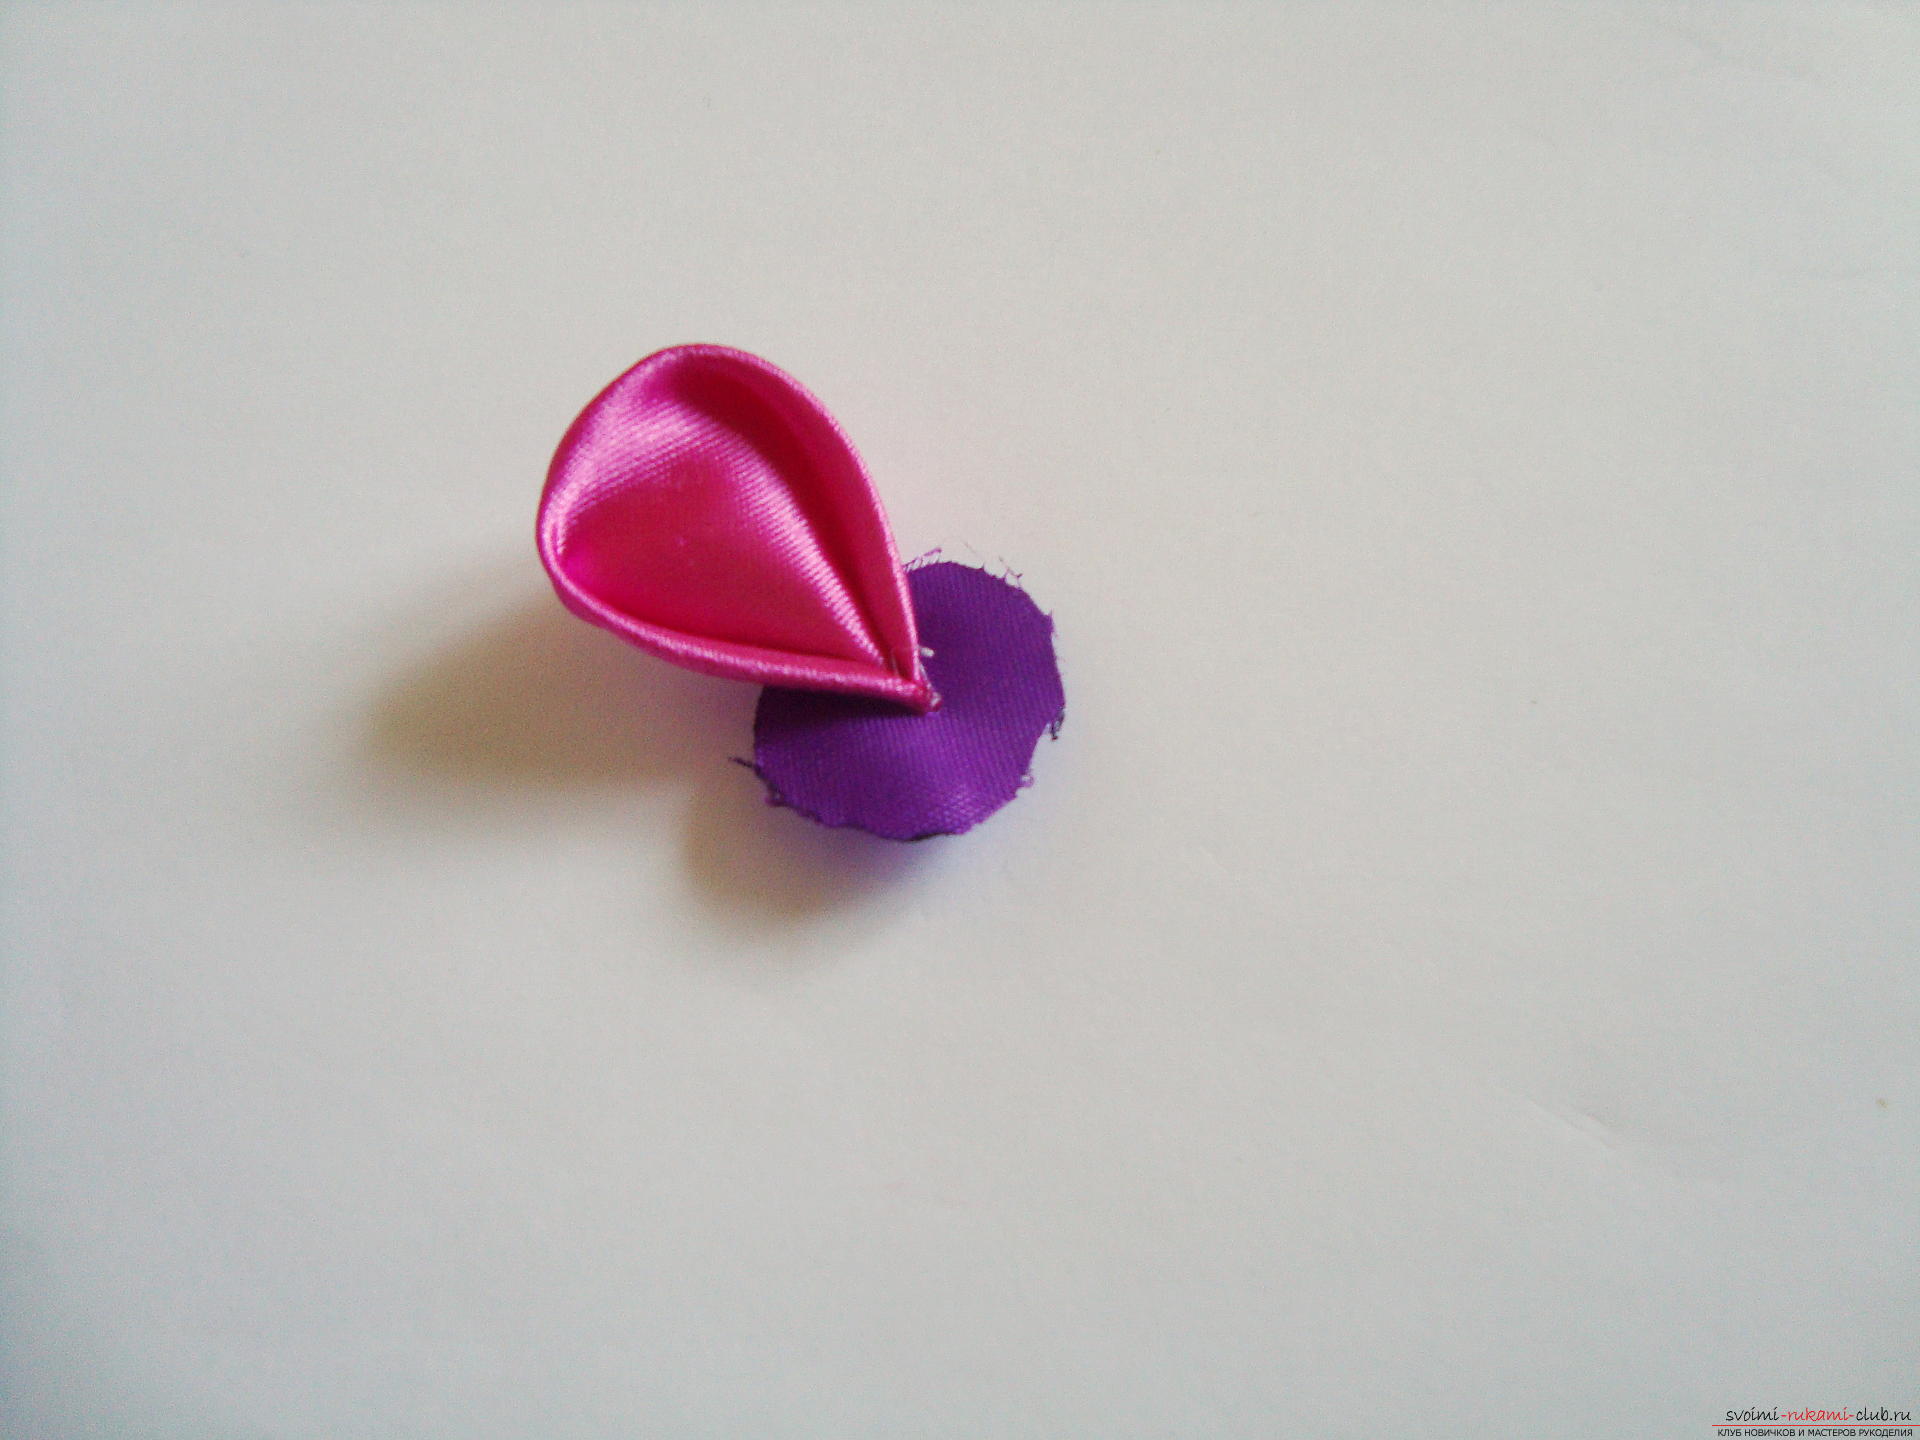 All subsequent elements are glued in turnto each other (at the same time, not only the edge of the petal is smeared, but also its lateral part). For the convenience of creating a flower, the petals can first be sewn, and then turn the flower and to its underside to attach a round base of satin of the same color.
  The middle of the flower is decorated with a special element - a large rhinestone. In the center of the flower you can put a bead or another element that you have at hand.
 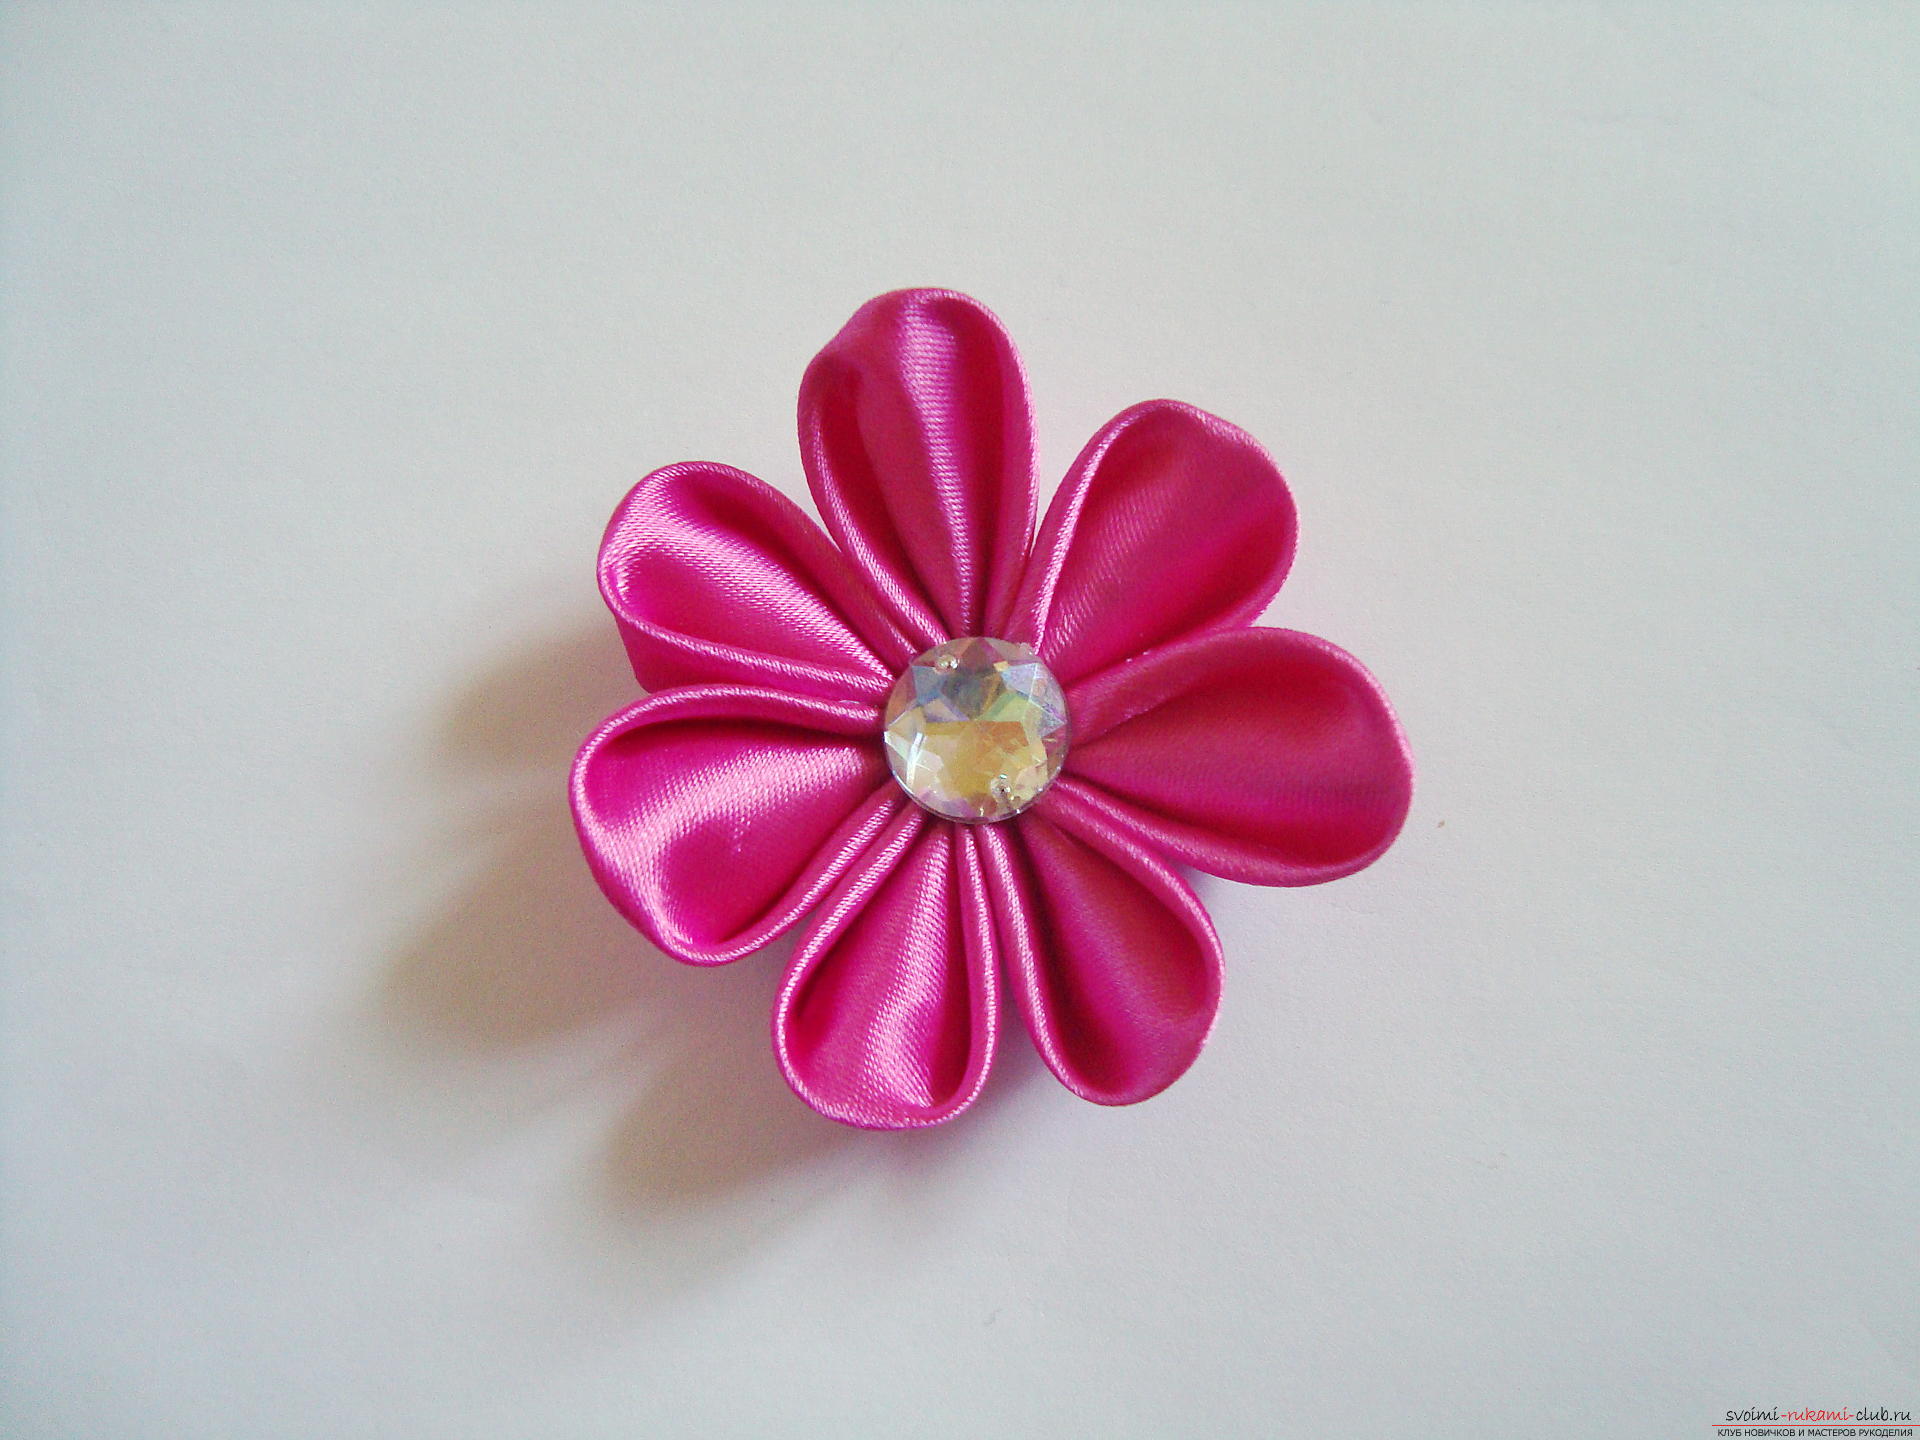 Turn the work over and attach a clip, small hairpin or other hair ornament to this base.
 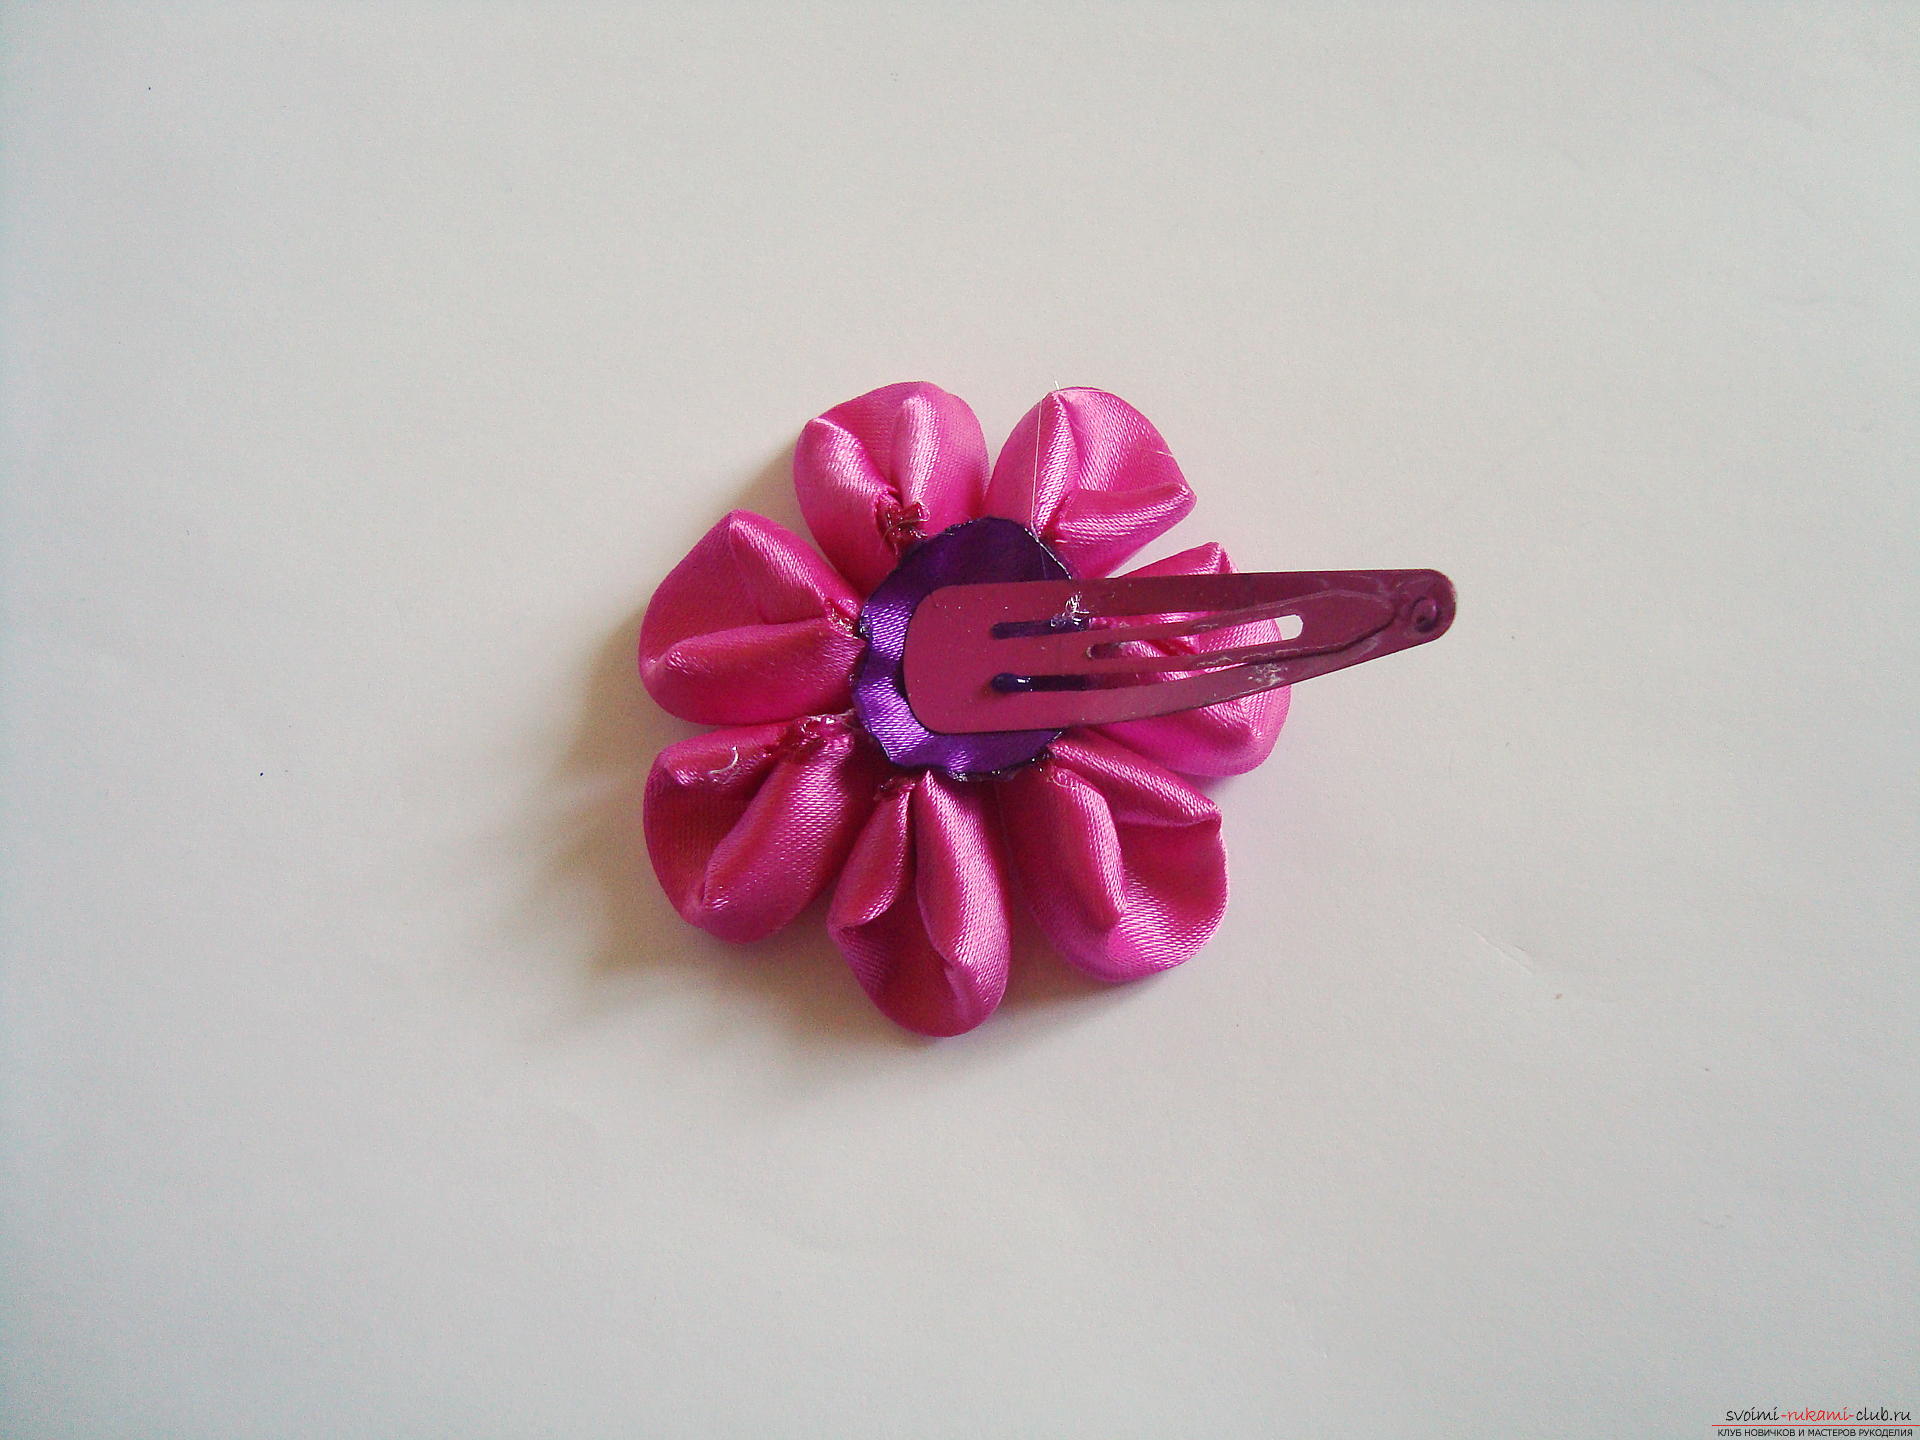 When the glue dries - the work is completely ready. This barrette is used to break the bangs of a little girl or decorate the side parts of the hairstyle. For this detailed master class, each novice craftsperson will repeat the work.
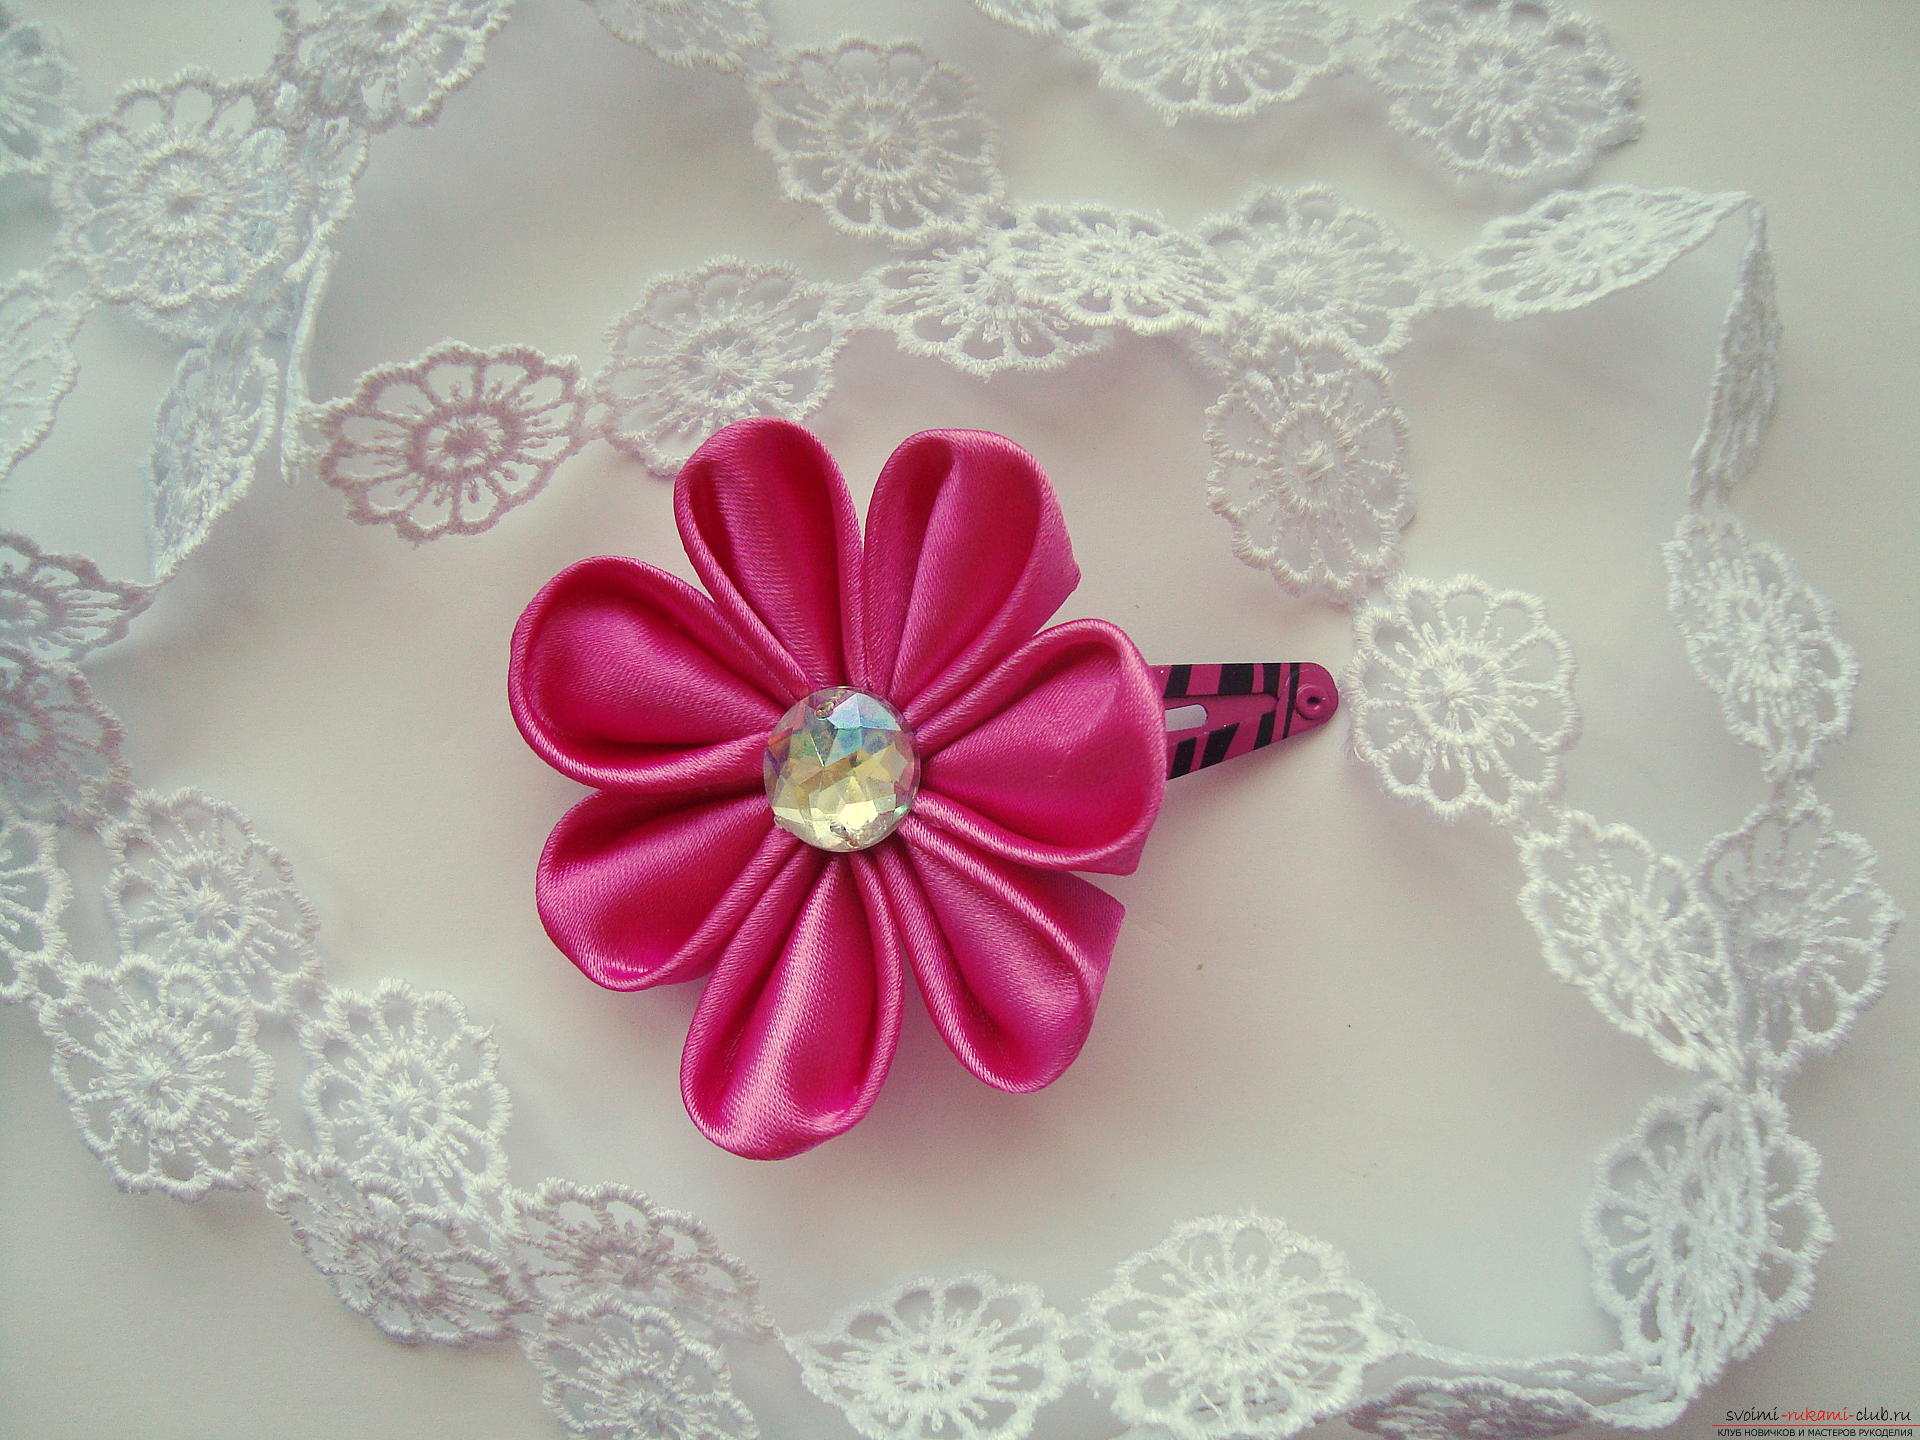
Comments
Related posts:
 Lesson on making hairpins from blue ribbons in Kansas technique with step-by-step photos and video instruction
 A lesson on making hair clips in the form of a flower in Kansas technique with rhinestones
 How to make a hairband with a flower in Kansas technique? Guide to creating a gentle white flower
 A lesson on Kansas technique for beginners, creating flowers with sharp petals with their own hands
 How to decorate a bandage for hair in Kansas technique, a detailed master class on creating multi-colored round petals and decorating hair bands.