A lesson on decorating wedding glasses with hearts embroidered with a cross
Wedding is the most important and significant day in thelife of each newlyweds, so they prepare for it very carefully and painstakingly, trying to take into account all the small things and bring them to the ideal. Often it is the small, original and stylish little things that become symbols of a great celebration, for example, the wedding glasses of the bride and groom, without them simply can not do on such a wonderful day. That they were original and unique their decor can be made independently, for example, with the help of cross stitch. How to do this will tell this master class.
Tools and materials
So, to make wedding glasses with decor, embroidered with a cross we will need:
- white canvas;
- threads "mulina" of two shades of blue, pink, and also pale pink and pale blue;
- the hoop;
- needle;
- scissors;
- thin satin ribbon of white, pink and green.
Description of work
1. As a drawing for embroidering the decorative elements of the glass, we chose a very simple and accessible pattern, even for the beginner needlewoman, in the form of hearts. Tightly pull the canvas on the frame and embroider the first heart of a pink hue.  2. Then measuring out the required distance along the cells, embroider exactly the same second heart.
  3. Next, next to the already embroidered hearts, threads of the second pink tone, embroider one more heart, and they should be placed on the extreme sides of the first and almost touching them. It is important to do everything symmetrically and at the same distance.
  4. Similarly, by the same principle, we embroider the second pair of hearts, using for this two tones of blue threads. In this case, from the first embroidery we retreat quite a lot of space, so that later we could easily find the strips we needed from the canvas.
 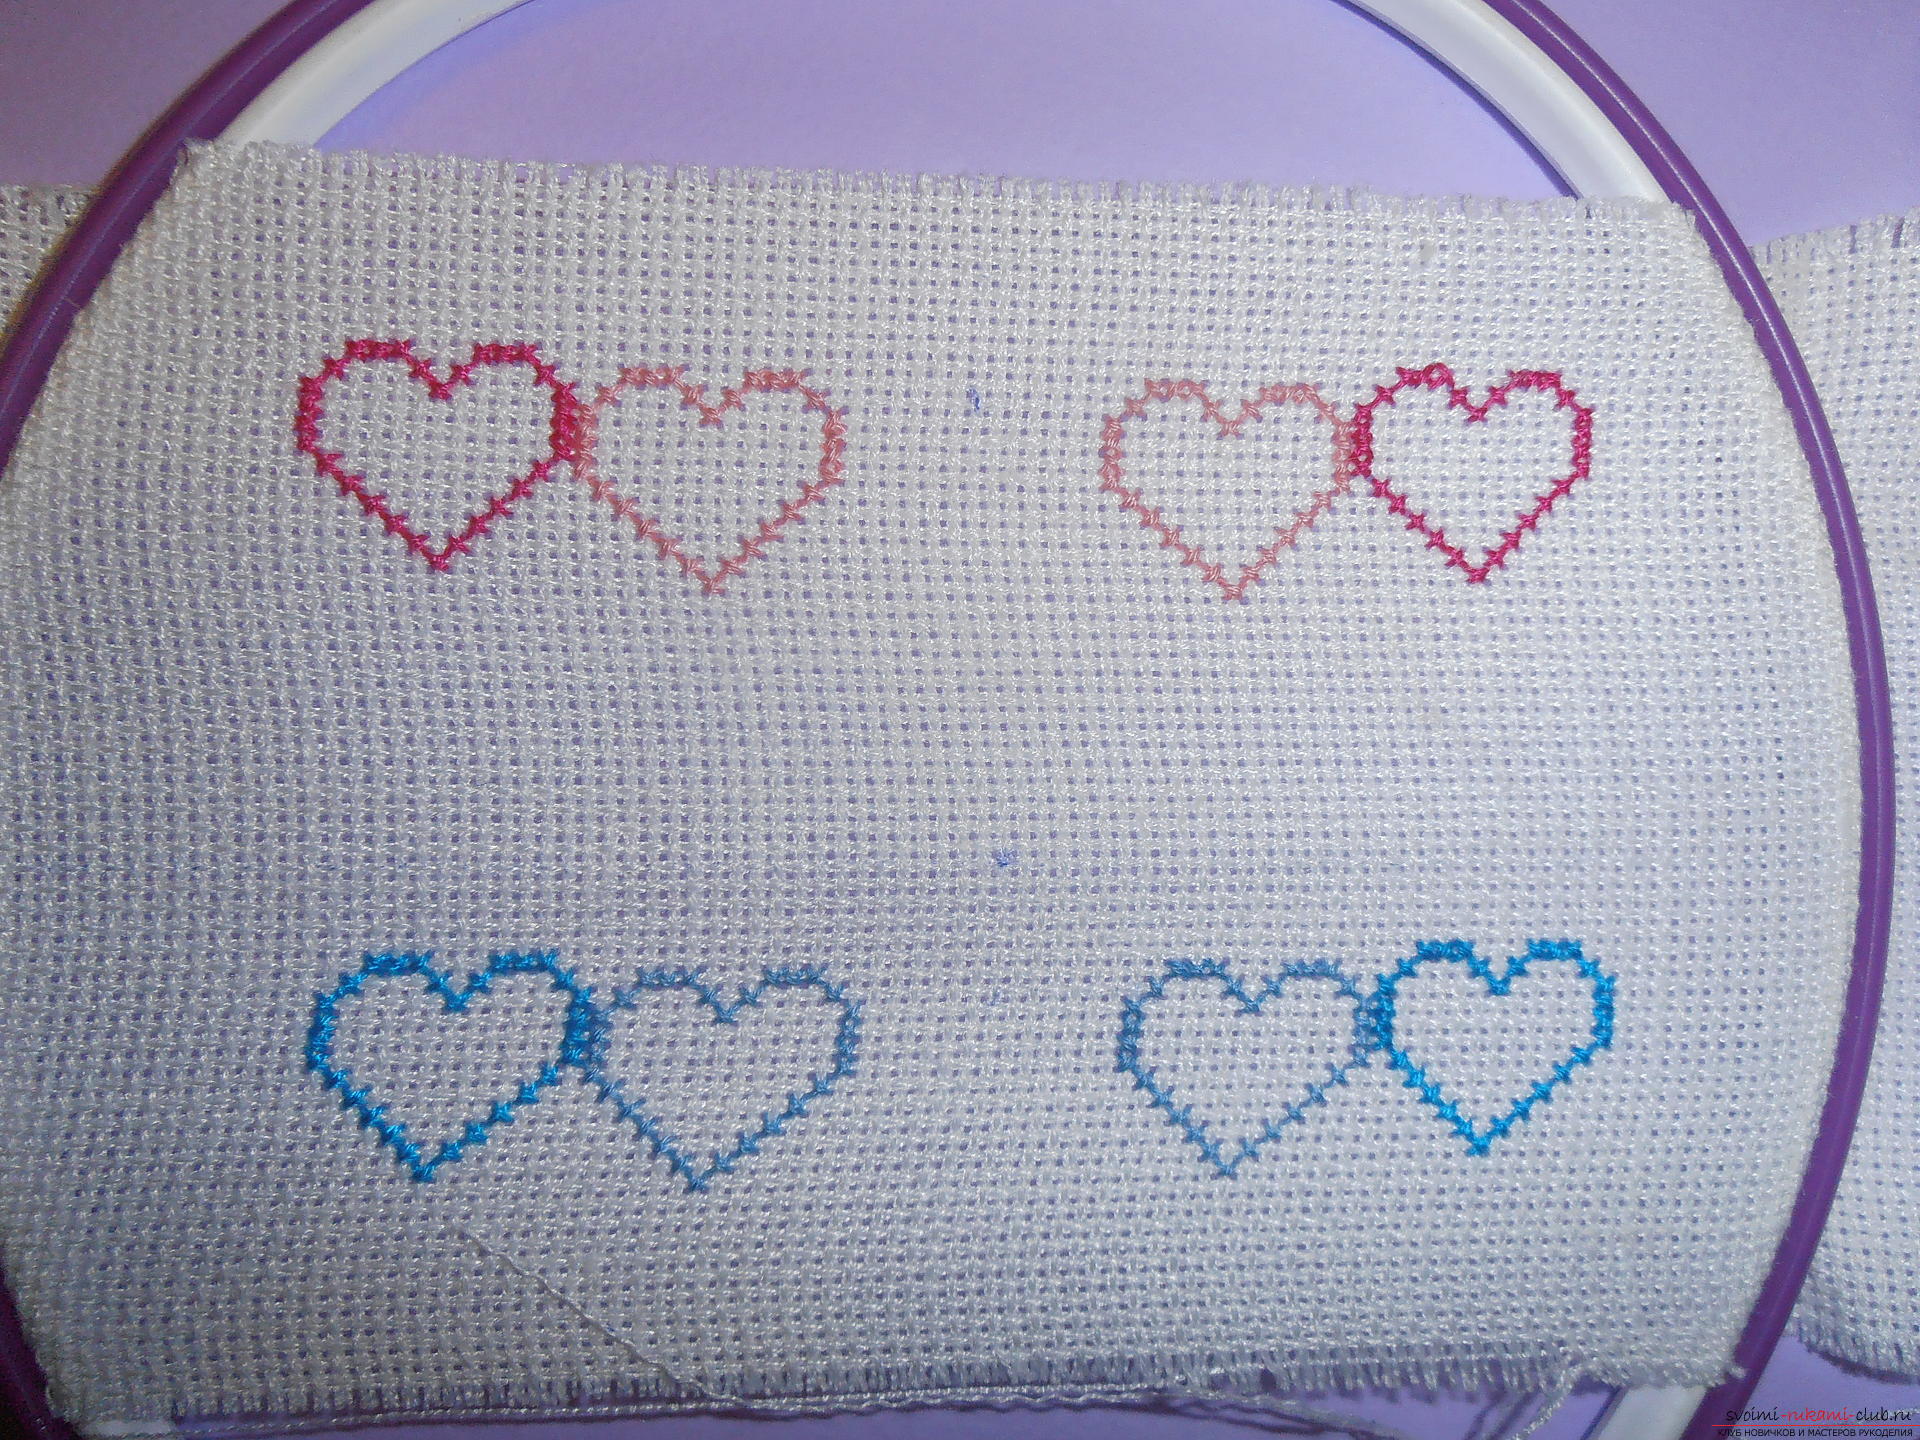 5. Next, we cut out with two embroidered elements two identical ribbons, the upper and lower edges of which are uniformly bent 3-4 millimeters on the back side and embroidered, using pale pink strings "mulina" rows, arranged in checkerboard pattern of crosses. With the second ribbon we also act, only for embroidery edges we use pale blue threads.
 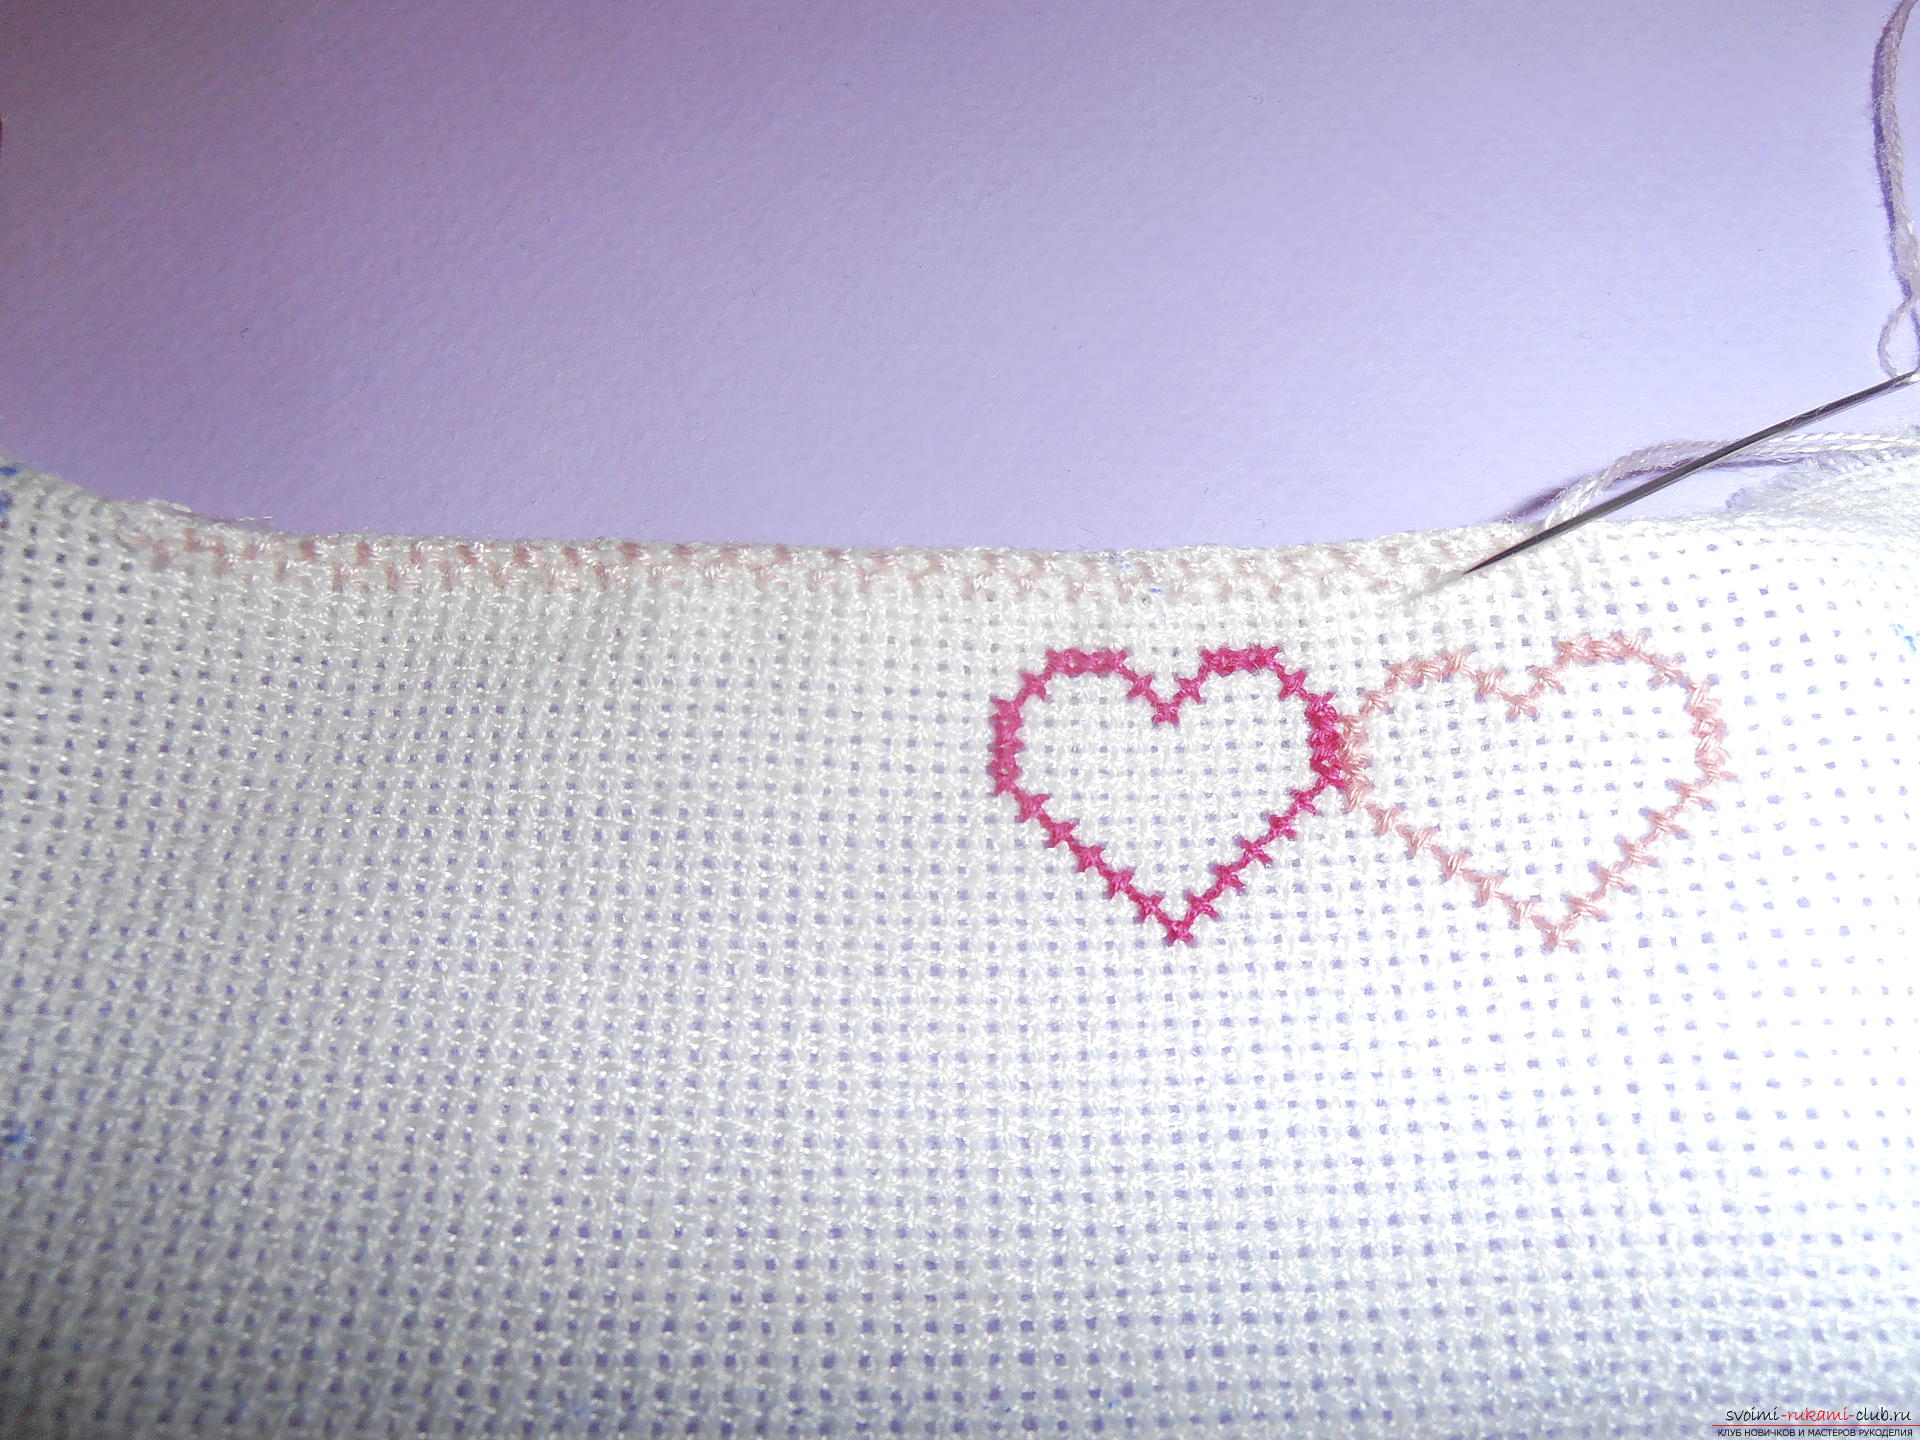 6. Each ribbon is folded so that we get a small symmetrical bow with embroidered elements on the front and center them with a thin satin ribbon. For a bow with pink hearts, take a pink ribbon, and for a bow with blue or green or blue. The length of the ribbons should be 25-30 cm, depending on the height of the leg of the decorated glasses. Then we take two more pieces of a thin atals tape, this time white, 12-15 cm long, and we pass one from the back side through the formed bundle. These ribbons will be needed for us so that our decor can be tied to the glass itself.
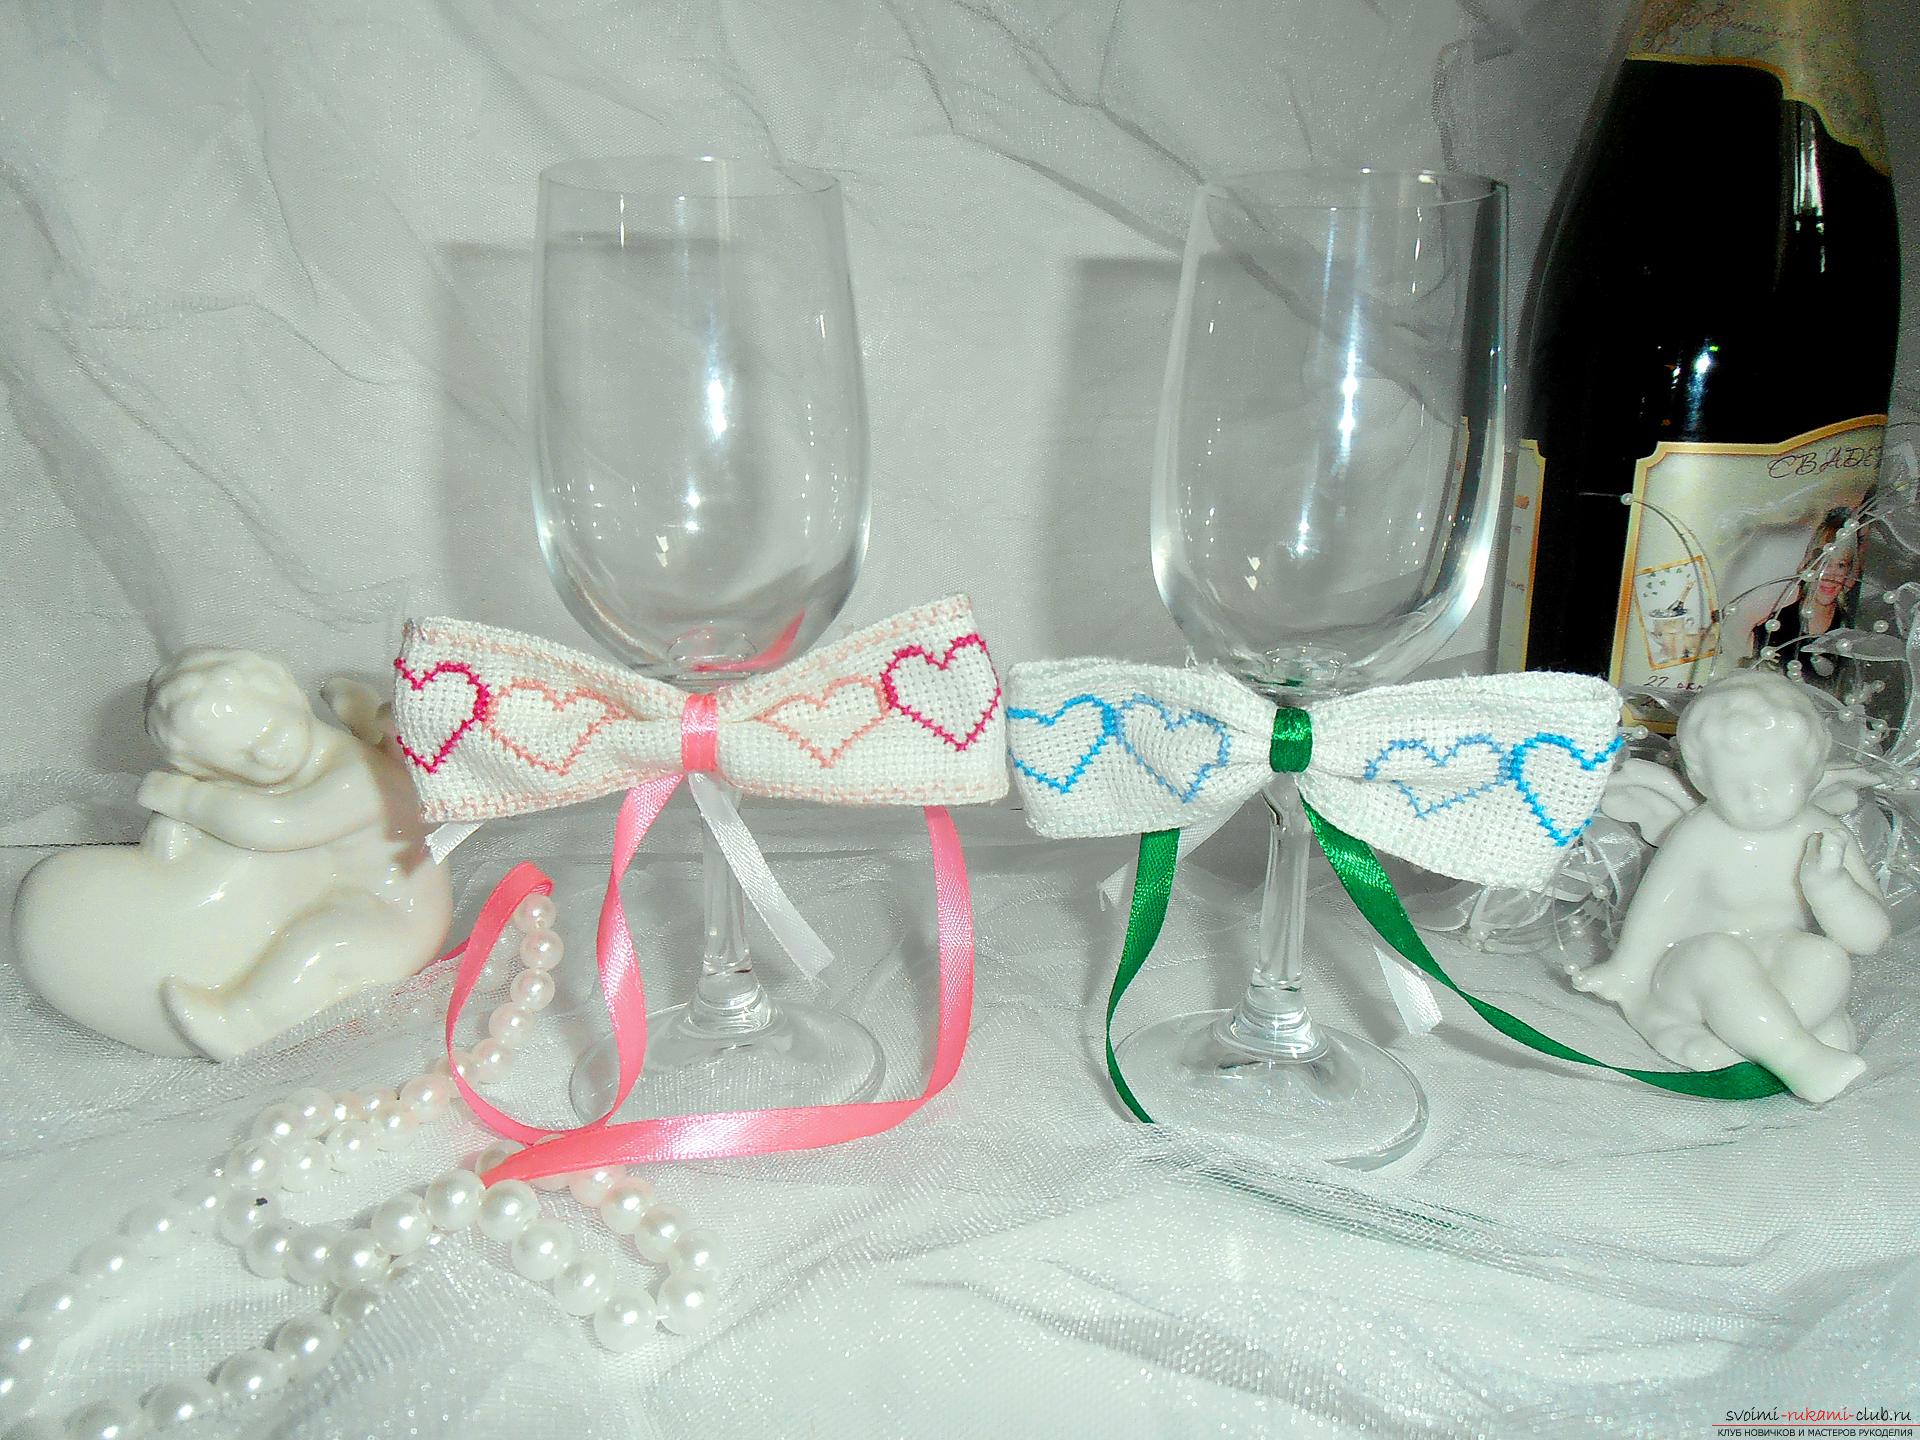
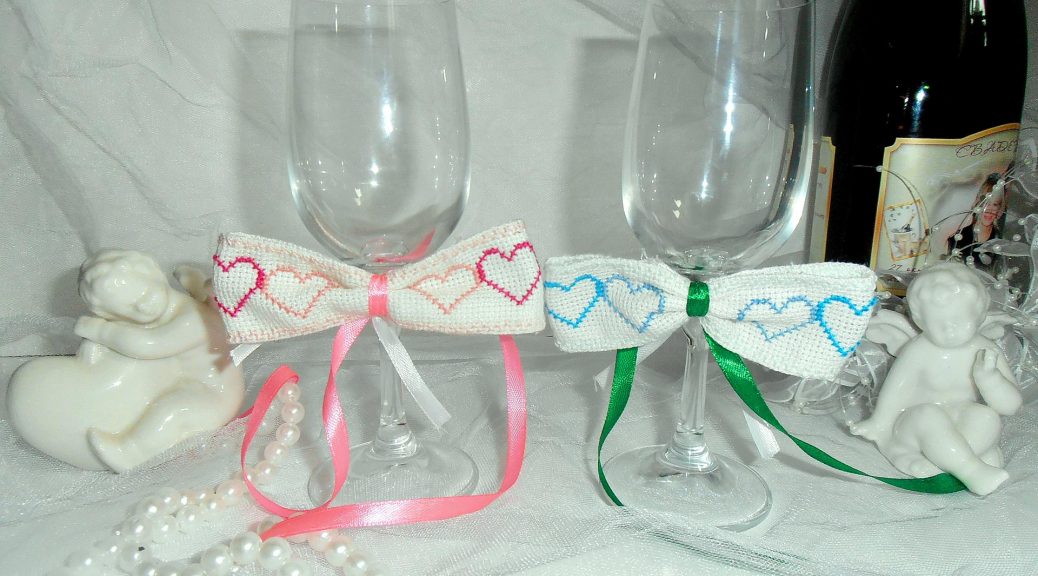
 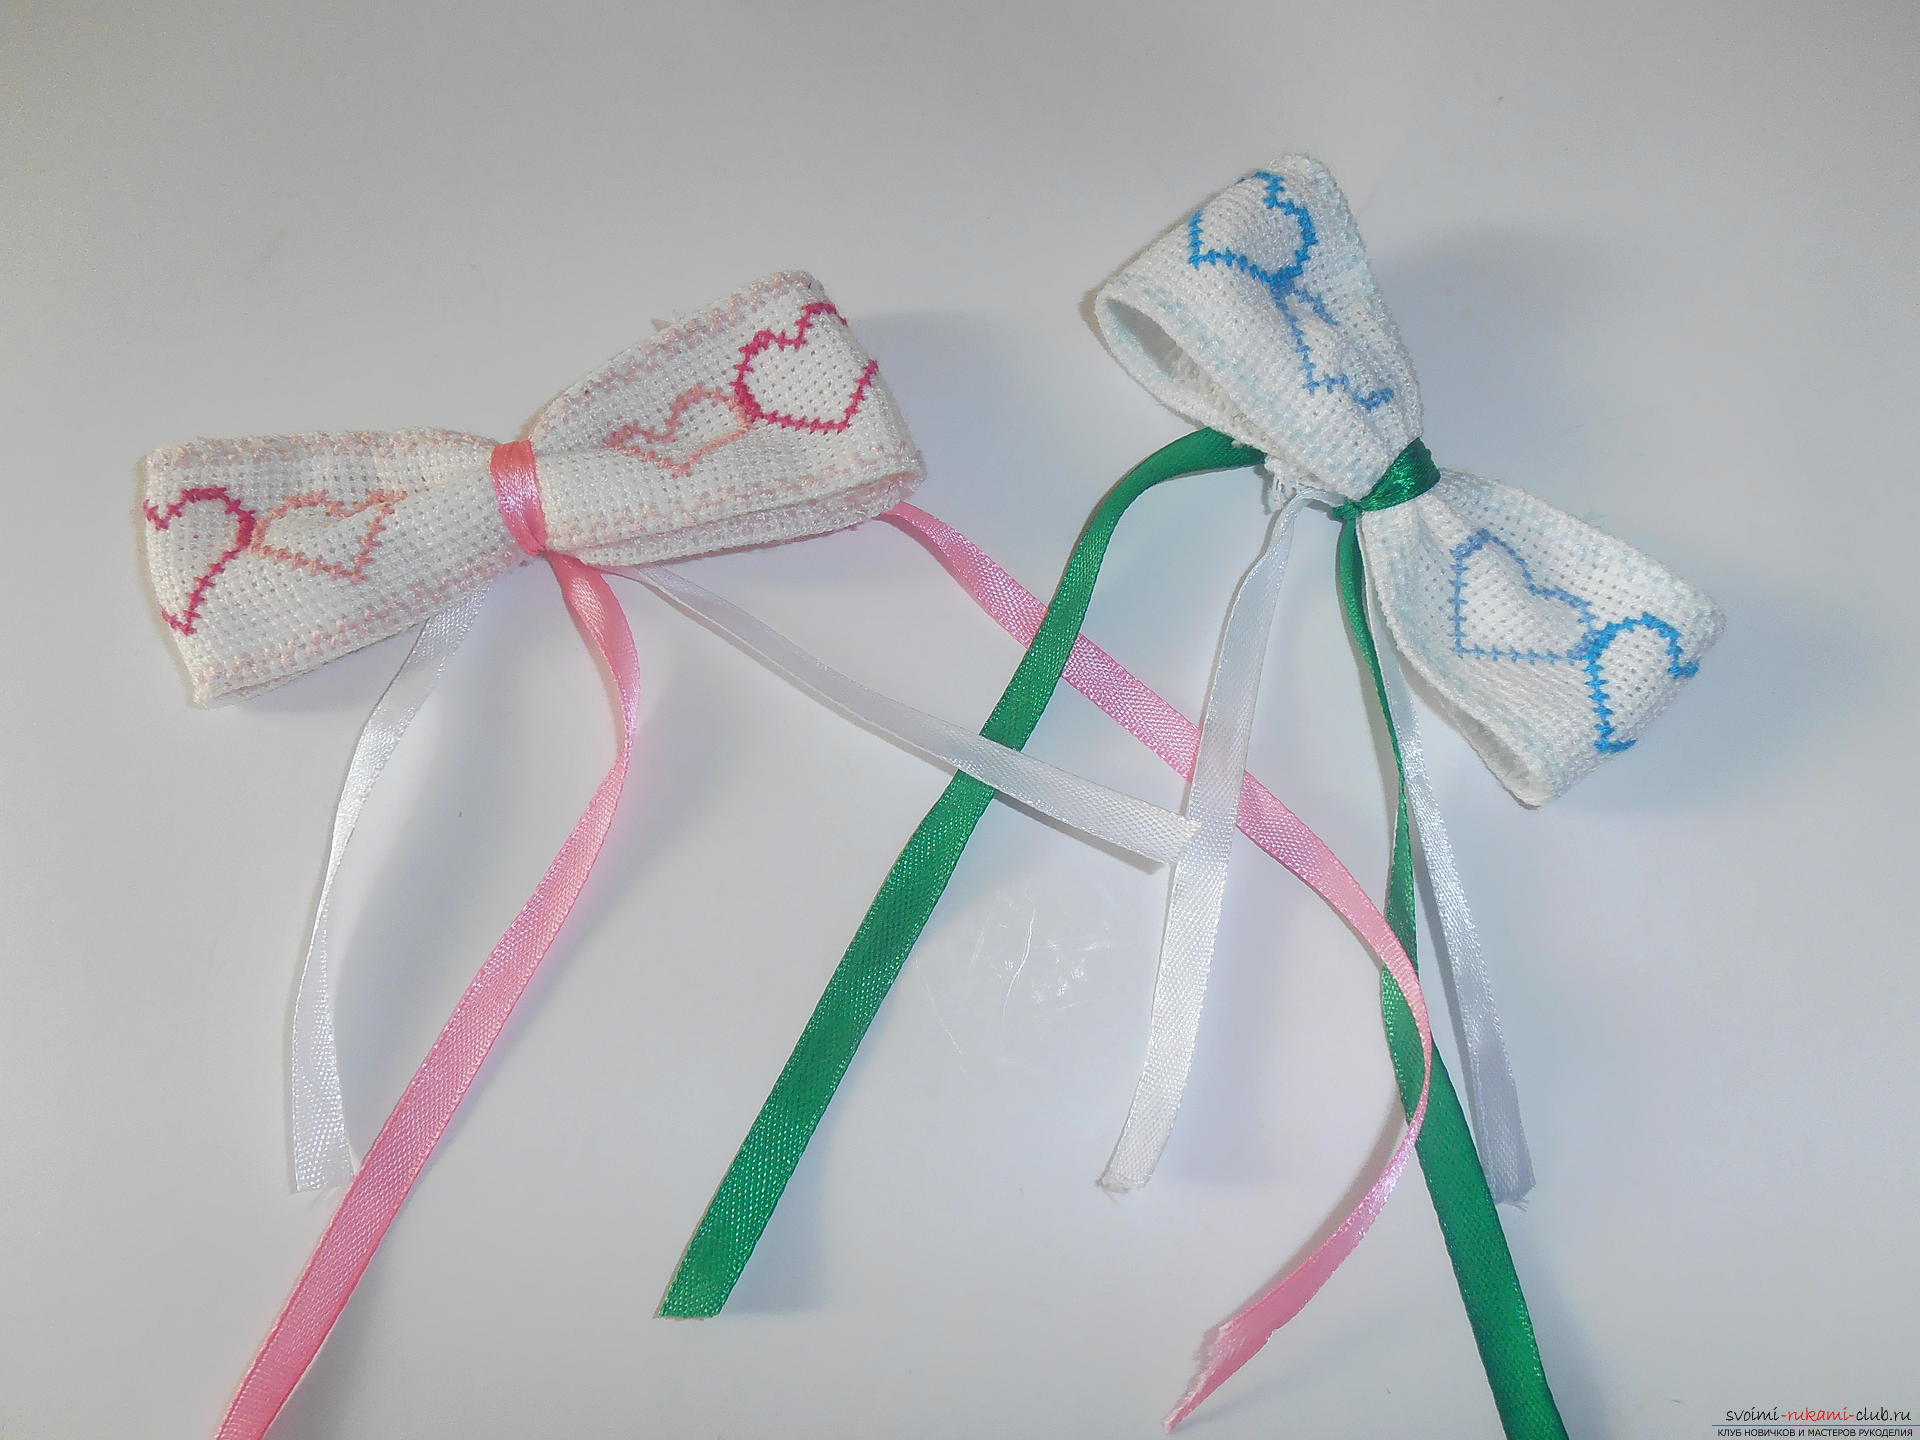 7. In the end we decorate the wedding glasses with decorative bows and embroidery and finish the work on their creation. Today it is very fashionable for a wedding to be carried out in a certain color, for this it is only necessary to change the colors of the threads of embroidered elements and to supplement the celebration with such unusual glasses.