Lesson of origami of a New Year paper toy and a master class of New Year's needlework
Modern techniques of needlework increasingly come toto help us in the right and crucial moments. One such is preparation for the New Year holidays. We are constantly in search of new ideas and ways with which to get to realize our potential, and also to prepare many new and unique ways of decorating the house. Fortunately, there is the Origami technique, with which you can decorate the house even if you have a minimum amount of materials.
Lesson of origami of a New Year paper toy and a master class of New Year's needlework
 The art of paper involves the formation ofa variety of subjects, including New Year's toys. Making them is not easy, but sometimes even easier than it seems. Our master class will tell about a simple and convenient idea of selling a toy with our own hands, which we will be able to prepare using a variety of means, in particular - using colored paper. Making a paper toy for a Christmas tree - tools and materials
 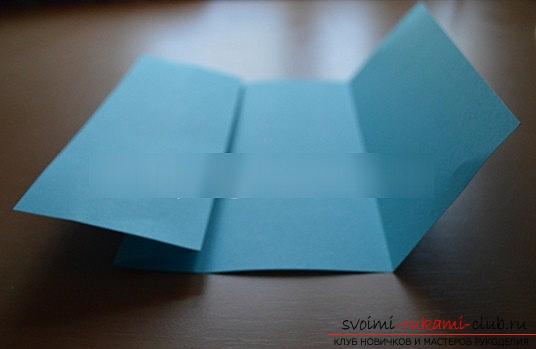 Bright and colorful toy will be able to complement the styleyour Christmas tree, and a large amount of colorful paper will help to recreate a variety of color solutions for such an object. Very soon, the whole house can be decorated with modern "Chinese light bulbs" of their own preparation. The lesson, as before, consists of a special instruction of step-by-step materials, where we have the opportunity to fully study and learn all the possibilities of modeling by origami schemes. Below is a diagram of the work that will tell you about the basic subtleties of creating a New Year's toy:
- Prepare color A4 paper
- You may need a pair of scissors
- You may need to use glue
- Also, for suspension - a small string or rope
From paper to ball 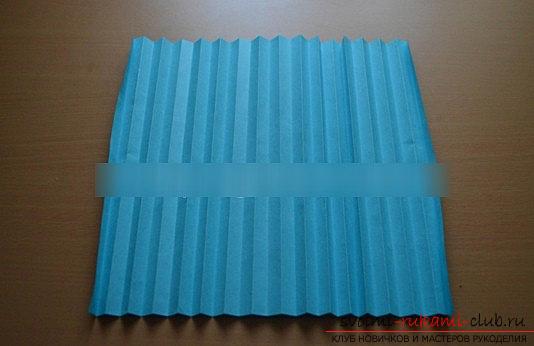 First, take the color version of the paper informat A4. The craft will have to spend a lot of time, somewhere around an hour, but the result will be worth it. Moreover, the work requires only one copy of the sheet. So, we separate the sheet of paper in front of us into 32 particles, on one side there should be exactly that much. On the other - also. Get the version of the accordion in two directions. Then, the sheet must be folded across, the fold is formed in the middle part. For the fold that we have, we also need to wrap the edges, so we divide the paper into 4 particles.
  Now, for the closest in the middle of the fold we alsobend in the other side and make alignment along the central line, forming a harmonica. Also we arrive with a corner, we make mating with the center line. This operation must be carried out on the other side. Next, we get the paper, divided into eight pieces.
 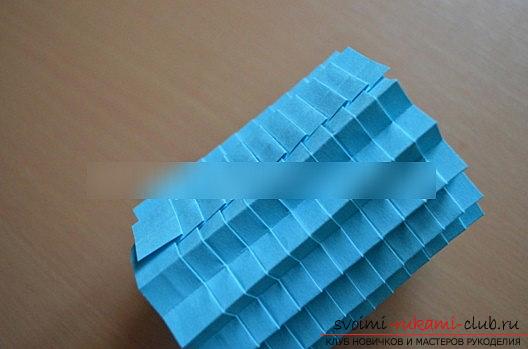 Preparation of the formleaf for 16 and after, for 32 elements. Also do in the longitudinal direction sequence. Then, on the extreme edges of our accordion, you can not bend at the last call. Next, the accordion must be straightened and using fold lines, collect a small wave design. For the longitudinal direction, it is necessary to assemble the accordion again. It turns out a variant of an interesting abstraction, which must be brought to mind. To begin with, we make a cylindrical shape. Then - a ball.
  It is necessary to make a combination of folds, putting ontheir each other, like a castle. Then, you need to tightly connect the ends of the product. Get a version of the cylinder with teeth. The edges from above and from below should be divided by means of a diagonal, getting the forms of triangles. Next - we form a ball. We decorate
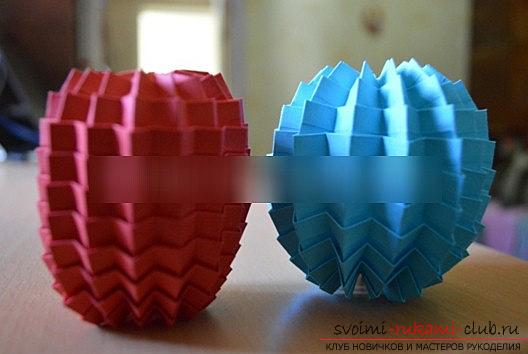
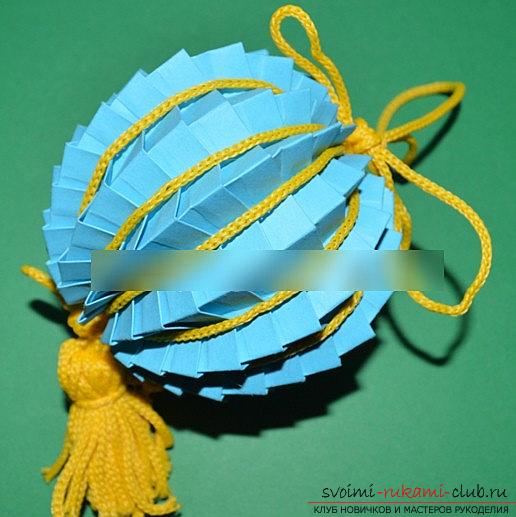
  We pull the wrinkles and so it turns outshape of the ball. It did not take any glue or scissors. In order for the ball to keep in shape, it can be glued together. Take the triangles from the top and bottom and glue them. We will make the same red figure using a piece of paper in the form of a square. The toy will be more oblong. The ball is ready! Now, we need to decorate and hang it. For this, you apply your knowledge. We used a suspension of yellow thread. With the help of a thread, you can also make a decorative version of the brush and tint the meridians of the ball. The product is ready!
Comments
Related posts:
 Origami and applique for the creation of the New Year Snow Maiden - master class of needlework
 Master class of quilling of a New Year's snowflake with own hands - a needlework lesson
 Creation of a New Year's toy using felting techniques for beginners - a master class
 Master-class on making by own hands a New Year's fur-tree toy in the technique of reverse decoupage
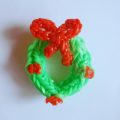 How to make a toy for the Christmas tree from the rubber pieces "Wreath" with their own hands? Lesson on the manufacture of cute toys for the New Year's decor