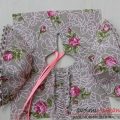
Easy pattern of dolls for beginners.
You have a little daughter growing up and you wantmake her a nice gift, but do not know how? Master-class, for making dolls of cloth with a pattern of patterns and tips will help make a doll even for those who have never done it.  For work you need such a list of materials:
- cloth for the body of the doll (a cloth for a small patchwork of size 30 to 90 cm is suitable);
- threads for face design;
- packing (about 100 g).
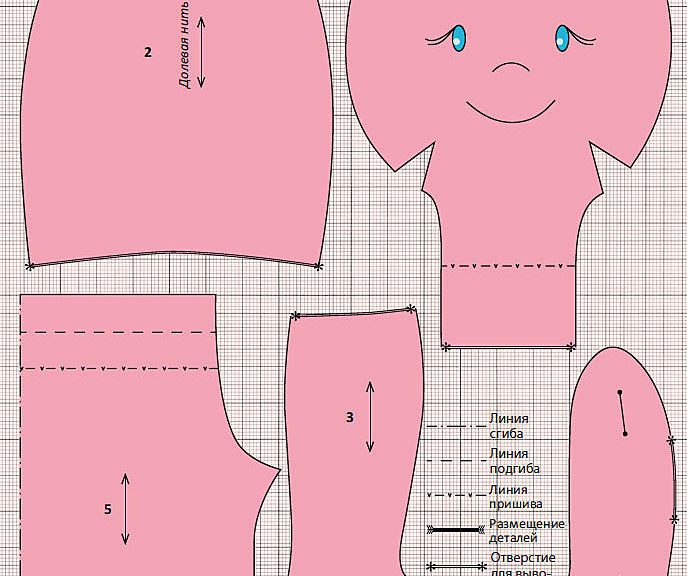
As a basis, we take a pattern that you cansee below. Its details must be transferred to the fabric, paying attention to the correct location of the share thread. On the perimeter of each part, you need to add about 0.5 cm, which are needed for the allowances for seams. Next, you need to cut the right amount of parts. Here it is worth considering that the knobs and legs are cut to both the right and left sides, so you need to cut two parts in one direction, and two others in the opposite direction, you just need to turn the pattern around. 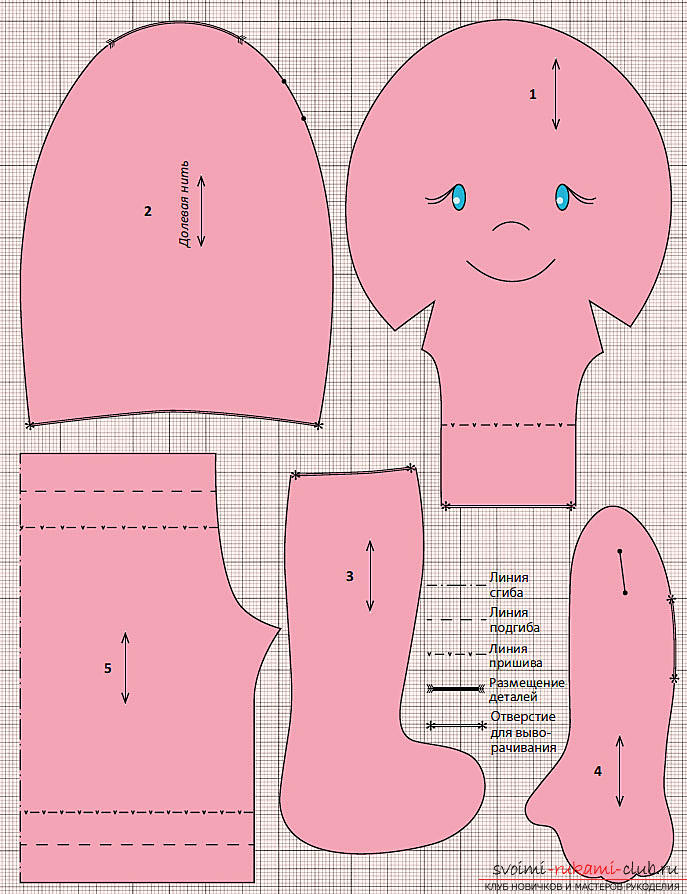 We should get:
- 2 parts of the head, in the diagram denoted by No. 1;
- 2 parts of the trunk - number 2;
- 4 parts of the hand - number 4, two of which will go to the right hand, and two - to the left;
- 4 leg pieces - number 3, of which also two will be the right foot, and the other two - the left foot.
Make darts on both parts of the head, afterfold them face to face with each other and make a seam. The place of connection with the neck should not be touched, tk. Through it will be the head stuffing. While sewing your feet, leave the upper edges unshielded, through which the packing will also occur. Sew the two parts of the body along the perimeter, the marked edges also leave unadjusted. With handles you need to do a similar operation. Turn out all the parts. Begin to stuff them and straighten all the shovels using a stick. After the work is done, sew the upper edges of the handles with a secret seam, and the edges of the legs - with the loop over the edge. The same seam needs to be sewn a hole located on the neck. Then at the same place, you need to sew the edge with large stitches, using a string of contrasting color. Place the sewn neck in the hole on the body. Turn it to the wrong side and sew. For more comfortable work, you can pin the trunk to the head with a pin. In order not to worry about preserving the integrity of the pupa during the game, it is necessary to sew together the line and the line on our pattern together with the help of a seam "back needle" and then the allowance to the seam on the neck - hinged suture. Thus, the doll will serve you for many years. Fold all allowances on the sutures along the lower line of the trunk inside the article and sweep them. Then place the legs in the holes, pin with the pins to the front body part. Then you should fill your body, but not as much as the rest of the parts. After this work is done, you need to sew the body to the legs with the help of a hidden seam. Sew the trunk and between the legs of the doll. Sew the doll's hands also with a hidden seam. Our torso for pupa is completely ready, decorate the eyes and beautiful hairdress of your doll. Also on our scheme is one of the variants of patterning the trousers for the resulting pupa. Need to cut 4 pieces at number 5, taking into account 0.5 cm allowances. Next, you need to sew details and smooth all the seams. Make a kuliska for the rubber on the bottom of the product, using lace. Execute the top edge so that you get a place for the gum. Insert the elastic, sew its edges, cut off all the tips of the threads. And the pantaloons for the doll are ready.
Comments
Related posts:
 Lightweight fabric furniture
 English gum for beginners. Easy knitting pattern for knitting a simple man's scarf
 Easy knitted knitted blouse for a child. A detailed knitting chart with description and photo for beginners
 A new version of the doll Tilda in a summer dress with her own hands - master class pattern
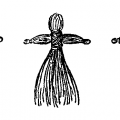 Dolls from threads with their own hands + scheme.