
As for the original pattern, sew a beautiful doll from the fabric in a few hours
It is always nice to have a doll of textiles at home,which was made by own hands. Such handicrafts always complement the interior, make the house cozy. From toys that are made by themselves, there is some kind of nice warm energy, which is difficult to describe in words. And most importantly - fabric dolls are liked by adults and children. 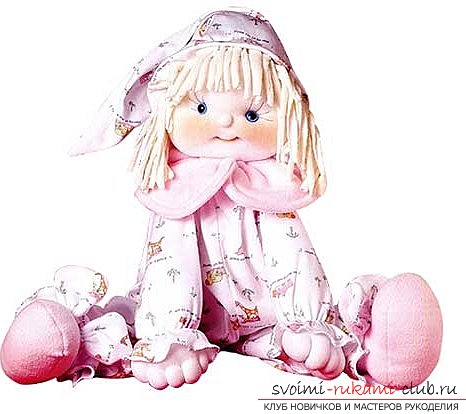 How to sew a doll by yourself? In fact, everything is not as difficult as it might seem at first glance. The pattern can be downloaded on the Internet, and the materials can be found at home among unnecessary things. We need: - white or beige knitted (you can nylon) stocking - special threads from polyester so you can sew seams - threads of coffee shade for embroidering eyelashes, - sintepon, - pins with round plastic heads, - flannel fabric soft pink or yellow, - eyes-buttons, which can be purchased in special stores, - additional fabric. How to make a head From a white or beige stocking it is necessary to cut off about 12 cm and sew it on one side. Next, the stocking should be filled with sintepon to make a smooth ball, the diameter of which should be about 20 cm. Next, you need to take a small piece of the same stocking and roll in the palm of a very miniature ball. Then you need to gently identify it in the main ball and beautifully strengthen it from the front side, using a white thread. It turned out our nose. It remains to sew the hole to place the seam on the top of the head.
 Now you need to make eyes and mouth. It is important to follow the instructions and do everything neatly. Mark the pins with those meta, where the eyes and the mouth of the doll will be. So, there should be only four marks. Oh - this is the crown. Needle need to enter at point O, output to A1, then from A1 to go to B1. So repeat it several times. All the stitches are internal.
  The next stitch - from B1 to A2 it is necessary to repeat3. After that, you need to make the stitches from A2 to B2, too, 3 times. It remains to do the same with the points B2 and A1 and A1-B1. In the end - a stitch from B1 to B2 and even to the point O. As a result, neat dimples should be formed for the mouth and eye.
  Eyelashes should be "painted" with stitches using coffee threads. It remains to apply makeup, using a brush. Hands and trunk of the pupa It is necessary to cut out two squares of 5 * 5 centimeters fromthe very stocking. And to sew around the perimeter of each seam "forward the needle." Next, the bags must be slightly pulled off, filled with a sintepon and sew a hole. The last stitch is left from the top of the sack to the edge. He is the inner one. Total - 4 stitches for the formation of fingers. Just do the second hand. Then, by the same principle, make the legs and the body of the pupa. Fill with sintepon and stitch. That's all, the doll is ready! In conclusion, you need to come up with clothes for your doll. Connect your child's fantasy and make your own wardrobe for your creation!
Comments
Related posts:
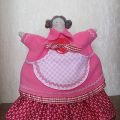 As for the pattern, sew a cute tilde doll with a hot-water bottle on the kettle by hand. Master class step by step will tell you about the main points of sewing
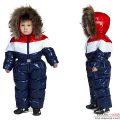 How to sew a warm winter overall for a child in a professional pattern. Recommendations on sewing and choosing fabrics for children's winter overalls
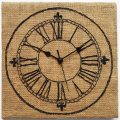 Original dial for wall clocks made of fabric
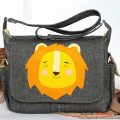 How to sew a cute baby bag in the form of a lion. An original bag made of cloth will certainly please a small fashionista. Sew it is not difficult with your own hands
 Learn how to sew from the fabric of the interior doll "Anna Bollein" you will help the material of our article