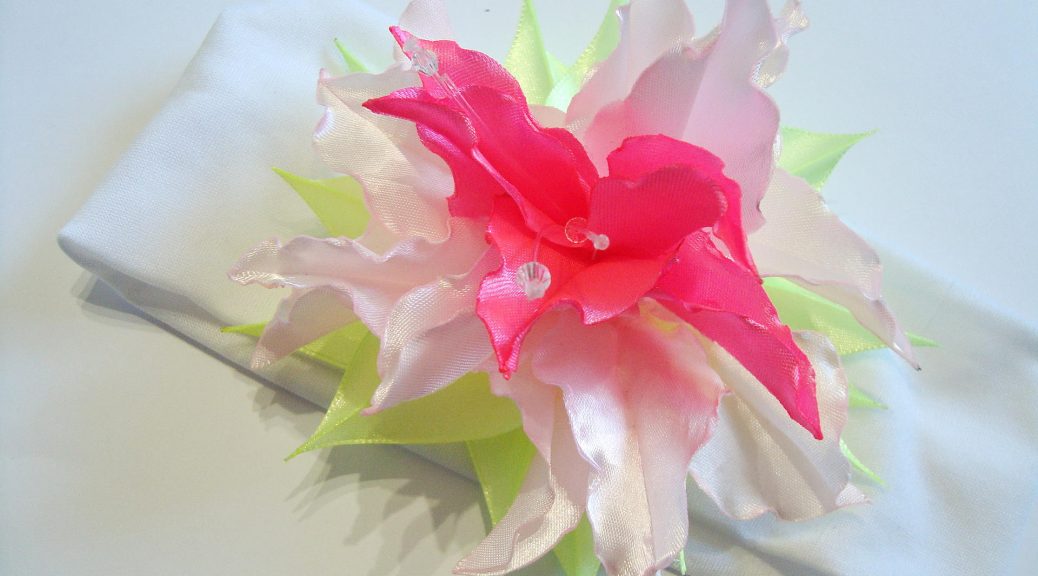
Lilies kanzashi from tapes - we master ourselves
Many lily girls like it. This unusual flower beckons with its large petals and fascinates with the variety of colors. Many craftsmen recreate the beauty of the lily from polymer clay, beads, and in this master class it is demonstrated how to create a lily of ribbons in Kansas technique. 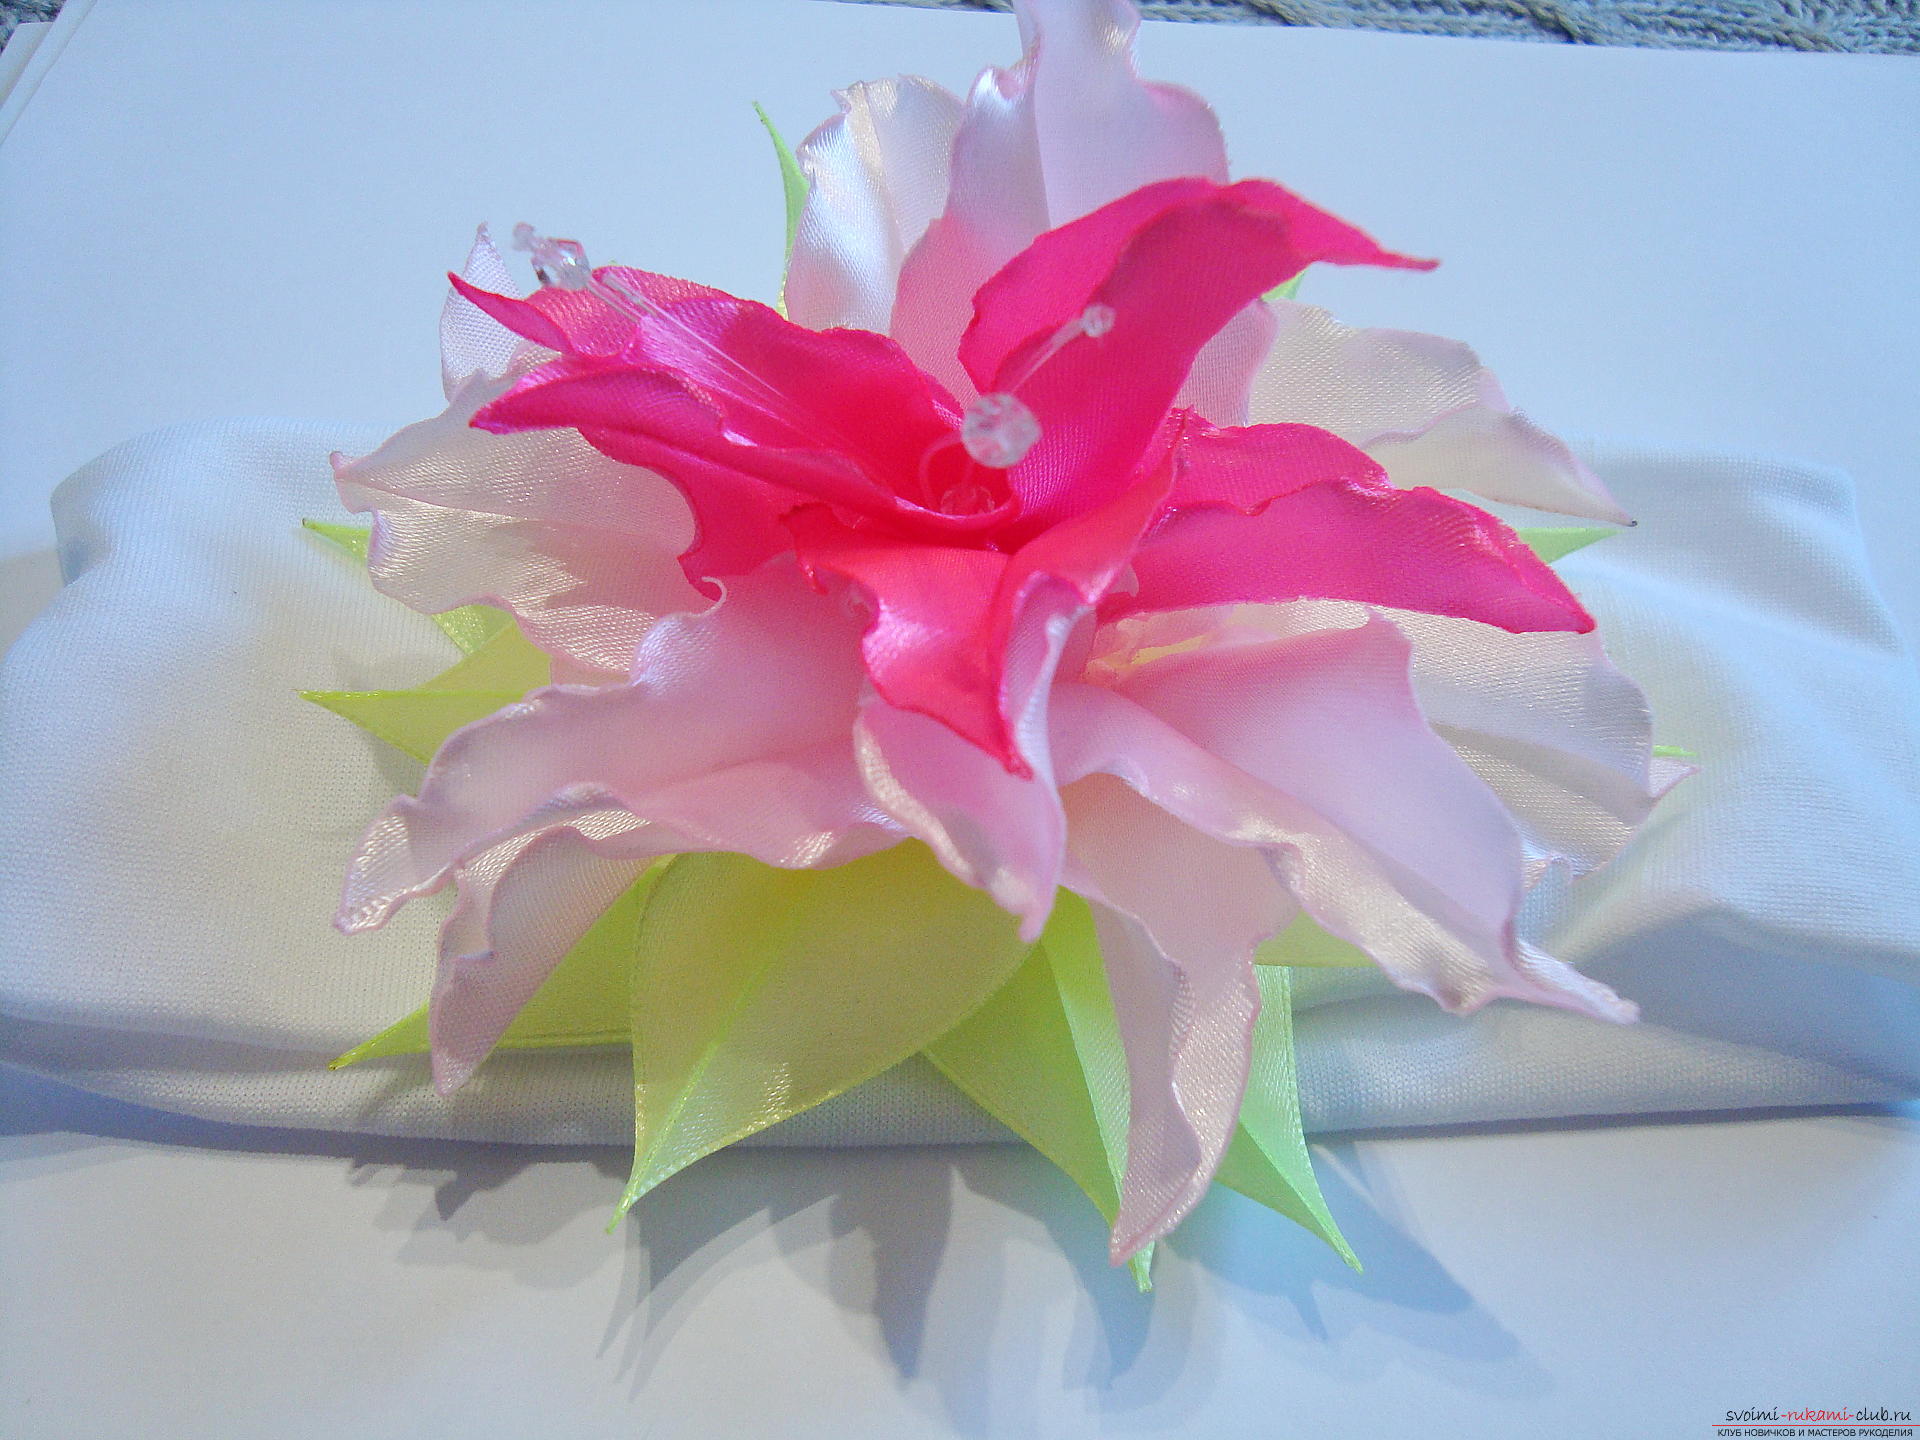
To create a lily, the following materials will be required:
Video master-class on the creation of Kanzashi lilies
From this lesson you can easily create kanzashi lilies step by step, follow the master's advice and do not get distracted while working with fire! 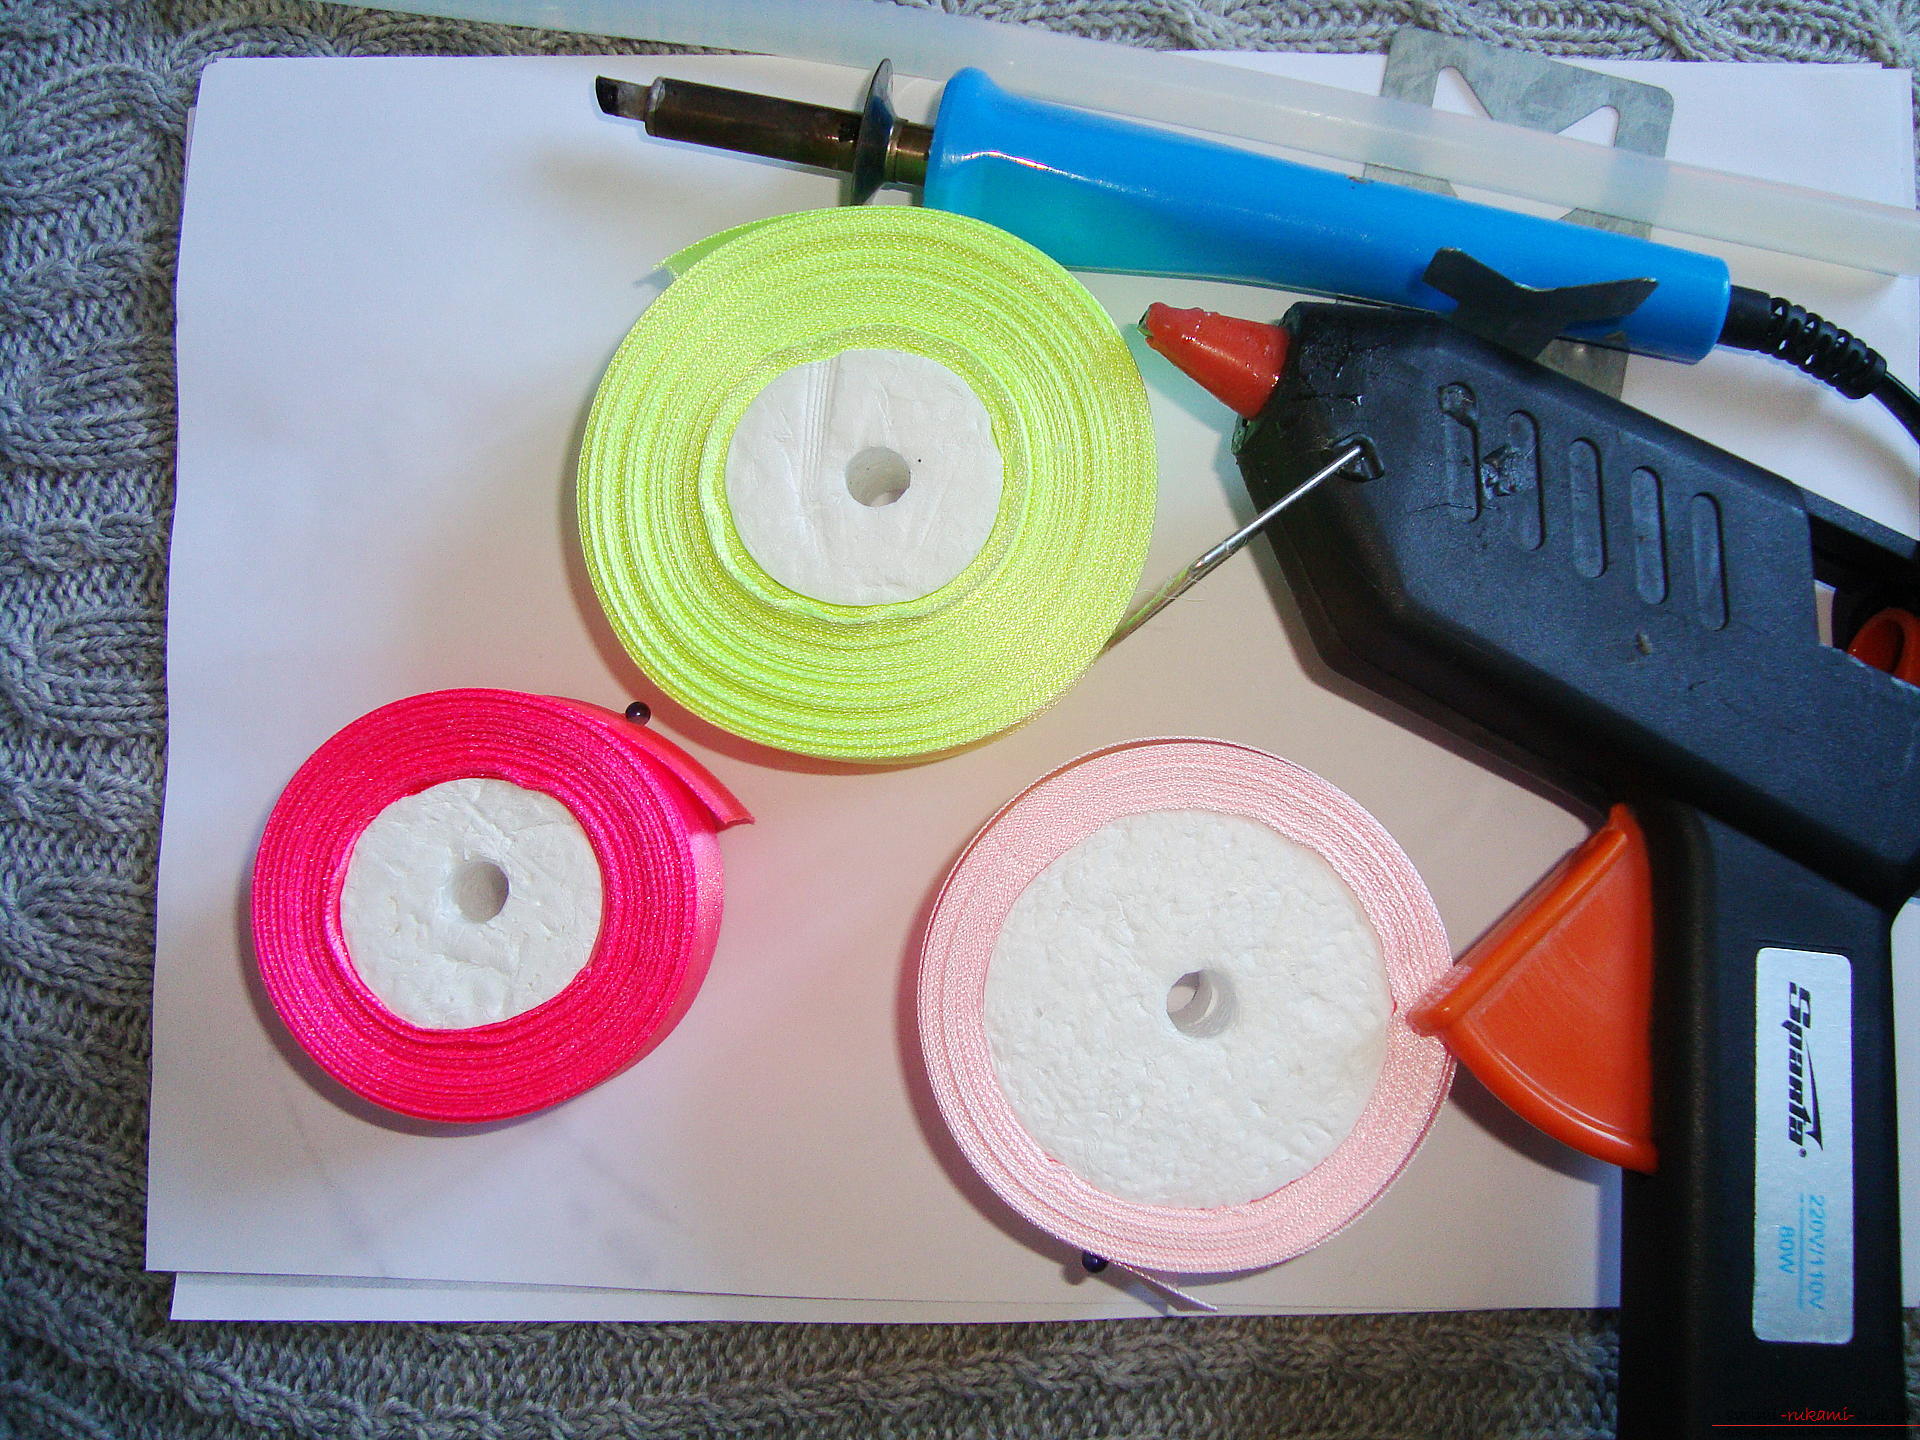 First create green petals for the baseproducts. These tubular petals differ from the elements that form the upper part of the flower. For the elements of the bottom row, take the braid, the width of which is about 3 cm and separate the cuts to 14 cm.
 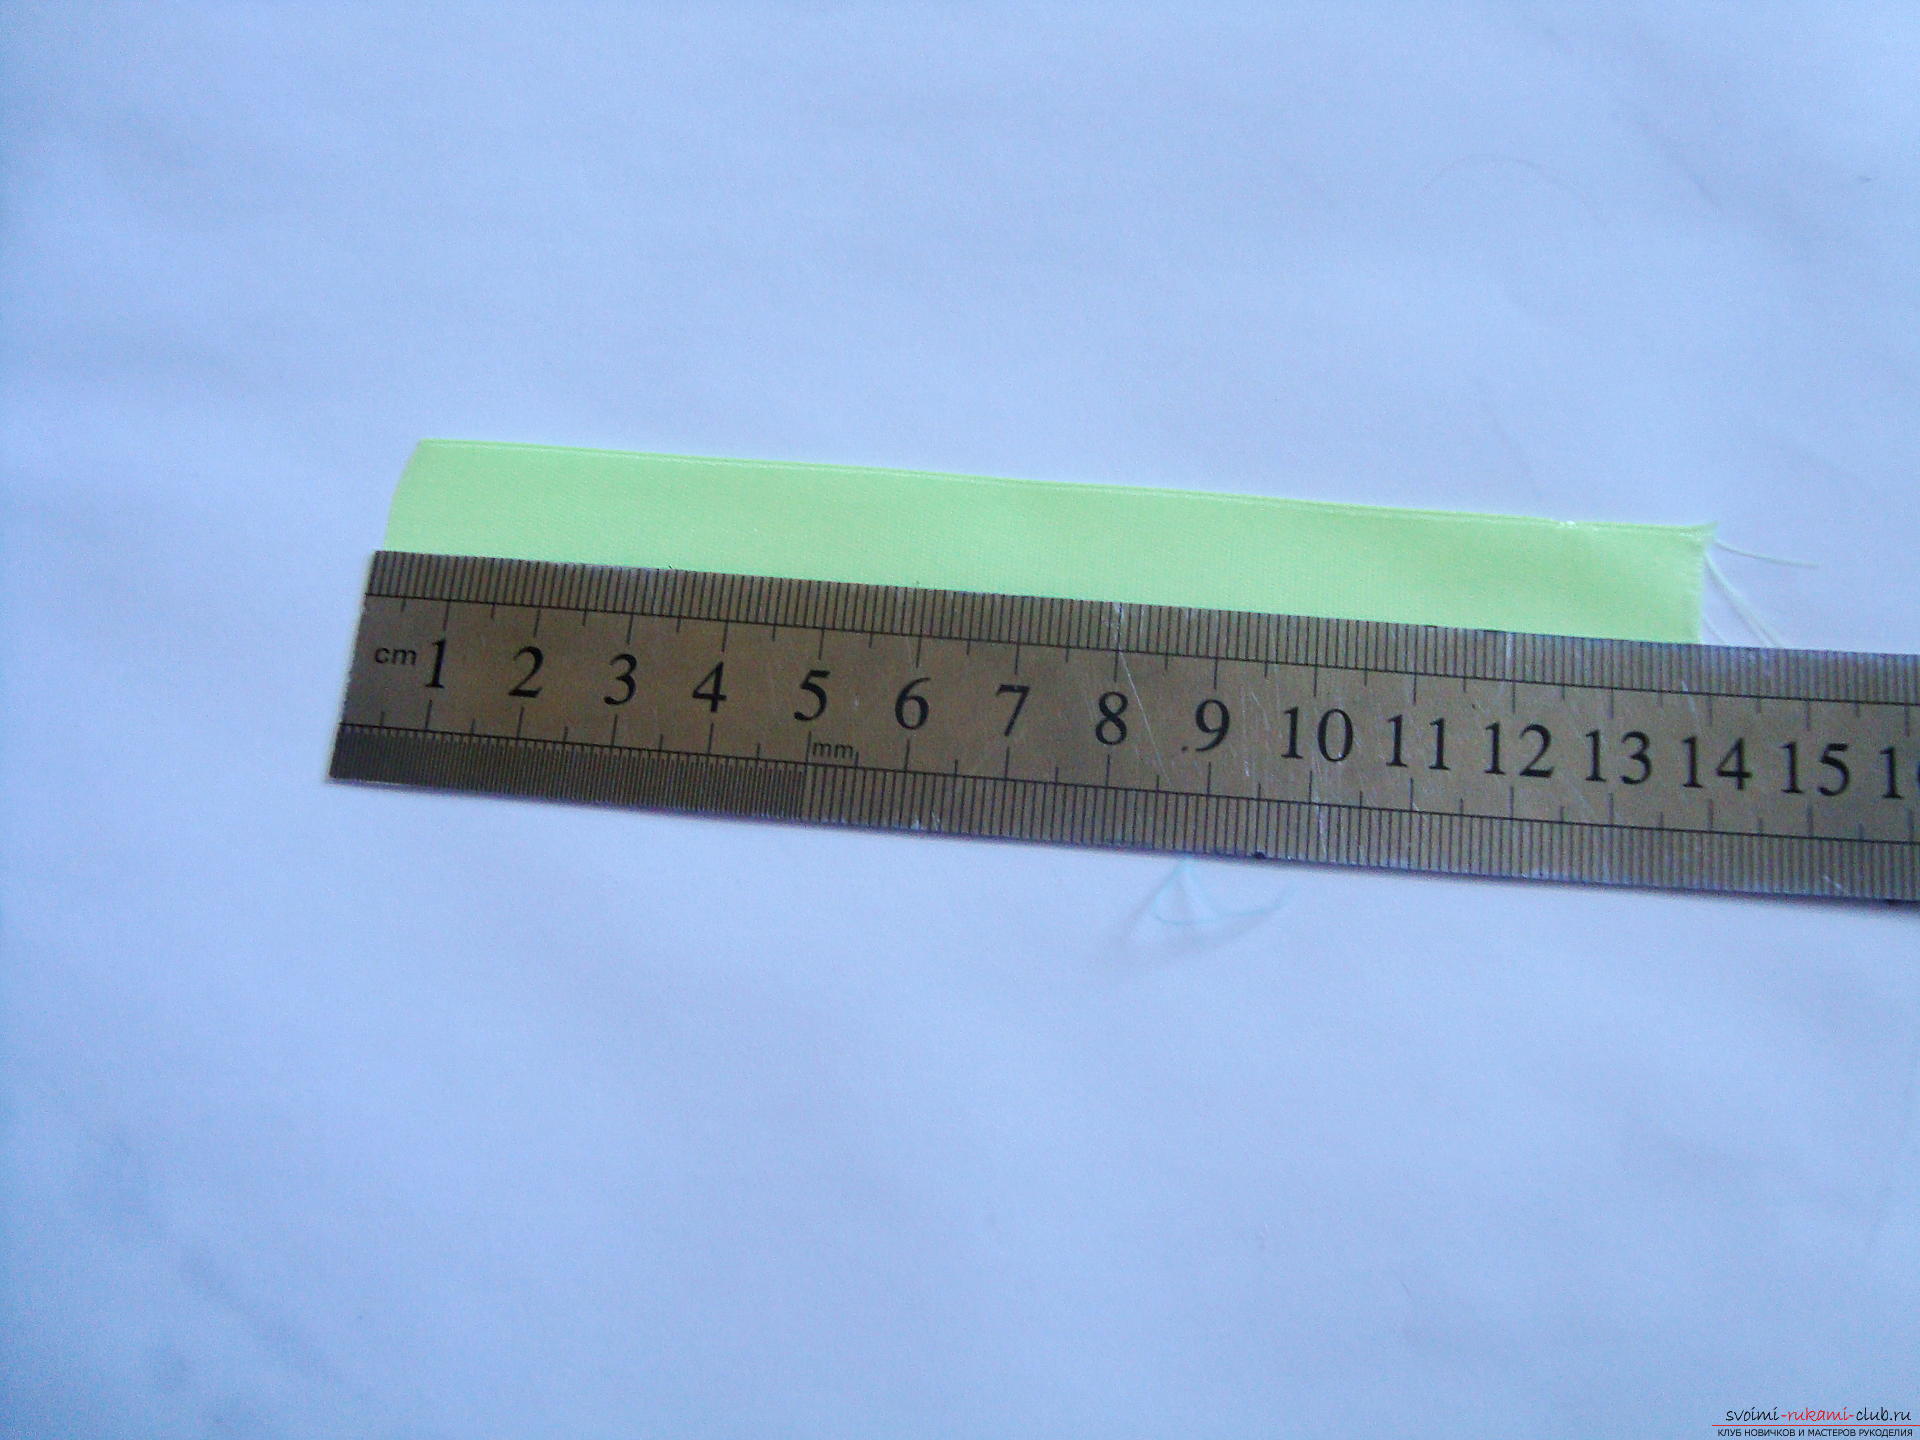 It will take quite a few cuts (18-20 pieces),since the base is formed by two tiers of parts. Each cut along a horizontal line in the middle in two layers. Outside should be a smooth face of the atlas, inside lies the wrong side. The shape of the petal is determined by cutting the workpiece almost along a diagonal line. The ruler must be attached to the upper right corner, and the lower cut-off point is just above the bottom corner on the other side.
 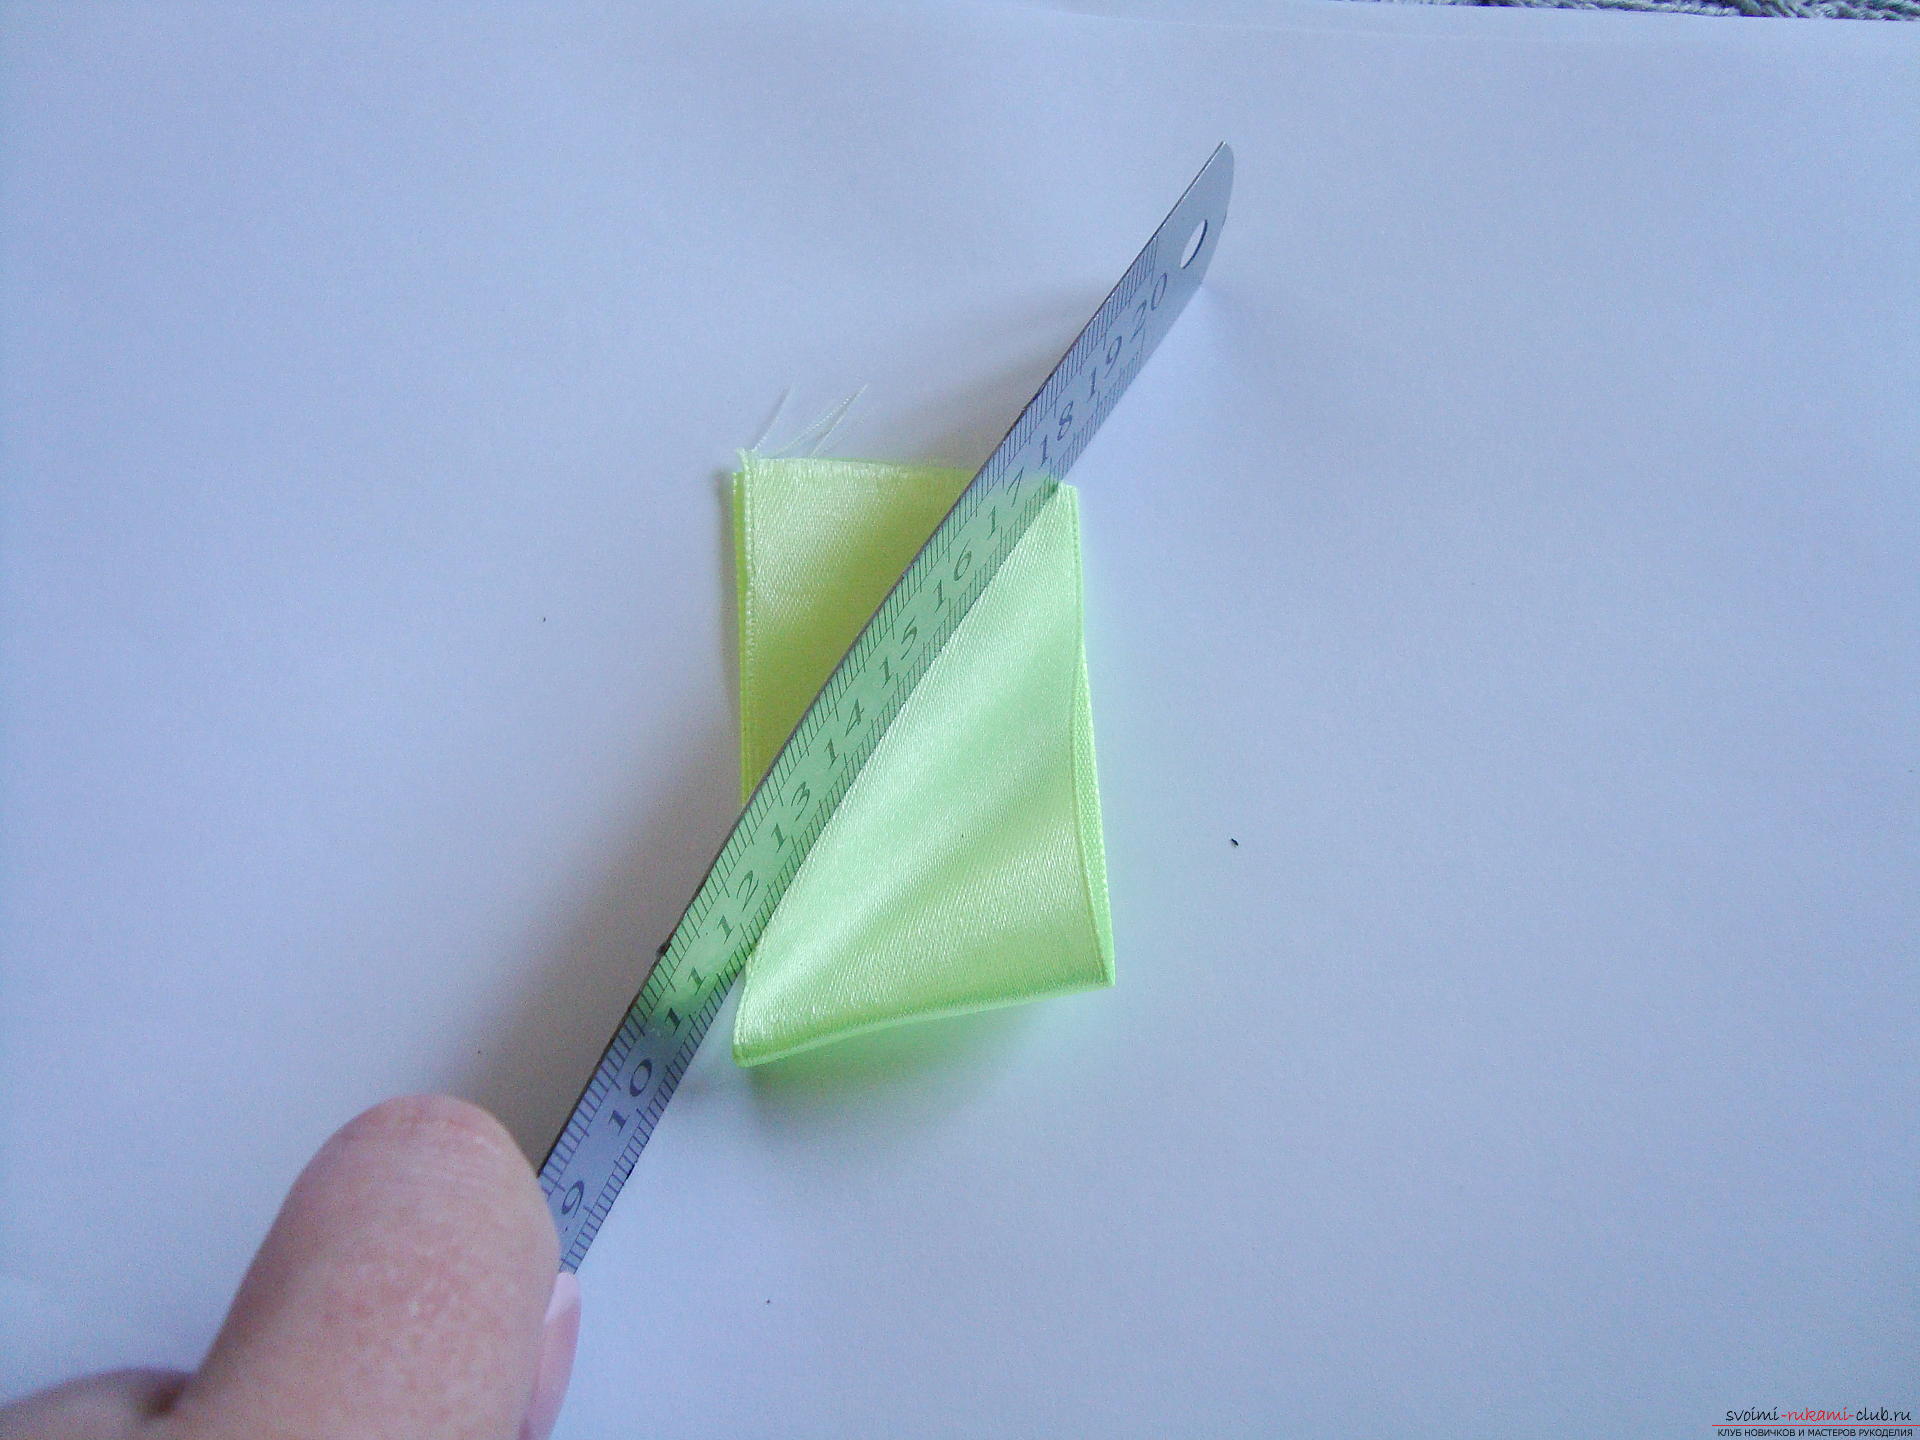 It is very important that when cutting off part of the part there is a hole near the corner, because through it the petal will turn out. Procurement after cutting off part of the matter will take the form:
 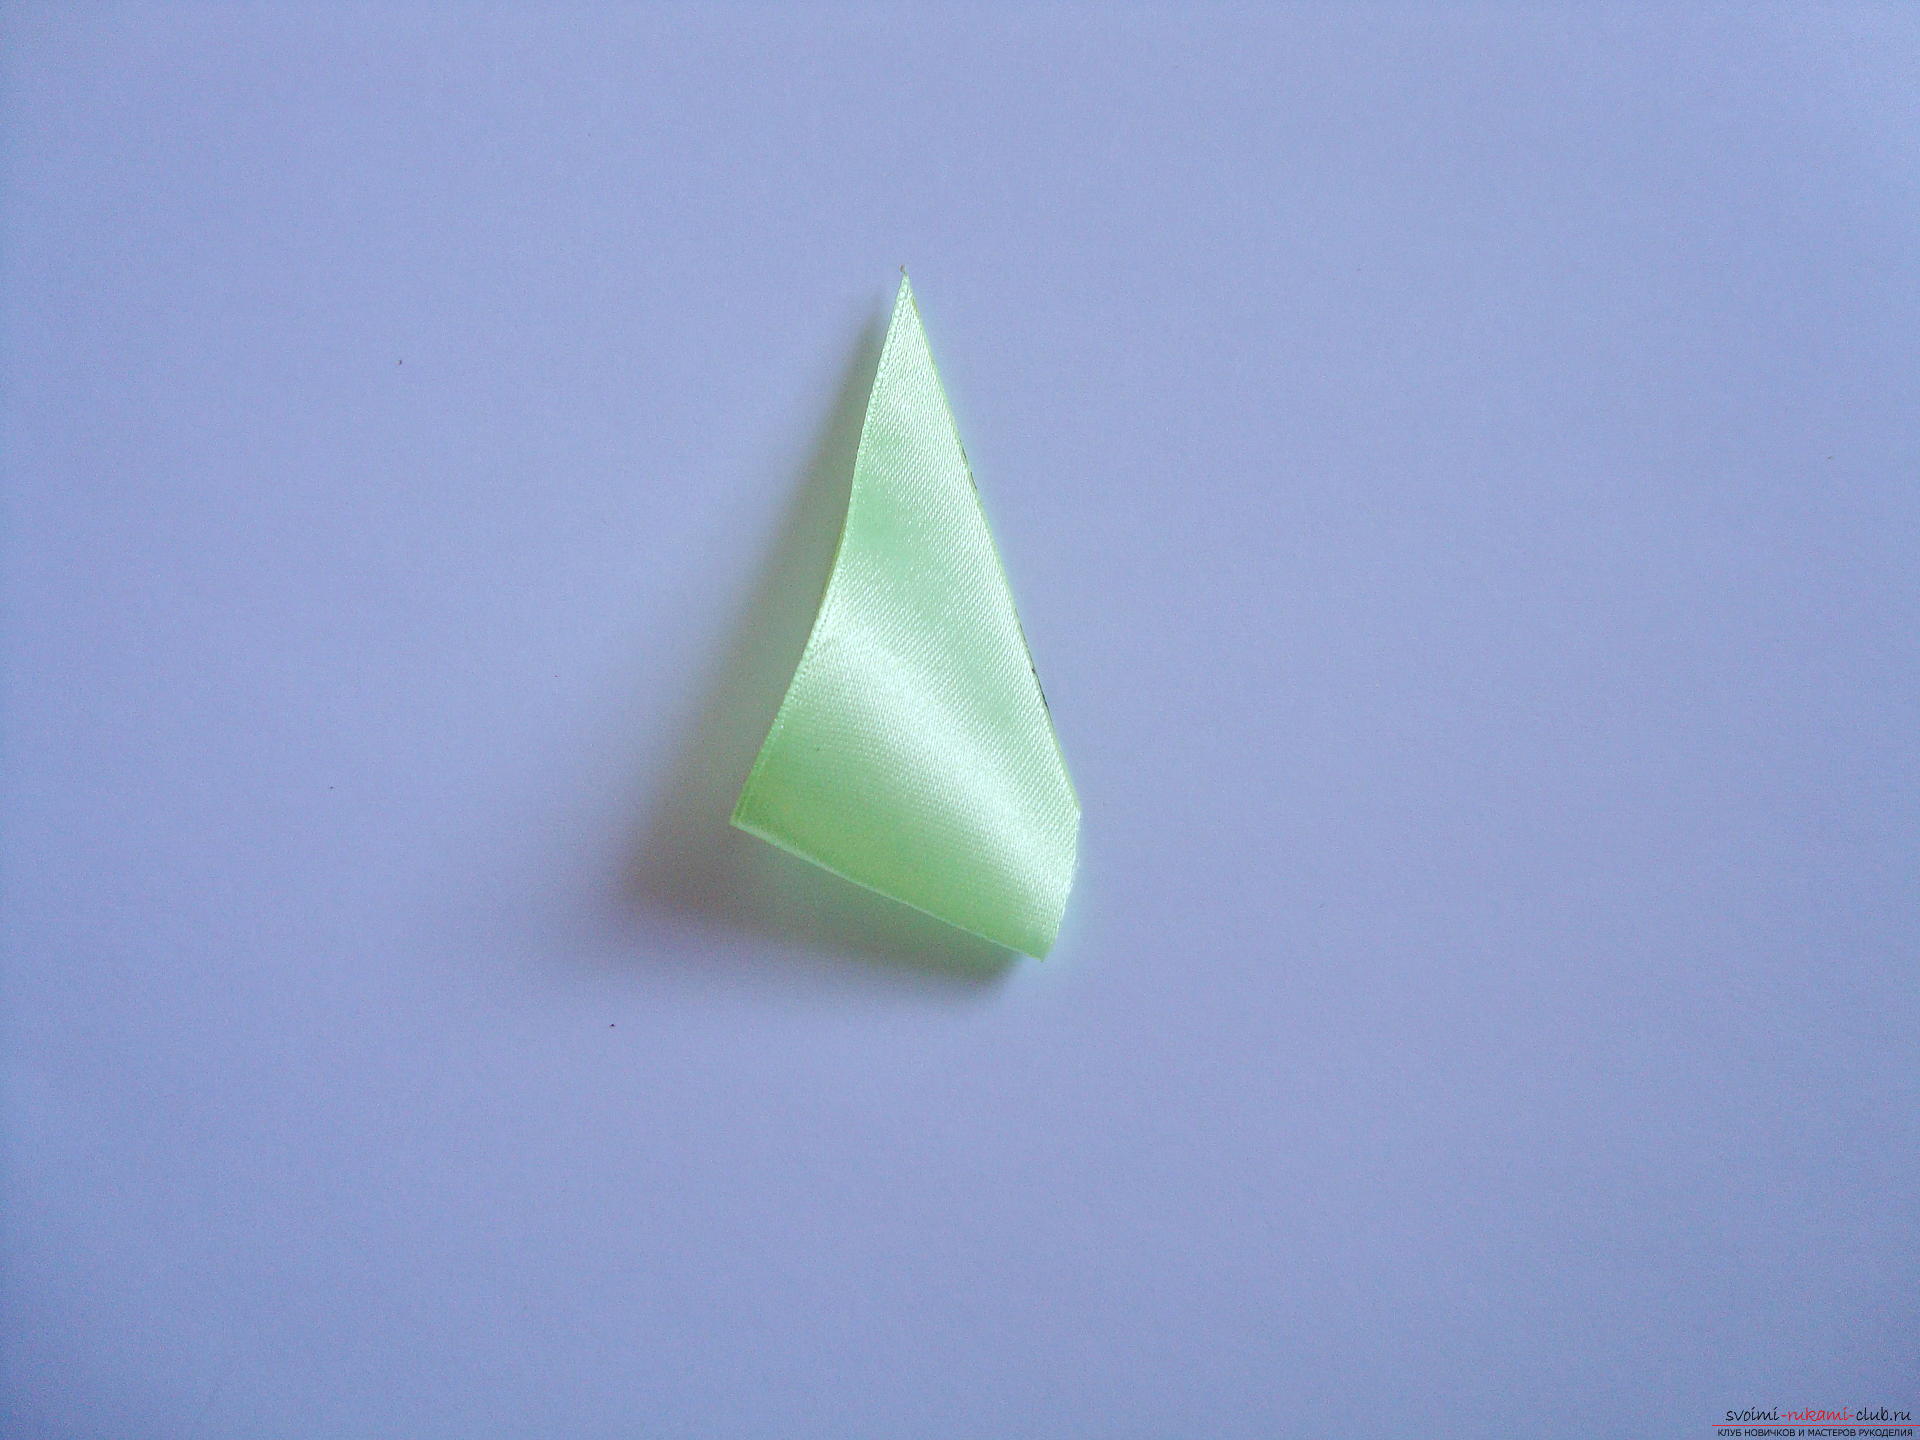 To give the final form to the sheet,it is necessary to turn it out through the hole that remains near the bottom corner. The turned petal takes on a tubular shape, which will provide a three-dimensional base of the product.
 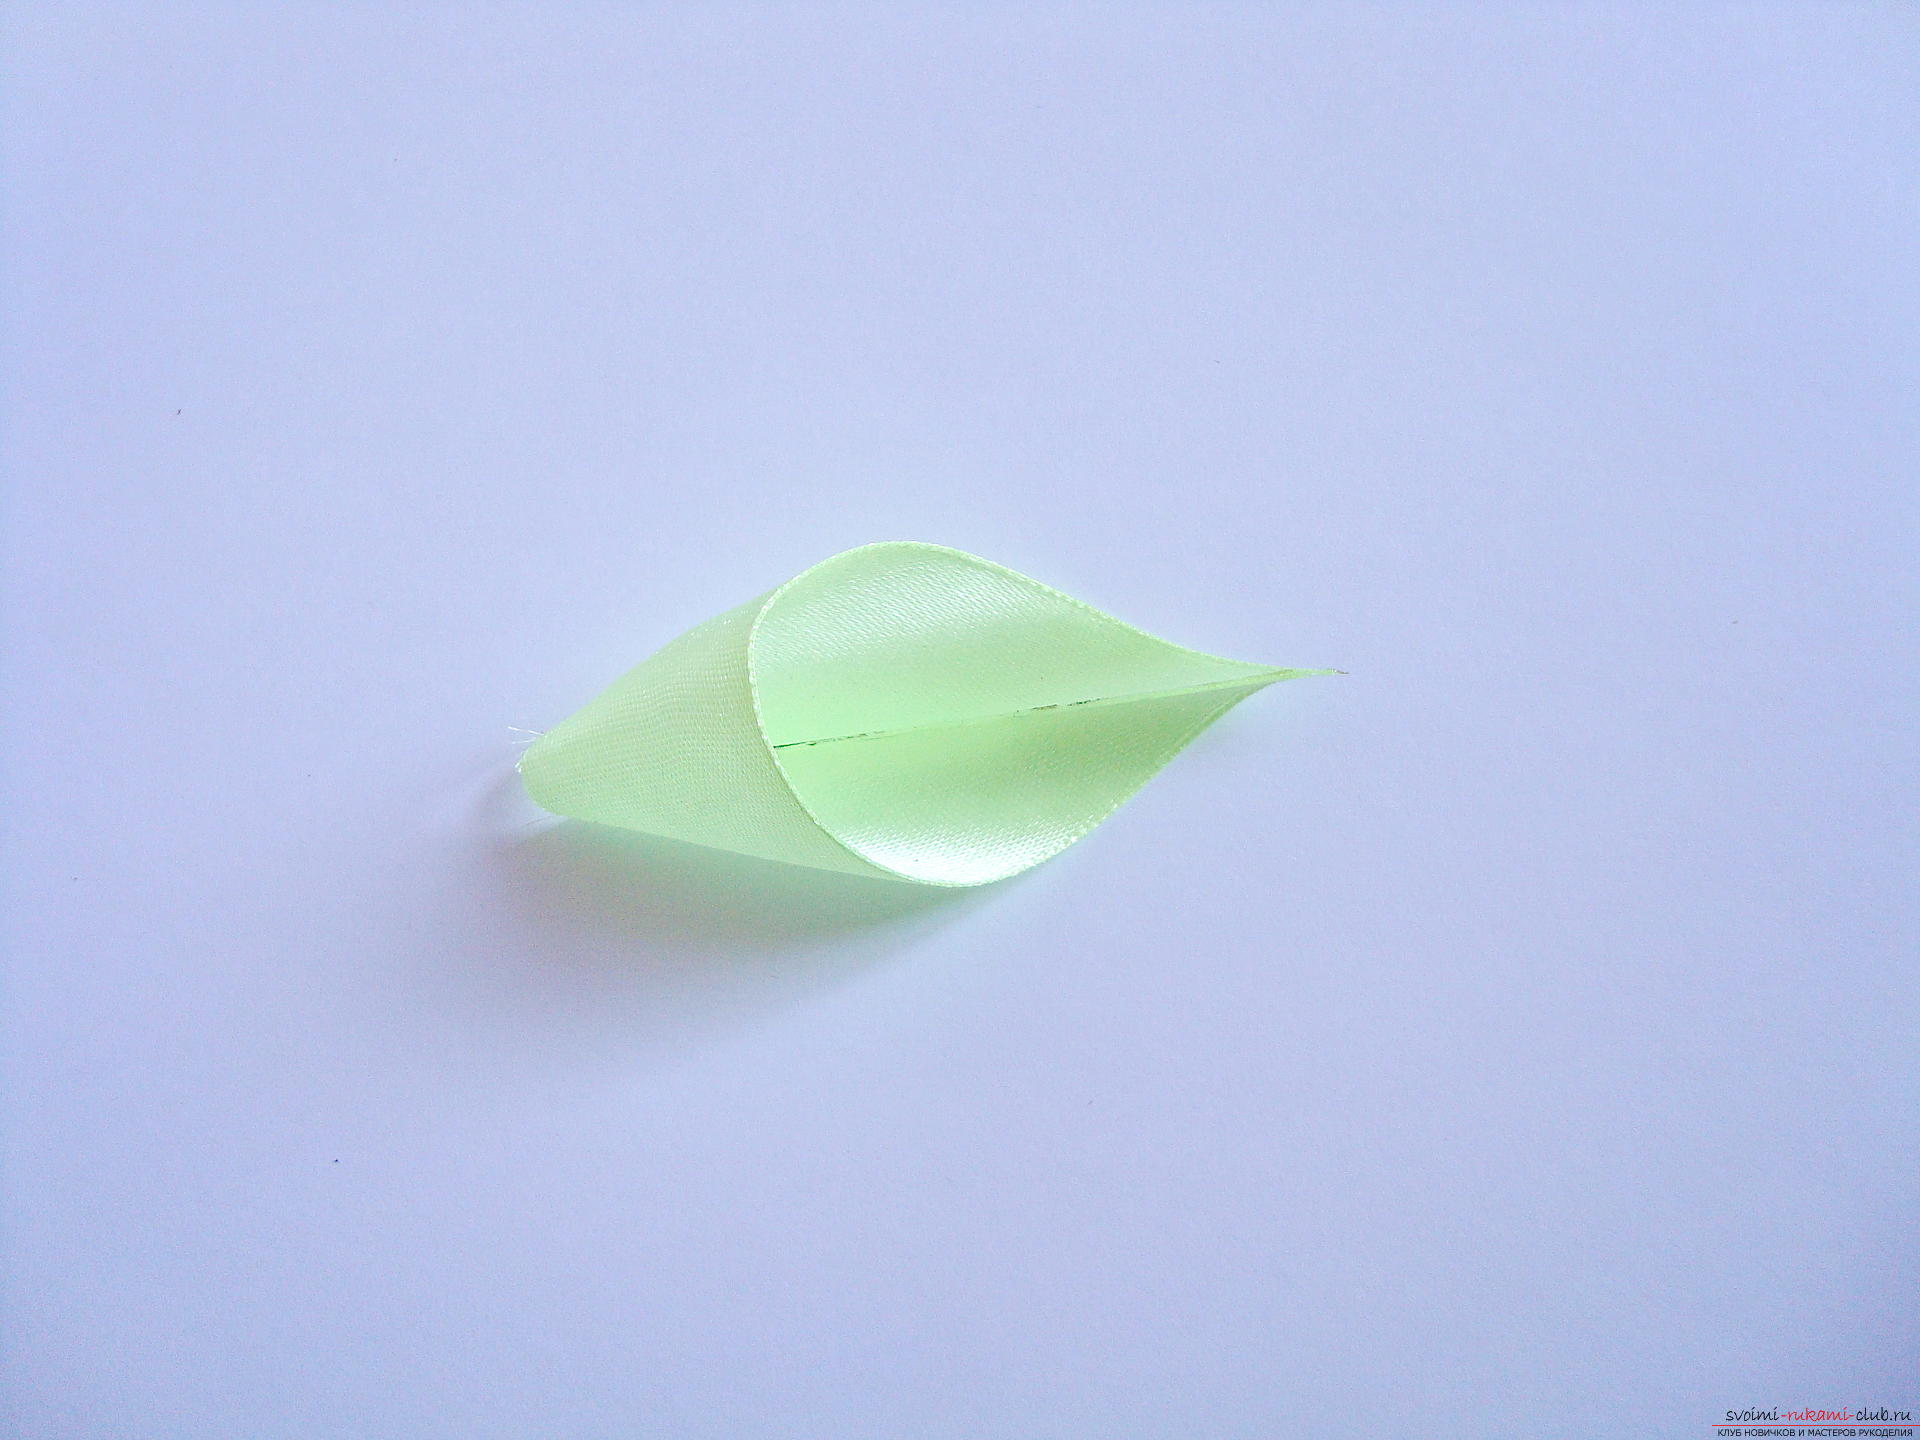 Prepare a round billet 3 cm in diameter,on which paste lettuce petals. After creating the first layer, proceed to the formation of the second row. Elements of the second tier are glued between the parts of the lower row, which will create a dense, but at the same time air base.
 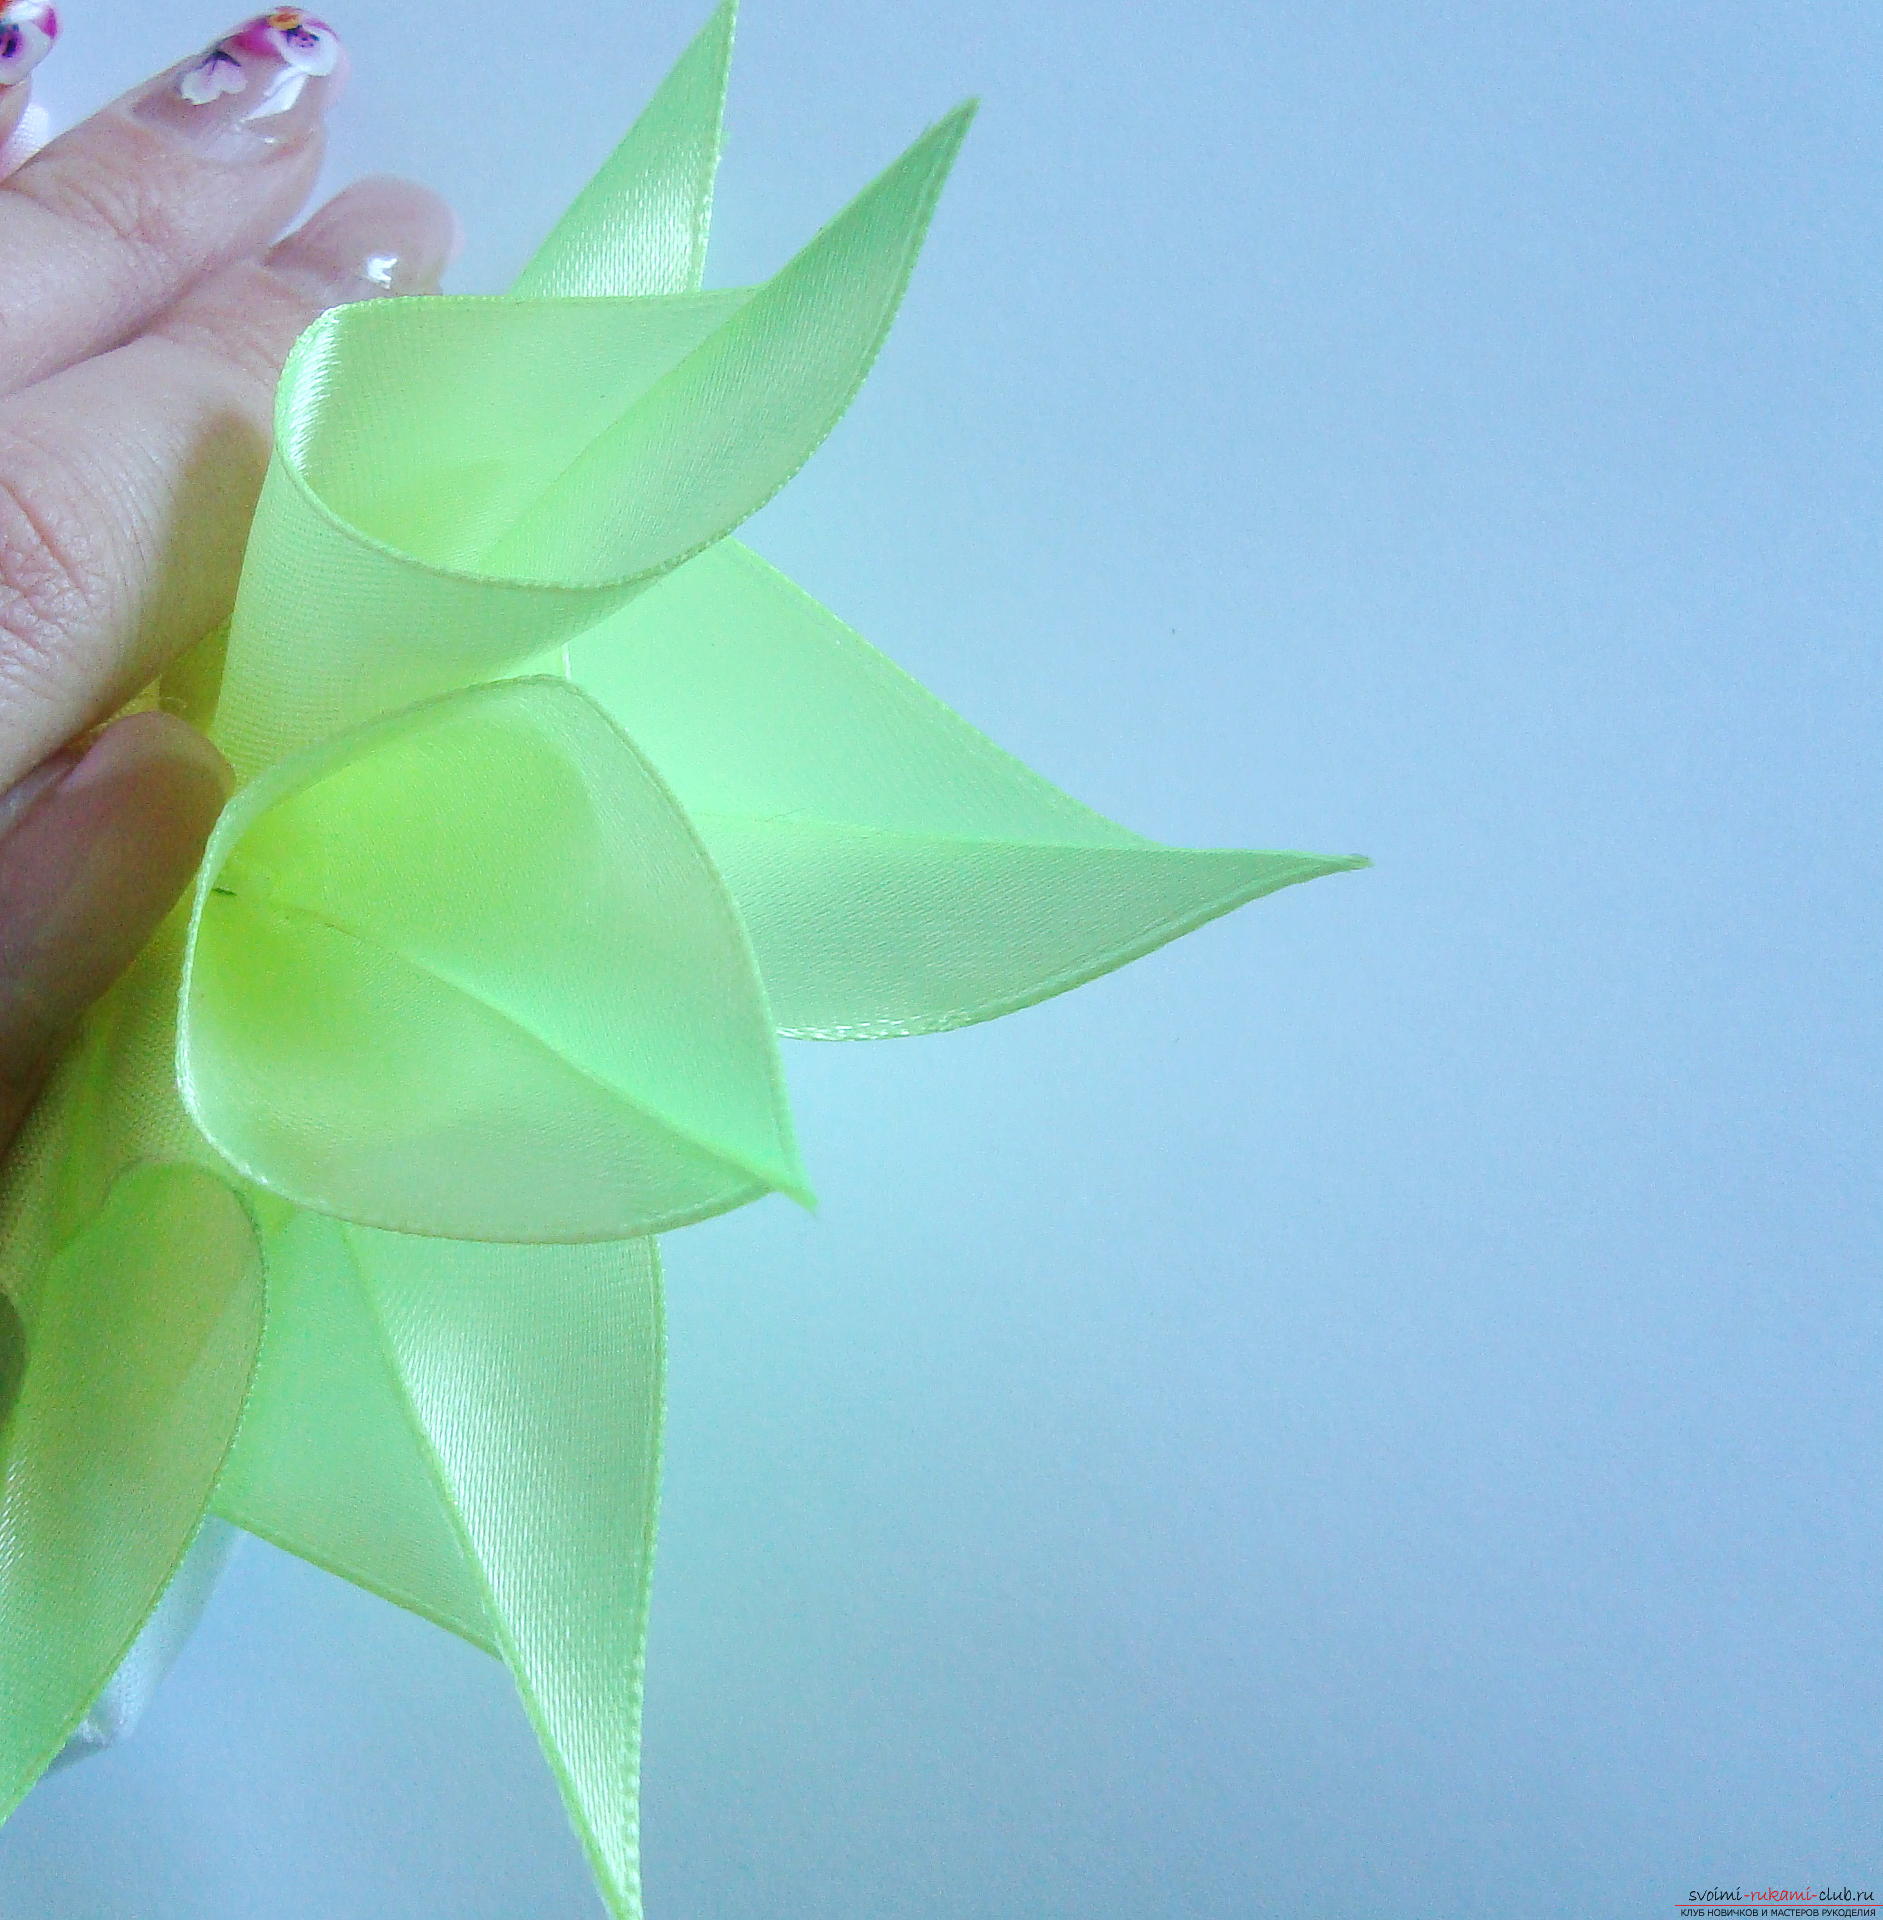 At the next stage, we begin to formpetals of a lily flower. For the elements to be even, we need a template that is easy to create from a sheet of cardboard. With the edge of the sheet, cut a shallow arc, its length is 5-6 cm. This template will provide an average spade of the petal, so that the part will take the necessary shape. Next, take a cut of the tape of a gentle or bright pink color. The length of the cut is about 13 cm.
 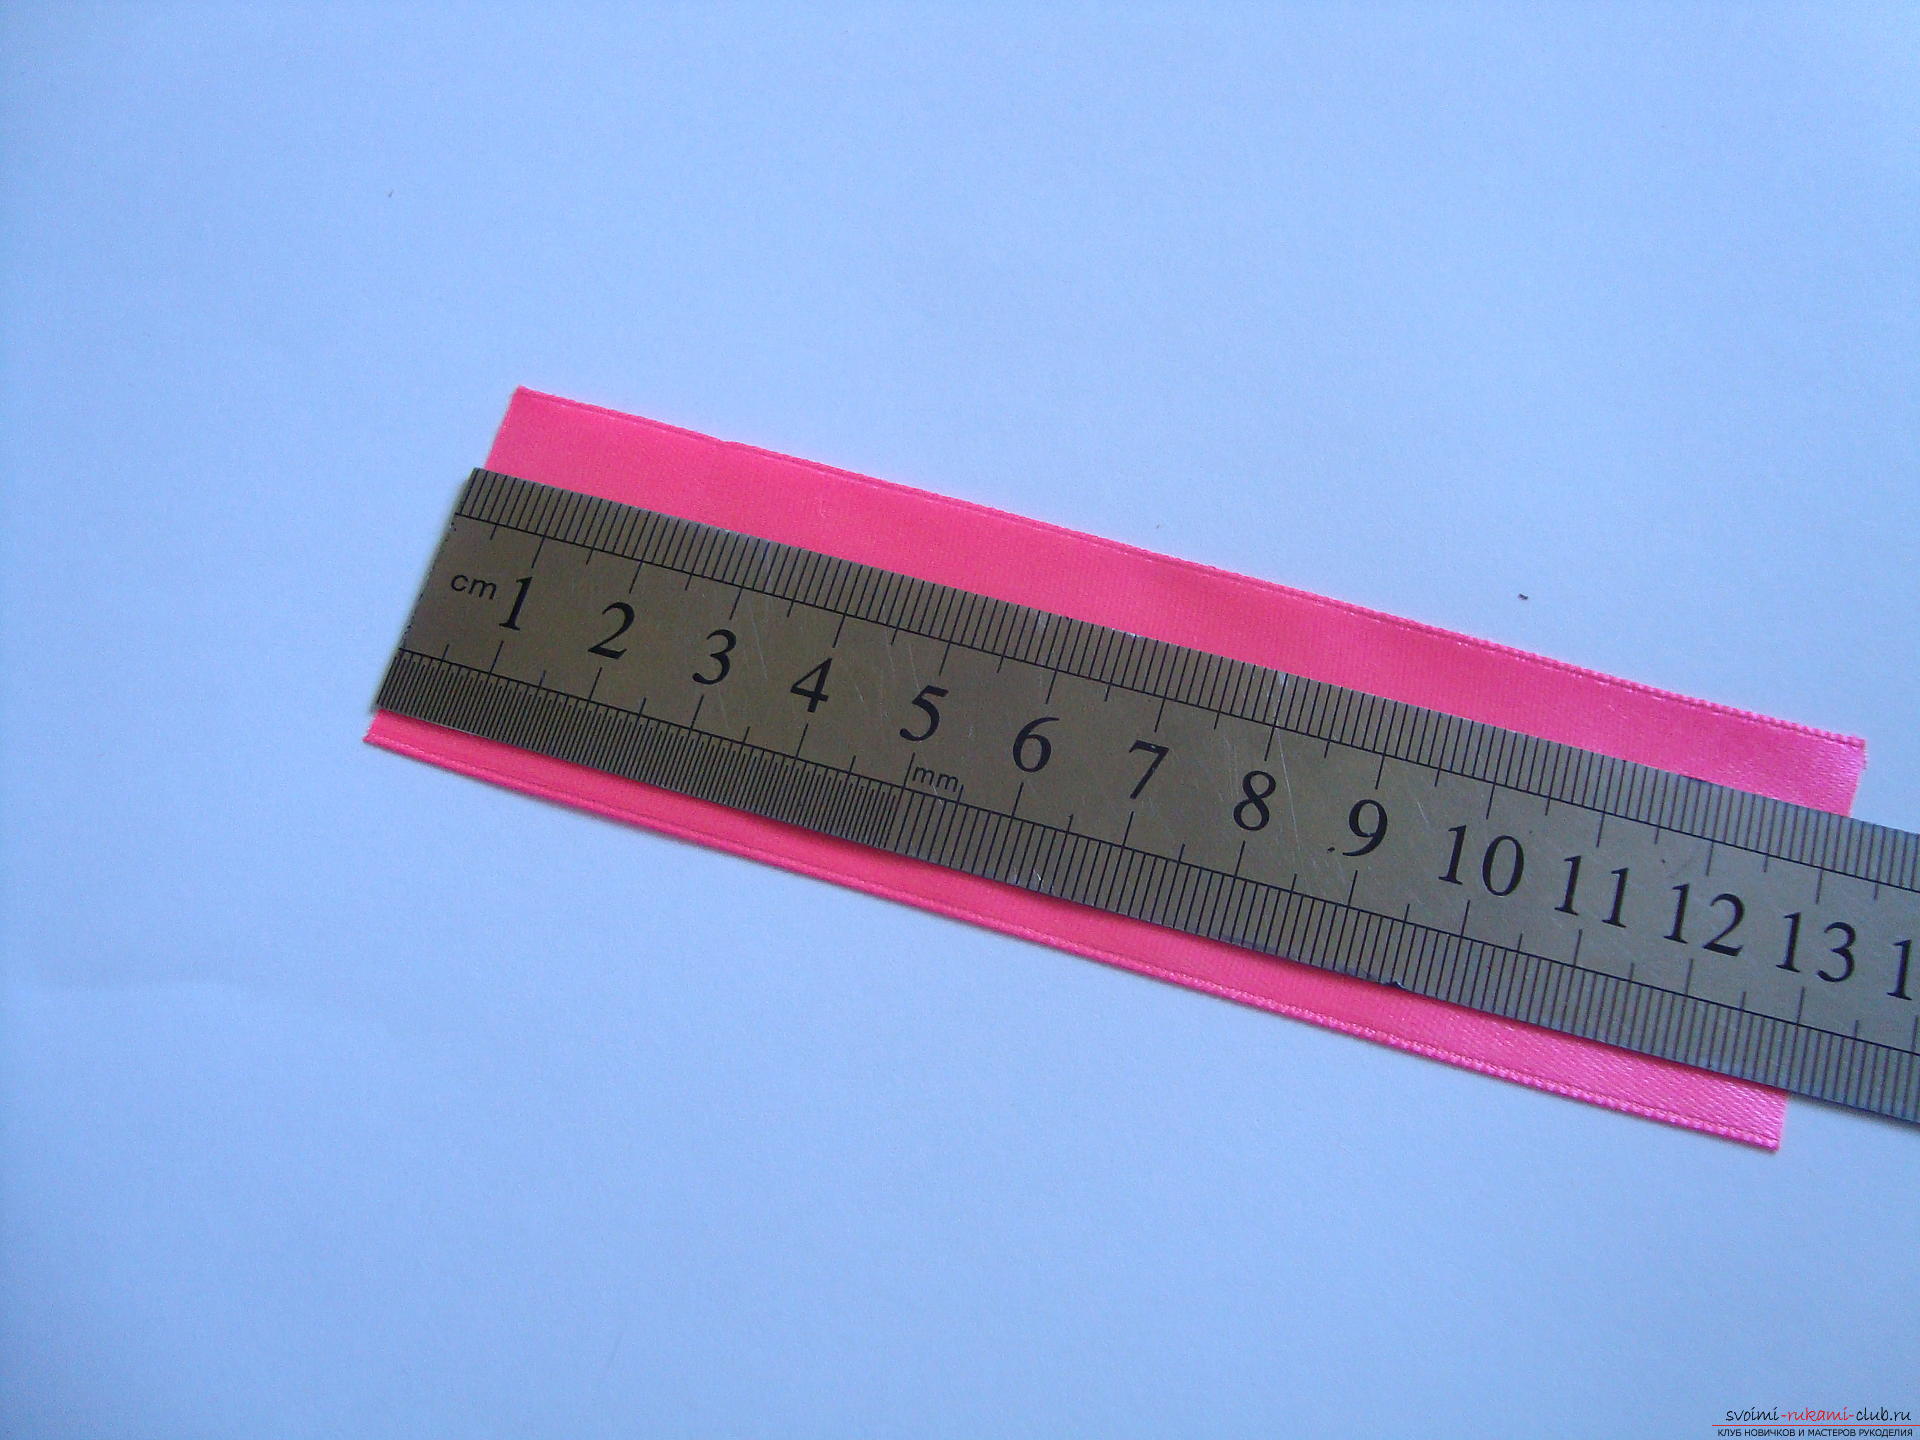 Fold the satin slice with the front smooth sideInside, and the wrong side forms the outer part. The fold line runs horizontally exactly in the middle of the workpiece, it lies across. Then heat the burner, put the folded end of the satin on the glass, push the cardboard pattern to the edge and burn out the arc on the part.
 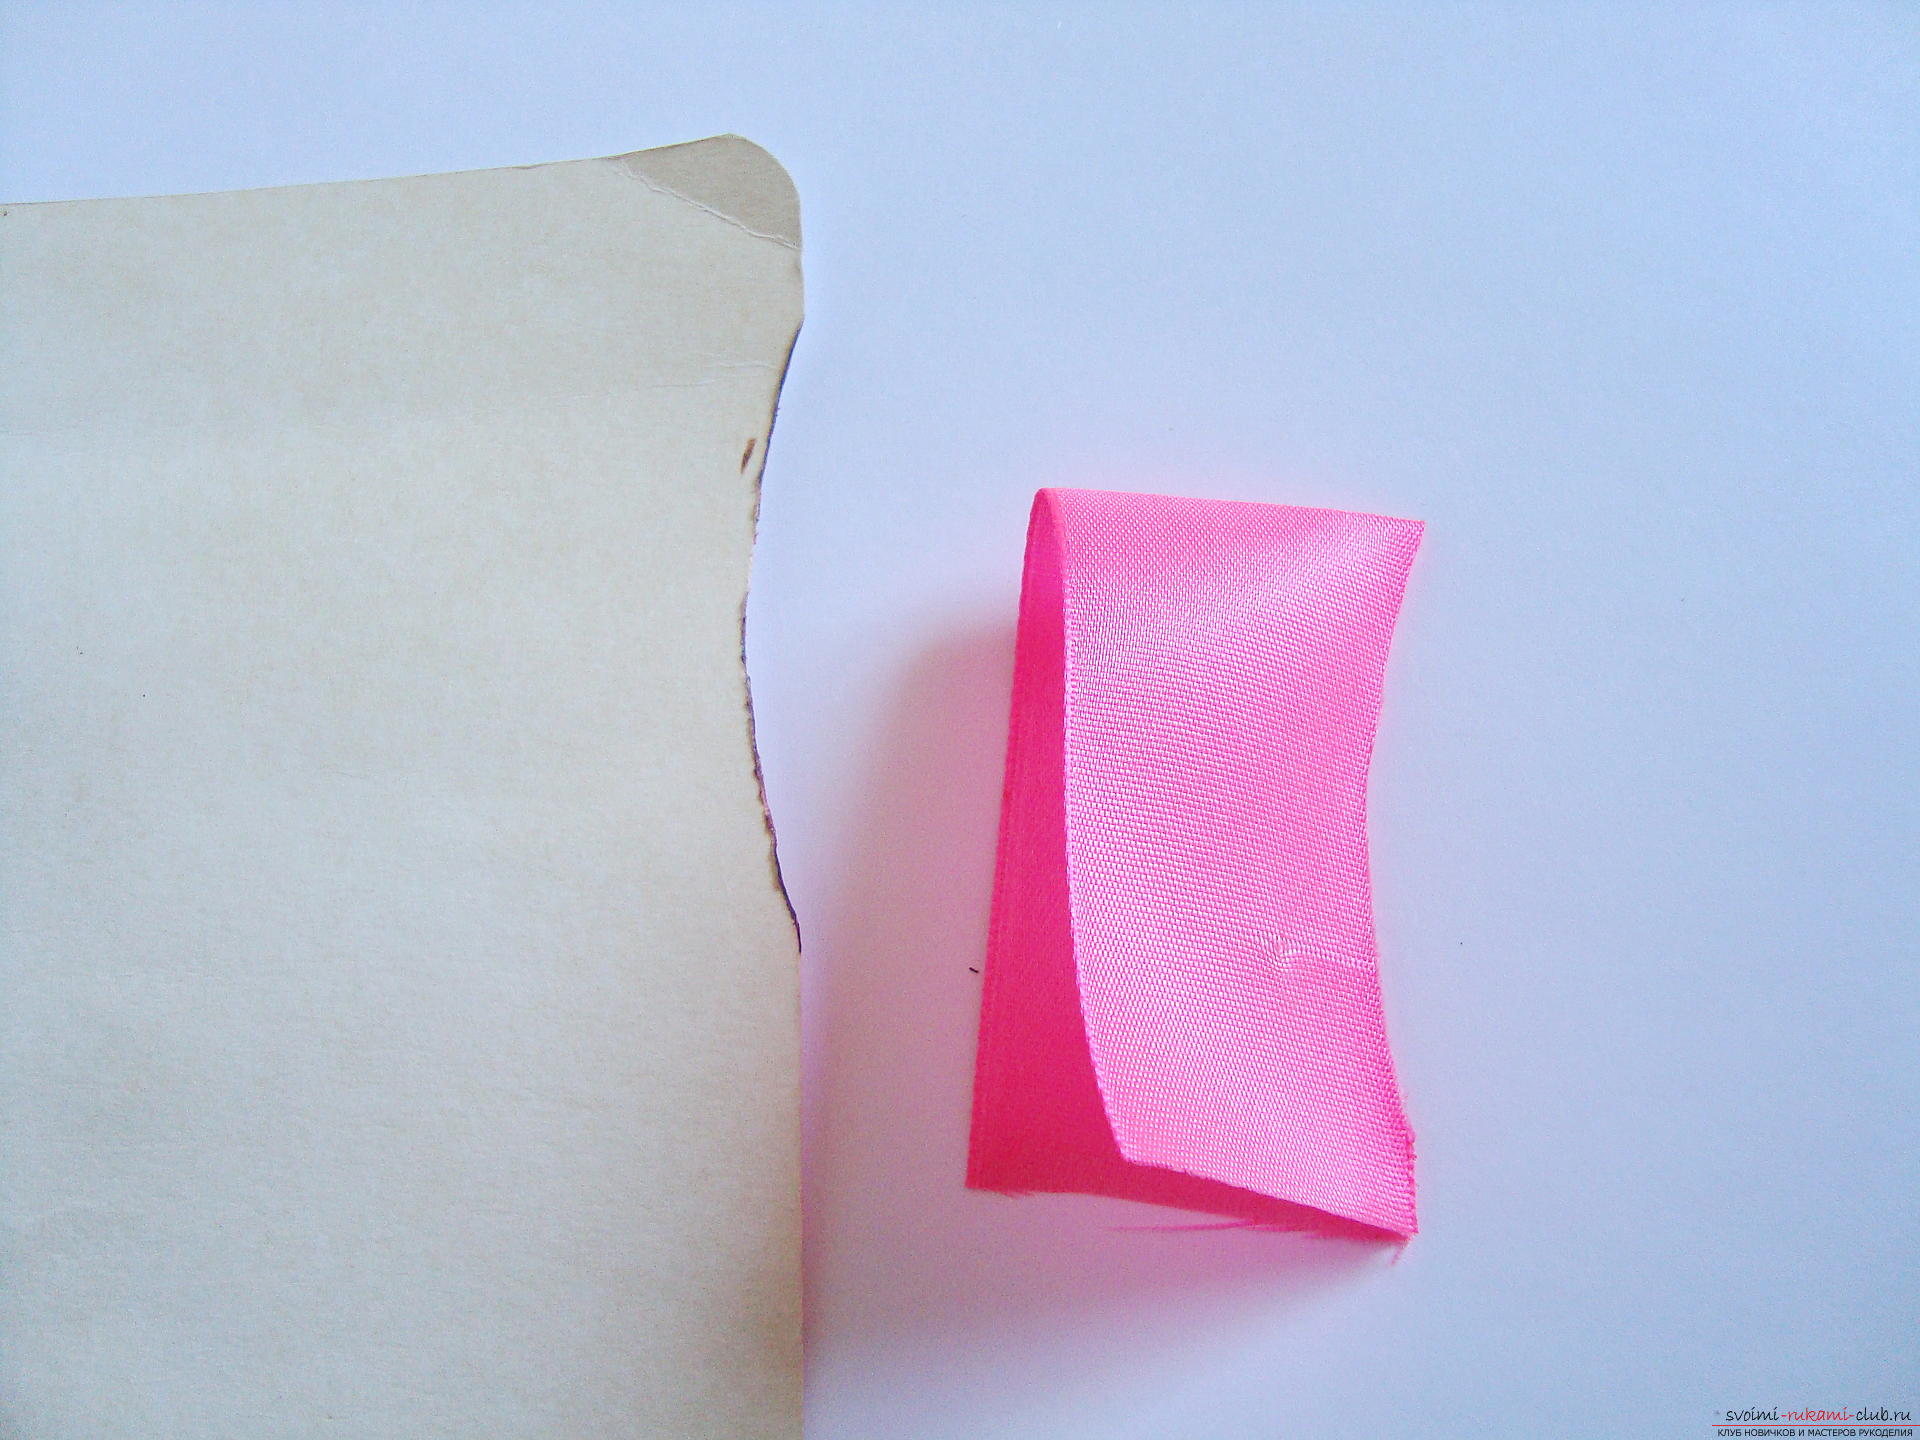 Now we need to cut out a second arc with scissors, which repeats the bend of the first line, but leaves 1.5 cm from it. This is how the lily of the lily is formed.
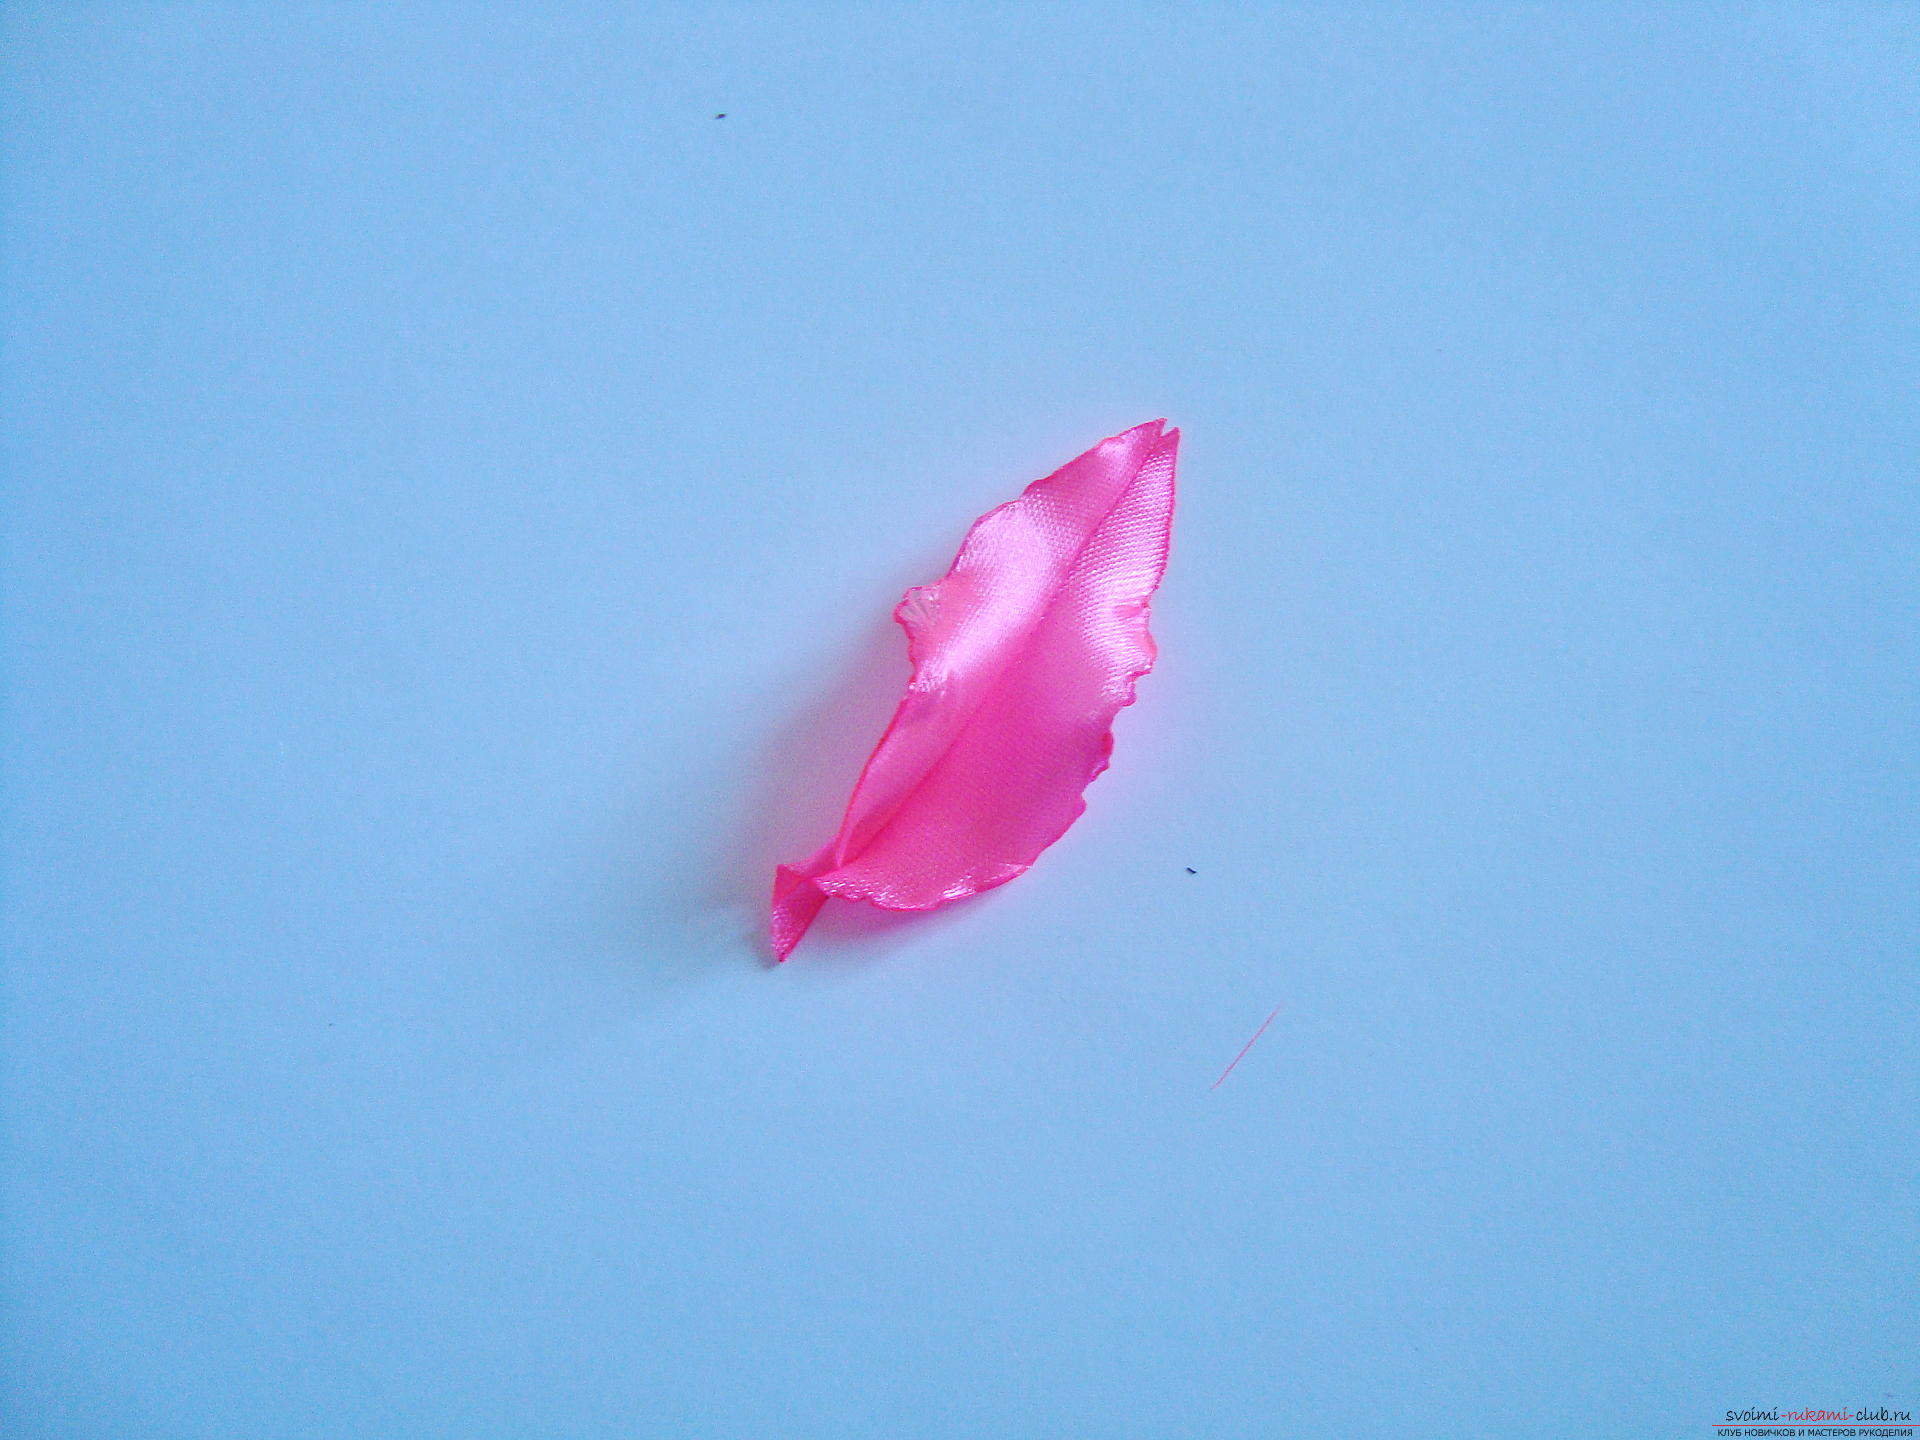
 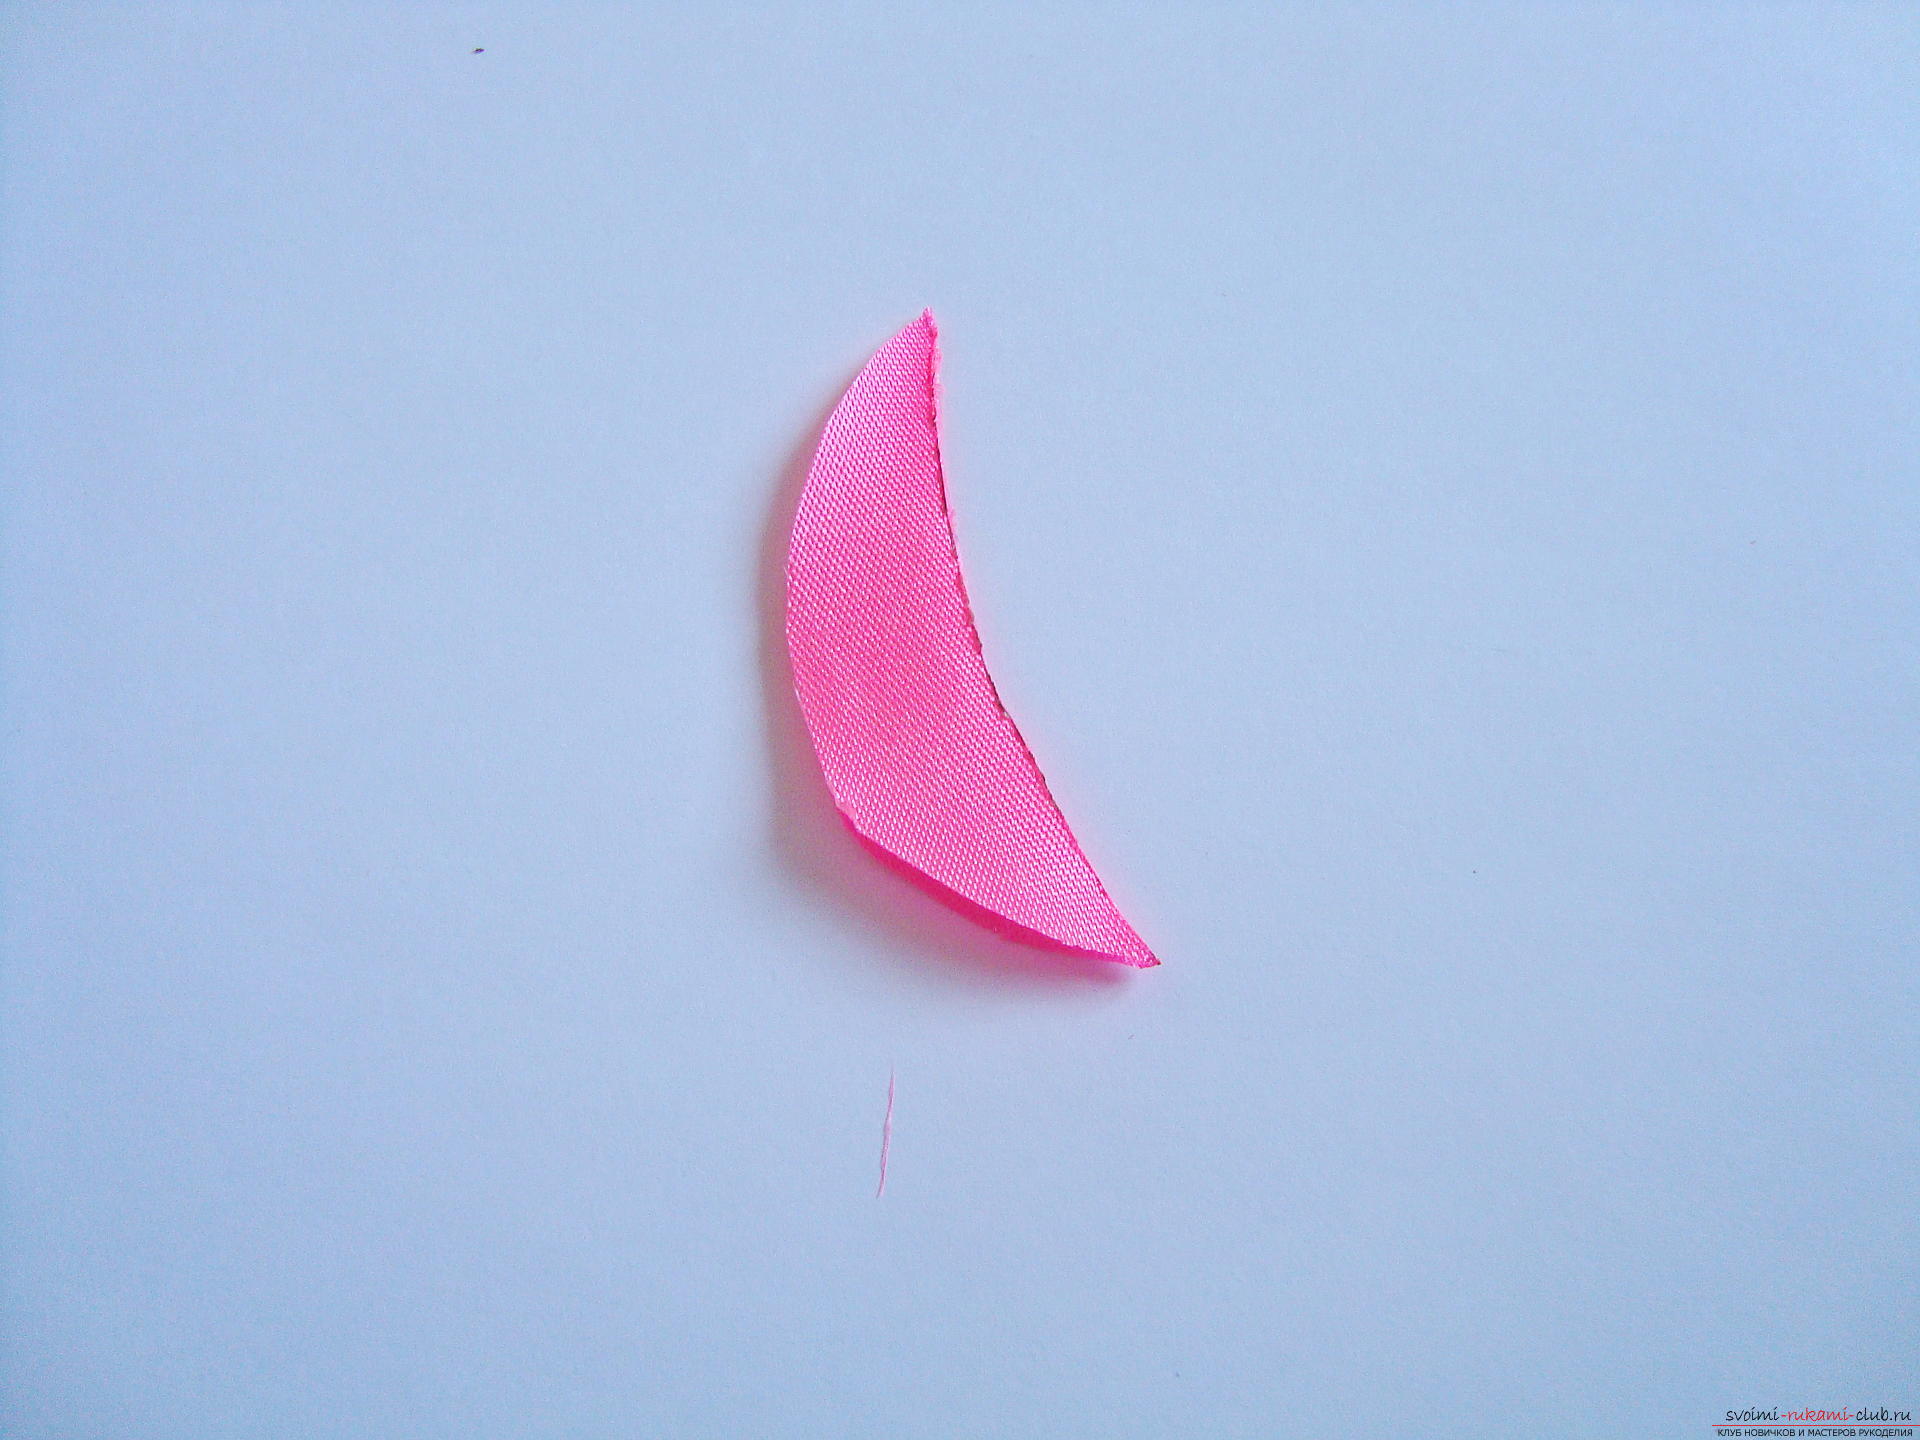 The petal at this stage is absolutely shapeless anddoes not look like an elegant component of a favorite flower, so it must be shaped with wavy edges. To do this, prepare a candle or a similar source of a weak flame. Bring the edge of the petal to the flame and gently burn approximately half a centimeter of the workpiece, then immediately, while the satin is melted, bend this part in different directions, that is, with one hand pull down, the other turns the product away from itself so that the cooled matter takes on a new wavy form.
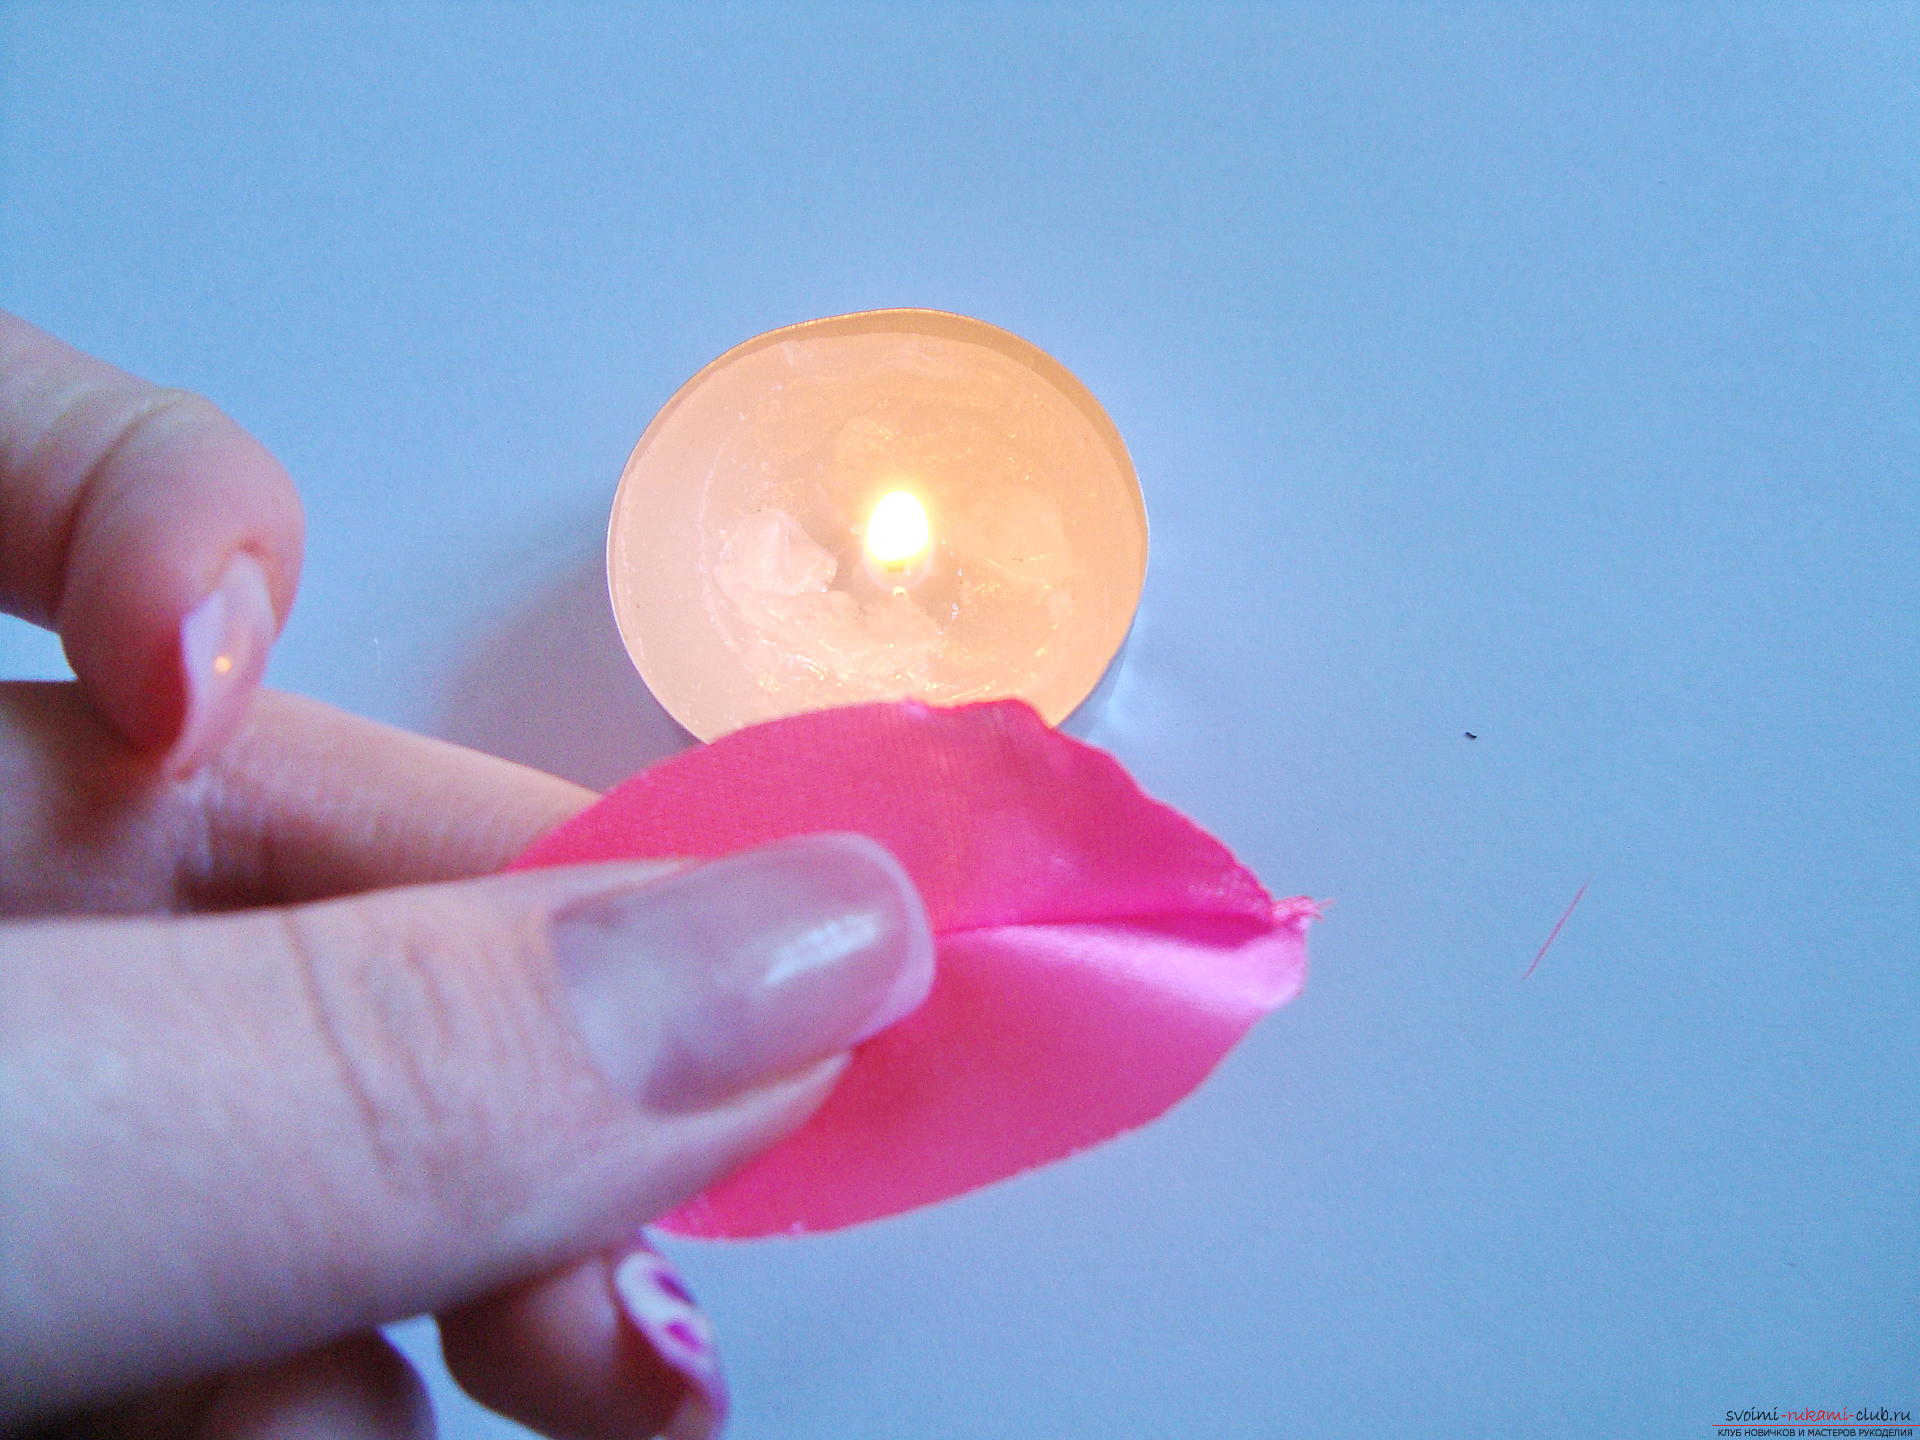
 For a lily lily, about 15 petalslight tone (the middle layer of the product consists of them) and 5-7 elements in a saturated color, which are suitable for the central part of the inflorescence. Pink petals are glued in the center above the green row. They form the bulk of the flower, so fix them in about three layers.
 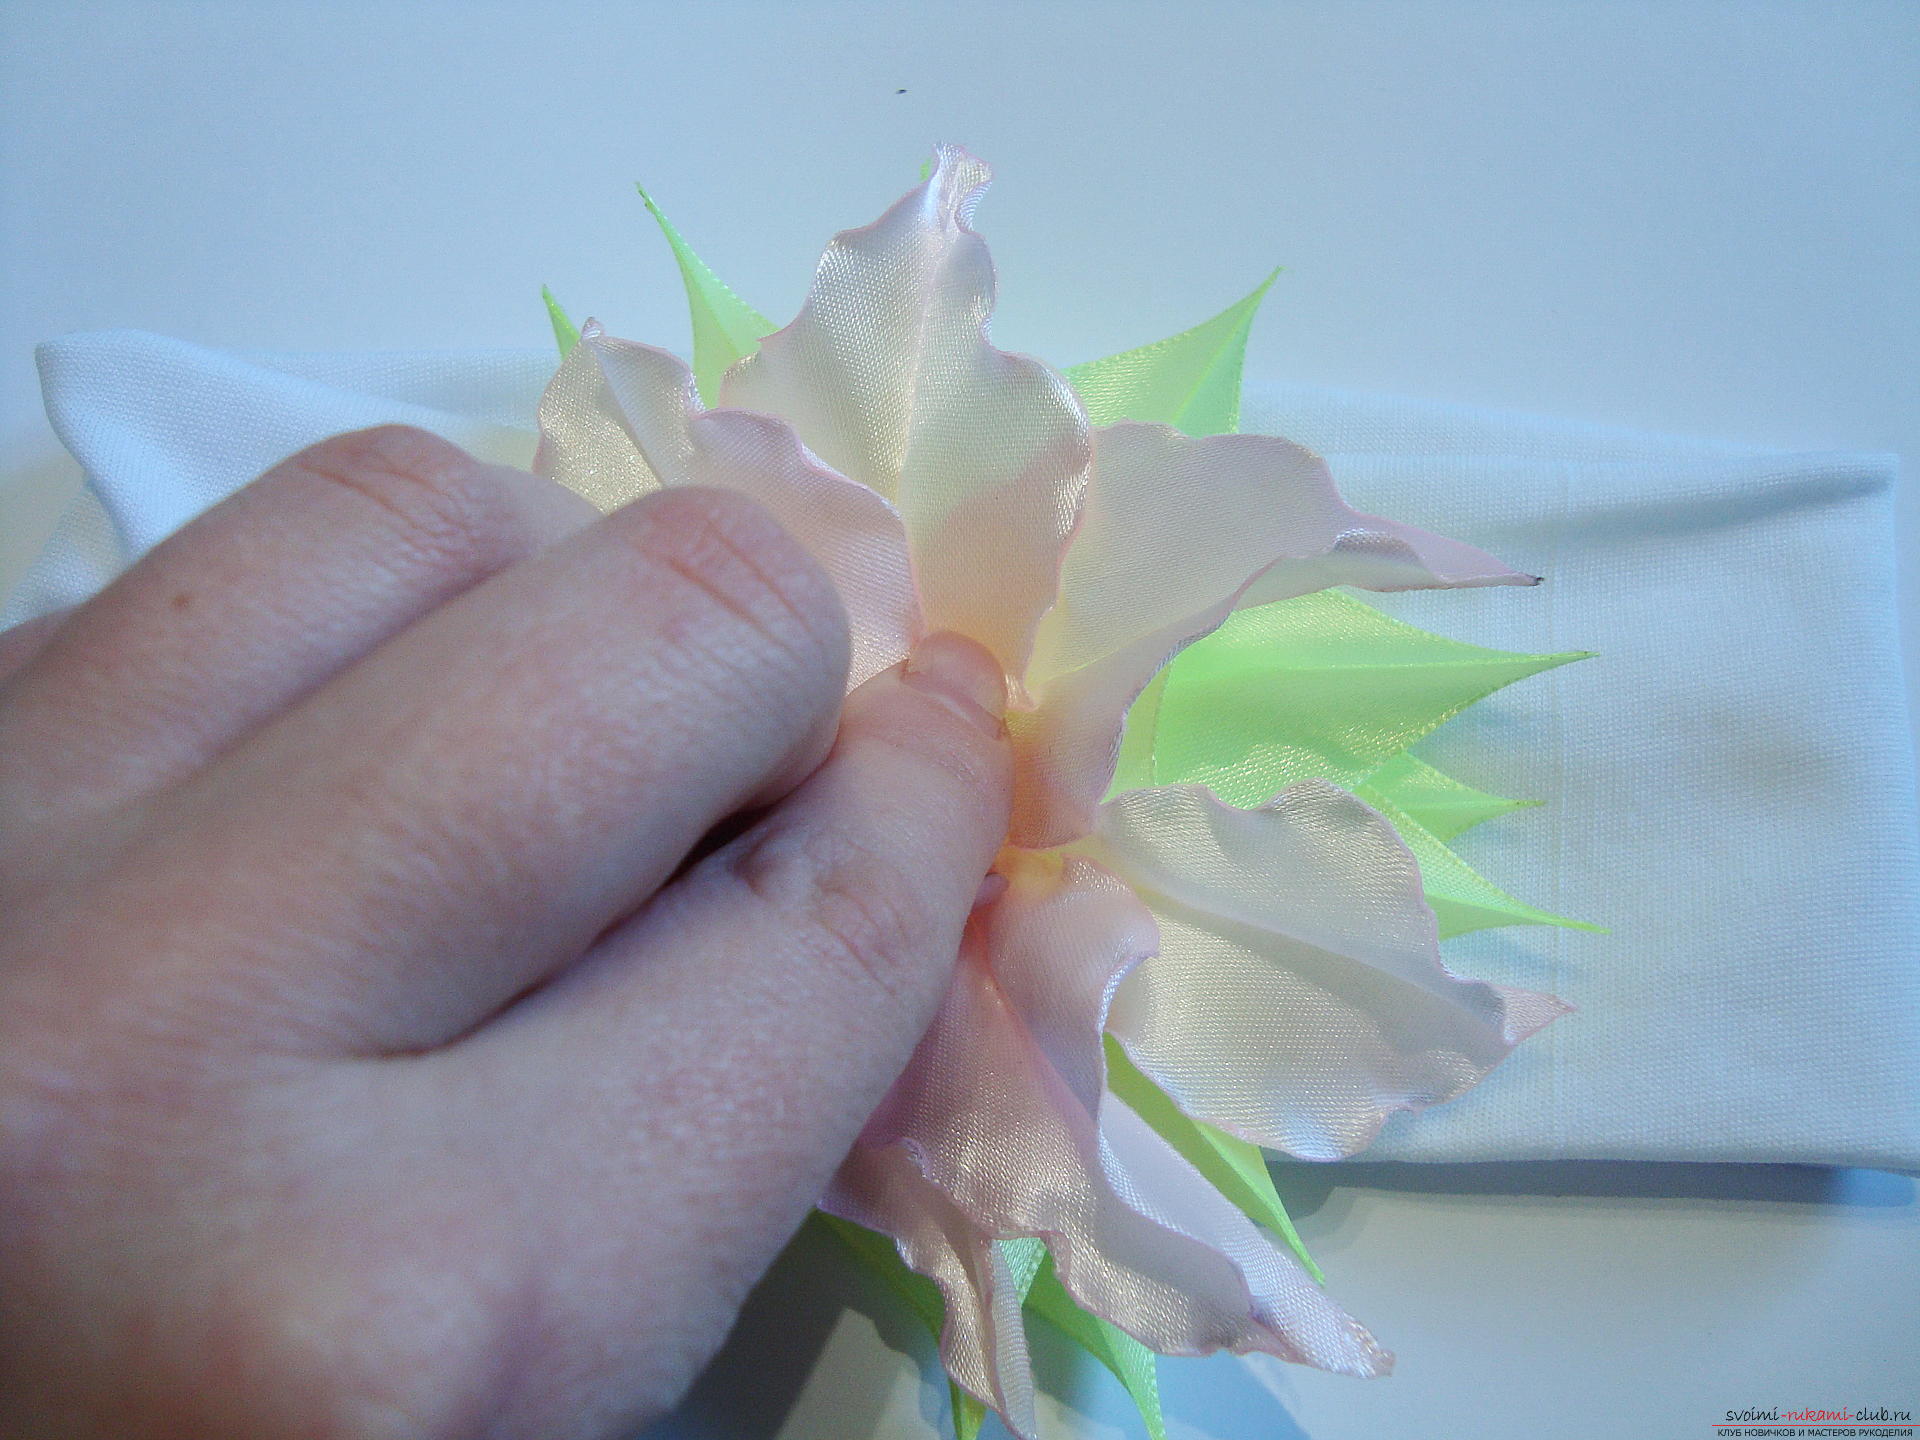 In the middle, stamens will be required. Create these details very easily from the fishing line and white beads. To do this, you simply apply a drop of glue to the edge of the cutting line of a suitable length and immediately at the end, fix the beads. The upper layer of the flower forms bright petals, and the middle of the work is complemented by stamens. It turned out a charming, gentle lily, created by own hands. The tenderness of the atlas gives the flower a special look, and you use this accessory as a hair ornament for any holiday or daytime walk.
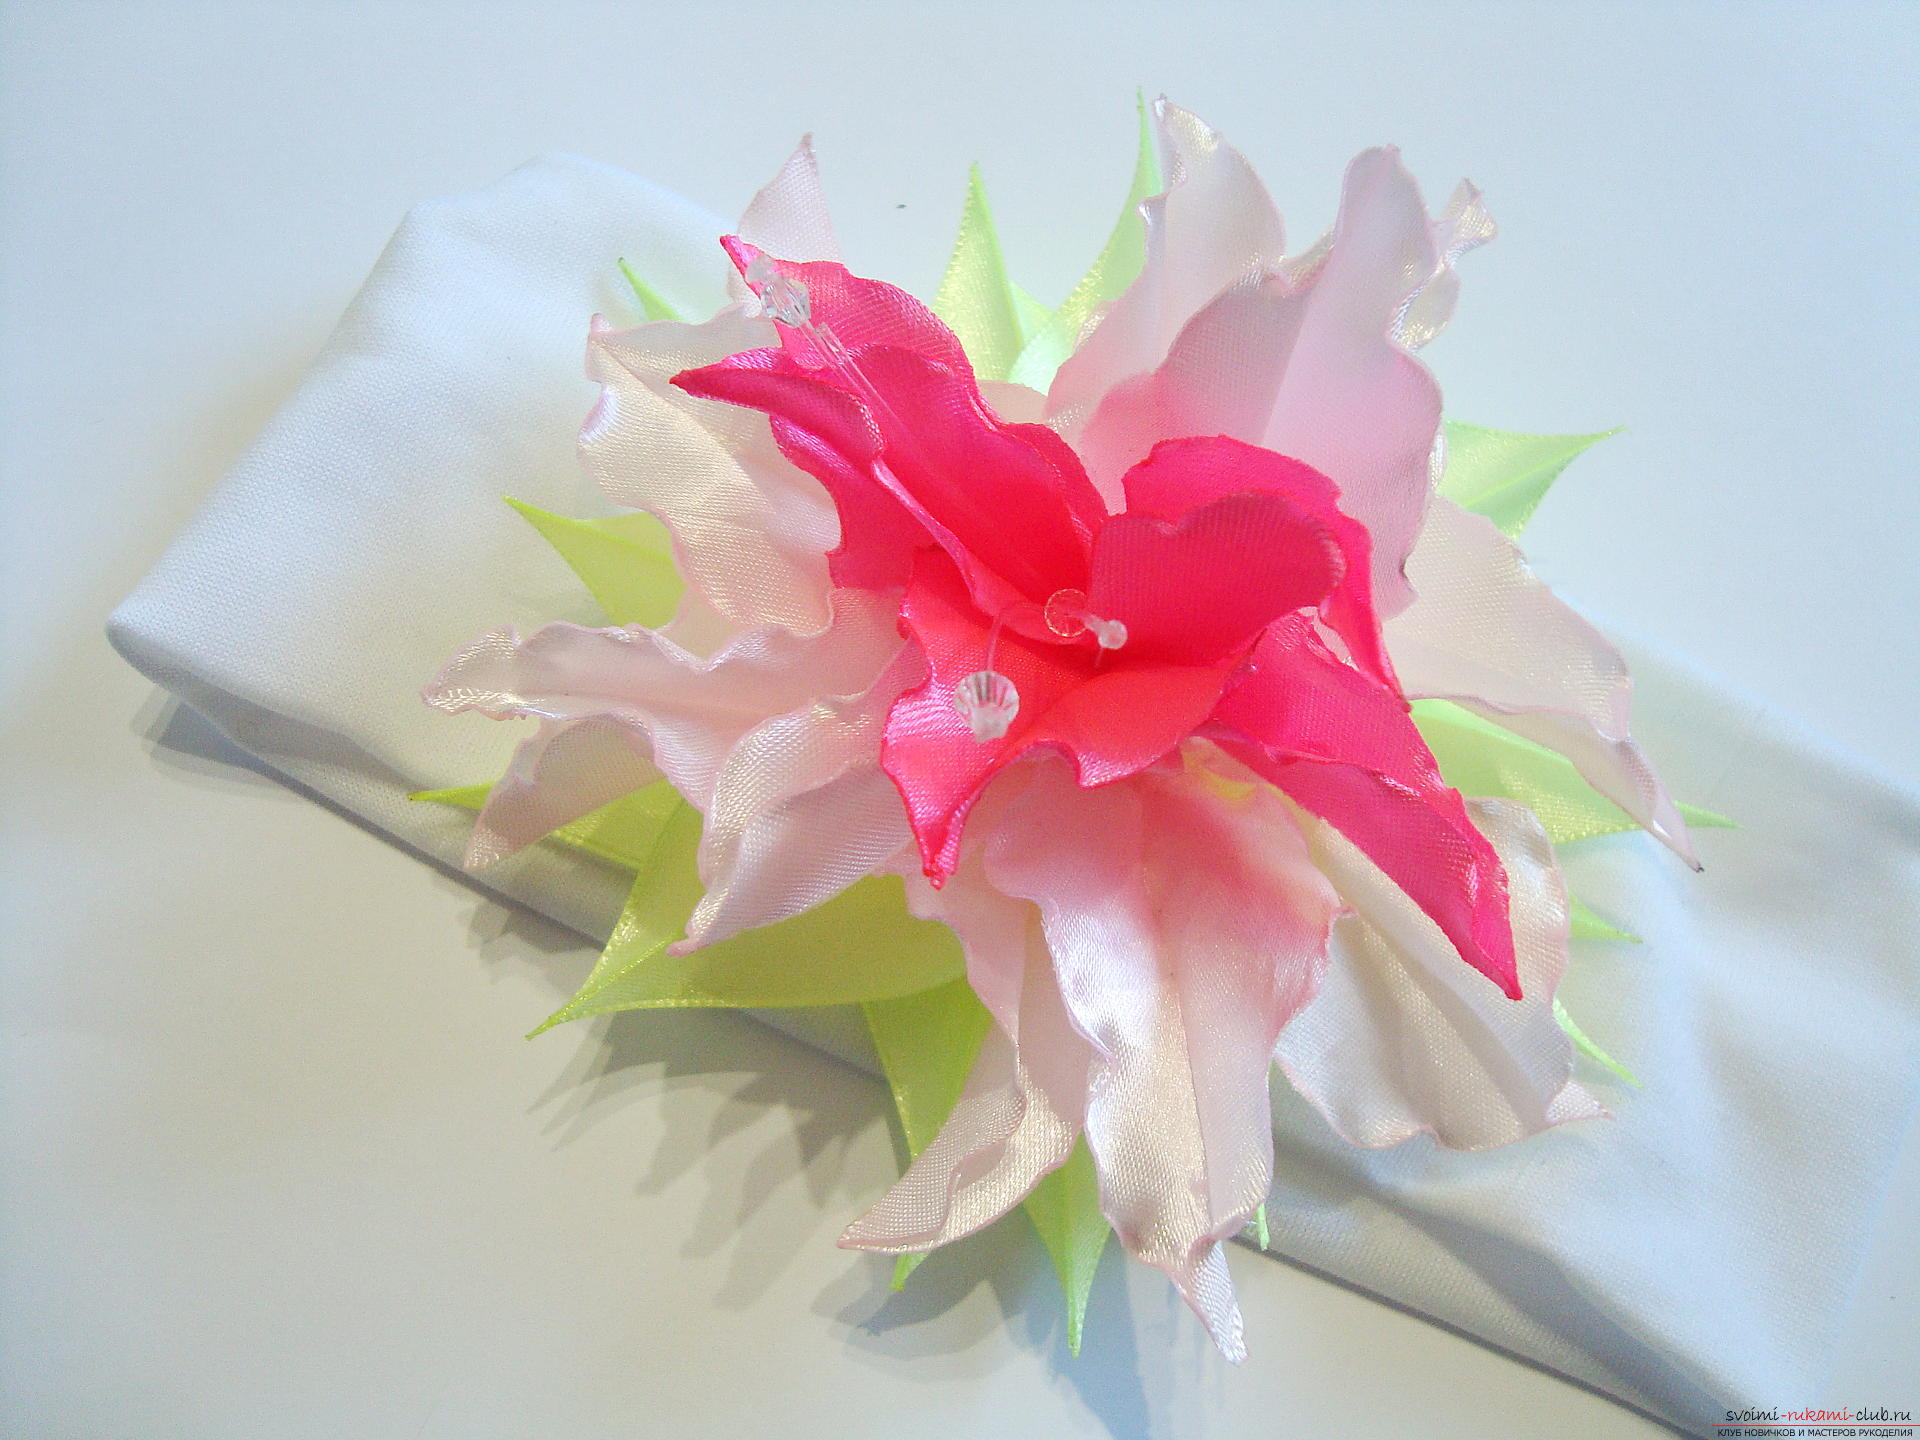
Comments
Related posts:
 Kanzashi - crafts from ribbons with his own hands on the 2015 Competition, ideas for Kanzashi
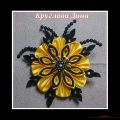
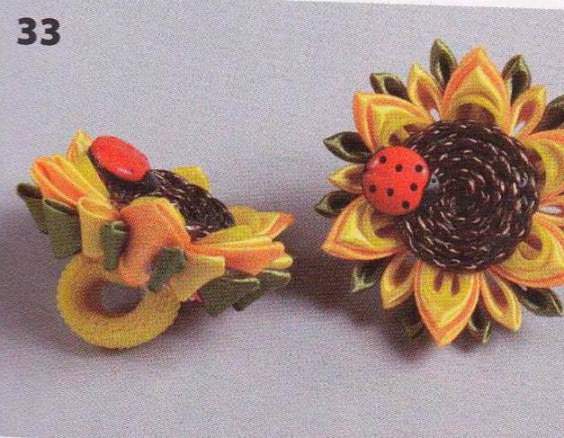 Kanzashi sunflower from ribbons with his own hands (photo and video)
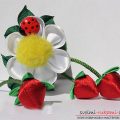 Create interesting Kanzas from tapes of 2.5 centimeters, boutonniere for wedding glasses of kanzash, ornament in the form of berries kanzashi for gum.
 Hairpin in Kansas technique on the contest Spring 2016, Kanzashi flowers by own hands
 Bezel in Kansas technique, decorated with snowflakes for the 2015 Competition, Kanzashi flowers by own hands