Iris from beads: turn-based technique of weaving (photo and video)
Content
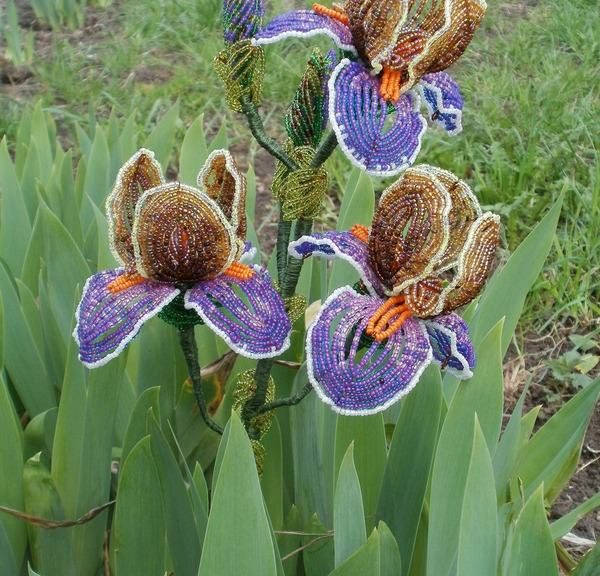
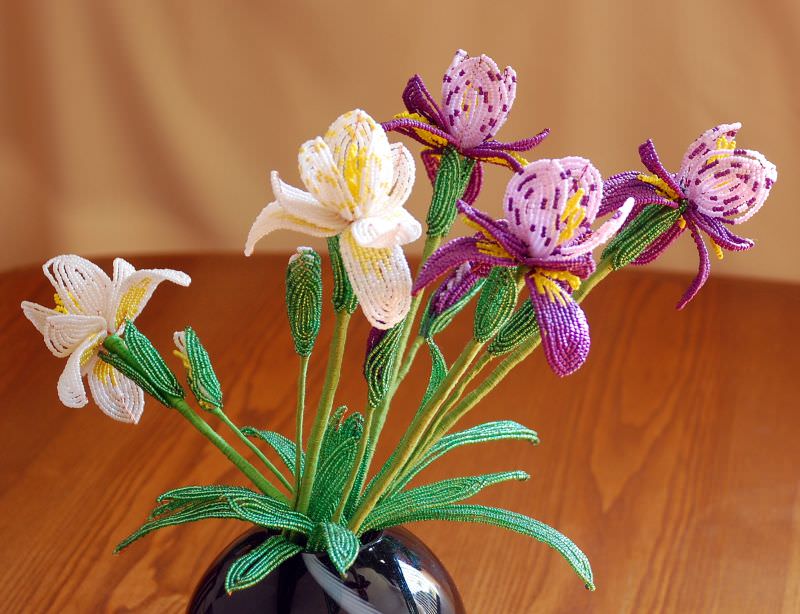
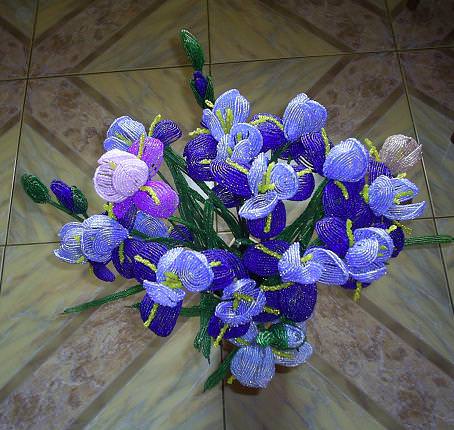
Friends, you must have seen everything amazinglyBeautiful flower - iris. It is known to people from the most ancient times. In the 15th century in Japan, these colors began to adorn the imperial gardens. And one of the most expensive paintings by Van Gogh, sold for 53 million dollars, was represented by irises.
Today we will learn how to make irises fromBeads with their own hands in the master class. The technique of beadwork, which we will use, is called "French." The technique is not the most difficult, so even beginners with it will do well. We begin the lesson of weaving.

Necessary materials
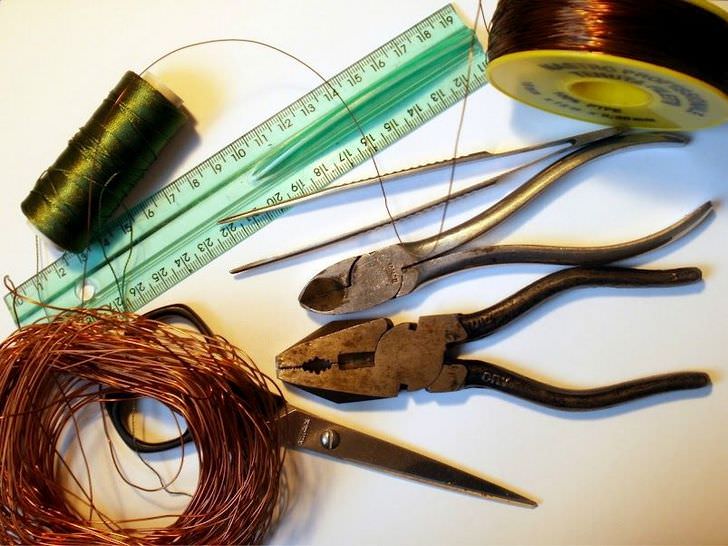
Wire, with which we will make flowers and leaves;- Wire thick for rod;
- Beads of different colors. You can take blue, purple, red;
- Threads with which we will wrap the rod;
- Scissors, tweezers, nippers;
- Brush and PVA glue;
- pencil;
- Ruler.
Master class of making iris
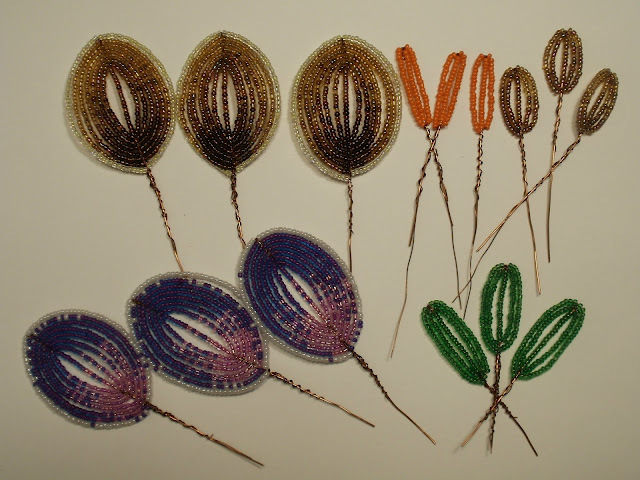
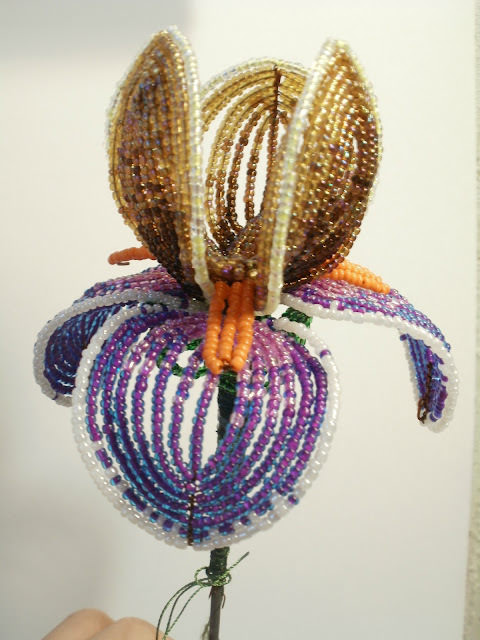
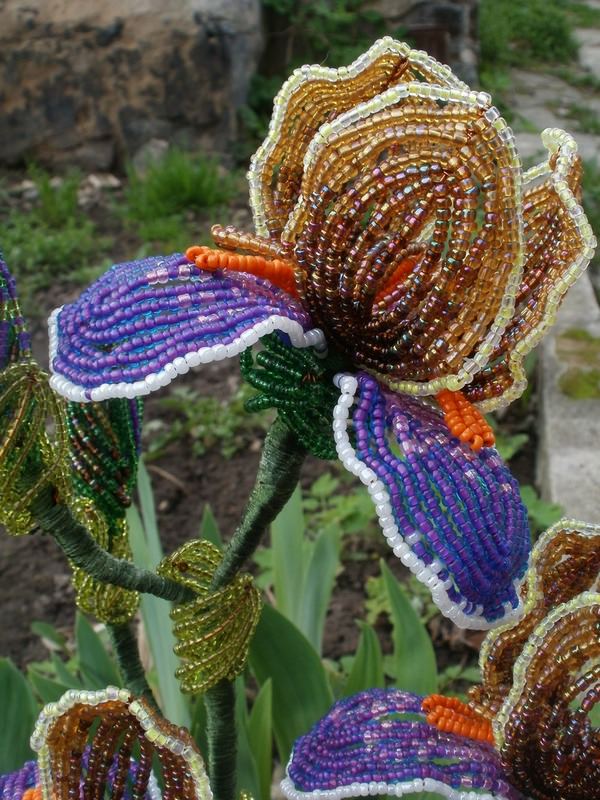
For irises should be made from beads six large petals, 3 sepals, 3 beards, 3 small petals.
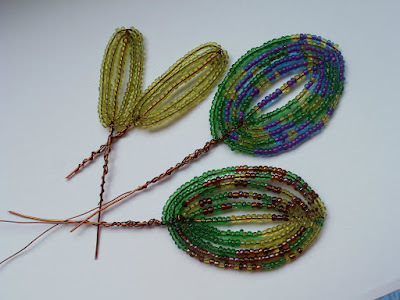
Plait flower details 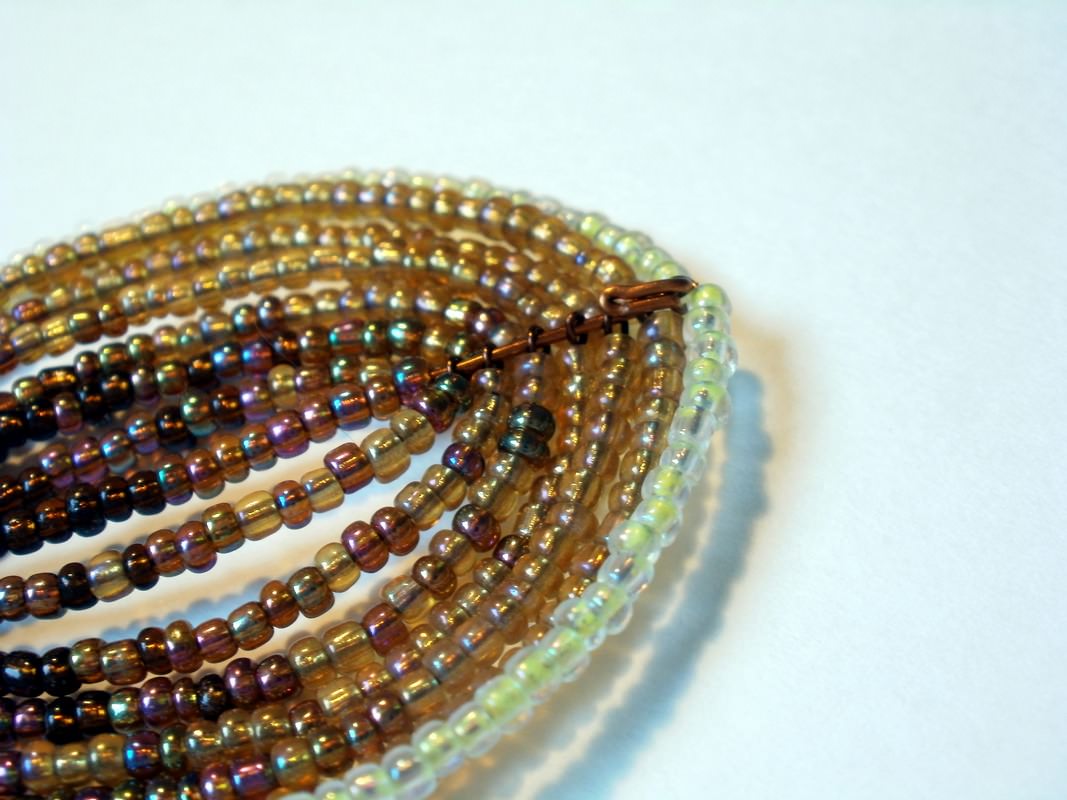
The first to do is three small petals. So, we begin the beadwork, according to the following scheme:
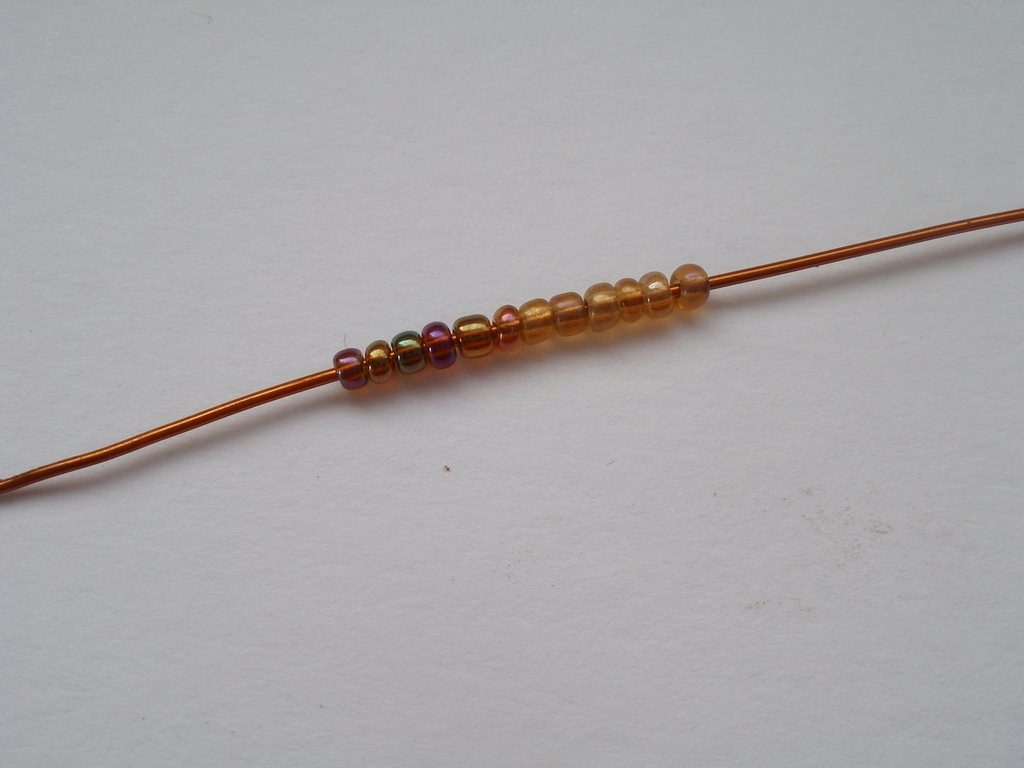
- Do axis. We bite off eight centimeters from the wire, string the beads. Pay attention to the photo scheme. We do exactly what is depicted on them;
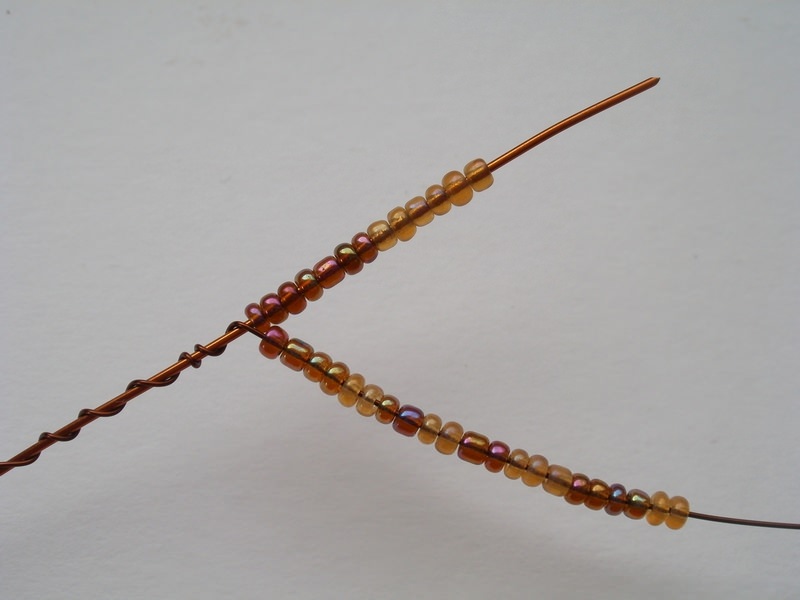
- The next step is to create arcs. Bite off a piece of wire and screw it to the axis;
- On the screwed wire it is necessary to thread beads;
- Around the axis should make a turn. Check with the process of weaving through the photo;
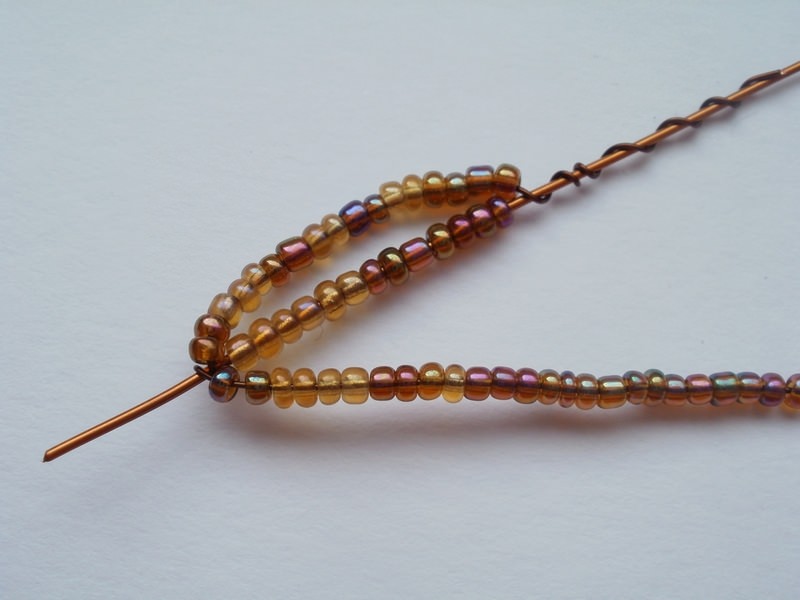
- The same turn should be made and lower. Get the arc;
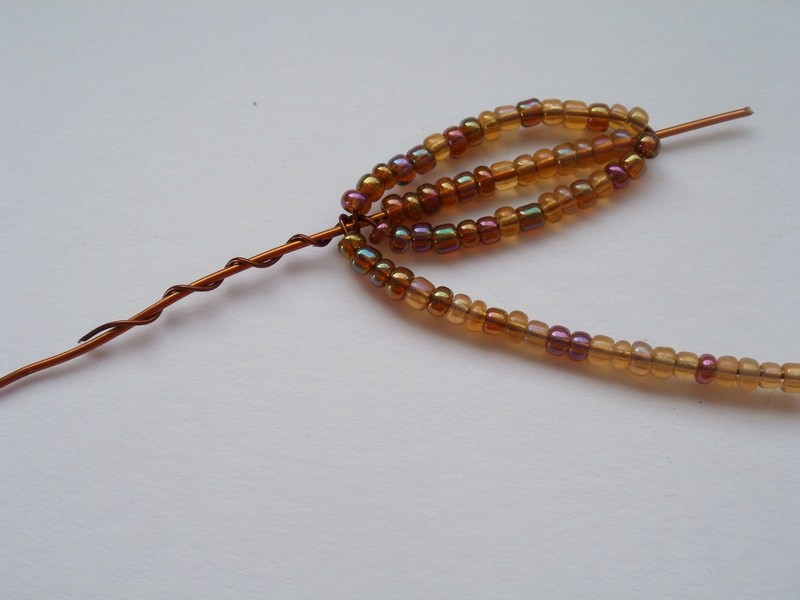
- Leaving a piece of wire on top, add more turns;
- As a result, we get our petal for the future flower.


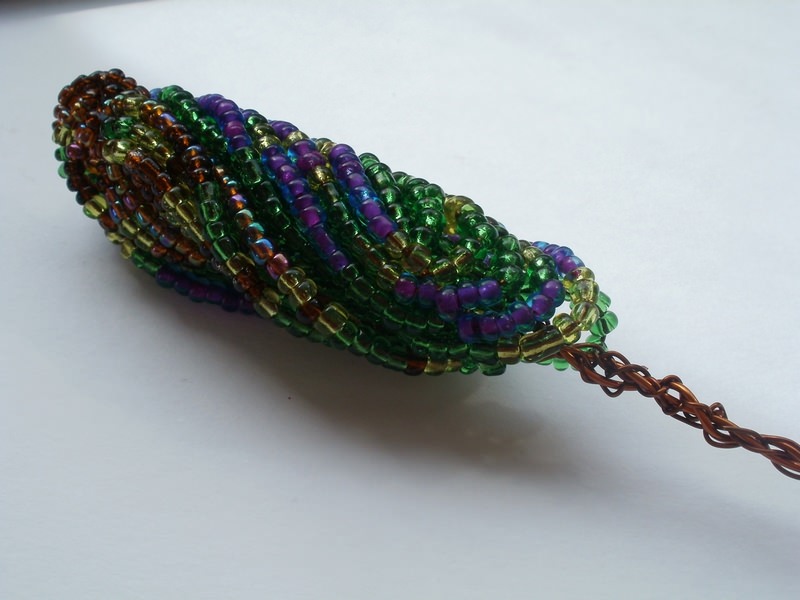
Continue our master class:
- From the underside by means of tweezers bend a piece of wire inside;
- In order to get the barbs, make 1 arc and an axis of 3 cm;
- For small petals - an axis of 2 cm and already 2 arcs;
- For fouls and standards - seven arcs and an axis of 3 cm;
- Two arcs and an axis of 3 cm for the sepals.
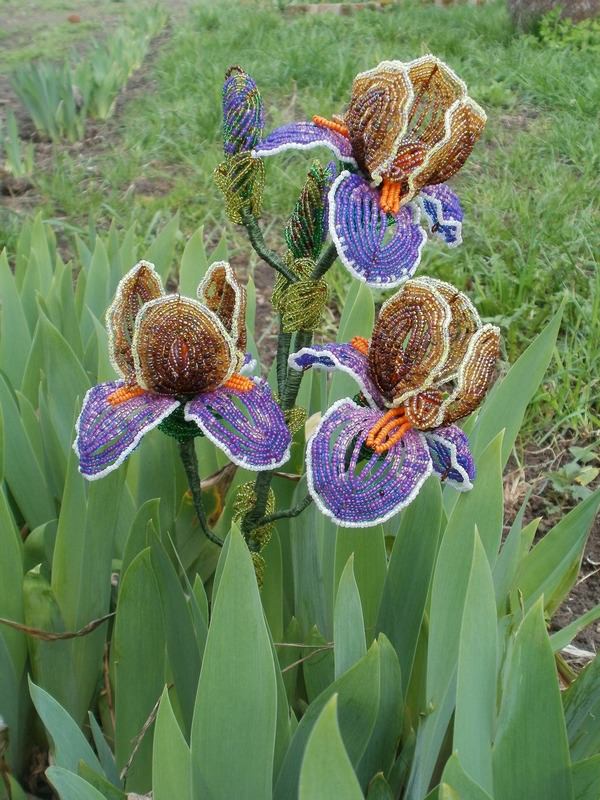
Collect the iris from the beads Now proceed to assemble our iris from the beads:
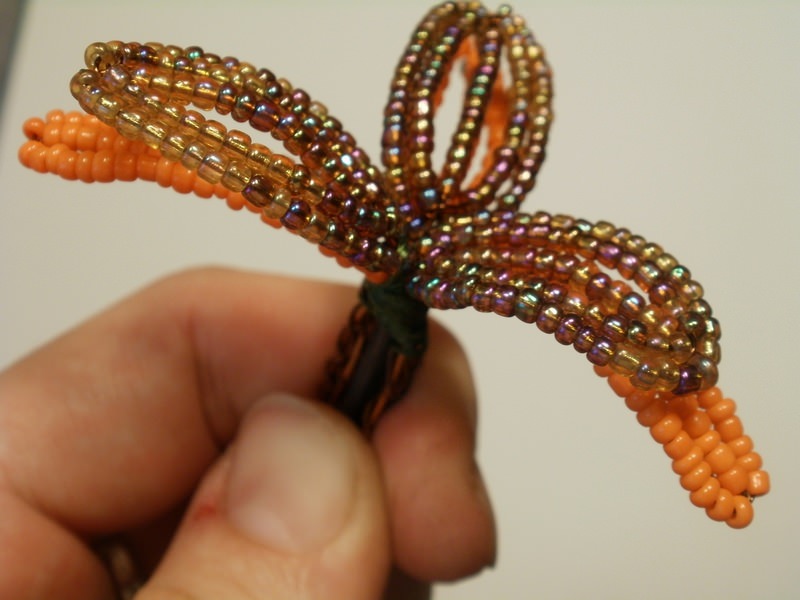
Organically add a bud to the flower. The next master class will tell you how to do it.
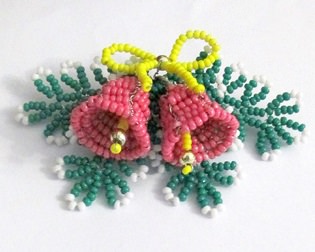
How to make buds for iris from beads ForBuds make two axes of 3 cm. Plus five more arcs. Two arcs and an axis of 3 cm - for two petals, which we call additional. Look at the photo and you will see how and what needs to be done.
Remember that these additionalThe petals of the living irises are very light, white. They are located in those places where the stem branches. Put the bud buds on the pencil that we prepared in advance. They should be twisted together.
Then take not a long piece of wire and attach a bud to it. Then there also attach additional petals at a distance from the bud in two centimeters.
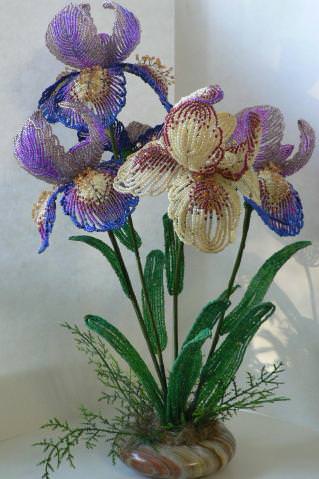
On another short wire, add a second bud. Look at the photo. These are irises from beads and we should get it.


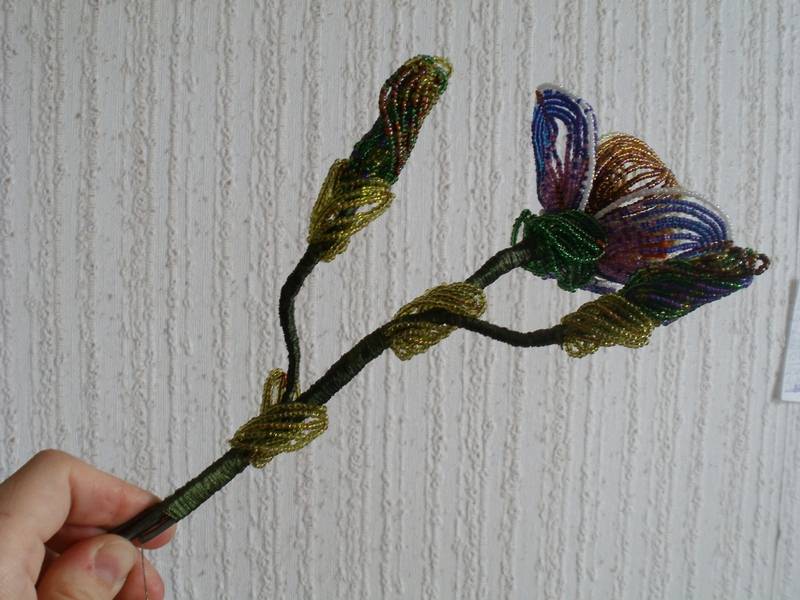
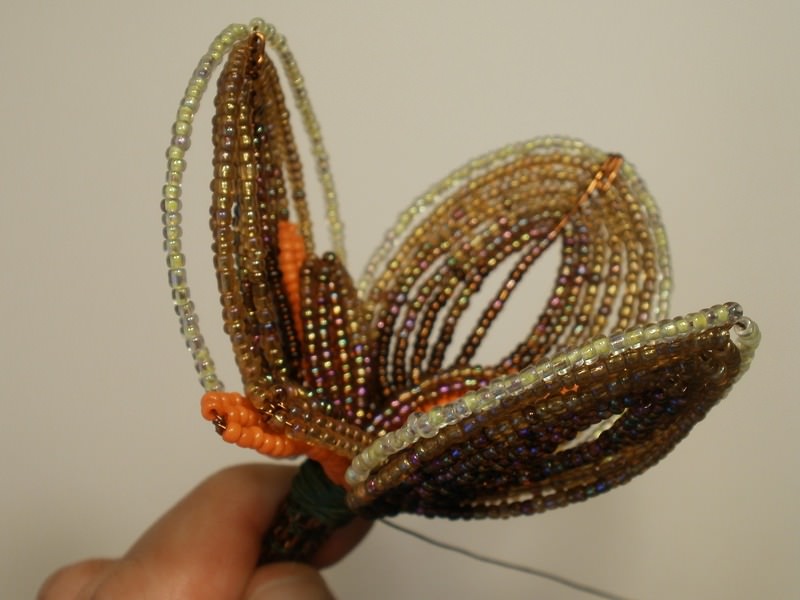
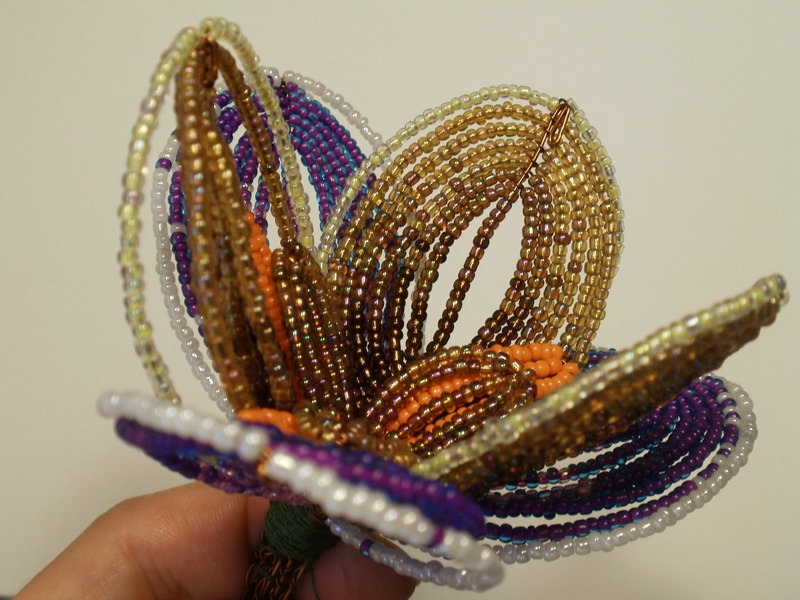
We form iris
Below the flower, about 5 cm, screw the curved wire short - this is our branch from the main stem;

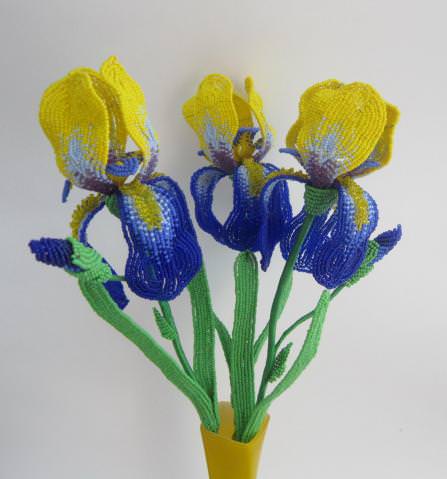
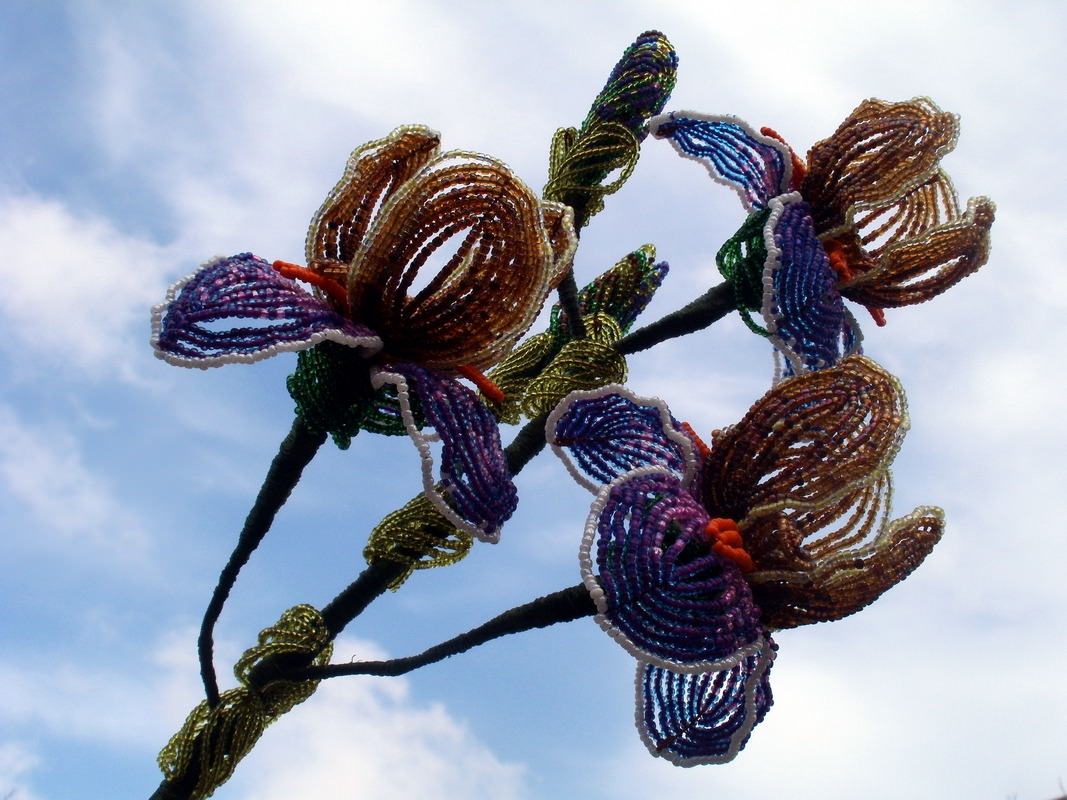
As a result, we will get a stunning beauty flower.
Note that the iris of beads is almost not differentFrom a real flower. And then ... even breeders can not grow red iris. And you can make it yourself! You just need to make an effort and have some free time.
Video: The lesson of weaving iris flower from beads
Comments
Related posts:
 From beads trees weaving technique for beginners (photo)
 Cactus from beads: different ways of weaving (photo and video)
 Lily Bead: different versions of weaving (photo and video)
 Bells from beads: two variants of weaving (photo and video)
 Pansy beads in the technique of parallel weaving (photo and video)