Lifting hinges | Air loop lifting | Straight rows
When knitting in each description there are loopslifting. And what determines the number of loops! Why a certain amount is indicated! Why do we need an air lift loop! Let's understand this question! When knitting in continuous rows, at the end of the row there is a need to move to another row. Since the next row is higher and we need to rise to its level using air lift loops. Each column has its own number of lifting loops. How to determine the required number! Consider everything in practice! I just want to warn you that the method I described is rarely used in books and a magazine, often a different number of loops is given, but the principle of implementation remains the same. How to knit a lifting loop and how it differs from the usual! It is no different and fit in exactly the same way as a regular air loop! And the name is given for distinction! ? 1. One air loop - used as a lift for rows performed  2. Do not forget that the first column without a nakid of a row is knitted into a loop following the one from which the rise rises
 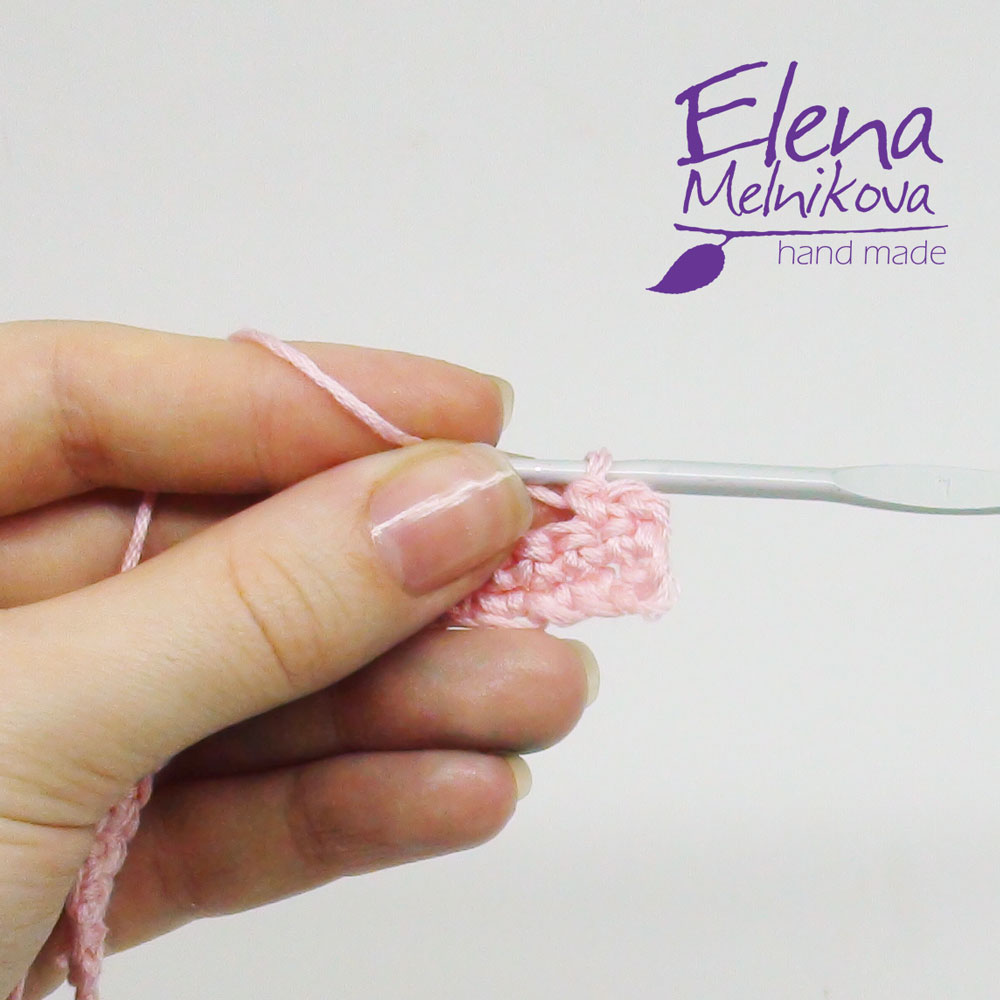 3. And the last row of a row is knitted in the lifting loops of the previous row. In more detail about knitting a flat edge in the lesson: ““
 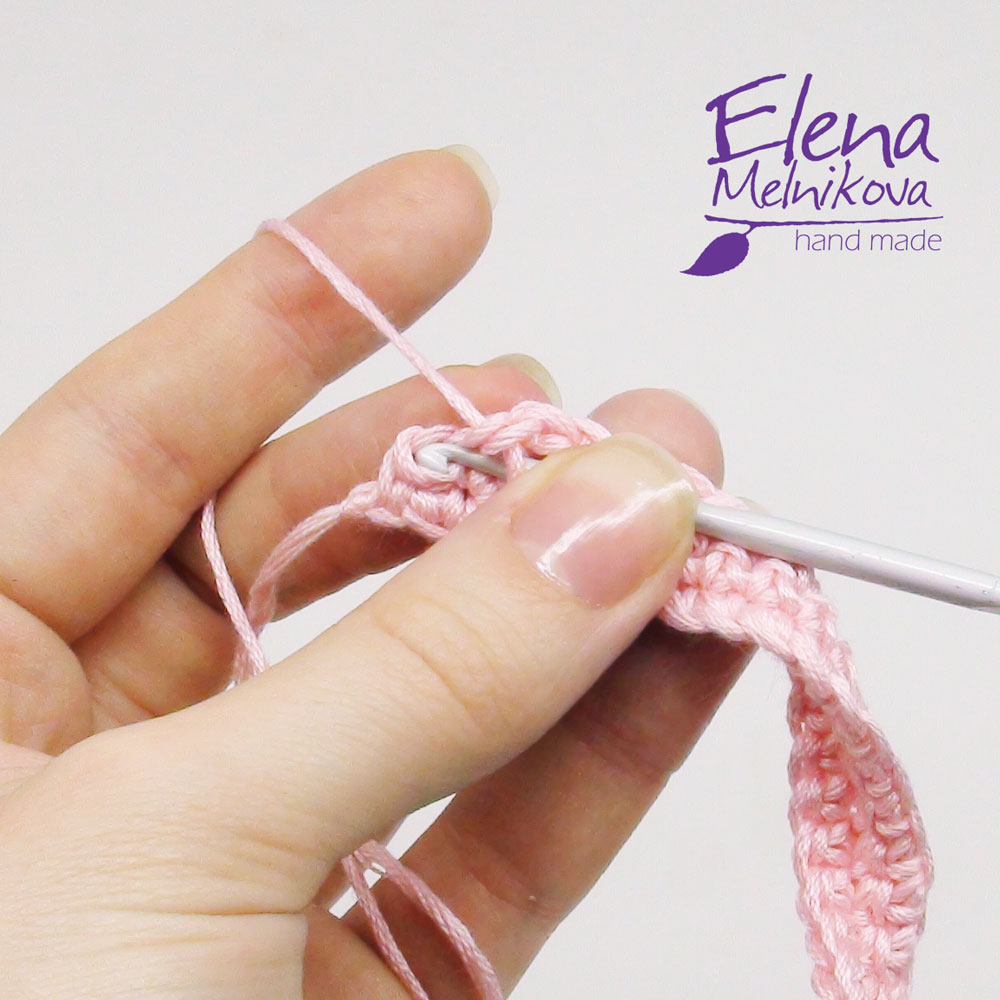 4. This is how the edge will turn out.
 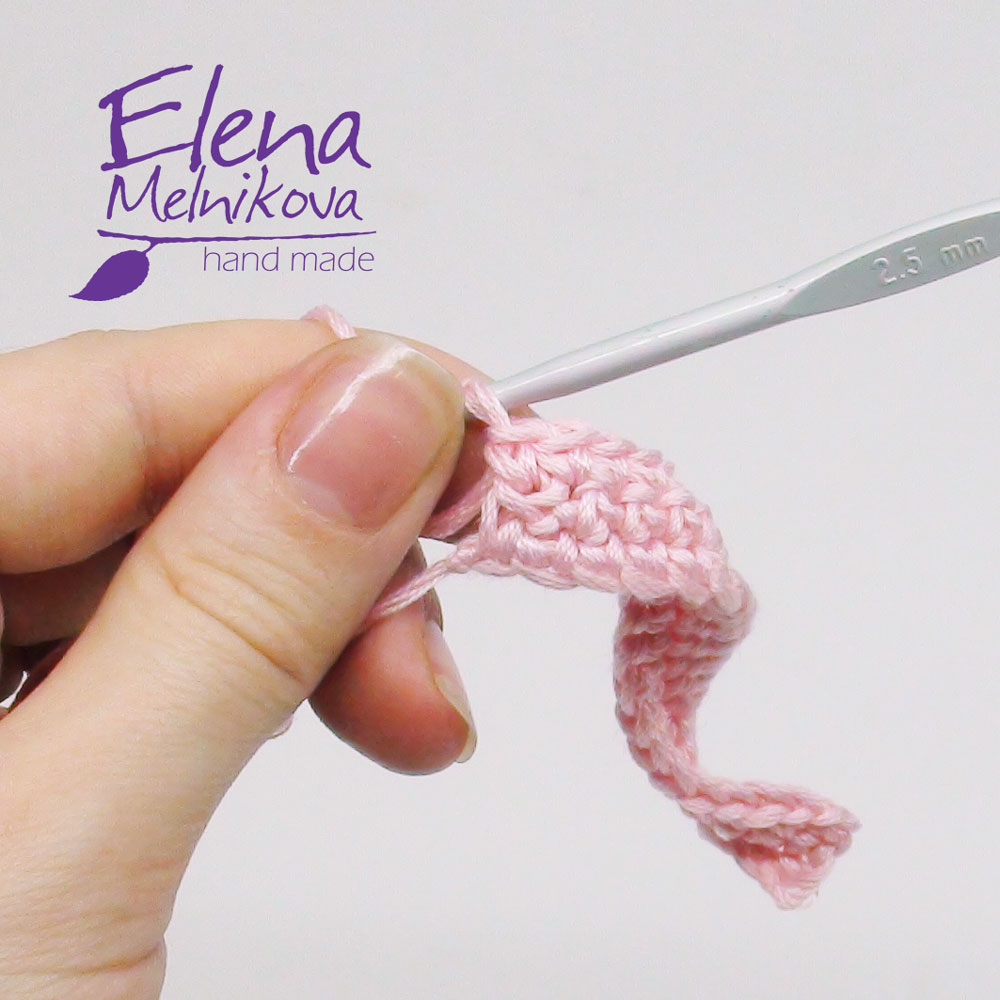 5. Two air loops (in descriptions this is most often three air loops) for a row of
 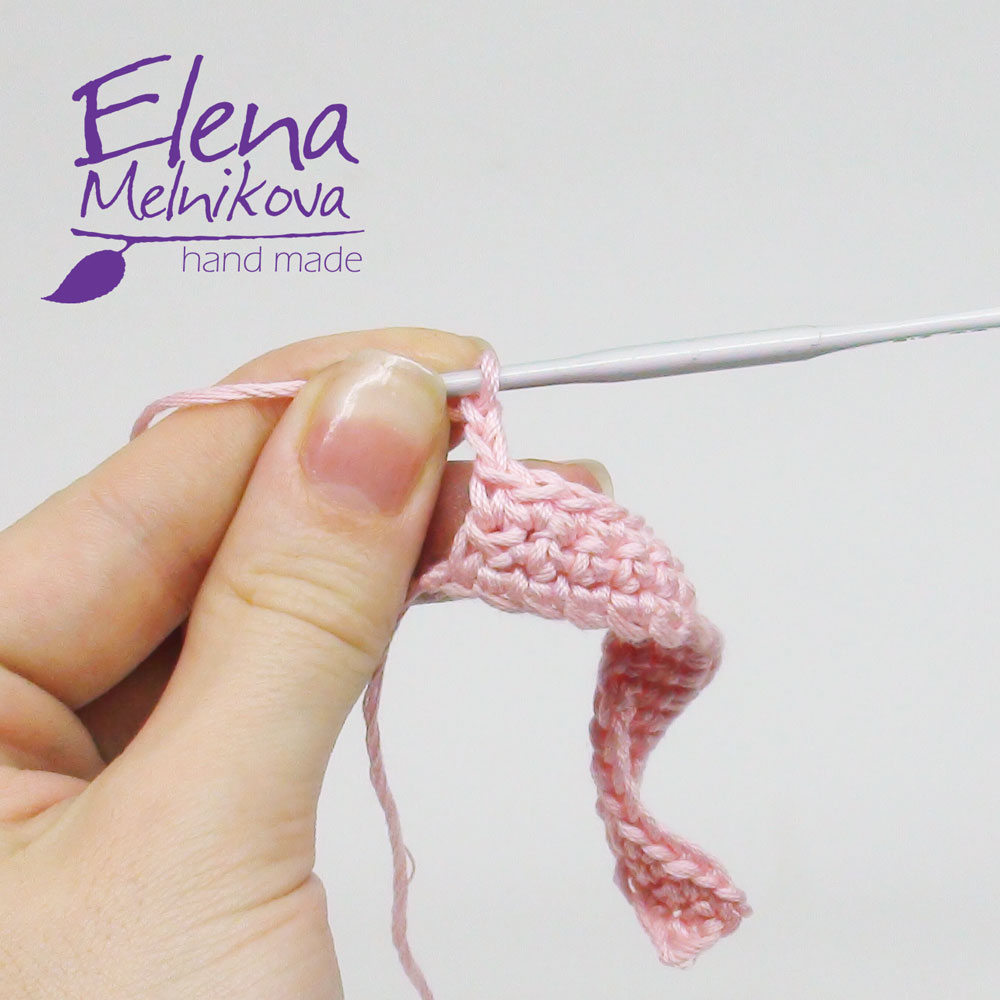 6. We knit the first column into the loop following the one from which the climb comes out.
  7. The last column knit in the top loop of the rise.
 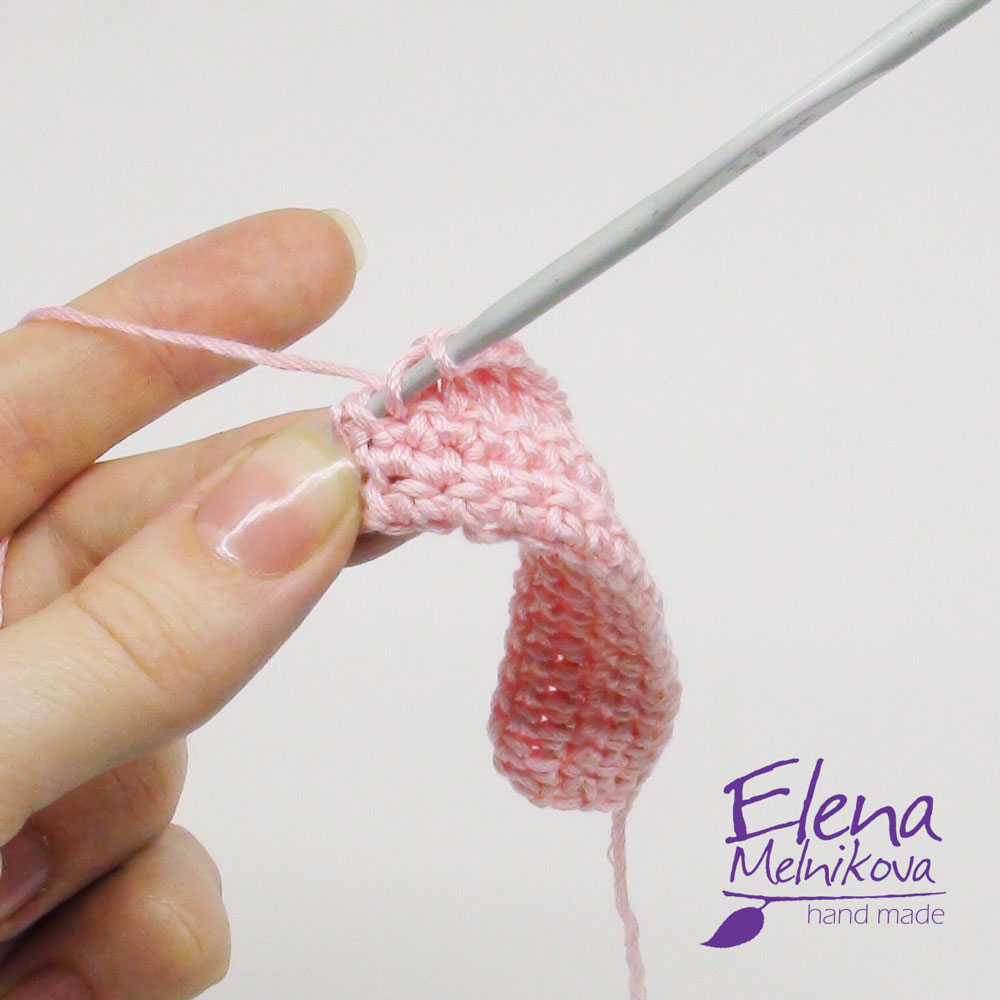 8. These are the rows of one double crochet columns.
 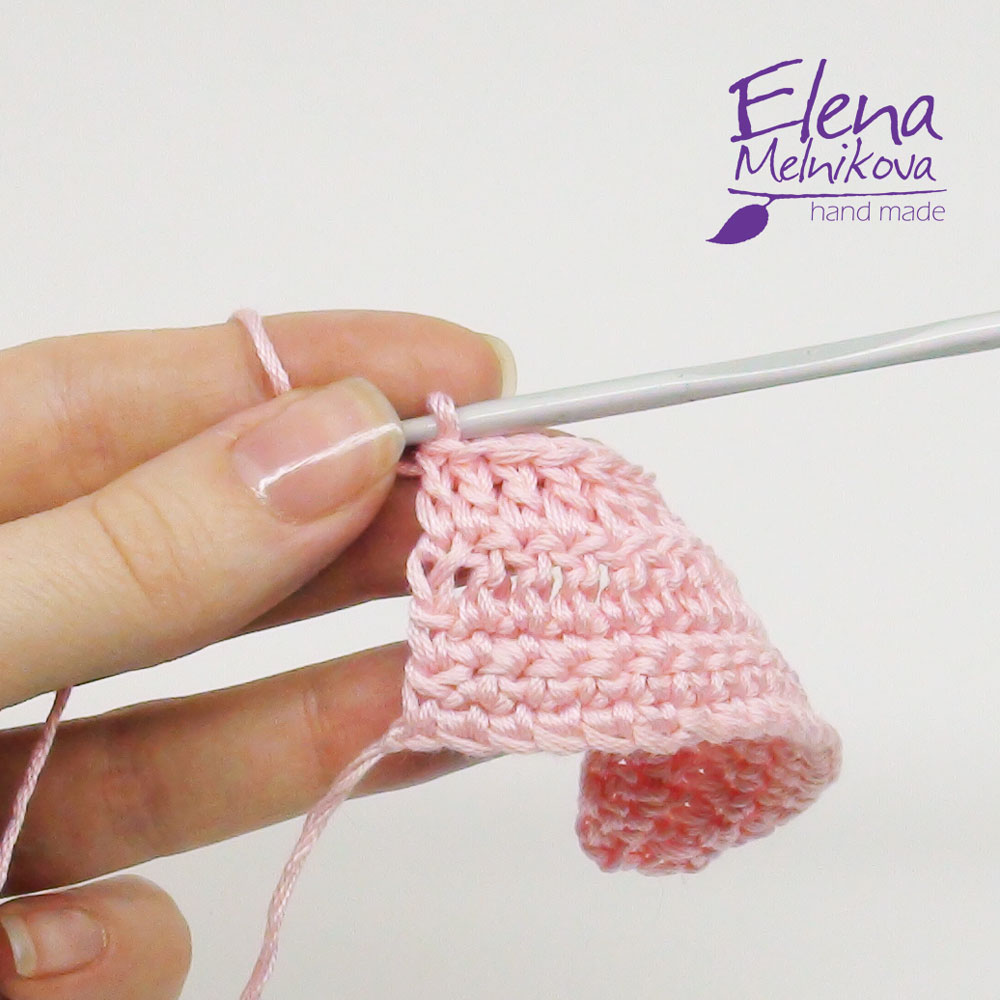 9. When performing knitting by the method described by me, it will turn out like this
  10. Three (or 4) air lift loops for row
 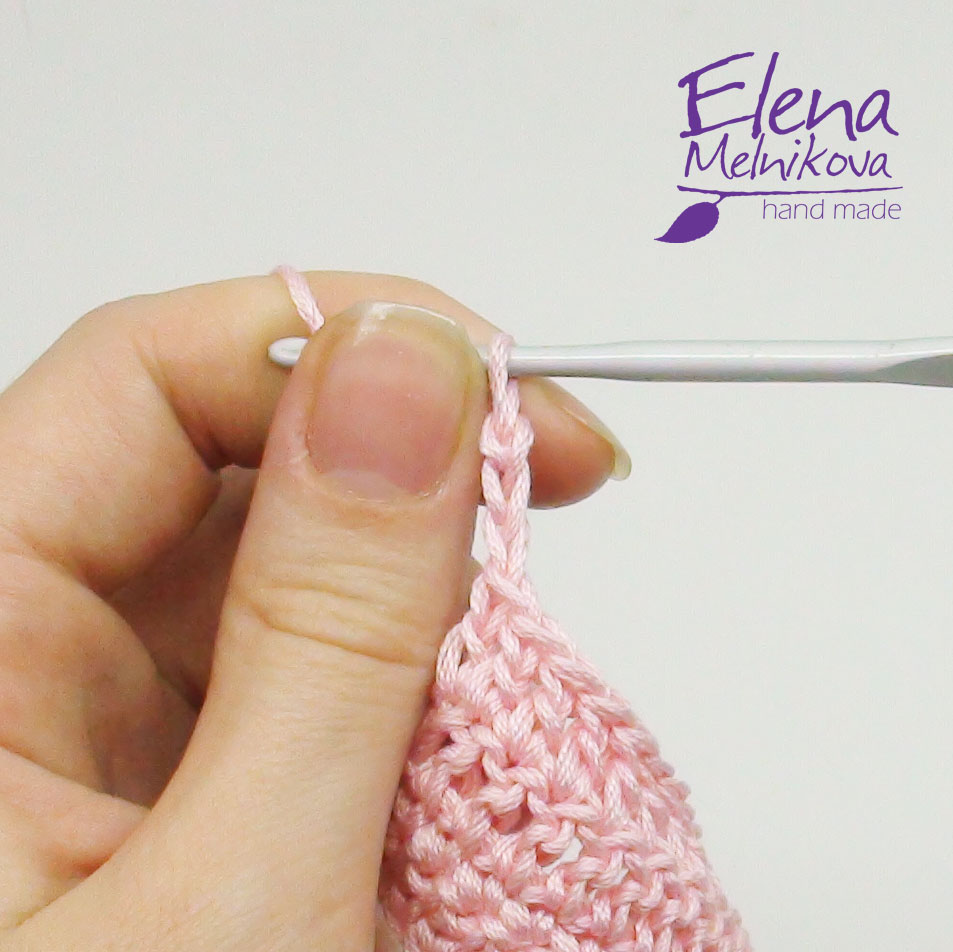 11. The first column is knitted into the loop following the one from which the climb comes out.
 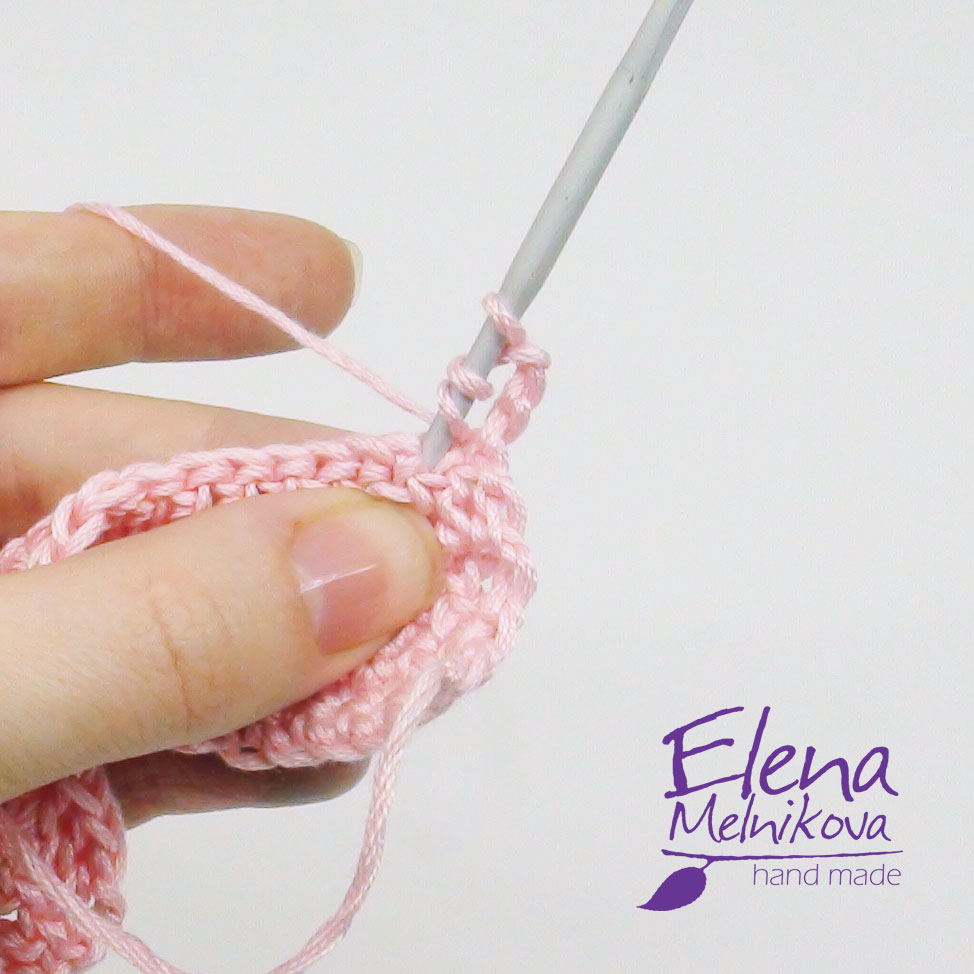 12. Columns with two naquids are much more airy than ordinary columns.
 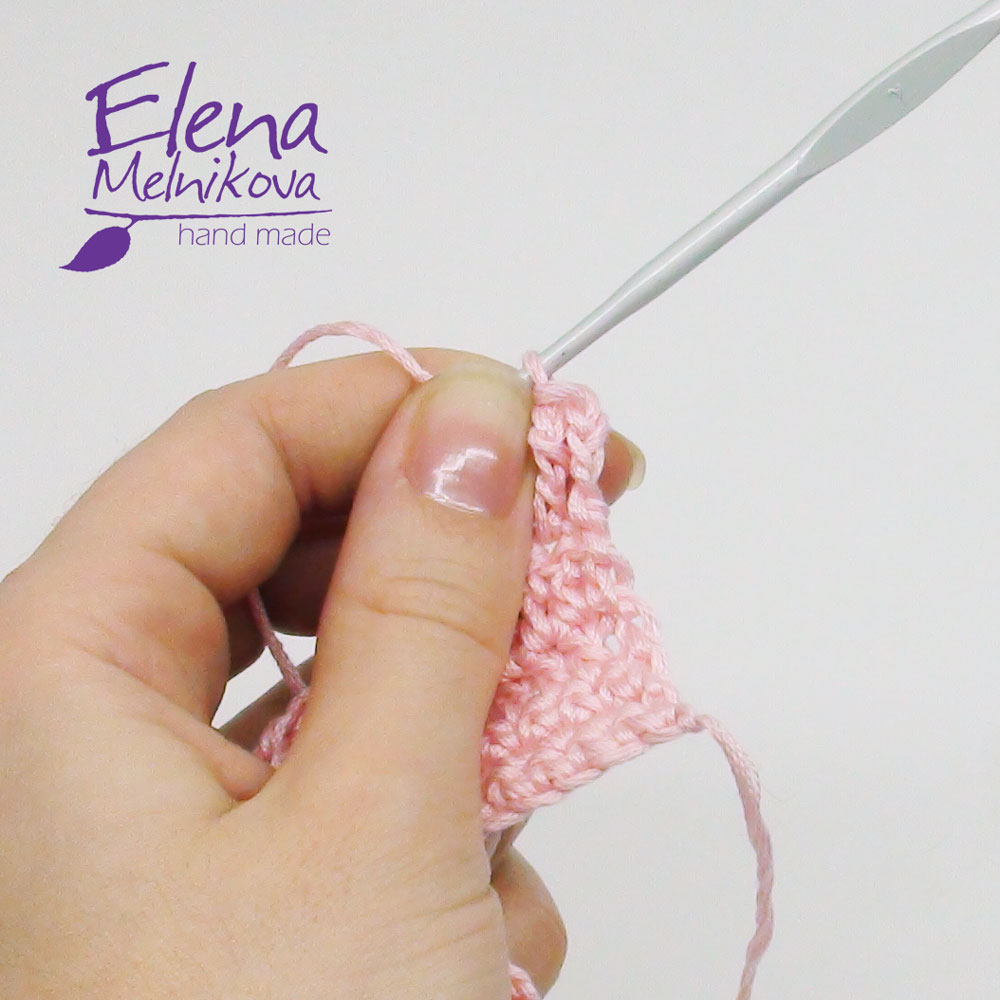 13. The last column is knitted in the upper loop of the rise of the previous row.
  14. Here I am knitting
  If you use my method, you will get rowssimilar to what you see in the photo, if you use the method of most books, the edge will be a little "full of holes," but for comparison, I still recommend trying two options! ? Let's make a small sign for the ratio of the number of air loops of the lifts and the columns of the row: Lifting loops columns my version Lifting loops the conventional version Art. b.n. 1 1-2 Art. with 1 nak. 2 3 Art. with 2 nak. 3 4 Art. with n nak. n + 1 n + 2 I think now there is nothing difficult for you in this matter! ? Another option for using lift loops is available in the lesson: Stay informed! Be the first to know about new articles!